创建 服务端应用
创建SpringBoot项目
pom.xml 文件具体如下:
<?xml version="1.0" encoding="UTF-8"?><project xmlns="http://maven.apache.org/POM/4.0.0" xmlns:xsi="http://www.w3.org/2001/XMLSchema-instance"xsi:schemaLocation="http://maven.apache.org/POM/4.0.0 https://maven.apache.org/xsd/maven-4.0.0.xsd"><modelVersion>4.0.0</modelVersion><parent><groupId>org.springframework.boot</groupId><artifactId>spring-boot-starter-parent</artifactId><version>2.1.12.RELEASE</version><relativePath/> <!-- lookup parent from repository --></parent><groupId>com.lcy</groupId><artifactId>springboot-demo</artifactId><version>0.0.1-SNAPSHOT</version><name>springboot-demo</name><description>Demo project for Spring Boot</description><properties><java.version>1.8</java.version></properties><dependencies><dependency><groupId>org.springframework.boot</groupId><artifactId>spring-boot-starter</artifactId></dependency><dependency><groupId>org.springframework.boot</groupId><artifactId>spring-boot-starter-web</artifactId></dependency></dependencies><build><plugins><plugin><groupId>org.springframework.boot</groupId><artifactId>spring-boot-maven-plugin</artifactId></plugin></plugins></build></project>
编辑 application.properties 文件
server.port=8088
编辑主启动类
package com.lcy.springboot.demo;

@SpringBootApplication
public class SpringbootDemoApplication {

    public static void main(String[] args) {
        SpringApplication.run(SpringbootDemoApplication.class, args);
    }

}
编辑 Controller 层
package com.lcy.springboot.demo.controller;

@RestController
public class HelloController {

    @Value("${server.port}")
    private int serverPort;

    @GetMapping("/hello")
    public String hello() {
        InetAddress address = null;
        try {
            address = InetAddress.getLocalHost();
        } catch (Exception e) {
            e.printStackTrace();
        }
        return "当前服务器的IP地址:"+address.getHostAddress() +", 端口号:"+this.serverPort;
    }

}
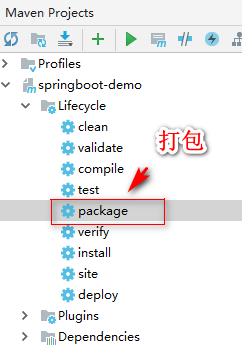
使用 maven 工具打包应用
服务器端操作
这里准备了3台服务器, IP地址分别为 192.168.3.18,192.168.3.19,192.168.3.20。 这里以 192.168.3.19 为例,其他2台做相同类似的操作。
设置 服务器的主机名
原来的主机名
[root@localhost ~]# hostnamectl --static
localhost.localdomain
设置 服务器主机名:
[root@localhost ~]# hostnamectl set-hostname server19
修改 hosts 文件
vim /etc/hosts
在文件中新增一条记录:
192.168.3.19 server19
如图: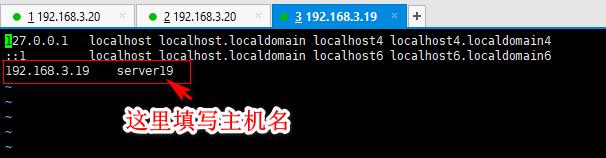
修改完后, 可能需要重启服务器才生效。
补充:
为什么要做这一步(修改主机名和hosts)?
因为在 linux 系统中,如果不这么做,那通过 InetAddress.getLocalHost().getHostAddress()获取的ip为127.0.0.1
运行程序
将程序上传到服务器
我们在步骤1的时候打包的 springboot-demo-0.0.1-SNAPSHOT.jar 程序,将其上传到 服务器中 /data 目录下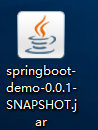
执行程序
java -jar springboot-demo-0.0.1-SNAPSHOT.jar
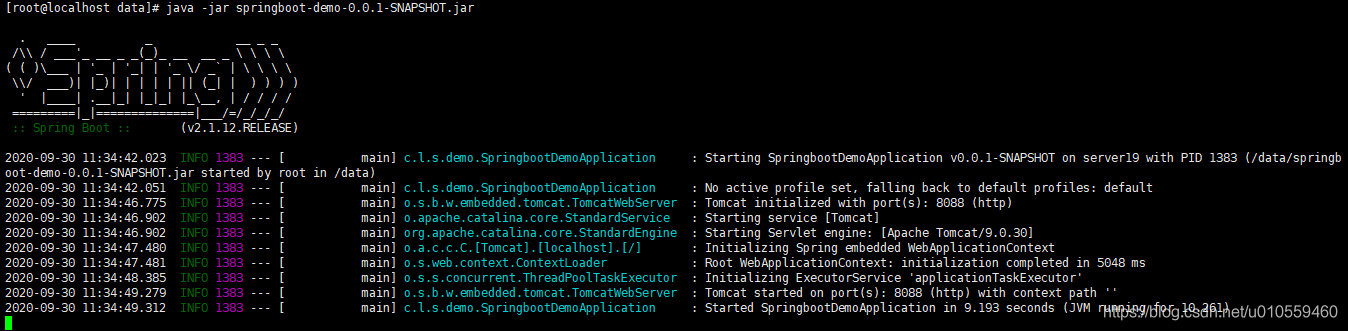
注意: 这里需要提前配置好 java环境
测试
在浏览器中输入:http://192.168.3.20:8088/hello
执行结果: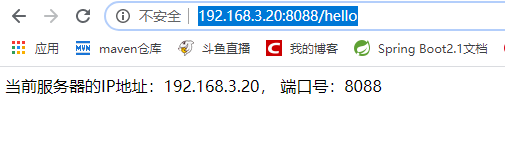
nginx 配置
nginx 安装过程省略
将 nginx 安装在 192.168.3.18 的服务器上
编辑 nginx 配置文件
vi /usr/local/nginx/conf/nginx.conf
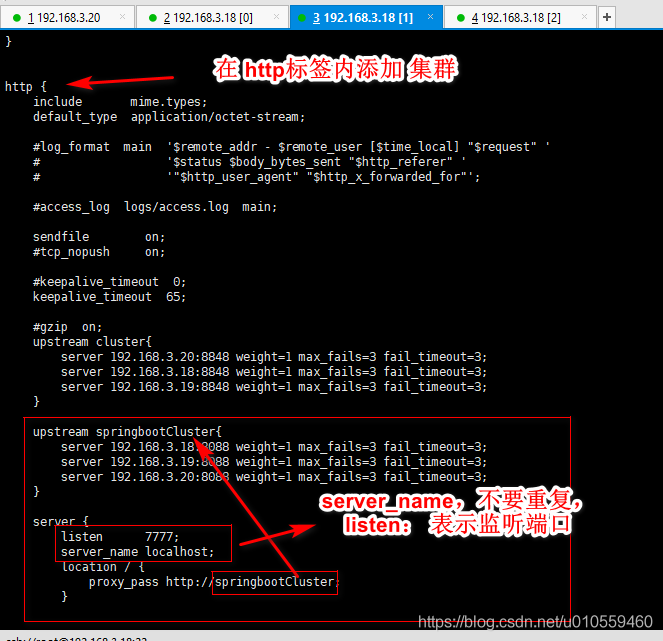
在http标签内添加如下内容:
    upstream springbootCluster{
        server 192.168.3.18:8088 weight=1 max_fails=3 fail_timeout=3;
        server 192.168.3.19:8088 weight=1 max_fails=3 fail_timeout=3;
        server 192.168.3.20:8088 weight=1 max_fails=3 fail_timeout=3;
    }

    server {
        listen      7777;
        server_name localhost;
        location / {
            proxy_pass http://springbootCluster;
        }

    }
启动 nginx
可以用如下命令,检测修改nginx的配置文件有没有错误
[root@server18 sbin]# cd /usr/local/nginx/sbin/
[root@server18 sbin]# ./nginx -t
nginx: the configuration file /usr/local/nginx/conf/nginx.conf syntax is ok
nginx: configuration file /usr/local/nginx/conf/nginx.conf test is successful
启动 nginx
[root@server18 sbin]# ./nginx
测试
测试之前需要在3台服务器上分别使用 java -jar 命令执行 springboot-demo-0.0.1-SNAPSHOT.jar 文件。
然后,确保 nginx 已经启动。
最后在浏览器中输入:http://192.168.3.18:7777/hello
运行结果: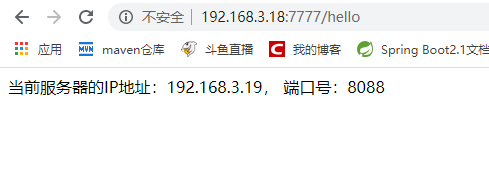
多刷新几次,就发现nginx负载均衡起作用了

若有收获,就点个赞吧
0 人点赞
