简单安装流程
1.添加gitlab镜像
wget https://mirrors.tuna.tsinghua.edu.cn/gitlab-ce/yum/el7/gitlab-ce-10.0.0-ce.0.el7.x86_64.rpm —no-check-certificate
2.安装gitlab 安装命令:rpm -i gitlab-ce-10.0.0-ce.0.el7.x86_64.rpm
安装过程需要些时间,如果出现下图,则说明安装成功。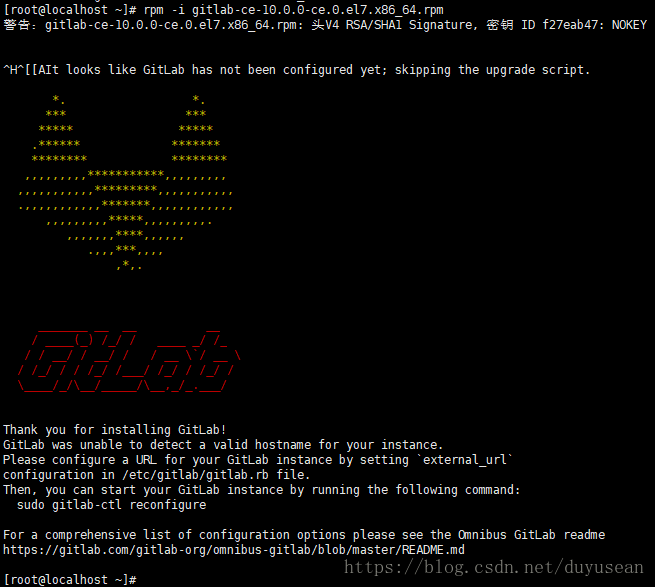
3.修改gitlab配置文件指定服务器ip和自定义端口:
vim /etc/gitlab/gitlab.rb
修改:external_url ‘http://gitlab.zxzplay.com‘
添加:nginx[‘listen_port’] = 3001 #默认值即80端口 nginx[‘listen_port’] = nil
4.让配置生效
gitlab-ctl reconfigure
5.启动gitlab
sudo gitlab-ctl start # 启动所有 gitlab 组件
解决问题
安装wget,安装命令:yum -y install wget
安装vim编辑器 安装命令:yum -y install vim
启动SSH服务,安装命令:sudo systemctl start sshd
安装ssh:sudo yum install -y curl policycoreutils-pythonopenssh-server
安装policycoreutils:yum install policycoreutils-python
不吃亏套装,安装依赖软件:yum -y install policycoreutils openssh-server openssh-clients postfix
已有Nginx、配置gitlab
1.在阿里云安全组,给分配一个端口号,比如:3001,配置二级域名解析比如:gitlab
2.在防火墙添加端口号3001:firewall-cmd —permanent —zone=public —add-port=3001/tcp
3.修改配置文件
修改:/opt/gitlab/embedded/conf/nginx.conf 端口改成3001
修改:/var/opt/gitlab/nginx/conf/gitlab-http.conf 端口改成3001
4.让配置生效
gitlab-ctl reconfigure
5.启动gitlab
sudo gitlab-ctl start # 启动所有 gitlab 组件
或者
gitlab-ctl restart
6.配置nginx,把域名指向目标服务
server{listen80;server_name gitlab.zxzplay.com;location / {proxy_set_header X-Real-IP $remote_addr;proxy_set_header Host $http_host;proxy_passhttp://0.0.0.0:3001;}}
7.上传nginx配置信息,并重启/usr/local/nginx/sbin/nginx -s reload
8.关闭开机启动gitlab :systemctl disable gitlab-runsvdir.service
参考

若有收获,就点个赞吧
0 人点赞
