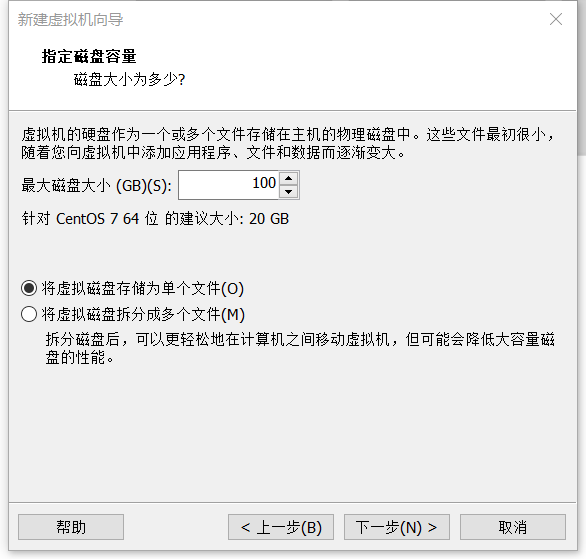
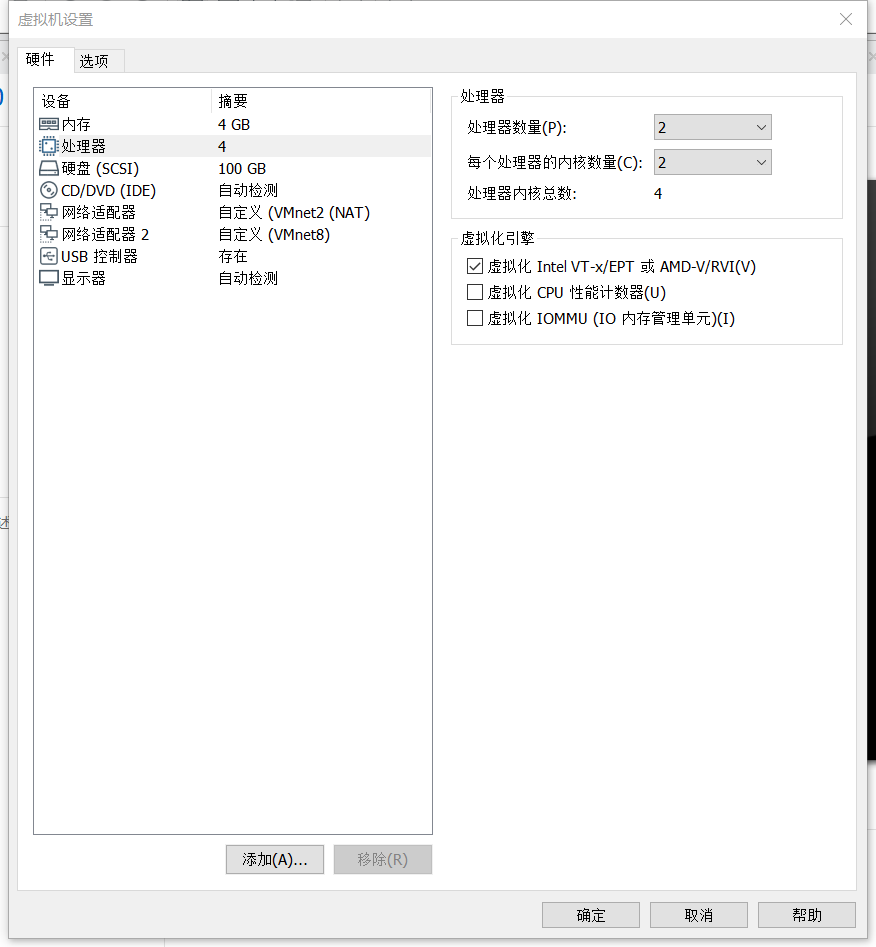
1. 创建虚拟机

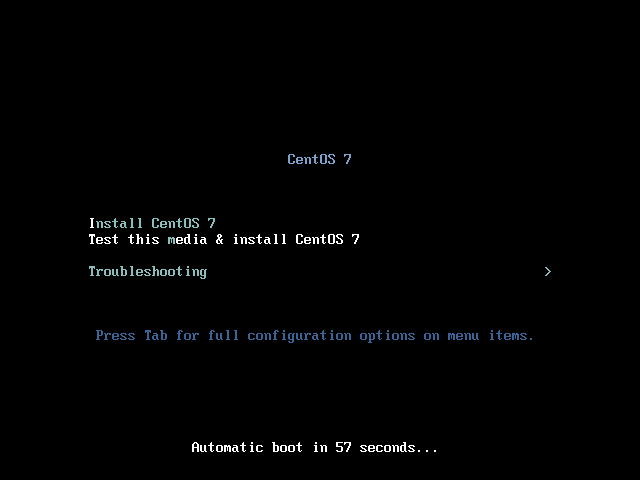
2. 系统安装centos1810
1)开机进入安装
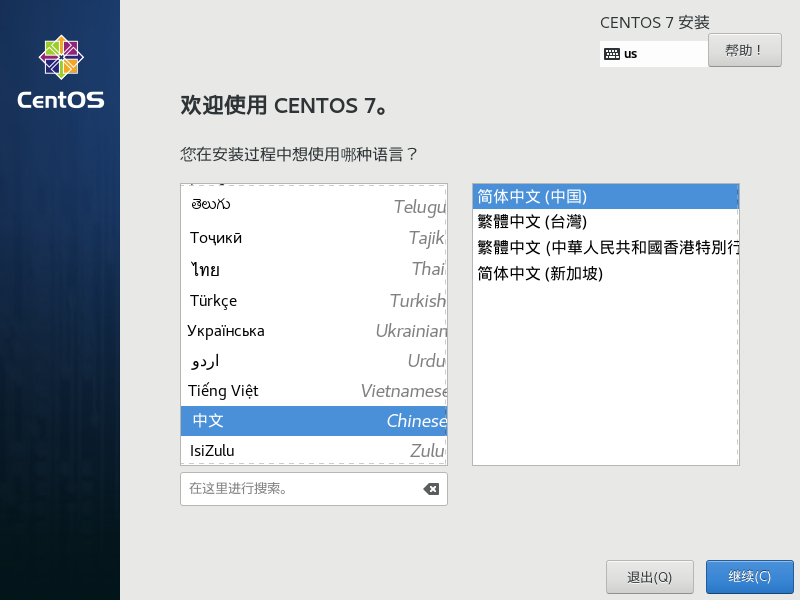
2)选择语言
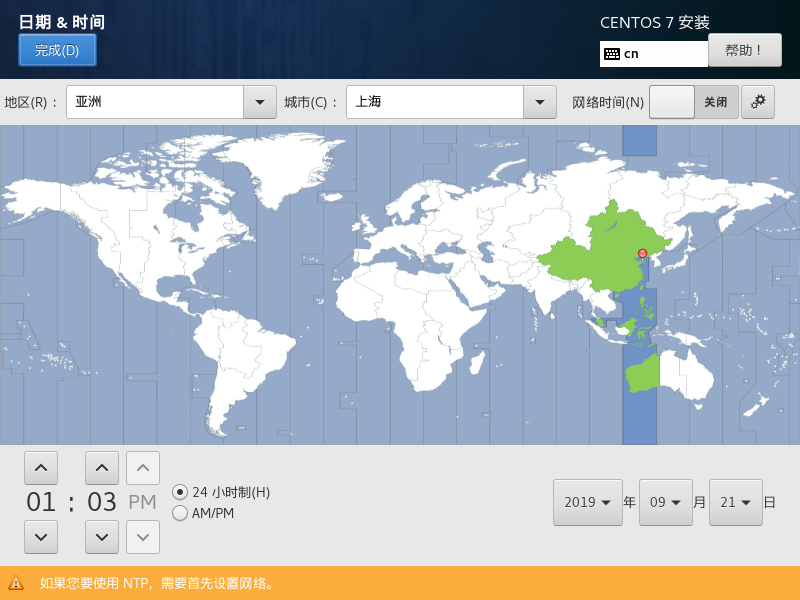
3)选择时区为亚洲-上海
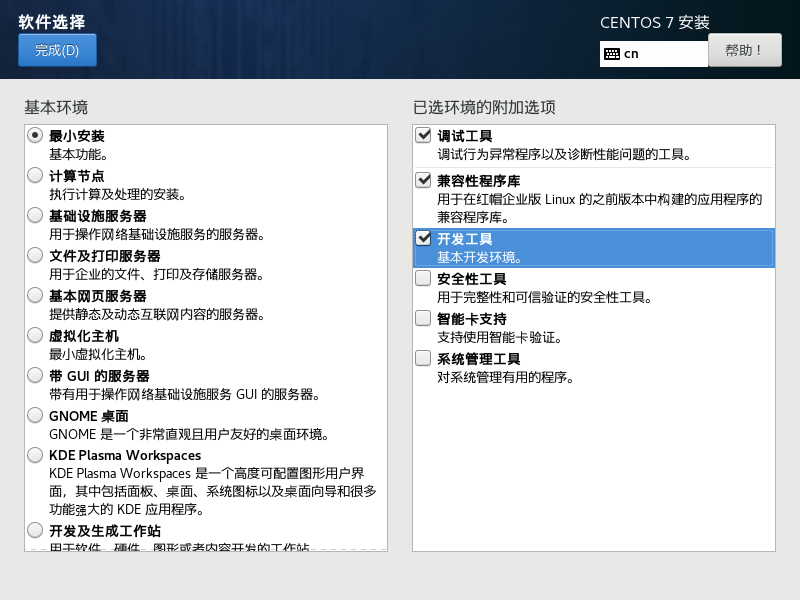
4)选择安装的环境,选择最小化安装。注意勾选依赖包
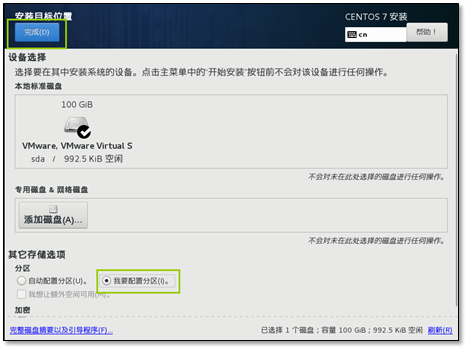
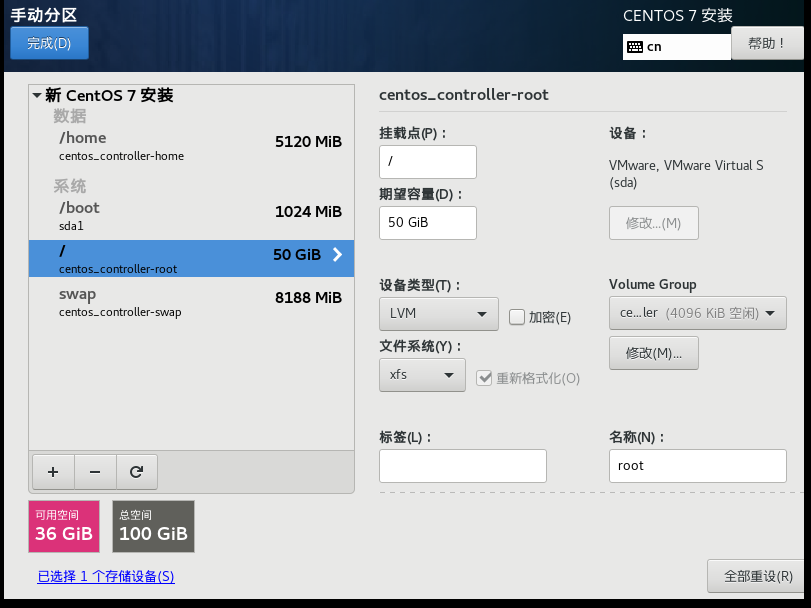
5)磁盘分区为自定义分区。
点击,“自动创建他们”。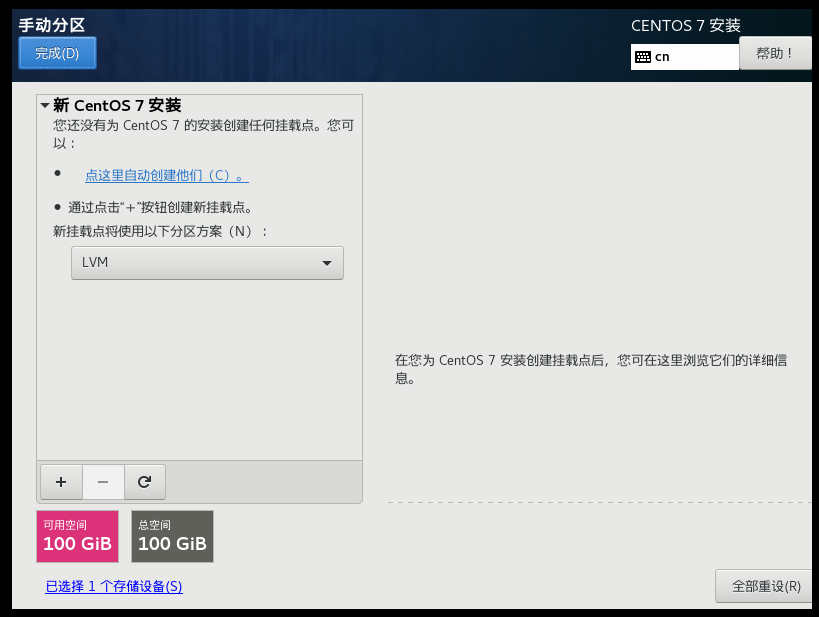
6) 设置网络连接和主机名
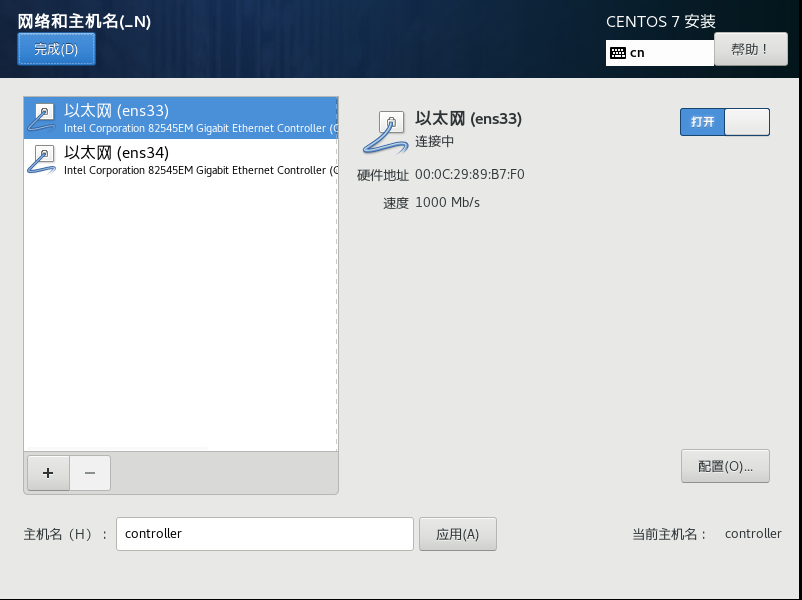
a、注意勾选开机自启动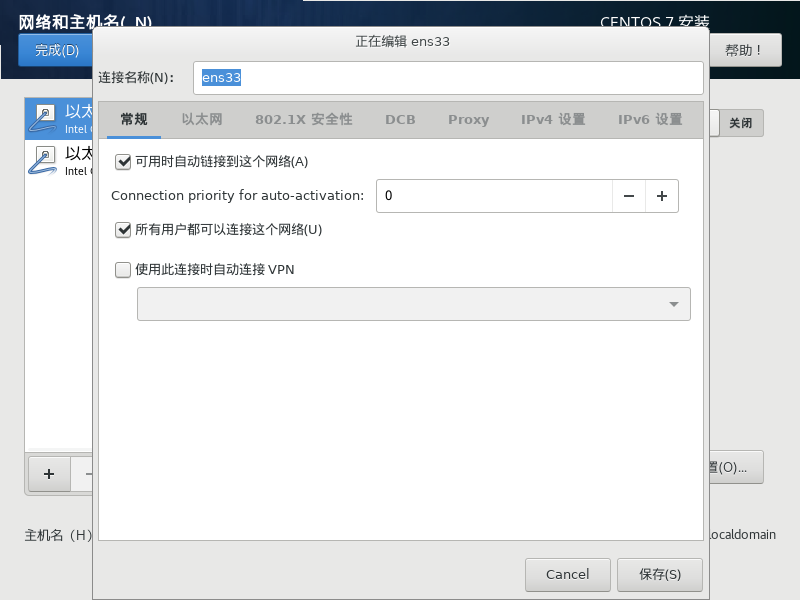
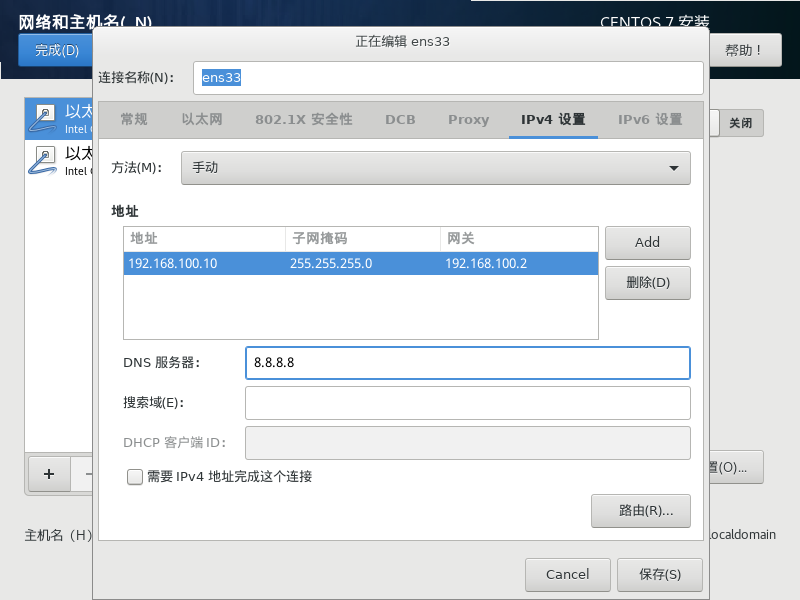
b、设置ip地址
同样的方式将另外 一块网卡配置好
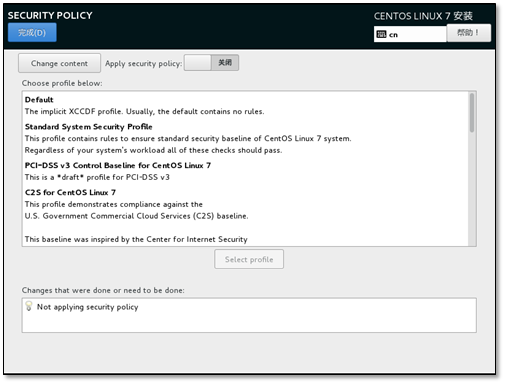
7)关闭密码保护
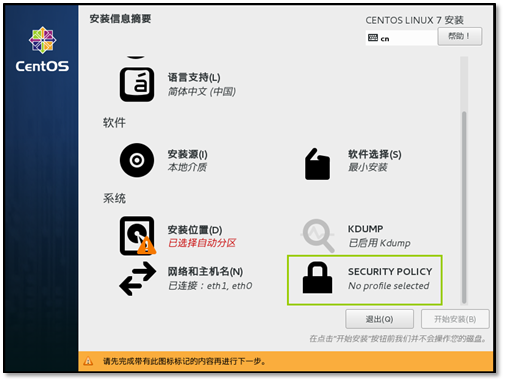
8)关闭KDUMP功能

9)开始安装,安装完毕后重启
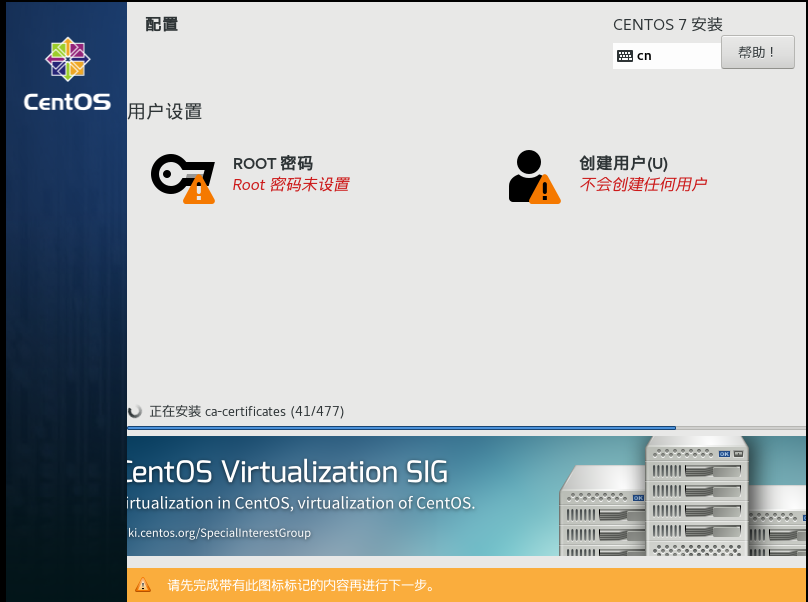
10)安装的过程中设置root的密码。密码:000000

11)修改网卡配置文件
vi /etc/sysconfig/network-scripts/ifcfg-ens33
[root@centos7-1810 network-scripts]# vi /etc/sysconfig/network-scripts/ifcfg-ens33
TYPE=Ethernet
PROXY_METHOD=none
BROWSER_ONLY=no
BOOTPROTO=static
DEFROUTE=yes
IPV4_FAILURE_FATAL=no
IPV6INIT=yes
IPV6_AUTOCONF=yes
IPV6_DEFROUTE=yes
IPV6_FAILURE_FATAL=no
IPV6_ADDR_GEN_MODE=stable-privacy
NAME=ens33
UUID=91c2dd49-30d2-47e1-88b9-9924baa12004
DEVICE=ens33
ONBOOT=yes
IPADDR=192.168.100.10
PREFIX=24
GATEWAY=192.168.100.2
DNS1=8.8.8.8
IPV6_PRIVACY=no
12)重启网络服务:
systemctl restart network
13) 检查 ping 一下网关192.168.100.2测试网络连通性,
ping 192.168.100.2 -c2
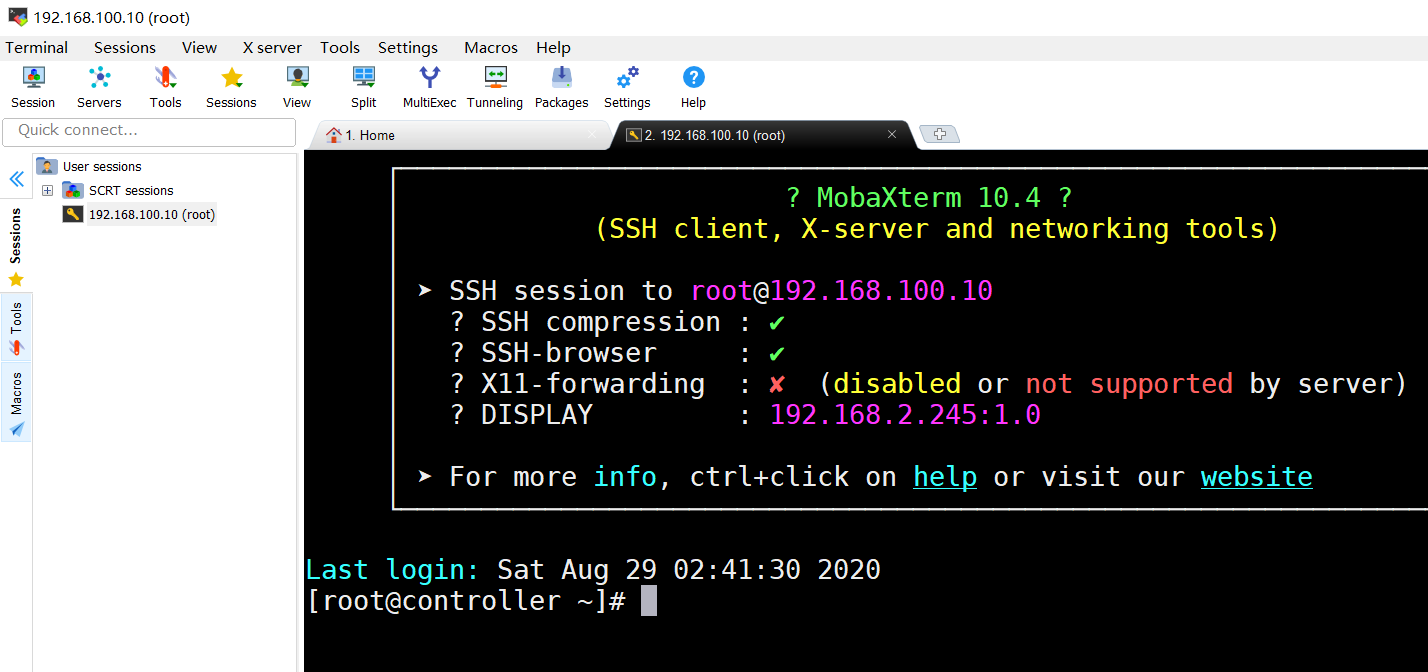
3、使用MobaXterm登录系统
1、创建ssh链接
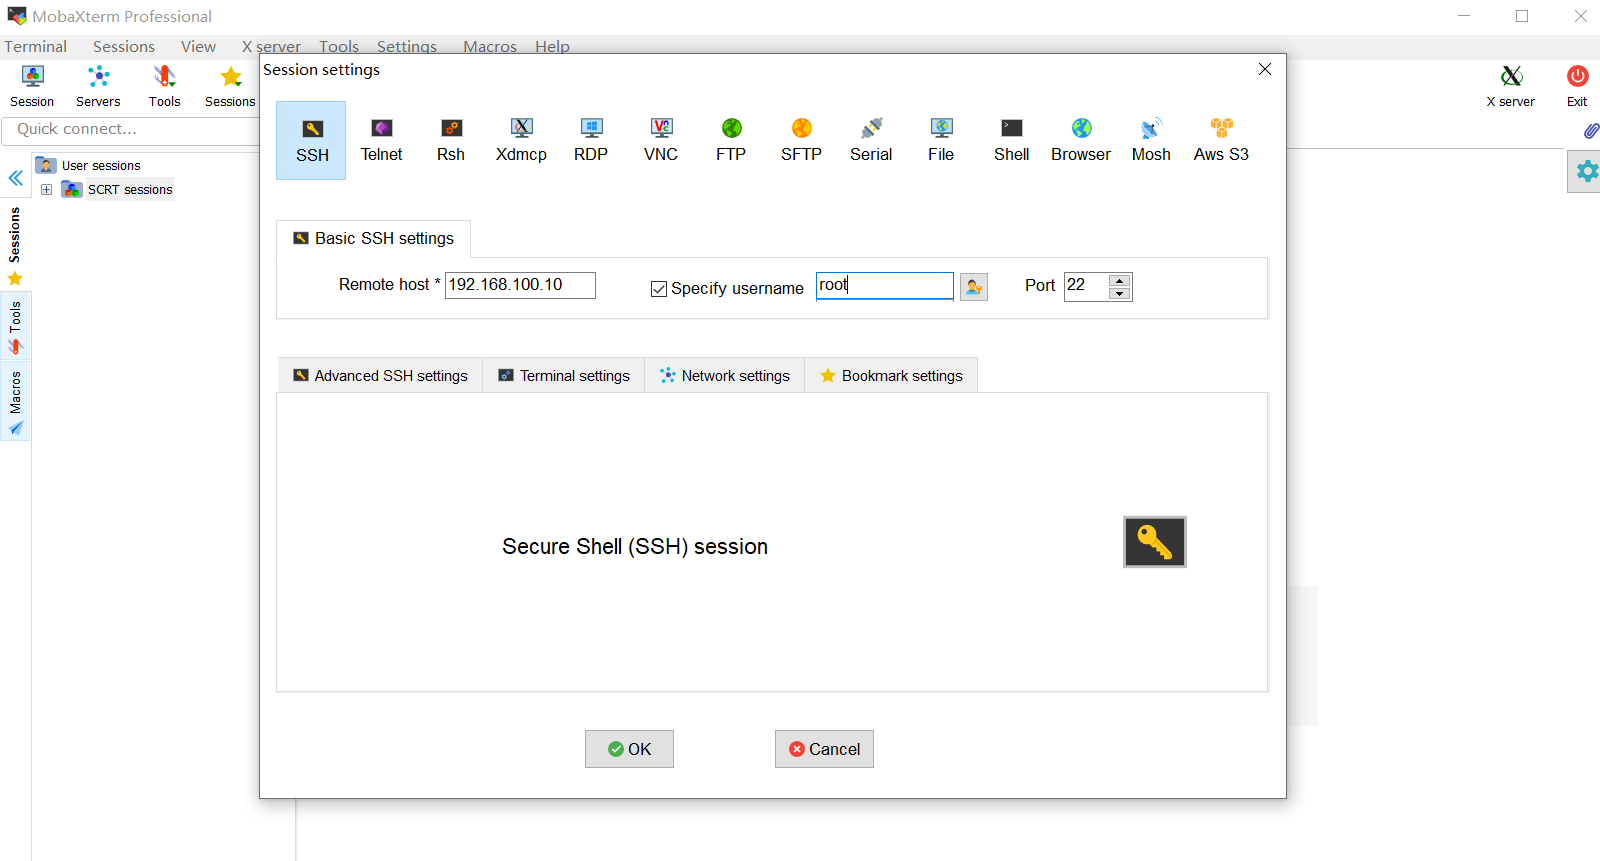
2、登录centos
4、检查系统基础环境:
1、查看系统版本
[root@controller ~]# cat /etc/redhat-release
CentOS Linux release 7.6.1810 (Core)
2、测试网络连通性
[root@controller ~]# ping 8.8.8.8
PING 8.8.8.8 (8.8.8.8) 56(84) bytes of data.
64 bytes from 8.8.8.8: icmp_seq=1 ttl=128 time=81.7 ms
64 bytes from 8.8.8.8: icmp_seq=2 ttl=128 time=153 ms
^C
—- 8.8.8.8 ping statistics —-
5、更换yum源
1. 备份
mv /etc/yum.repos.d/CentOS-Base.repo /etc/yum.repos.d/CentOS-Base.repo.backup
2. 下载新的 CentOS-Base.repo 到 /etc/yum.repos.d/
CentOS 7 yum源
wget -O /etc/yum.repos.d/CentOS-Base.repo https://mirrors.aliyun.com/repo/Centos-7.repo
或者
curl -o /etc/yum.repos.d/CentOS-Base.repo https://mirrors.aliyun.com/repo/Centos-7.repo
epel源
curl -o /etc/yum.repos.d/epel.repo http://mirrors.aliyun.com/repo/epel-7.repo
3. 运行 yum makecache 生成缓存
yum makecacheyum repolist
4. 其他
非阿里云ECS用户会出现 Couldn’t resolve host ‘mirrors.cloud.aliyuncs.com’ 信息,不影响使用。
eg:Could not resolve host: mirrors.aliyun.com; 未知的错误
解决办法:
1. 修改dns
[root@iz25m0z7ik3z ~]# vi /etc/sysconfig/network-scripts/ifcfg-ens33
文末添加
DNS1=8.8.8.8
DNS2=8.8.4.4
2. 重启network 服务
systemctl restart network
6、安装软件
yum install vim wget bash-completion lrzsz nmap nc tree htop iftop net-tools -y
1. nmtui
2. 配置主机名:
修改主机名:
hostnamectl set-hostname controller
按ctrl+d 退出 重新登陆
查看结果:
[root@controller ~]# cat /etc/hostname
controller
[root@controller ~]# hostnamectl
Static hostname: controller
Icon name: computer-vm
Chassis: vm
Machine ID: d4fef2a7d2b846168dd7ada1584b79f1
Boot ID: ab81737820cf47a5ababe3f4bee73928
Virtualization: vmware
Operating System: CentOS Linux 7 (Core)
CPE OS Name: cpe:/o:centos:centos:7
Kernel: Linux 3.10.0-957.el7.x86_64
Architecture: x86-64
编辑hosts文件
vi /etc/hosts
增加2行
192.168.100.10 controller
192.168.100.20 compute
3. 字符集
临时
[root@clsn ~]# echo $LANG
zhCN.UTF-
永久_
[root@clsn ~]# cat /etc/locale.conf
LANG=”zh_CN.UTF-8”
一步到位
[root@clsn ~]# localectl
System Locale: LANG=zh_CN.UTF-8
VC Keymap: cn
X11 Layout: cn**
5. 管理服务
1)关闭邮件服务及开机自启动
systemctl stop postfix.servicesystemctl disable postfix.service
2)关闭防火墙服务及开机自启动
systemctl disable firewalld.servicesystemctl stop firewalld.servicesystemctl status firewalld.service
[root@controller ~]# systemctl status firewalld.service
● firewalld.service - firewalld - dynamic firewall daemon
Loaded: loaded (/usr/lib/systemd/system/firewalld.service; disabled; vendor preset: enabled)
Active: inactive (dead)
Docs: man:firewalld(1)
8月 29 05:55:27 controller systemd[1]: Starting firewalld - dynamic firewall daemon…
8月 29 05:55:28 controller systemd[1]: Started firewalld - dynamic firewall daemon.
8月 29 06:46:01 controller systemd[1]: Stopping firewalld - dynamic firewall daemon…
8月 29 06:46:03 controller systemd[1]: Stopped firewalld - dynamic firewall daemon.
systemctl:融合service和chkconfig的功能于一体,兼容SysV和LSB的启动脚本,而且够在进程启动过程中更有效地引导加载服务。
3)Selinux的优化
编辑selinux文件
# vi /etc/selinux/config
SELINUX=permissive
6. 命令对比
表1 systemctl管理服务的启动、重启、停止、重载、查看状态等常用命令
| 老系统命令 | 新系统命令 | 作用 |
|---|---|---|
| service foo start | systemctl start httpd | 启动服务 |
| service foo restart | systemctl restart httpd | 重启服务 |
| service foo stop | systemctl stop httpd | 停止服务 |
| service foo reload | systemctl reload httpd | 重新加载配置文件(不终止服务) |
| service foo status | systemctl status httpd | 查看服务状态 |
表2 systemctl设置服务开机启动、不启动、查看各级别下服务启动状态等常用命令
| 老系统命令 | 新系统命令 | 作用 |
|---|---|---|
| chkconfig foo on | systemctl enable httpd | 开机自动启动 |
| chkconfig foo off | systemctl disable httpd | 开机不自动启动 |
| chkconfig foo | systemctl is-enabled httpd | 查看特定服务是否为开机自启动 |
| chkconfig —list | systemctl list-unit-files —type=httpd | 查看各个级别下服务的启动与禁用情况 |
1. 2OpenStack部署优化环
# 至此;模板机优化完成;关机开始克隆 #
shutdown now

若有收获,就点个赞吧
0 人点赞
