vmware workstation虚拟环境系统:centos7.8.2003cpu型号: 虚拟2C8核32线程内存 8G网络环境:ens33 192.168.100.10 私有外网ens34 192.168.200.10 物理外网echo 'net.ipv4.ip_forward=1 ' >>/etc/sysctl.confecho 'net.ipv4.tcp_tw_recycle=1 ' >>/etc/sysctl.confecho 'net.ipv4.tcp_tw_reuse=1 ' >>/etc/sysctl.confsysctl -pchmod +x /etc/rc.d/rc.localyum install -y mlocate lrzsz tree vim nc nmap wget bash-completion bash-completion-extras cowsay sl htop iotop iftop lsof net-tools sysstat unzip bc psmisc ntpdate wc telnet-server bind-utils sshpasshostnamectl set-hostname controllerecho '192.168.100.10 controller' >>/etc/hostssystemctl stop firewalldsystemctl disable firewalldsetenforce 0sed -i 's#SELINUX=enforcing#SELINUX=disabled#g' /etc/selinux/configsystemctl stop NetworkManagersystemctl disable NetworkManagerwget -O /etc/yum.repos.d/epel.repo http://mirrors.aliyun.com/repo/epel-7.repocurl -o /etc/yum.repos.d/CentOS-Base.repo http://mirrors.aliyun.com/repo/Centos-7.repoyum install -y mlocate lrzsz tree vim nc nmap wget bash-completion bash-completion-extras cowsay sl htop iotop iftop lsof net-tools sysstat unzip bc psmisc ntpdate wc telnet-server bind-utils sshpasssed -i 's#keepcache=0#keepcache=1#g' /etc/yum.confyum clean allyum makecachentpdate ntp1.aliyun.comecho '*/30 * * * * /sbin/ntpdate ntp1.aliyun.com >/dev/null 2>&1' >>/var/spool/cron/rootyum install centos-release-openstack-train -yyum install openstack-packstack -ypackstack --gen-answer-file=openstack.txt用vim编辑 openstack.txt具体修改的内容参考后续。sed -i -r 's/(.+_PW)=.+/\1=123456/' openstack.txt#设置所有密码为123456egrep -v "^#|^$" openstack.txt >openstack.txt.bak1#备份应答文件leatherman rpm包版本问题处理:yum list | grep leathermanfacter -pyum downgrade leatherman -ypackstack --answer-file=openstack.txt#packstack --allinone #allinone模式#packstack --gen-answer-file=<file> #生成部署配置文件#packstack --answer-file=<file> #选择应答文件
建议大家详细学习一下配置文件的各个模块的配置参数,可根据自己实际需求更改
本次应答文件修改的内容如下:
[19:57 root@localhost ~]# vim openstack.txt41 CONFIG_SWIFT_INSTALL=n #y-n SWIFT是OpenStack的对象存储组件,默认是Y,在生产环境中一般是不装,所以改n50 CONFIG_AODH_INSTALL=n #y-n 不安装该服务97 CONFIG_COMPUTE_HOSTS=192.168.100.10 #计算节点ip地址795 CONFIG_NEUTRON_ML2_TYPE_DRIVERS=vxlan,flat801 CONFIG_NEUTRON_ML2_TENANT_NETWORK_TYPES=vxlan808 CONFIG_NEUTRON_ML2_MECHANISM_DRIVERS=openvswitch813 CONFIG_NEUTRON_ML2_FLAT_NETWORKS=ens33 #flat网络这边要设置物理网卡名字840 CONFIG_NEUTRON_L2_AGENT=openvswitch #L2网络的代理模式,也可选择linuxbridge858 CONFIG_NEUTRON_OVS_BRIDGE_MAPPINGS=ens33:br-ex #这边要设置物理网卡的名字869 CONFIG_NEUTRON_OVS_BRIDGE_IFACES=br-ex:ens34 #这边br-ex:eth0是网络节点的nat网卡,到时候安装完毕之后IP地址会漂到这个上1181 CONFIG_PROVISION_DEMO=n #DEMO是OpenStack联网下载一个测试镜像,这边没联网。说以改成n
更改密码(123456)(参考)
sed -i -r 's/(.+_PW)=.+/\1=123456/' openstack.txtegrep -v "^#|^$" openstack.txt >openstack.txt.bak1[20:01 root@localhost ~]# grep 'HOST=' openstack.txtCONFIG_CONTROLLER_HOST=192.168.200.10CONFIG_VCENTER_HOST=CONFIG_STORAGE_HOST=192.168.200.10CONFIG_SAHARA_HOST=192.168.200.10CONFIG_AMQP_HOST=192.168.200.10CONFIG_MARIADB_HOST=192.168.200.10CONFIG_TEMPEST_HOST=CONFIG_REDIS_HOST=192.168.200.10#不执行此步骤会故障报错facter: error while loading shared libraries: leatherman_curl.so.1.3.0: cannot open shared object file: No such file or directoryleatherman rpm包版本问题[20:06 root@localhost ~/openstack]# yum list | grep leathermanleatherman.x86_64 1.10.0-1.el7 @epelleatherman-devel.x86_64 1.10.0-1.el7 epel而facter需要1.3.0[20:09 root@localhost ~/openstack]# facter -pfacter: error while loading shared libraries: leatherman_curl.so.1.3.0: cannot open shared object file: No such file or directory回退leatherman版本yum downgrade leatherman -y[20:15 root@localhost ~]# packstack --answer-file=openstack.txtWelcome to the Packstack setup utilityThe installation log file is available at: /var/tmp/packstack/20200614-205624-uEmdI2/openstack-setup.logInstalling:Clean Up [ DONE ]Discovering ip protocol version [ DONE ]Setting up ssh keys [ DONE ]Preparing servers [ DONE ]Pre installing Puppet and discovering hosts' details [ DONE ]Preparing pre-install entries [ DONE ]Setting up CACERT [ DONE ]Preparing AMQP entries [ DONE ]Preparing MariaDB entries [ DONE ]Fixing Keystone LDAP config parameters to be undef if empty[ DONE ]Preparing Keystone entries [ DONE ]Preparing Glance entries [ DONE ]Checking if the Cinder server has a cinder-volumes vg[ DONE ]Preparing Cinder entries [ DONE ]Preparing Nova API entries [ DONE ]Creating ssh keys for Nova migration [ DONE ]Gathering ssh host keys for Nova migration [ DONE ]Preparing Nova Compute entries [ DONE ]Preparing Nova Scheduler entries [ DONE ]Preparing Nova VNC Proxy entries [ DONE ]Preparing OpenStack Network-related Nova entries [ DONE ]Preparing Nova Common entries [ DONE ]Preparing Neutron API entries [ DONE ]Preparing Neutron L3 entries [ DONE ]Preparing Neutron L2 Agent entries [ DONE ]Preparing Neutron DHCP Agent entries [ DONE ]Preparing Neutron Metering Agent entries [ DONE ]Checking if NetworkManager is enabled and running [ DONE ]Preparing OpenStack Client entries [ DONE ]Preparing Horizon entries [ DONE ]Preparing Gnocchi entries [ DONE ]Preparing Redis entries [ DONE ]Preparing Ceilometer entries [ DONE ]Preparing Puppet manifests [ DONE ]Copying Puppet modules and manifests [ DONE ]Applying 192.168.200.10_controller.pp192.168.100.106_controller.pp: [ DONE ]Applying 192.168.200.10_network.pp192.168.100.106_network.pp: [ DONE ]Applying 192.168.200.10_compute.pp192.168.200.10_compute.pp: [ DONE ]Applying Puppet manifests [ DONE ]Finalizing [ DONE ]**** Installation completed successfully ******Additional information:* Time synchronization installation was skipped. Please note that unsynchronized time on server instances might be problem for some OpenStack components.* File /root/keystonerc_admin has been created on OpenStack client host 192.168.200.10. To use the command line tools you need to source the file.* To access the OpenStack Dashboard browse to http://192.168.200.10/dashboard .Please, find your login credentials stored in the keystonerc_admin in your home directory.* The installation log file is available at: /var/tmp/packstack/20200614-205624-uEmdI2/openstack-setup.log* The generated manifests are available at: /var/tmp/packstack/20200614-205624-uEmdI2/manifests
packstack 部署禁止了 openstack 的 dashbrard 界面对域的支持,需要可打开
vim /etc/openstack-dashboard/local_settings79 OPENSTACK_KEYSTONE_MULTIDOMAIN_SUPPORT = True85 OPENSTACK_KEYSTONE_DEFAULT_DOMAIN = 'Default'461 TIME_ZONE = "Asia/Shanghai"systemctl restart httpd.service memcached.service
因为 packstack 是通过封装 puppet,httpd 的配置端口文件中会生成监控端口的文件,会导致占用了 nova-api 的端口 8774 和 8775,所以禁用掉即可
vim /etc/httpd/conf/ports.conf#Listen 0.0.0.0:8774#Listen 0.0.0.0:8775Listen 0.0.0.0:8778Listen 5000Listen 80Listen 8041Listen 8777systemctl restart httpd.service openstack-nova-api.service#8774和8775端口是nova-api使用的端口[21:17 root@localhost ~]# netstat -lntup|grep 877tcp 0 0 0.0.0.0:8775 0.0.0.0:* LISTEN 24150/python2tcp 0 0 0.0.0.0:8776 0.0.0.0:* LISTEN 9917/python2tcp 0 0 0.0.0.0:8778 0.0.0.0:* LISTEN 23780/httpdtcp 0 0 0.0.0.0:8774 0.0.0.0:* LISTEN 24150/python2tcp6 0 0 :::8777 :::* LISTEN 23780/httpd
查看用户密码:
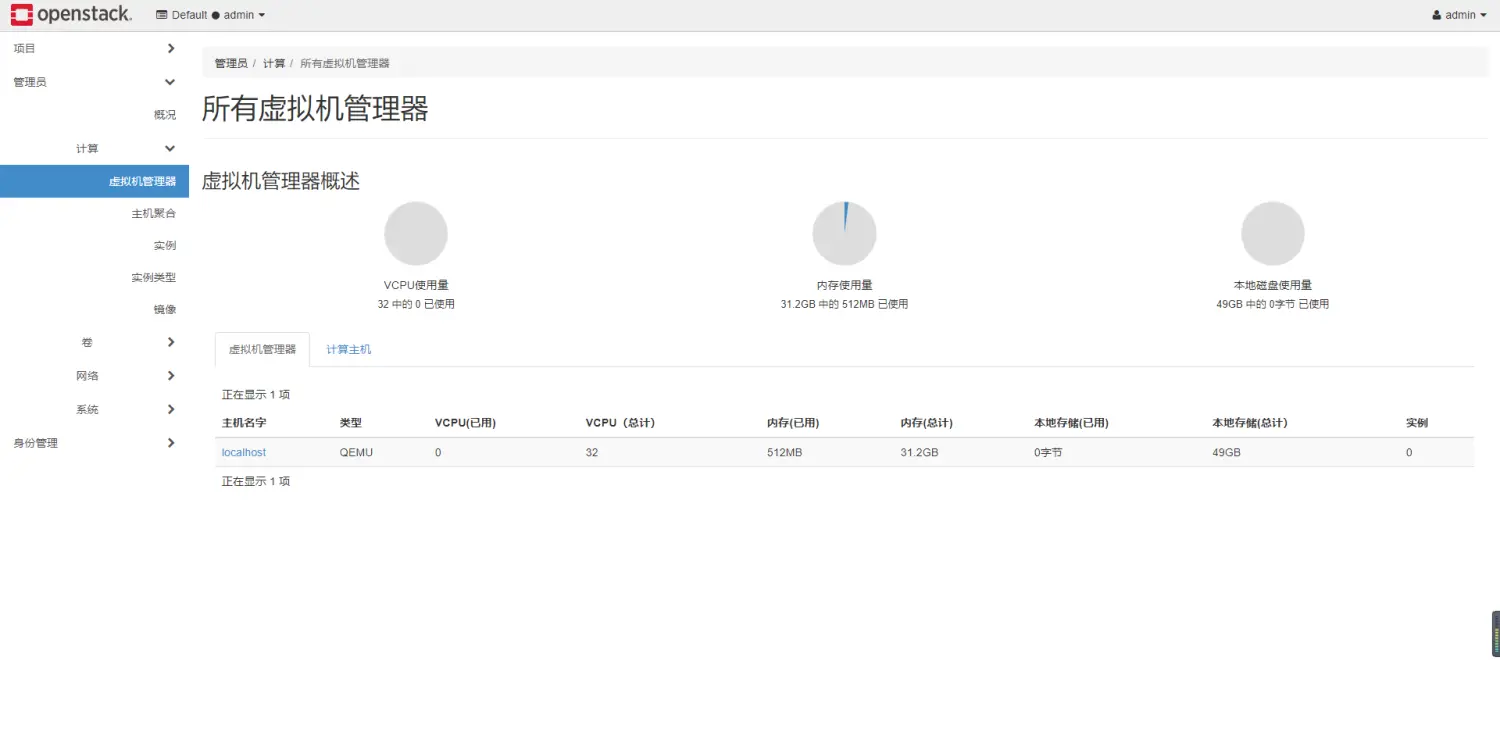
#使用admin用户的变量文件[root@openstack ~]# source ~/keystonerc_admin[root@openstack ~]# cat keystonerc_adminexport OS_USERNAME=adminexport OS_PASSWORD='123456'export OS_REGION_NAME=RegionOneexport OS_AUTH_URL=http://192.168.200.10:5000/v3export OS_PROJECT_NAME=adminexport OS_USER_DOMAIN_NAME=Defaultexport OS_PROJECT_DOMAIN_NAME=Defaultexport OS_IDENTITY_API_VERSION=3[21:31 root@localhost ~]# openstack network agent list+--------------------------------------+--------------------+-----------+-------------------+-------+-------+---------------------------+| ID | Agent Type | Host | Availability Zone | Alive | State | Binary |+--------------------------------------+--------------------+-----------+-------------------+-------+-------+---------------------------+| 1f21f477-6457-4cd9-b74f-6e71c3de8bc4 | Metering agent | openstack | None | :-) | UP | neutron-metering-agent || ae92acb9-fa3c-440e-9d79-37e7d634ca27 | L3 agent | openstack | nova | :-) | UP | neutron-l3-agent || d5282204-e084-44f1-b3ce-434bb8345d76 | Open vSwitch agent | openstack | None | :-) | UP | neutron-openvswitch-agent || f2e0a4fc-afe6-4d45-97f1-04a128d16ee4 | Metadata agent | openstack | None | :-) | UP | neutron-metadata-agent || f615c007-95a2-4450-ae3f-2603e97bf5d5 | DHCP agent | openstack | nova | :-) | UP | neutron-dhcp-agent |+--------------------------------------+--------------------+-----------+-------------------+-------+-------+---------------------------+
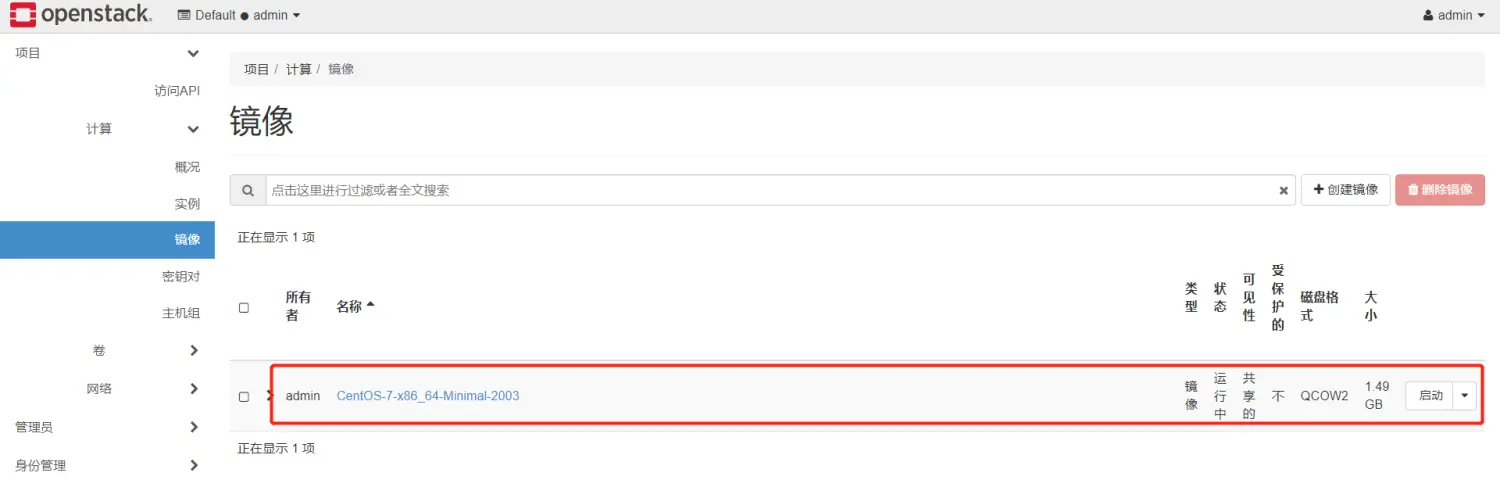
这里是提前做好的 centos 镜像
https://www.jianshu.com/p/5c2a63220027
被以下专题收入,发现更多相似内容

若有收获,就点个赞吧
0 人点赞
