搭建Swarm | 最无脑,无需clef版本
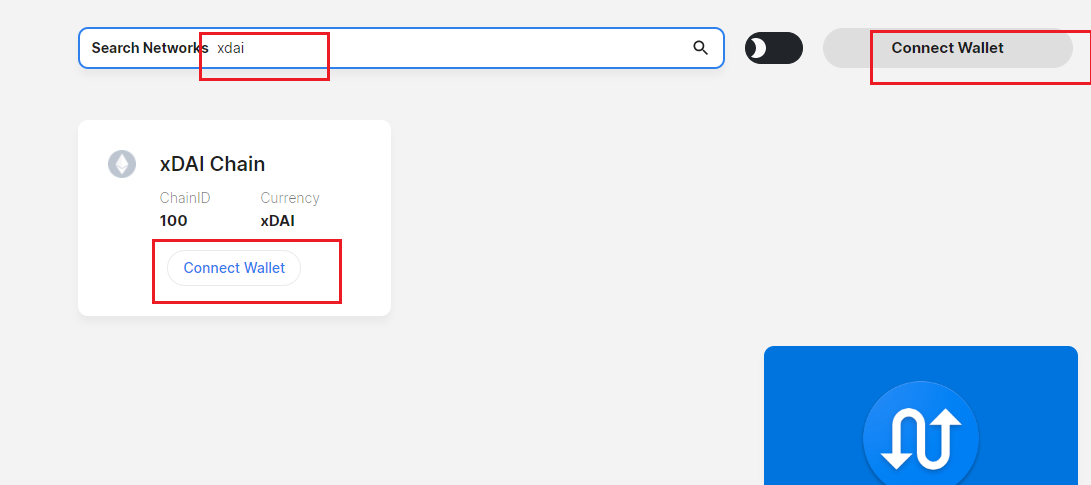
小狐狸添加XDAI网络:
第一步使用官网脚本安装Bee
wget -q -O - [https://raw.githubusercontent.com/ethersphere/bee/master/install.sh](https://raw.githubusercontent.com/ethersphere/bee/master/install.sh) | TAG=v1.0.0 bash
或者
curl -s [https://raw.githubusercontent.com/ethersphere/bee/master/install.sh](https://raw.githubusercontent.com/ethersphere/bee/master/install.sh) | TAG=v1.0.0 bash
Ubuntu安装screenapt install screen
Centos安装screenyum install screen
开启一个screenscreen -S bee
第三步:直接运行(记住先打xdai哈)
bee start —mainnet —network-id 1 —api-addr :1640 —p2p-addr :1638 —tracing-endpoint 127.0.0.1:1641 —debug-api-addr :1635 —debug-api-enable —swap-endpoint https://rpc.xdaichain.com —data-dir /root/node1 —swap-initial-deposit 0 —swap-deployment-gas-price “1000000000” —welcome-message “该节点由Ming.Cash&无产阶级搭建|部署联系微信dhaidao|社群联系:dislike_diss”
注意:如果没有打XDAI就运行了,这个时候支票本是会创建失败的,就删除/root/node1目录下的statestore和localstore文件,打币再重新启动一次
删除命令:
rm -rf /root/node1/statestore
rm -rf /root/node1/localstore
有需要自定义更多的用户,参考官方yaml参考指南:
https://docs.ethswarm.org/docs/working-with-bee/configuration/
自己rpc注册网站:https://getblock.io/
运行完成如图(新版本的接水地址的0x已经去掉了,不必但是这是问题):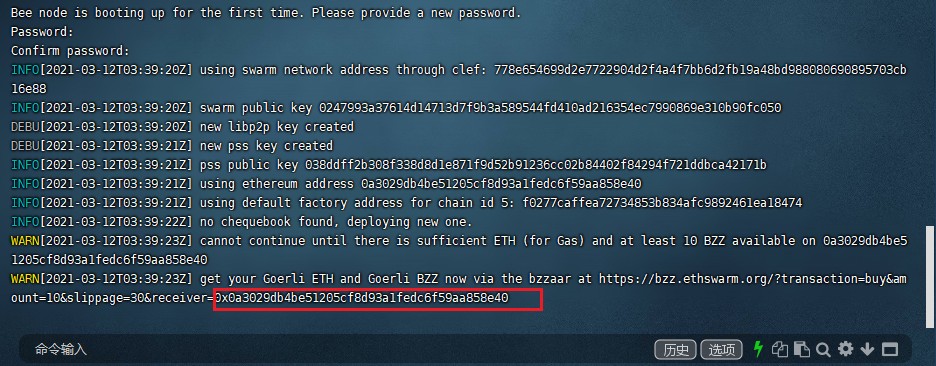
最后:退出screen命令CTRL +A D
WIN搭建教程
下载bee-windows软件:
https://github.com/ethersphere/bee/releases/download/v1.0.0/bee-windows-amd64.exe
下载BEE配置模板文件:放在和bee-windows一个目录下
https://www.jianguoyun.com/p/Db0nAfAQ_t-OCRijjPID
修改下面文字提示部分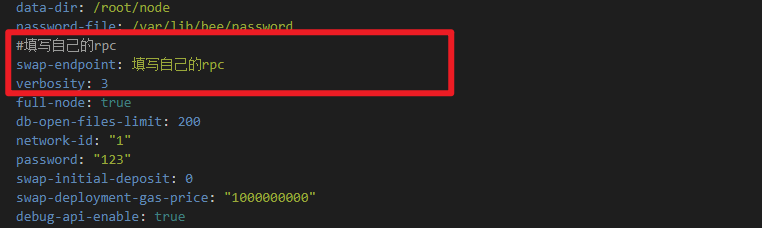
同级目录运行cmd
输入:
bee-windows-amd64.exe start —config bee.yaml
即可运行
加入社群
无产阶级社区大多数区块链爱好者,希望以此促进Swarm项目的发展:
本社区公众号:
社区加入:

若有收获,就点个赞吧
0 人点赞
