1. graphviz 2.38
官网下载[https://graphviz.org/download/](https://graphviz.org/download/)
安装完成后,环境变量中配置安装目录,命令行输出dot -v,输出如下,则表明安装成功: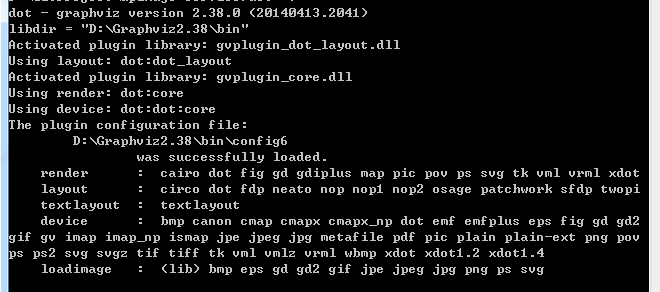
2. pprof配合graphviz使用
web服务中使用原生路由,引入_ "net/http/pprof"
package mainimport ("net/http"_ "net/http/pprof")func main() {http.ListenAndServe(":8080", nil)}
web服务中使用gin,引入"github.com/gin-contrib/pprof"
package mainimport ("net/http""github.com/gin-contrib/pprof""github.com/gin-gonic/gin")func main() {g := gin.Default()pprof.Register(g)g.Run(":8080")}
运行程序,命令行输入命令进行采集
# 采集30s,执行完稍稍等待,会在浏览器打开web界面,点击View-> Flame Graph 查看火焰图go tool pprof -http=:1234 http://localhost:8888/debug/pprof/profile############################ 或者采样后直接输出文件,默认位置在$HOME/pprof/pprof.samples.cpu.xxx.gb.gzgo tool pprof http://localhost:8888/debug/pprof/profile# 再使用命令打开go tool pprof -http=:1234 [输出的采样文件]
3. go-torch
3.1 安装
Uber开源的一款更方便生成火焰图的工具,参考文章
# 下载工具go get github.com/uber-archive/go-torch# 进入go-torch目录,下载FlameGraphcd $GOPATH/src/github.com/uber/go-torchgit clone https://github.com/brendangregg/FlameGraph.git
将FlameGraph目录配置到环境变量,windows下可能会因为无法编译.pl文件而无法生成火焰图,解决办法
3.2 使用
运行程序,执行一下命令,会在程序目录下生成svg文件,双击打开即可


若有收获,就点个赞吧
0 人点赞
