mysql-Client安装
进入官网下载页面下载mysql-msi安装包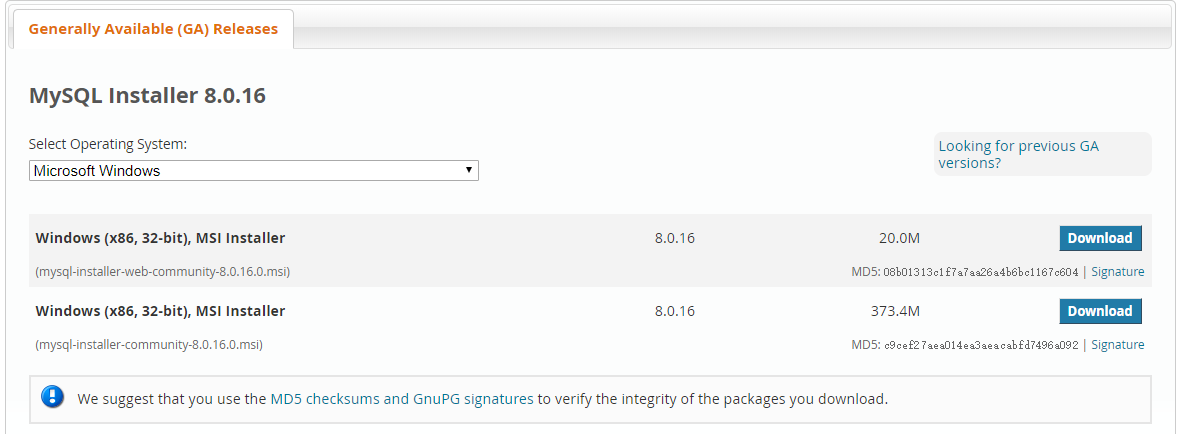
本地附件 mysql-installer-web-community-8.0.16.0.msi.zip (下载后将文件后缀ZIP去掉即可)
安装过程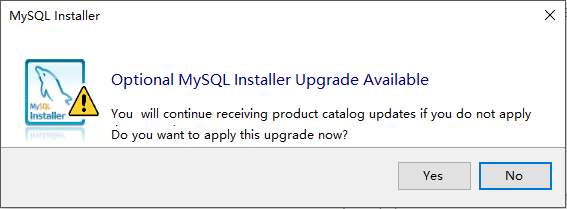
勾选 license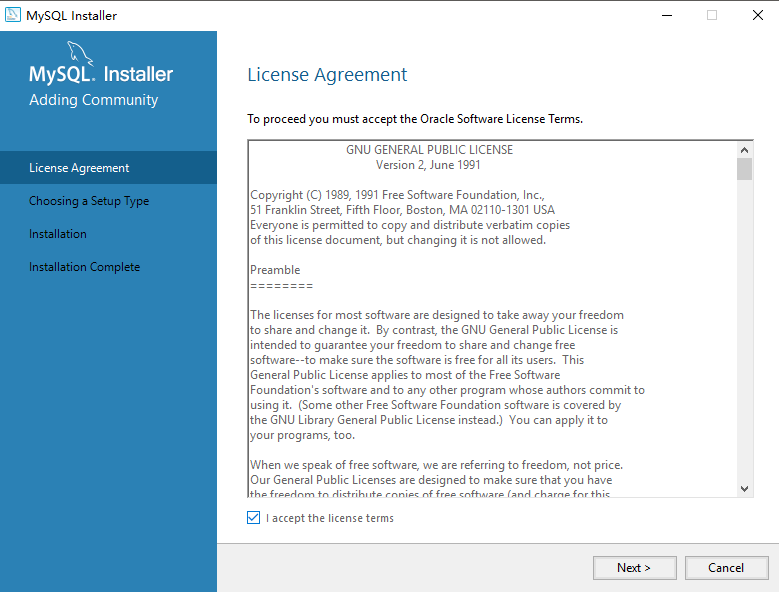
本地只作为客户端连接 Choosing Setup Type 选择 Clinet only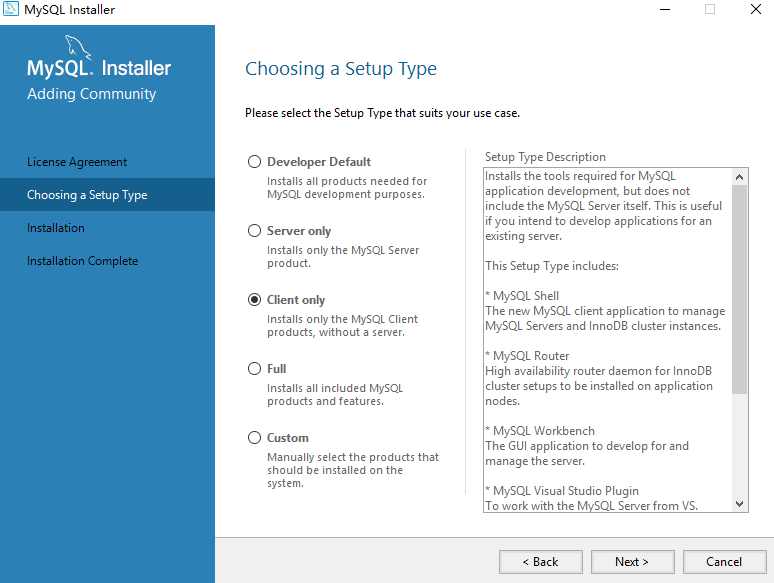
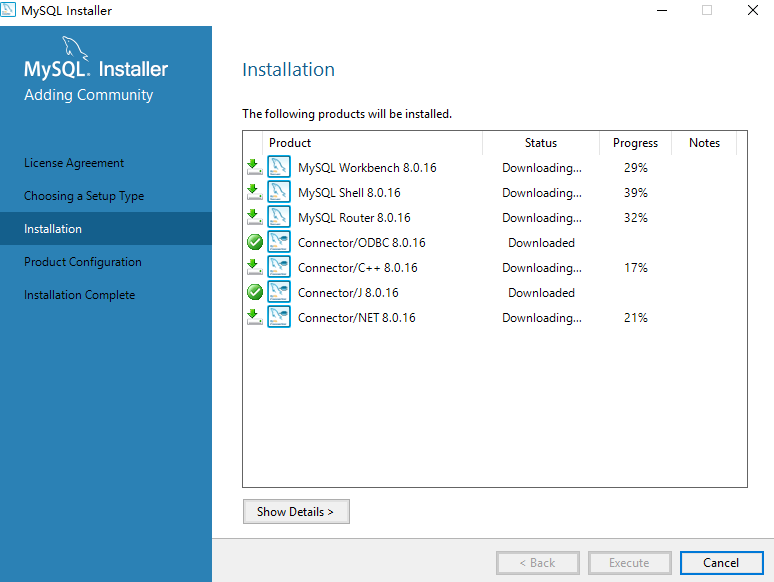
后面紧跟下一步 Execute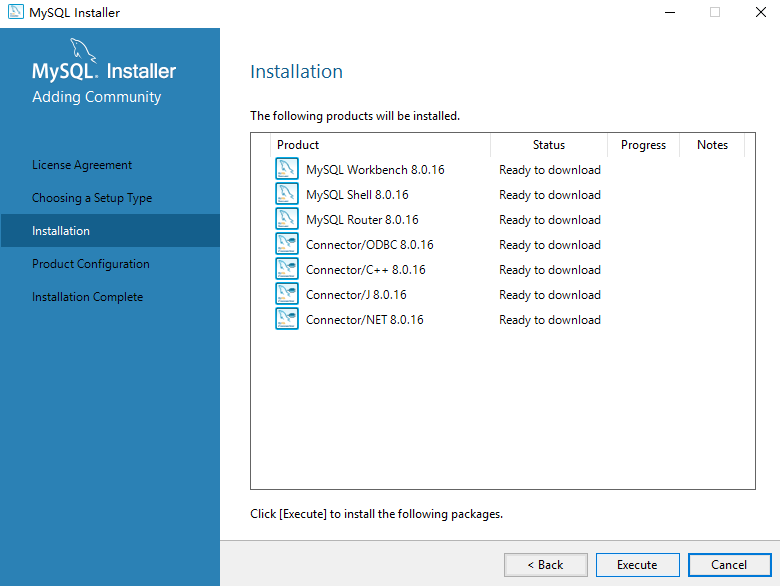
通过客户端连接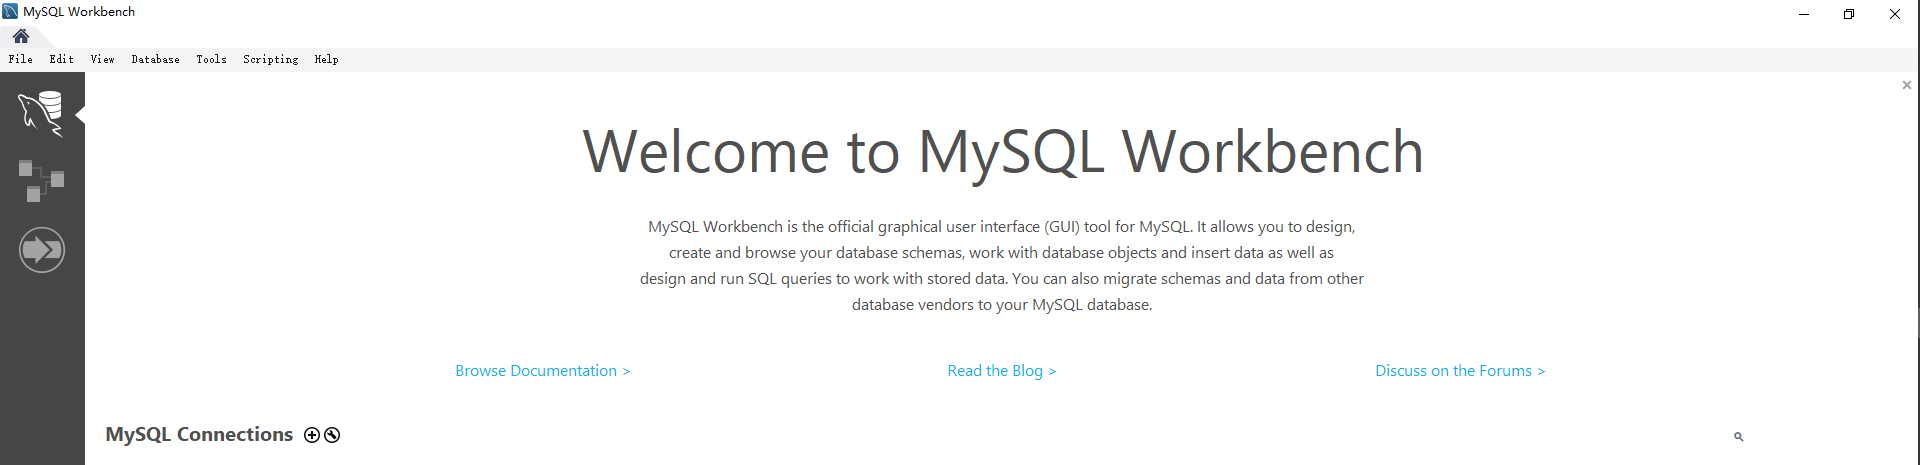
点击MySQL Connection ➕ 添加连接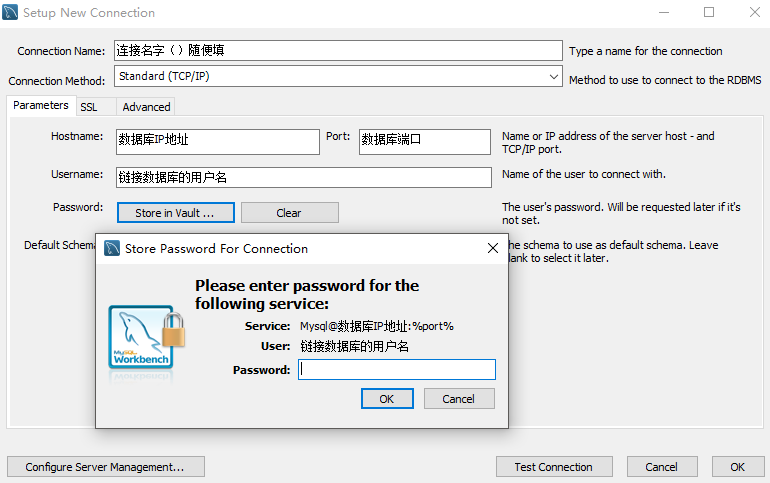
客户端使用界面
有关更多 mysql Workbench 使用教程请参考官方文档
mysql常用命令
连接mysql -u <user> -h <ipaddress> -P <port>-p <password>
- -u参数为用户名
- -h参数为数据库地址
- -P大写P参数为端口,mysql默认为3306
- -p小写p参数为密码,不带参数到命令行回车后则会被要求输入(-p参数为可选参数)
C:\Users\fuyun> mysql -u root -h 127.0.0.1 -pEnter password:******#登陆后会出现类似如下提示Welcome to the MySQL monitor. Commands end with ; or \g.Your MySQL connection id is 2854760 to server version: 5.0.9Type 'help;' or '\h' for help. Type '\c' to clear the buffer.mysql>#退出mysql>exitbyeC:\Users\fuyun>
增删改查
C:\Users\fuyun> mysql -u root -h 127.0.0.1 -pEnter password:****** # 登录后进入终端#创建数据库mysql> create DATABASE FUYUN;#展示数据库mysql> show DATABASES;#选择数据库mysql> use RUNOOB;Database changed#创建数据表mysql> use FUYUN;Database changedmysql> CREATE TABLE fuyun_tbl(-> fuyun_id INT NOT NULL AUTO_INCREMENT,-> fuyun_title VARCHAR(100) NOT NULL,-> fuyun_author VARCHAR(40) NOT NULL,-> submission_date DATE,-> PRIMARY KEY ( fuyun_id )-> )ENGINE=InnoDB DEFAULT CHARSET=utf8;Query OK, 0 rows affected (0.16 sec)mysql>#注意:MySQL命令终止符为分号 ;#注意: -> 是换行符标识,不要复制#查询数据表mysql> select * from fuyun_tbl;#插入数据mysql> INSERT INTO fuyun_tab1 ( fuyun_id, fuyun_title,fuyun_author )VALUES( value1, value2,value3 );#删除数据库mysql> DROP TABLE fuyun_tblQuery OK, 0 rows affected (0.1 sec)#退出mysql> quitbye
参考连接

若有收获,就点个赞吧
0 人点赞
