2-1 mysql安装
参考文档
mac https://blog.csdn.net/qq_33466661/article/details/109843690
windows https://www.cnblogs.com/fzboss/p/13993763.html
具体大家自行查找安装教程 我电脑之前怎么安装我也忘了
2-2 安装依赖
mysql相关包
npm i mysql2 sequelize# ts相关包npm i @types/node @types/validator
2-3 连接mysql
创建db文件夹 sequelize官方文档
1.创建连接
src/db/seq.ts
import { Sequelize } from 'sequelize'// new Sequelize('数据库名称', '用户名', '密码', 配置项)const sequelize = new Sequelize('vue3-admin', 'root', 'lwl1224', {host: 'localhost', // 主机名称dialect: 'mysql', // 连什么类型数据库timezone: '+08:00', // 东八时区pool: { // 连接池max: 5, // 最大连接数量min: 0,idle: 10000 // 一个连接池10s之内 没有被使用 则释放}})export default sequelize
2.定义model
定义model就相当于定义schema 定义表
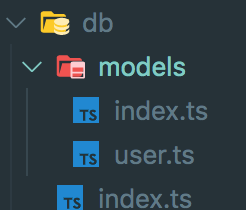
src/db/models/user.ts
定义user表
import {Model,DataTypes,Optional} from 'sequelize'import seq from '../seq'// sequelize+typescript 参考文档// https://sequelize.org/master/manual/typescript.htmlexport interface UserModelProps {id: number;username: string;password: string;email: string | null;mobile: string | null;avatar: string;isSuper: 0 | 1;status: 0 | 1;}export type RegisterModel = Omit<UserModelProps, 'id'|'isSuper'>// 在“User.build”和“User.create”调用中,有些属性是可选的interface UserCreationAttributes extends Optional<UserModelProps, "id" | "isSuper" | "status"> {}interface UserInstanceextends Model<UserModelProps, UserCreationAttributes>,UserModelProps {}// 创建User模型 数据表的名字是usersconst User = seq.define<UserInstance>('User', {id: { // id会自动创建 并设为主键、自增primaryKey: true,type: DataTypes.INTEGER.UNSIGNED,autoIncrement: true},username: {type: DataTypes.STRING,allowNull: false,comment: '用户名'},password: {type: DataTypes.STRING,allowNull: false,comment: '密码'},email: {type: DataTypes.STRING,comment: '用户邮箱'},mobile: {type: DataTypes.STRING,comment: '手机号'},avatar: {type: DataTypes.STRING,comment: '头像'},isSuper: {type: DataTypes.BOOLEAN, // TINYINT(1)comment: '超级管理员 1是 0不是',defaultValue: 0},status: {type: DataTypes.BOOLEAN, // TINYINT(1)comment: '账户禁用状态 1正常 0禁用',defaultValue: 1}})export default User
src/db/models/index.ts
import UserModel from './user'export {UserModel}
3.测试连接
src/db/index.ts
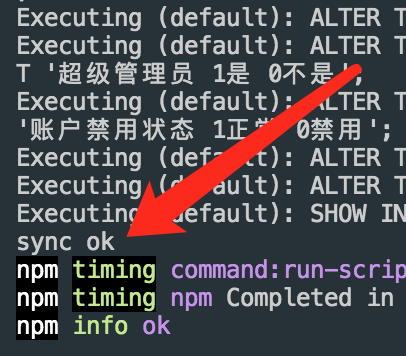
import seq from './seq'import './models/index'// 测试连接;(async () => { // 连接测试try {await seq.authenticate()console.log('Connection has been established successfully.')} catch (error) {console.error('Unable to connect to the database:', error)}})()// 同步更新model;(async () => { // model配置修改后 执行sync进行更新同步await seq.sync({ alter: true })console.log('sync ok')})()
4.配置npm script
{..."scripts": {"serve": "nodemon -i ./node_modules/ --exec \"ts-node\" src/app.ts","db": "ts-node ./src/db/index.ts"}}
运行,后续model修改后就运行次脚本来同步
npm run db
使用Navicat查看数据表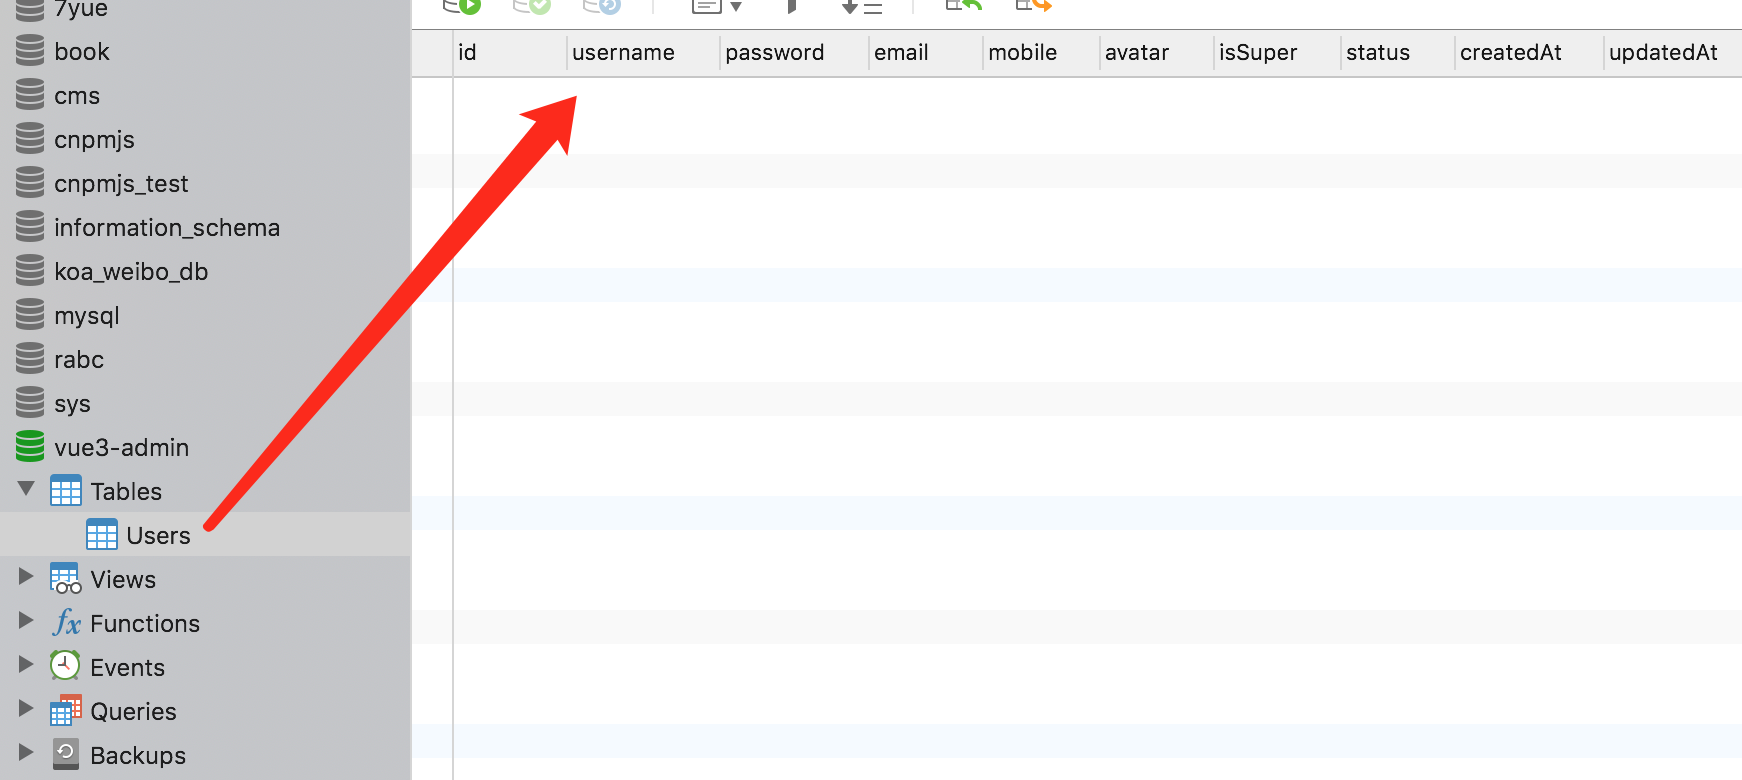
本节参考源码
https://gitee.com/brolly/vue3-admin-server/commit/7f6ffb2e72b45f871fa720ed40ad2364f465d2fa

若有收获,就点个赞吧
0 人点赞
