9.1 NumPy
原文:NumPy
译者:飞龙
致谢:派生于 Olivier Grisel 分享的 scikit-learn 和 IPython 并行机器学习
- NumPy 数组,
dtype和形状 - 常见数组操作
- 原地修改形状和更新
- 合并数组
- 创建示例数据
import numpy as np
NumPy 数组,dtype和形状
a = np.array([1, 2, 3])print(a)print(a.shape)print(a.dtype)'''[1 2 3](3,)int64'''b = np.array([[0, 2, 4], [1, 3, 5]])print(b)print(b.shape)print(b.dtype)'''[[0 2 4][1 3 5]](2, 3)int64'''np.zeros(5)# array([ 0., 0., 0., 0., 0.])np.ones(shape=(3, 4), dtype=np.int32)'''array([[1, 1, 1, 1],[1, 1, 1, 1],[1, 1, 1, 1]], dtype=int32)'''
常见数组操作
c = b * 0.5print(c)print(c.shape)print(c.dtype)'''[[ 0. 1. 2. ][ 0.5 1.5 2.5]](2, 3)float64'''d = a + cprint(d)'''[[ 1. 3. 5. ][ 1.5 3.5 5.5]]'''d[0]# array([ 1., 3., 5.])d[0, 0]# 1.0d[:, 0]# array([ 1. , 1.5])d.sum()# 19.5d.mean()# 3.25d.sum(axis=0)# array([ 2.5, 6.5, 10.5])d.mean(axis=1)# array([ 3. , 3.5])
原地修改形状和更新
e = np.arange(12)print(e)# [ 0 1 2 3 4 5 6 7 8 9 10 11]# f 是 e 的内容的视图f = e.reshape(3, 4)print(f)'''[[ 0 1 2 3][ 4 5 6 7][ 8 9 10 11]]'''# 将 e 从索引 5 开始的值设为 0e[5:] = 0print(e)# [0 1 2 3 4 0 0 0 0 0 0 0]# f 也更新了f'''array([[0, 1, 2, 3],[4, 0, 0, 0],[0, 0, 0, 0]])'''# OWNDATA 展示了 f 并没有自己的数据f.flags'''C_CONTIGUOUS : TrueF_CONTIGUOUS : FalseOWNDATA : FalseWRITEABLE : TrueALIGNED : TrueUPDATEIFCOPY : False'''
合并数组
a# array([1, 2, 3])b'''array([[0, 2, 4],[1, 3, 5]])'''d'''array([[ 1. , 3. , 5. ],[ 1.5, 3.5, 5.5]])'''np.concatenate([a, a, a])# array([1, 2, 3, 1, 2, 3, 1, 2, 3])# 广播在需要时自动完成np.vstack([a, b, d])'''array([[ 1. , 2. , 3. ],[ 0. , 2. , 4. ],[ 1. , 3. , 5. ],[ 1. , 3. , 5. ],[ 1.5, 3.5, 5.5]])'''# 在机器学习中,使用 hstack# 来扩充或者添加新的/交叉特征很有用np.hstack([b, d])'''array([[ 0. , 2. , 4. , 1. , 3. , 5. ],[ 1. , 3. , 5. , 1.5, 3.5, 5.5]])'''
创建样例数据
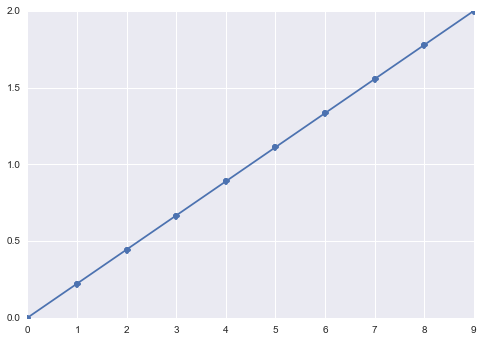
%matplotlib inlineimport pylab as pltimport seabornseaborn.set()# 创建特定区间上的等间隔的数字x = np.linspace(0, 2, 10)plt.plot(x, 'o-');plt.show()
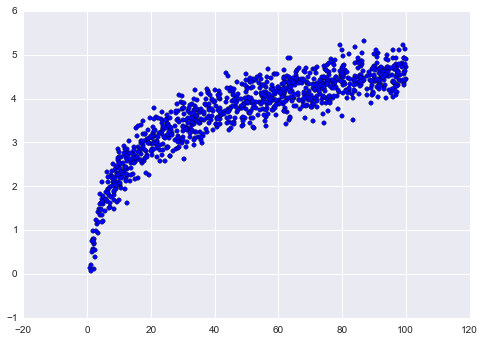
# 创建样例数据,添加一些噪声x = np.random.uniform(1, 100, 1000)y = np.log(x) + np.random.normal(0, .3, 1000)plt.scatter(x, y)plt.show()

若有收获,就点个赞吧
0 人点赞
