创建线程的四种方式
1. 继承Thread类
最原生的方式就是继承Thread类,重写run方法!
来看一段demo
public static void main(String[] args) {Thread01 thread = new Thread01();thread.start();}private static class Thread01 extends Thread {@Overridepublic void run() {System.out.println("我是第一种(最原生)方式,我的线程id:[" + Thread.currentThread().getId() + "]");System.out.println(NEW_LINE);}}
我是第一种(最原生)方式,我的线程id:[22]********** **********
2. 实现Runnable接口
2.1. 实现接口并重写run方法
public static void main(String[] args) {// 实现接口方式new Thread(new Runnable01()).start();}private static class Runnable01 implements Runnable {@Overridepublic void run() {System.out.println("实现了runnable接口的方式");}}
2.2. 使用匿名内部类
public static void main(String[] args) {// 匿名内部类方式Runnable runnable = new Runnable() {@Overridepublic void run() {System.out.println("我是第二种方式...");System.out.println(NEW_LINE);}};Thread thread = new Thread(runnable, "t1");thread.start();}
2.3. 使用Lambda表达式
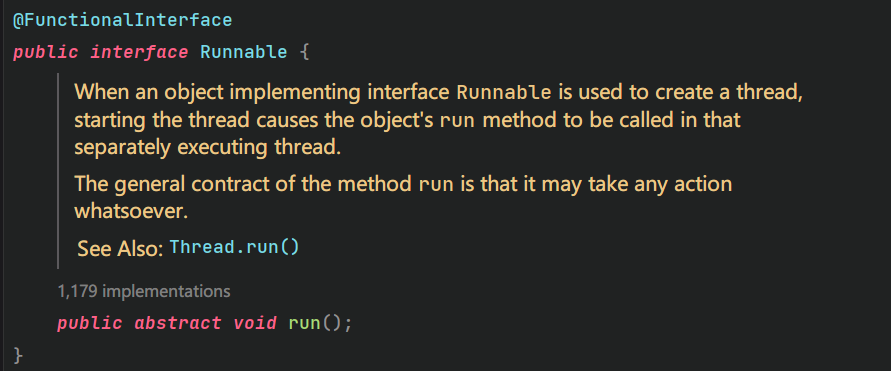
Runnable接口被注解 @FunctionalInterface标注,且有且只有一个方法,这种函数式接口可以使用lambda表达式简化调用
public static void main(String[] args) {new Thread(() -> System.out.println("我是第二种的新版写法~,使用了lambda表达式简化匿名内部类~\n"), "t2").start();}
使用java8带来的新特性lambda表达式,可以极大的简化代码以及提高代码的可读性~~
3. Callable+ FutureTask
public static void main(String[] args) {// 使用lambda简化// lambda函数式接口方式Callable<Integer> callable = () -> {int i = 1000;while (i > 10) {i /= 2.5;}System.out.println("我是第三种方式,计算结果为:[" + i + "]");return i;};FutureTask<Integer> futureTask = new FutureTask<>(callable);new Thread(futureTask, "t3").start();try {/** 使用futureTask的最大好处就是可以使用阻塞等待获取结果 在此时即为同步*/Integer result = futureTask.get();} catch (InterruptedException | ExecutionException e) {e.printStackTrace();}}
补充:
- Callable
接口有返回值,不同于Runnable。 - FutureTask#get() 方法,会等待直到将Callable接口中的
call方法执行完,此时相当于同步阻塞等待结果值。
4. 使用线程池
请参考:线程池
总结
- 使用
继承Thread类和实现Runnable接口两种方式都没有返回值。而使用了Callable接口有返回值。 - 使用前三种方式都不能控制资源,即可能出现无限申请线程,导致OOM(内存溢出)。
- 只有线程池可以控制资源,并且性能稳定!
- 工作中,无非必要不要使用线程,如果非要使用,请使用线程池,不要显示创建线程!!
完整实例 -> CreateThreadDemo

