
请求和响应对象
request对象
在flask中,request是属于内置对象的,你只需要在使用的时候先将request中引入就好,就像是这样:
from flask import request
在后面的代码中,你就可以使用request对象来获取你想要的东西,就像是这样。我们来看一下request对象有哪些属性: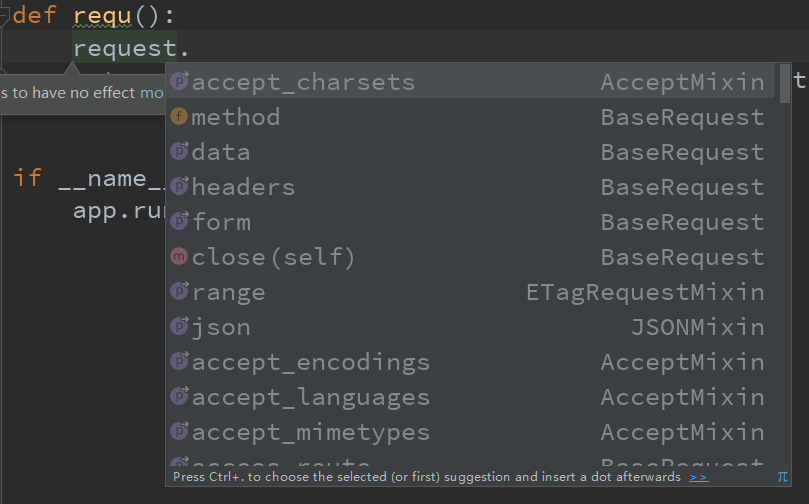 我们可以通过这些方法来获取到我们想要的,例如:method可以查看请求方法、data可以查看数据等等。如果我们想要获取URL中传递的参数我们有两种方法,我们可以通过 request.args.get() 方法来获取。如果参数不止一个,那么我们可以通过 request.args.getlist() 方法来获取。
其实request对象通过属性来获取到的值都类似于字典类型,所以我们可以通过键值对的方式取到值,但是如果对应的键不存在或者是错误,那么会出错的。
关于表单提交
如果我们通过支持“POST”请求方法可以获取到表单,我们可以通过request.form 来处理表单,包括获取到表单的值。
@app.route('/login', methods=['POST', 'GET'])def login():error = Noneif request.method == 'POST':if valid_login(request.form['username'],request.form['password']):return log_the_user_in(request.form['username'])else:error = 'Invalid username/password'# the code below is executed if the request method# was GET or the credentials were invalidreturn render_template('login.html', error=error)
关于文件上传
如果你想要传递一个文件给flask,这个也是允许的。也是通过表单就可以实现,只是需要你在表单中添加这样一个属性:enctype=”multipart/form-data”就好。模板代码如下:
<form method="POST" enctype="multipart/form-data" action="{{ url_for('requ') }}"><input type="file" name="this_file"><input type="submit" value="上传"></form>
视图函数代码如下:
@app.route('/he')def hello_world():return render_template("hello.html")@app.route("/s", methods=['POST', "GET"])def requ():if request.method == 'POST':f = request.files["this_file"]print(f)print(type(f))return "ok"else:return "错误"
我们上传了一个文件,然后给文件的名字命名为“this_file”,然后我们可以在函数中使用request.files[] 来获取到我们想要的文件,你可以看到
但是请你不要相信文件名,这个是可以通过伪造的。如果想要把客户端的文件名作为服务器上的文件名, 可以通过 Werkzeug 提供的 secure_filename 函数:
from werkzeug.utils import secure_filename@app.route("/s", methods=['POST', "GET"])def requ():if request.method == 'POST':f = request.files["this_file"]print(secure_filename(f.filename))return "ok"else:return "错误"----------key_url.txt
同时flask还给文件对象提供了一个保存文件的方法: save() 方法。你可以使用它来很方便的将文件保存到你的服务器上,只需要你为它提供保存的路径和你要保存的文件名就好。
关于重定向和终止请求
在flask中也是支持将URL请求重定向的,我们可以使用 redirect()方法来重定向请求,使用 abort() 方法来终止请求,同时返回一个状态码。
from flask import abort, redirect, url_for@app.route('/')def index():return redirect(url_for('login'))@app.route('/login')def login():abort(401)this_is_never_executed()
response对象
response对象是返回对象,我们可以通过response对象来设置session等。其实response对象在返回的时候都是返回一个“response”对象或者是字符串。其实我们上年使用到的渲染模板的函数实质上也是一个字符串。请看:
@app.route('/he')def hello_world():result = render_template("hello.html")print(result)print(type(result))return result
我们来输出一下看看: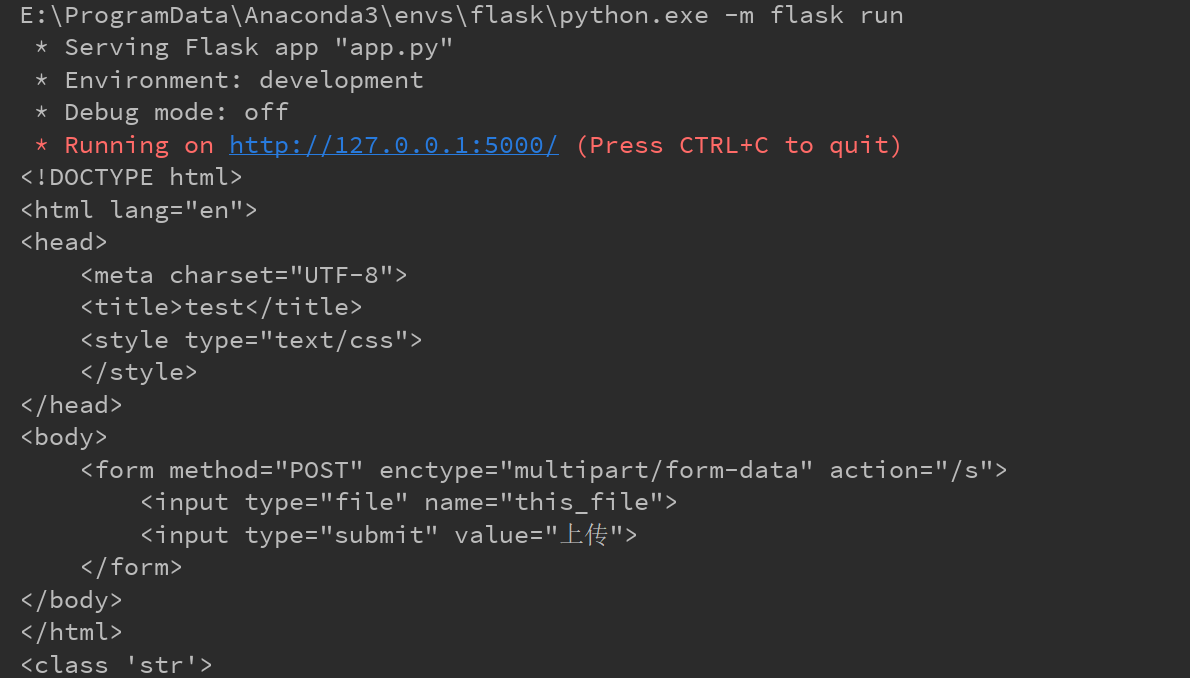
其实就是将模板渲染好后返回去。
同时如果你是想直接自己来掌控你的response对象放回什么,你可以使用 make_response() 来构建你自己的response对象:
@app.errorhandler(404)def not_found(error):resp = make_response(render_template('error.html'), 404)resp.headers['X-Something'] = 'A value'return resp
同时你还可以返回一个json格式的数据,就是使用 json.jsonify() 方法:
from flask import json@app.route("/json")def getjson():return json.jsonify({"name":"yznx"})
效果如下: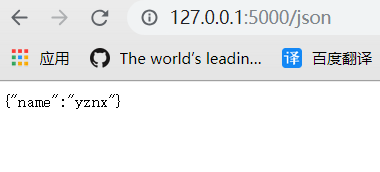
关于设置cookie
我们可以使用 set_cookie() 方法来设置cookie,请求对象里面的cookie是一个包含说有cookie值的一个字典,就像是这样:
Cookie: rpdid=olqmokllowdossomlolpw; CURRENT_FNVAL=16; buvid3=490BF59A-3E5F-4C7D-9202-FBE6BABCC58B47187infoc; stardustvideo=1; _uuid=CCB06E05-80BD-D1A9-CB70-76D08376650421066infoc; LIVE_BUVID=AUTO1715526091213812; sid=ci32673v; DedeUserID=120362774; DedeUserID__ckMd5=e44f6b919d13986b; SESSDATA=cd3cbe45%2C1555201133%2C5cdb8031; bili_jct=818b86f5c880096e5ce4f29e32f64e96; fts=1552609619; bp_t_offset_120362774=233366300708983161; CURRENT_QUALITY=80
但是我们在使用的时候是不怎么推荐直接使用cookie,建议是是用会话(seesion)。

若有收获,就点个赞吧
0 人点赞
