版本信息
Spring Boot 2.5.4
Tomcat顶层结构图
xxx
前期准备
创建一个启动类,继承 SpringBootServletInitializer 类,并实现 configure 方法:
package com.imooc;import org.springframework.boot.SpringApplication;import org.springframework.boot.builder.SpringApplicationBuilder;import org.springframework.boot.web.servlet.support.SpringBootServletInitializer;/*** Wen(Joan) Zhao <withzhaowen@126.com>* 2021/12/13*/public class MySpringBootTomcatStarter extends SpringBootServletInitializer {public static void main(String[] args) {Long time = System.currentTimeMillis();SpringApplication.run(MySpringBootTomcatStarter.class);System.out.println("===应用启动耗时:"+(System.currentTimeMillis()-time)+"===");}@Overrideprotected SpringApplicationBuilder configure(SpringApplicationBuilder builder) {return builder.sources(this.getClass());}}
源码流程解析
public static void main(String[] args) {Long time = System.currentTimeMillis();SpringApplication.run(MySpringBootTomcatStarter.class);System.out.println("===应用启动耗时:"+(System.currentTimeMillis()-time)+"===");}
进入 EventPublishingRunListener#EventPublishingRunListener:
不过这里目前没有监听器。
进入 SpringApplication#run:
public static ConfigurableApplicationContext run(Class<?> primarySource, String... args) {return run(new Class<?>[] { primarySource }, args);}
调用另一个同名的重载方法 SpringApplication#run。
进入 SpringApplication#run,创建一个SpringApplication的实例对象:
public static ConfigurableApplicationContext run(Class<?>[] primarySources, String[] args) {return new SpringApplication(primarySources).run(args);}
进入其构造方法 SpringApplicaion#SpringApplication。
进入 SpringApplicaion#SpringApplication:
@SuppressWarnings({ "unchecked", "rawtypes" })public SpringApplication(ResourceLoader resourceLoader, Class<?>... primarySources) {this.resourceLoader = resourceLoader;Assert.notNull(primarySources, "PrimarySources must not be null");this.primarySources = new LinkedHashSet<>(Arrays.asList(primarySources));// 初始化了webApplicationType ,比如此处是“SERVLET”this.webApplicationType = WebApplicationType.deduceFromClasspath();setInitializers((Collection) getSpringFactoriesInstances(ApplicationContextInitializer.class));setListeners((Collection) getSpringFactoriesInstances(ApplicationListener.class));this.mainApplicationClass = deduceMainApplicationClass();}
上面这个过程,主要是初始化成员变量。
进入 SpringApplication#run:
public ConfigurableApplicationContext run(String... args) {StopWatch stopWatch = new StopWatch();stopWatch.start();DefaultBootstrapContext bootstrapContext = createBootstrapContext();ConfigurableApplicationContext context = null;configureHeadlessProperty();SpringApplicationRunListeners listeners = getRunListeners(args);listeners.starting(bootstrapContext, this.mainApplicationClass);try {ApplicationArguments applicationArguments = new DefaultApplicationArguments(args);ConfigurableEnvironment environment = prepareEnvironment(listeners, bootstrapContext, applicationArguments);configureIgnoreBeanInfo(environment);Banner printedBanner = printBanner(environment);// 创建应用上下文context = createApplicationContext();context.setApplicationStartup(this.applicationStartup);// 预处理上下文prepareContext(bootstrapContext, context, environment, listeners, applicationArguments, printedBanner);// 刷新上下文refreshContext(context);// 再刷新上下文afterRefresh(context, applicationArguments);stopWatch.stop();if (this.logStartupInfo) {new StartupInfoLogger(this.mainApplicationClass).logStarted(getApplicationLog(), stopWatch);}listeners.started(context);callRunners(context, applicationArguments);}catch (Throwable ex) {handleRunFailure(context, ex, listeners);throw new IllegalStateException(ex);}try {listeners.running(context);}catch (Throwable ex) {handleRunFailure(context, ex, null);throw new IllegalStateException(ex);}return context;}
在这里,有两个方法可以让我知道tomca在SpringBoot中是怎么启动的:创建应用上下文(createApplicationContext)和刷新上下文(refreshContext)。
进入 SpringApplication#createApplicationContext :
protected ConfigurableApplicationContext createApplicationContext() {Class<?> contextClass = this.applicationContextClass;if (contextClass == null) {try {switch (this.webApplicationType) {case SERVLET://创建AnnotationConfigServletWebServerApplicationContextcontextClass = Class.forName(DEFAULT_SERVLET_WEB_CONTEXT_CLASS);break;case REACTIVE:contextClass = Class.forName(DEFAULT_REACTIVE_WEB_CONTEXT_CLASS);break;default:contextClass = Class.forName(DEFAULT_CONTEXT_CLASS);}}catch (ClassNotFoundException ex) {throw new IllegalStateException("Unable create a default ApplicationContext, "+ "please specify an ApplicationContextClass",ex);}}return (ConfigurableApplicationContext) BeanUtils.instantiateClass(contextClass);}
此方法作用是创建上下文。
这里会创建AnnotationConfigServletWebServerApplicationContext类。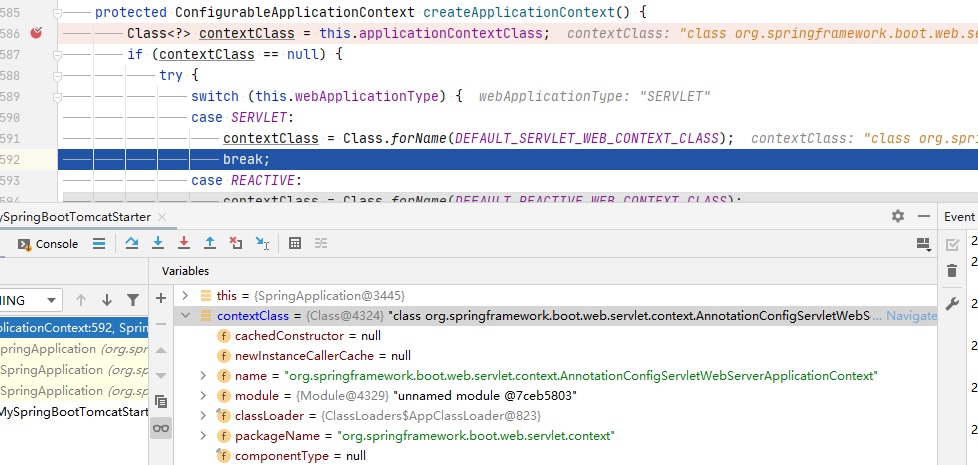
而AnnotationConfigServletWebServerApplicationContext类继承了ServletWebServerApplicationContext:
所以这个类是最终集成了AbstractApplicationContext。
进入 SpringApplication#refreshContext :
private void refreshContext(ConfigurableApplicationContext context) {refresh(context);if (this.registerShutdownHook) {try {context.registerShutdownHook();}catch (AccessControlException ex) {// Not allowed in some environments.}}}
此方法作用是刷新上下文。
进入 SpringApplication#refresh:
protected void refresh(ApplicationContext applicationContext) {Assert.isInstanceOf(AbstractApplicationContext.class, applicationContext);((AbstractApplicationContext) applicationContext).refresh();}
这里直接调用最终父类AbstractApplicationContext#refresh方法:
进入 AbstractApplicationContext#refresh:
public void refresh() throws BeansException, IllegalStateException {synchronized(this.startupShutdownMonitor) {this.prepareRefresh();ConfigurableListableBeanFactory beanFactory = this.obtainFreshBeanFactory();this.prepareBeanFactory(beanFactory);try {this.postProcessBeanFactory(beanFactory);this.invokeBeanFactoryPostProcessors(beanFactory);this.registerBeanPostProcessors(beanFactory);this.initMessageSource();this.initApplicationEventMulticaster();// 调用各个子类的onRefresh()方法,也就说这里要回到子类:ServletWebServerApplicationContext,调用该类的onRefresh()方法this.onRefresh();this.registerListeners();this.finishBeanFactoryInitialization(beanFactory);this.finishRefresh();} catch (BeansException var9) {if (this.logger.isWarnEnabled()) {this.logger.warn("Exception encountered during context initialization - cancelling refresh attempt: " + var9);}this.destroyBeans();this.cancelRefresh(var9);throw var9;} finally {this.resetCommonCaches();}}}
进入 ServletWebServerApplicationContext#onRefresh :
protected void onRefresh() {super.onRefresh();try {createWebServer();}catch (Throwable ex) {throw new ApplicationContextException("Unable to start web server", ex);}}
进入 ServletWebServerApplicationContext#createWebServer:
private void createWebServer() {WebServer webServer = this.webServer;ServletContext servletContext = getServletContext();if (webServer == null && servletContext == null) {ServletWebServerFactory factory = getWebServerFactory();this.webServer = factory.getWebServer(getSelfInitializer());}else if (servletContext != null) {try {getSelfInitializer().onStartup(servletContext);}catch (ServletException ex) {throw new ApplicationContextException("Cannot initialize servlet context",ex);}}initPropertySources();}
这里是创建webServer,但是还没有启动tomcat,这里是通过ServletWebServerFactory创建。
进入 接口 ServletWebServerFactory:
@FunctionalInterfacepublic interface ServletWebServerFactory {/*** Gets a new fully configured but paused {@link WebServer} instance. Clients should* not be able to connect to the returned server until {@link WebServer#start()} is* called (which happens when the {@link ApplicationContext} has been fully* refreshed).* @param initializers {@link ServletContextInitializer}s that should be applied as* the server starts* @return a fully configured and started {@link WebServer}* @see WebServer#stop()*/WebServer getWebServer(ServletContextInitializer... initializers);}
此接口有3个实现类:
这里我们使用的是Tomcat,所以只查看TomcatServletWebServerFactory。
进入 TomcatServletWebServerFactory#getWebServer :
public WebServer getWebServer(ServletContextInitializer... initializers) {if (this.disableMBeanRegistry) {Registry.disableRegistry();}Tomcat tomcat = new Tomcat();File baseDir = (this.baseDirectory != null) ? this.baseDirectory : createTempDir("tomcat");tomcat.setBaseDir(baseDir.getAbsolutePath());// 创建Connector对象Connector connector = new Connector(this.protocol);connector.setThrowOnFailure(true);tomcat.getService().addConnector(connector);customizeConnector(connector);tomcat.setConnector(connector);tomcat.getHost().setAutoDeploy(false);configureEngine(tomcat.getEngine());for (Connector additionalConnector : this.additionalTomcatConnectors) {tomcat.getService().addConnector(additionalConnector);}prepareContext(tomcat.getHost(), initializers);return getTomcatWebServer(tomcat);}
此方法创建了Tomcat对象,并且做了两件重要的事情:
把Connector对象添加到tomcat中:
tomcat.getService().addConnector(connector);
configureEngine(tomcat.getEngine):配置engine容器
private void configureEngine(Engine engine) {engine.setBackgroundProcessorDelay(this.backgroundProcessorDelay);for (Valve valve : this.engineValves) {engine.getPipeline().addValve(valve);}}

进入 Tomcat#getEngine :
public Engine getEngine() {Service service = this.getServer().findServices()[0];if (service.getContainer() != null) {return service.getContainer();} else {Engine engine = new StandardEngine();engine.setName("Tomcat");engine.setDefaultHost(this.hostname);engine.setRealm(this.createDefaultRealm());service.setContainer(engine);return engine;}}
此方法的作用是返回Engine容器;Engine是最高级别容器,Host是Engine的子容器,Context是Host的子容器,Wrapper是Context的子容器。
进入 TomcatServletWebServerFactory#getTomcatWebServer:
protected TomcatWebServer getTomcatWebServer(Tomcat tomcat) {return new TomcatWebServer(tomcat, getPort() >= 0, getShutdown());}
调用构造函数实例化TomcatWebServer。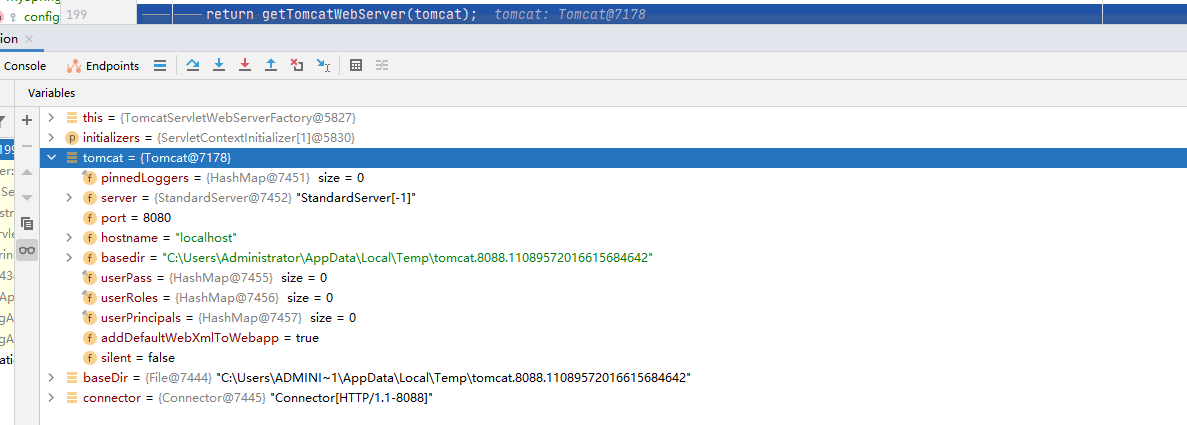
进入构造函数后,就是执行初始化方法。
进入 TomcatWebServer#initialize:
private void initialize() throws WebServerException {// 控制台打印这条日志logger.info("Tomcat initialized with port(s): " + getPortsDescription(false));synchronized (this.monitor) {try {addInstanceIdToEngineName();Context context = findContext();context.addLifecycleListener((event) -> {if (context.equals(event.getSource()) && Lifecycle.START_EVENT.equals(event.getType())) {// Remove service connectors so that protocol binding doesn't// happen when the service is started.removeServiceConnectors();}});// Start the server to trigger initialization listeners//===启动tomcat服务===this.tomcat.start();// We can re-throw failure exception directly in the main threadrethrowDeferredStartupExceptions();try {ContextBindings.bindClassLoader(context, context.getNamingToken(), getClass().getClassLoader());}catch (NamingException ex) {// Naming is not enabled. Continue}// Unlike Jetty, all Tomcat threads are daemon threads. We create a// blocking non-daemon to stop immediate shutdown//开启阻塞非守护进程startDaemonAwaitThread();}catch (Exception ex) {stopSilently();destroySilently();throw new WebServerException("Unable to start embedded Tomcat", ex);}}}
进入 Tomcat#start:
public void start() throws LifecycleException {this.getServer();this.server.start();}
进入 TomcatWebServer#start:
public void start() throws WebServerException {synchronized (this.monitor) {if (this.started) {return;}try {addPreviouslyRemovedConnectors();Connector connector = this.tomcat.getConnector();if (connector != null && this.autoStart) {performDeferredLoadOnStartup();}checkThatConnectorsHaveStarted();this.started = true;//在控制台打印这句日志,如果在yml设置了上下文,这里会打印logger.info("Tomcat started on port(s): " + getPortsDescription(true) + " with context path '"+ getContextPath() + "'");}catch (ConnectorStartFailedException ex) {stopSilently();throw ex;}catch (Exception ex) {PortInUseException.throwIfPortBindingException(ex, () -> this.tomcat.getConnector().getPort());throw new WebServerException("Unable to start embedded Tomcat server", ex);}finally {Context context = findContext();ContextBindings.unbindClassLoader(context, context.getNamingToken(), getClass().getClassLoader());}}}
启动tomcat服务。
总结
SpringBoot的启动主要是通过实例化SpringApplication来启动,启动过程中主要做了以下几件事:
- 配置属性;
- 获取监听器;
- 发布应用开始启动时间初始化输入参数;
- 配置输入参数;
- 配置环境;
- 输出banner;
- 创建上下文;
- 预处理上下文;
- 刷新上下文;
- 再刷新上下文;
- 发布应用已启动事件;
- 发布应用启动完成事件。
而tomcat启动工作再刷新上下文这一步。而tomcat的启动主要是实例化两个租金啊:Connector,Container。一个tomcat实例就是一个Server,一个Server包含多个Service,也就是多个应用程序,每个Service包含多个Connector和一个Container,而一个Container下又包含多个子容器。
参考文献
SpringBoot内置tomcat启动原理
https://www.cnblogs.com/sword-successful/p/11383723.html
【从入门到放弃-SpringBoot】SpringBoot源码分析-WebServer
https://developer.aliyun.com/article/704822
SpringBoot | SpringBoot的启动流程

若有收获,就点个赞吧
0 人点赞
