前言
最近完成了 TypeScript 最新官方文档 Hanbook 的翻译,一共十四篇,堪称国内的最好 TypeScript4 入门教程之一。为了方便大家阅读,我用 VuePress + Github Pages 搭建了博客,最终的博客地址如下:
- Github https://mqyqingfeng.github.io/learn-typescript/
- Gitee http://mqyqingfeng.gitee.io/learn-typescript/
0. VuePress
VuePress 自然不用多说,基于 Vue 的静态网站生成器,风格简约,配置也比较简单。之所以不使用 VitePress,是因为想使用现有的主题, 而 VitePress 不兼容当前 VuePress 的生态系统,至于为什么不选择 VuePress@next,考虑到还处于 Beta 阶段,等稳定后再开始迁移。
1. 本地搭建
快速开始同 VuePress 官网:
创建并进入一个新目录
// 文件名自定义mkdir vuepress-starter && cd vuepress-starter
使用你喜欢的包管理器进行初始化
yarn init # npm init
将 VuePress 安装为本地依赖
yarn add -D vuepress # npm install -D vuepress
创建你的第一篇文档,VuePress 会以 docs 为文档根目录,所以这个 README.md 相当于主页:
mkdir docs && echo '# Hello VuePress' > docs/README.md
在 package.json 中添加一些 scripts
{"scripts": {"docs:dev": "vuepress dev docs","docs:build": "vuepress build docs"}}
在本地启动服务器
yarn docs:dev # npm run docs:dev
VuePress 会在 http://localhost:8080 (opens new window) 启动一个热重载的开发服务器。
2. 基础配置
在文档目录下创建一个 .vuepress 目录,所有 VuePress 相关的文件都会被放在这里。此时你的项目结构可能是这样:
.├─ docs│ ├─ README.md│ └─ .vuepress│ └─ config.js└─ package.json
在 .vuepress 文件夹下添加 config.js,配置网站的标题和描述,方便 SEO:
module.exports = {title: 'TypeScript4 文档',description: 'TypeScript4 最新官方文档翻译'}

3. 添加导航栏
我们现在在页首的右上角添加导航栏,修改 config.js:
module.exports = {title: '...',description: '...',themeConfig: {nav: [{ text: '首页', link: '/' },{text: '冴羽的 JavaScript 博客',items: [{ text: 'Github', link: 'https://github.com/mqyqingfeng' },{ text: '掘金', link: 'https://juejin.cn/user/712139234359182/posts' }]}]}}
效果如下:
更多的配置参考 VuePress 导航栏。
4. 添加侧边栏
现在我们添加一些 md 文档,目前文档的目录如下:
.├─ docs│ ├─ README.md│ └─ .vuepress│ └─ config.js| └─ handbook| └─ ConditionalTypes.md| └─ Generics.md└─ package.json
我们在 config.js 配置如下:
module.exports = {themeConfig: {nav: [...],sidebar: [{title: '欢迎学习',path: '/',collapsable: false, // 不折叠children: [{ title: "学前必读", path: "/" }]},{title: "基础学习",path: '/handbook/ConditionalTypes',collapsable: false, // 不折叠children: [{ title: "条件类型", path: "/handbook/ConditionalTypes" },{ title: "泛型", path: "/handbook/Generics" }],}]}}

5. 更换主题
现在基本的目录和导航功能已经实现,但如果我还想要加载 loading、切换动画、模式切换(暗黑模式)、返回顶部、评论等功能呢,为了简化开发成本,我们可以直接使用主题,这里使用的主题是 vuepress-theme-rec:
现在我们安装 vuepress-theme-reco:
npm install vuepress-theme-reco --save-dev# oryarn add vuepress-theme-reco
然后在 config.js 里引用该主题:
module.exports = {// ...theme: 'reco'// ...}
刷新一下页面,我们会发现一些细节的改变,比如加载时的 loading 动画、以及支持切换暗黑模式:
6. 添加文章信息
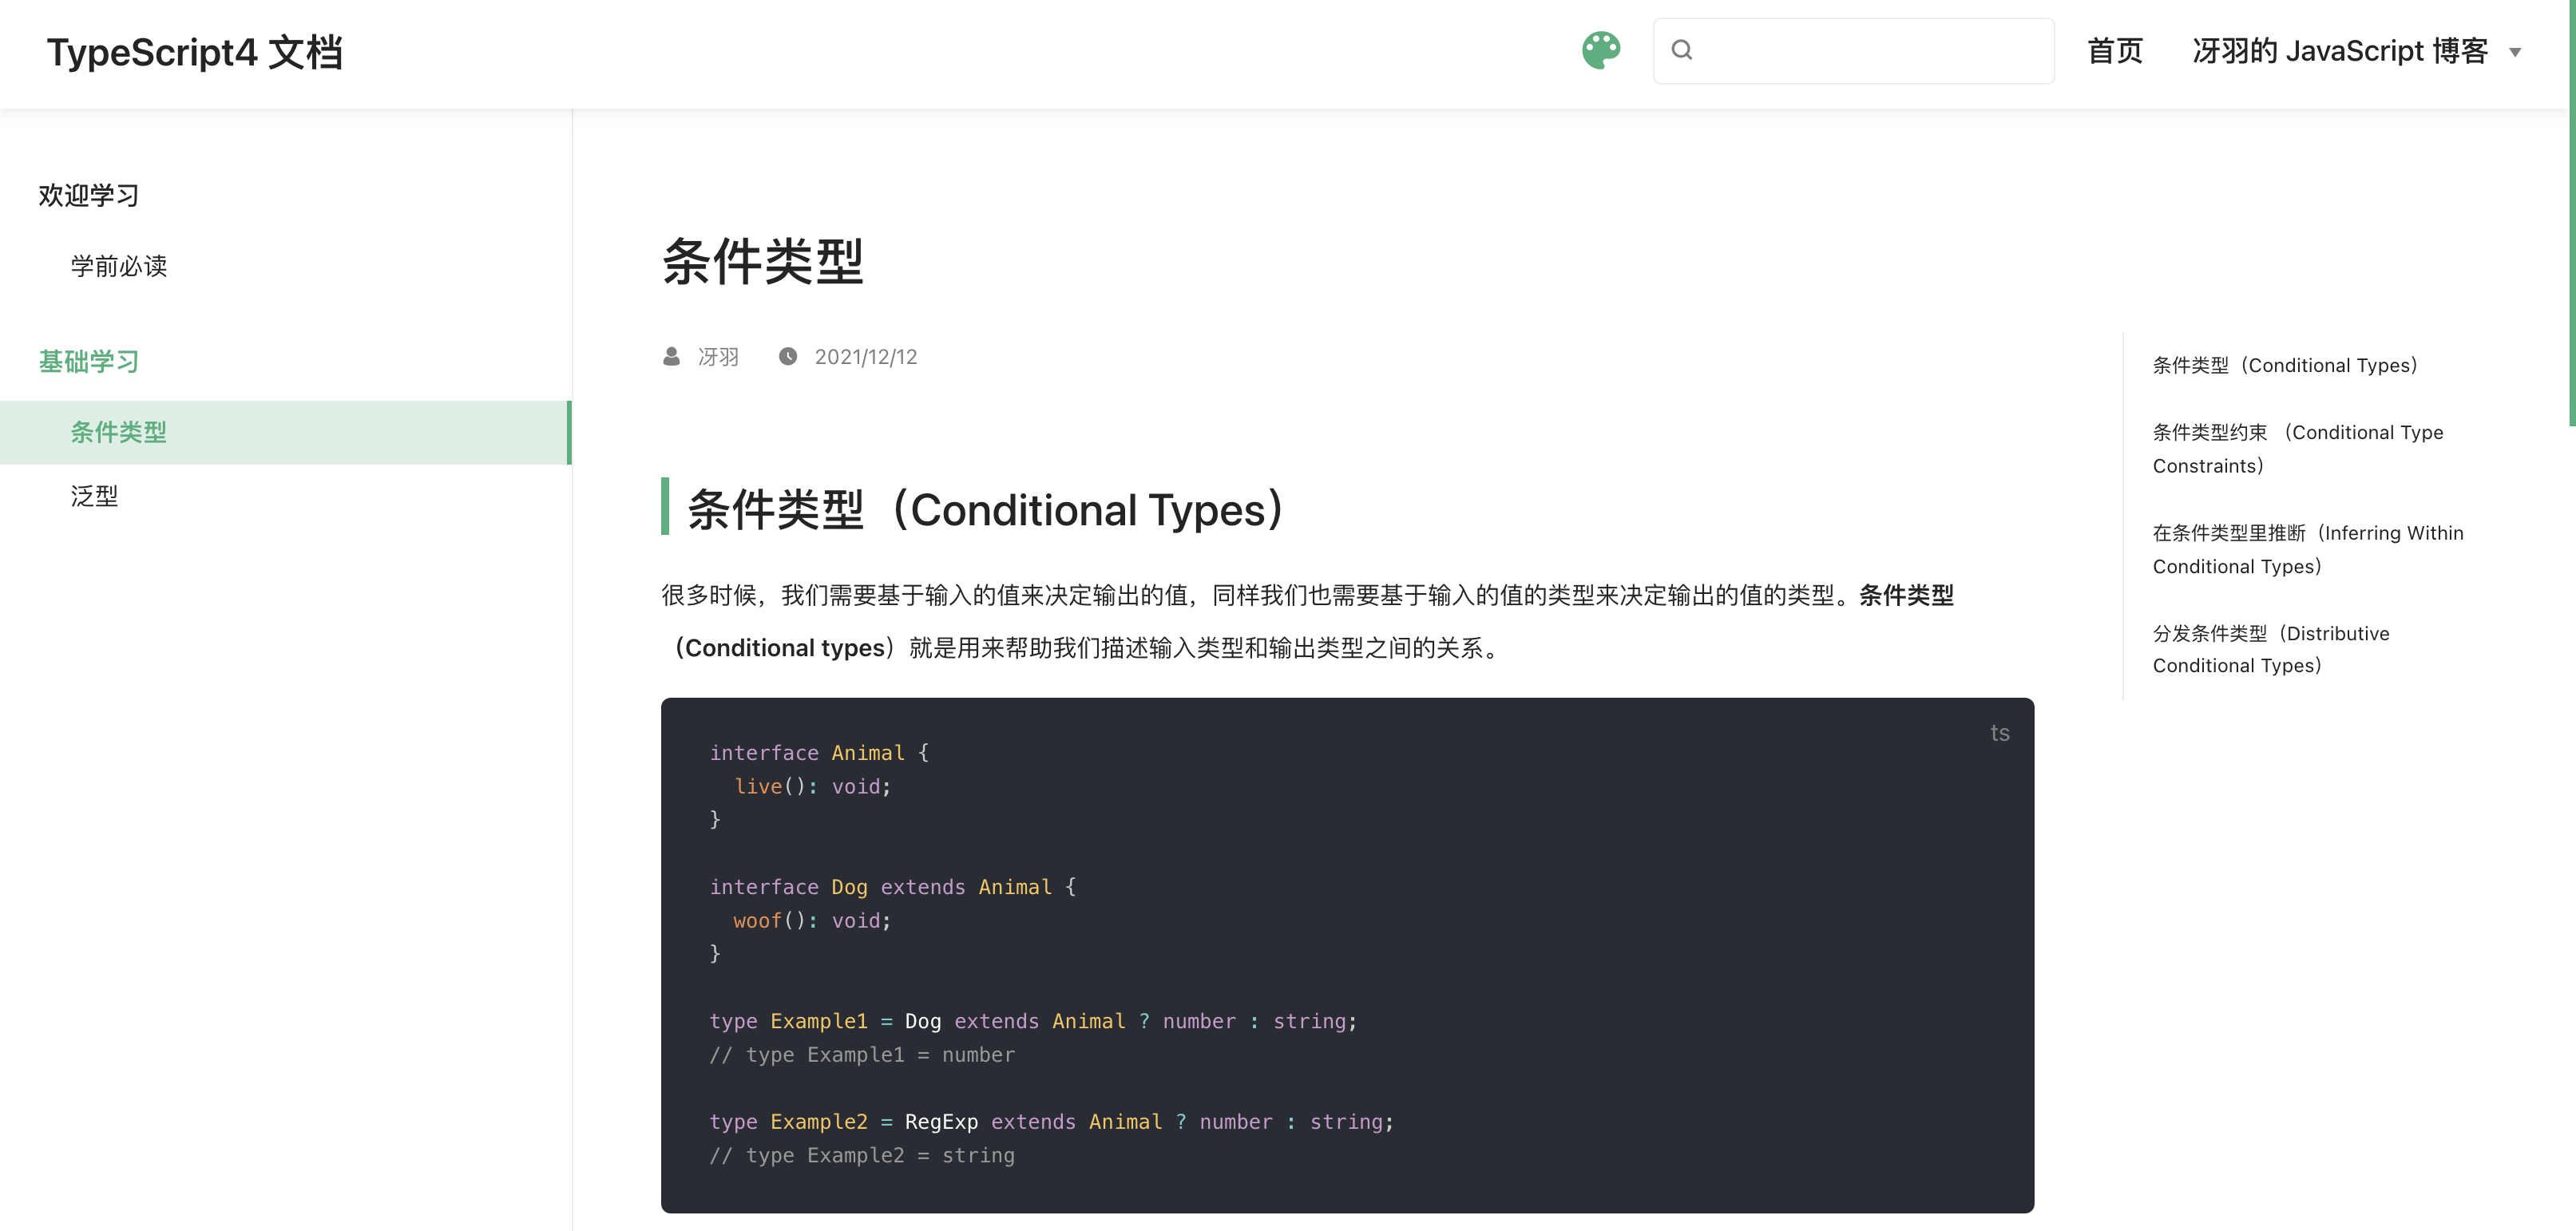
但我们也会发现,像条件类型这一篇文章,条件类型(Conditional Types) 竟然出现了两遍,这是因为这个主题自动提取了第一个大标题作为本文的标题,我们可以在每篇文章的 md 文件中添加一些信息修改:
---title: 条件类型author: 冴羽date: '2021-12-12'---
此时文章的效果如下:
但如果你不想要标题、作者、时间这些信息呢,我们可以在样式里隐藏,这个稍后会讲到。
7. 设置语言
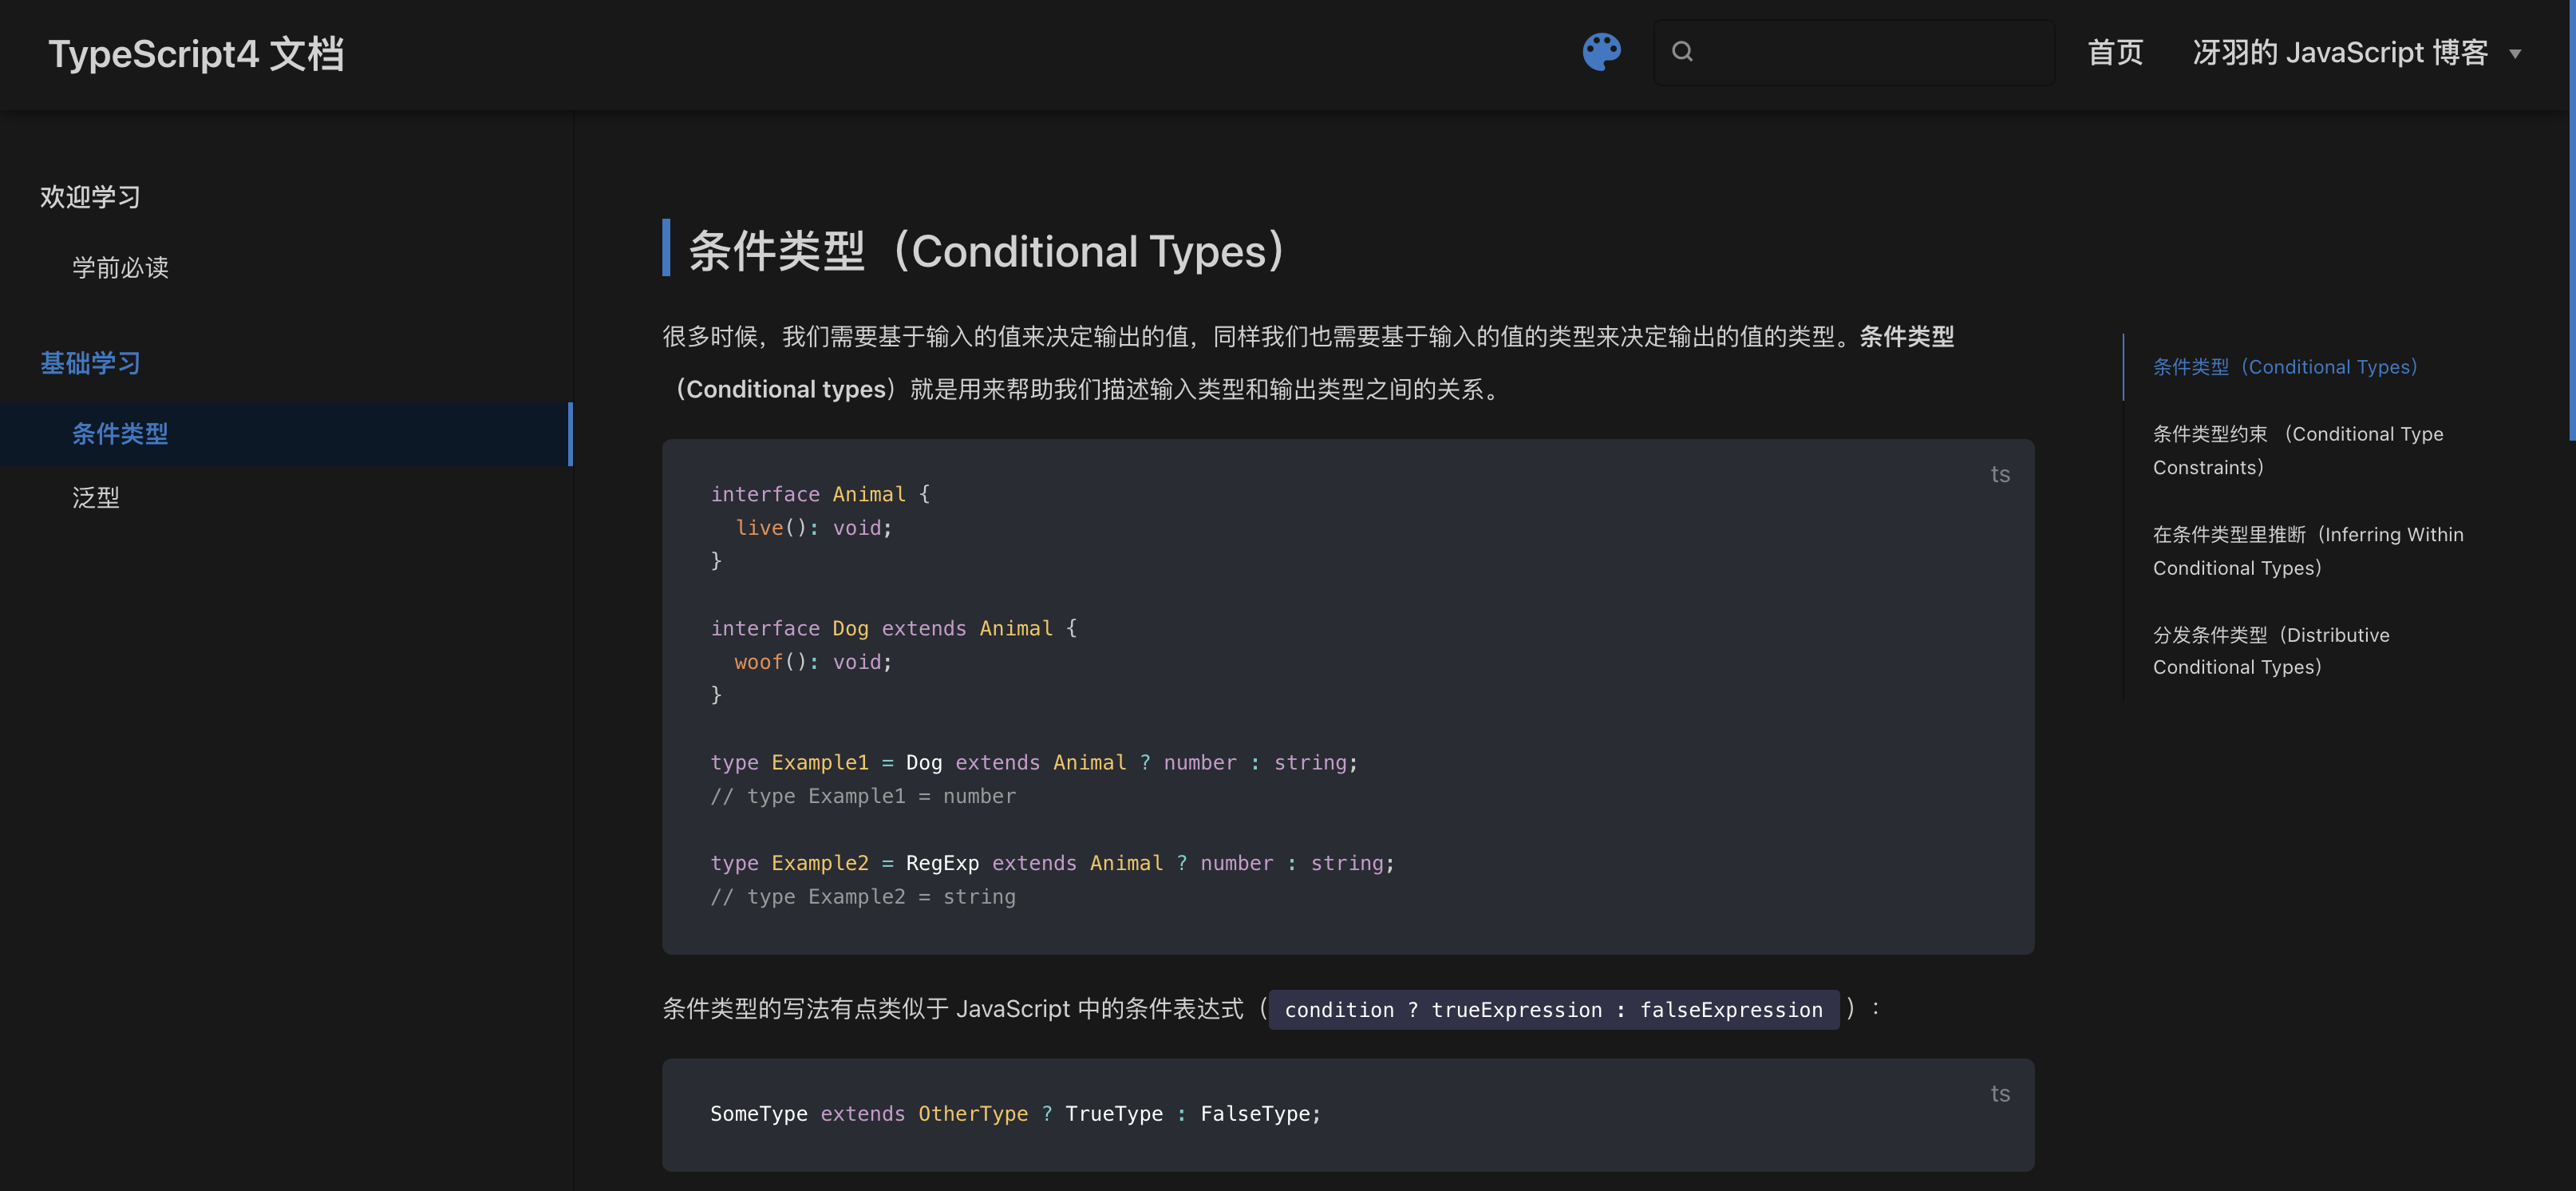
注意,上图的文章时间,我们写入的格式为 2021-12-12 ,但是显示的是 12/12/2021,这是因为 VuePress 默认的 lang 为 en-US,我们修改一下 config.js:
module.exports = {// ...locales: {'/': {lang: 'zh-CN'}},// ...}

8. 开启目录结构
在原本的主题里,我们发现每篇文章的目录结构出现在左侧:
而 vuepress-theme-reco 将原有的侧边栏的中的多级标题移出,生成子侧边栏,放在了页面的右侧,如果你要全局开启,可在页面 config.js 里设置开启:
module.exports = {//...themeConfig: {subSidebar: 'auto'}//...}
9. 修改主题颜色
VuePress 基于 Vue,所以主题色用的是 Vue 的绿色,然而 TypeScript 的官方色则是蓝色,那如何修改 VuePress 的主题色呢?
你可以创建一个 .vuepress/styles/palette.styl 文件,文件代码如下:
$accentColor = #3178c6
此时可以发现主题颜色变了:
更多的颜色修改参考 VuePress 的 palette.styl。
10. 自定义修改样式
如果你想自定义修改一些 DOM 元素的样式呢?就比如在暗黑模式下:

我们发现用作强调的文字颜色比较暗淡,在暗黑模式下看不清楚,我想改下这个文字的颜色和背景色呢?
而 VuePress 提供了一种添加额外样式的简便方法。你可以创建一个 .vuepress/styles/index.styl 文件。这是一个 Stylus 文件,但你也可以使用正常的 CSS 语法。
我们在 .vupress 文件夹下创建这个目录,然后创建 index.styl 文件,代码如下:
// 通过检查,查看元素样式声明.dark .content__default code {background-color: rgba(58,58,92,0.7);color: #fff;}
此时文字就清晰了很多:
那之前我们提到的隐藏每篇文章的标题、作者、时间呢,其实也是类似的方式:
.page .page-title {display: none;}
11. 部署
我们的博客就算是正式的做好了,接下来我们部署到免费的 Github Pages 上。我们在 Github 上新建一个仓库,这里我取得仓库名为:learn-typescript。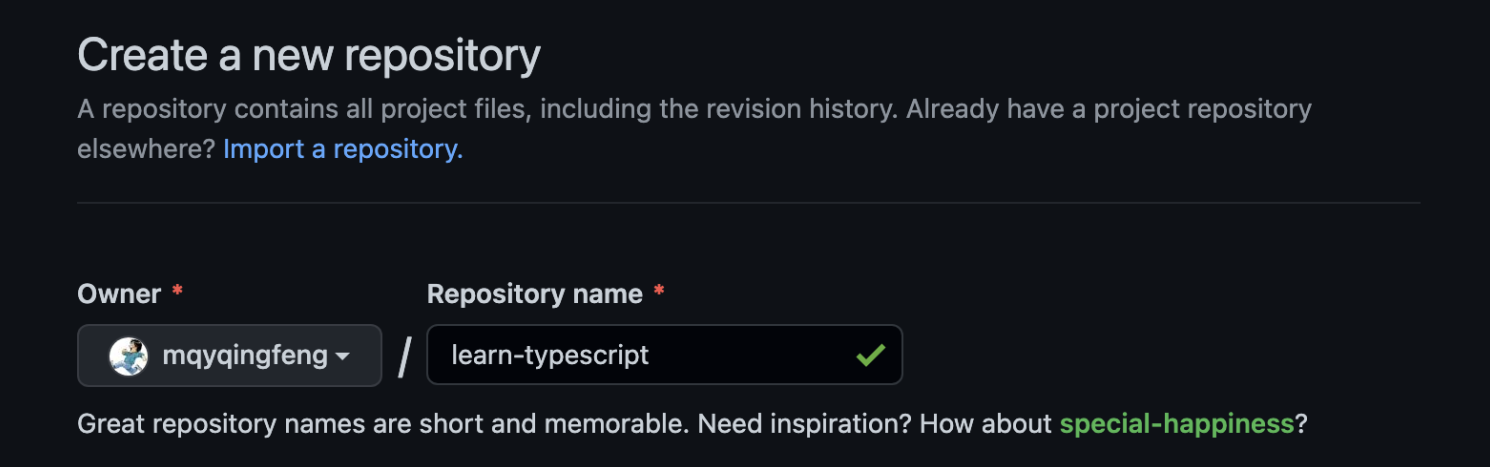
对应,我们需要在 config.js 添加一个 base 路径配置:
module.exports = {// 路径名为 "/<REPO>/"base: '/learn-typescript/',//...}
最终的 config.js 文件内容为:
module.exports = {title: 'TypeScript4 文档',description: 'TypeScript4 最新官方文档翻译',base: '/learn-typescript/',theme: 'reco',locales: {'/': {lang: 'zh-CN'}},themeConfig: {// lastUpdated: '上次更新',subSidebar: 'auto',nav: [{ text: '首页', link: '/' },{text: '冴羽的 JavaScript 博客',items: [{ text: 'Github', link: 'https://github.com/mqyqingfeng' },{ text: '掘金', link: 'https://juejin.cn/user/712139234359182/posts' }]}],sidebar: [{title: '欢迎学习',path: '/',collapsable: false,children: [{ title: "学前必读", path: "/" }]},{title: "基础学习",path: '/handbook/ConditionalTypes',collapsable: false,children: [{ title: "条件类型", path: "/handbook/ConditionalTypes" },{ title: "泛型", path: "/handbook/Generics" }],}]}}
然后我们在项目 vuepress-starter 目录下建立一个脚本文件:deploy.sh,注意修改一下对应的用户名和仓库名:
#!/usr/bin/env sh# 确保脚本抛出遇到的错误set -e# 生成静态文件npm run docs:build# 进入生成的文件夹cd docs/.vuepress/distgit initgit add -Agit commit -m 'deploy'# 如果发布到 https://<USERNAME>.github.io/<REPO>git push -f git@github.com:mqyqingfeng/learn-typescript.git master:gh-pagescd -
然后命令行切换到 vuepress-starter 目录下,执行 sh deploy.sh,就会开始构建,然后提交到远程仓库,注意这里提交到了 gh-pages 分支,我们查看下对应仓库分支的代码:
我们可以在仓库的 Settings -> Pages 中看到最后的地址:
像我最后生成的地址就是 https://mqyqingfeng.github.io/learn-typescript/
至此,我们完成了 VuePress 和 Github Pages 的部署。
系列文章
系列文章目录地址:https://github.com/mqyqingfeng/Blog
微信:「mqyqingfeng」,加我进冴羽唯一的读者群。
如果有错误或者不严谨的地方,请务必给予指正,十分感谢。如果喜欢或者 有所启发,欢迎 star,对作者也是一种鼓励。

若有收获,就点个赞吧
0 人点赞
