本文所有的讨论都是为Django服务
python
1.查看所需安装版本
打开后台根目录下Pipfile文件

如上,该项目序号的python版本为3.7。
2.安装
安装过程自行百度即可。
特殊情况下的安装(如电脑注册列表中存在以前安装的垃圾等导致安装不成功。)如下
正常情况下可以清除注册列表卸载重装等。如果不成功则一下操作以供参考。
1.复制同事的python,到你的安装目录下
2.添加python,python/scripts 到系统环境变量中
至此应该可以再cmd中访问到python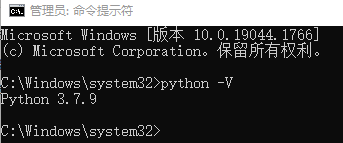
3.其他工作
1.pip安装
如果能访问python但是不能访问pip则需要额外对pip进行安装
访问Pip官网下载zip或whl 文件(如下)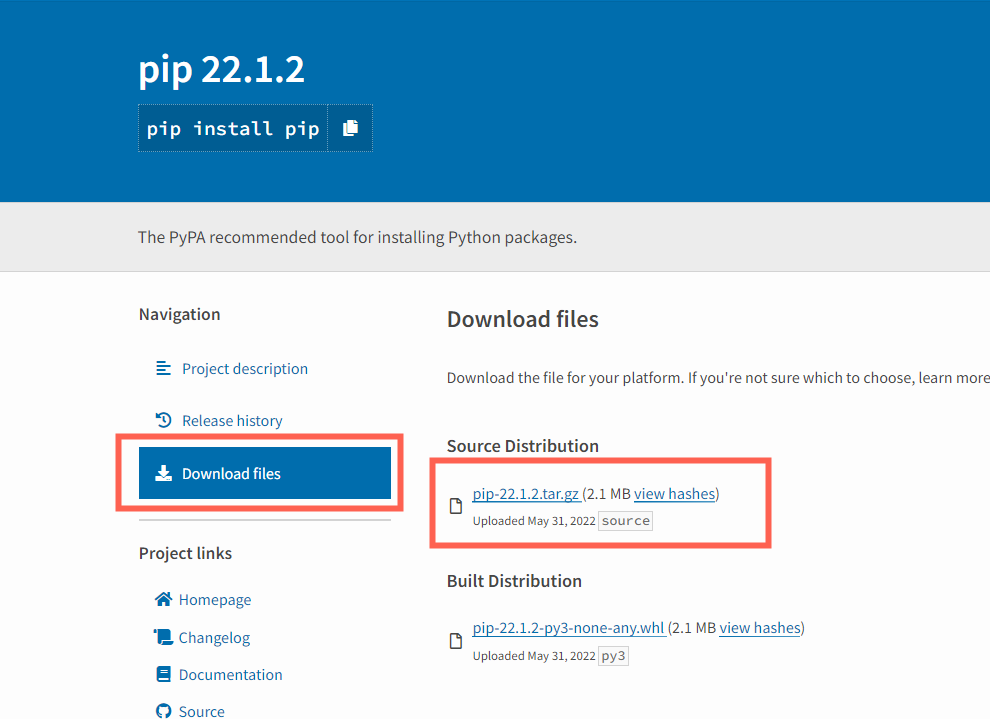
解压至任意目录,进入该目录运行 python setup.py install
python将把pip安装至python目录中的scripts文件夹中

2.移除冗余的包(保险起见对python目录下的scripts文件夹进行清扫,防止某些包不能正常使用)
使用 pip list 查看现存的包。除wheel setuptools 与刚重新安装的pip 之外全部使用pip uninstall卸载(或重新安装)
pipenv
1.简介
pipenv结合了 Pipfile,pip,和virtualenv,能够有效管理Python多个环境,各种包。
过去我们一般用virtualenv搭建虚拟环境,管理python版本,但是跨平台的使用不太一致,且有时候处理包之间的依赖总存在问题;过去也常常用 pip进行包的管理,pip已经足够好,但是仍然推荐pipenv,相当于virtualenv和pip的合体,且更加强大。
2.Pipfile
Pipfile是社区拟定的依赖管理文件,用于替代过于简陋的 requirements.txt 文件。Pipfile 文件是 TOML 格式而不是 requirements.txt 这样的纯文本。
简单来说Pipfile就是记录了该项目的各种依赖。
3.安装
pip install pipenv
4.常用操作
1.初始化项目环境 pipenv install —dev
Install all dependencies for a project (including dev):pipenv install --dev
使用pipenv install —dev 后会(默认)在系统用户下的.virtualenvs文件夹内安装生成该项目的专属环境。
2.进入编辑环境
Spawns a shell within the virtualenv:pipenv shell
3.删除虚拟环境
Remove project virtualenv (inferred from current directory):pipenv --rm
(题外话)可也进入系统用户下的.virtualenvs目录删除对应的虚拟环境。
5.常见其他操作
1.pipenv命令与使用方法
Usage: pipenv [OPTIONS] COMMAND [ARGS]...Options:--where Output project home information.--venv Output virtualenv information.--py Output Python interpreter information.--envs Output Environment Variable options.--rm Remove the virtualenv.--bare Minimal output.--man Display manpage.--support Output diagnostic information for use inGitHub issues.--site-packages / --no-site-packagesEnable site-packages for the virtualenv.[env var: PIPENV_SITE_PACKAGES]--python TEXT Specify which version of Python virtualenvshould use.--three Use Python 3 when creating virtualenv.--clear Clears caches (pipenv, pip). [env var:PIPENV_CLEAR]-q, --quiet Quiet mode.-v, --verbose Verbose mode.--pypi-mirror TEXT Specify a PyPI mirror.--version Show the version and exit.-h, --help Show this message and exit.
2.命令解释
Commands:check Checks for PyUp Safety security vulnerabilities and againstPEP 508 markers provided in Pipfile.clean Uninstalls all packages not specified in Pipfile.lock.graph Displays currently-installed dependency graph information.install Installs provided packages and adds them to Pipfile, or (if nopackages are given), installs all packages from Pipfile.lock Generates Pipfile.lock.open View a given module in your editor.requirements Generate a requirements.txt from Pipfile.lock.run Spawns a command installed into the virtualenv.scripts Lists scripts in current environment config.shell Spawns a shell within the virtualenv.sync Installs all packages specified in Pipfile.lock.uninstall Uninstalls a provided package and removes it from Pipfile.update Runs lock, then sync.verify Verify the hash in Pipfile.lock is up-to-date.
3.使用demo
Usage Examples:Create a new project using Python 3.7, specifically:$ pipenv --python 3.7Remove project virtualenv (inferred from current directory):$ pipenv --rmInstall all dependencies for a project (including dev):$ pipenv install --devCreate a lockfile containing pre-releases:$ pipenv lock --preShow a graph of your installed dependencies:$ pipenv graphCheck your installed dependencies for security vulnerabilities:$ pipenv checkInstall a local setup.py into your virtual environment/Pipfile:$ pipenv install -e .Use a lower-level pip command:$ pipenv run pip freeze
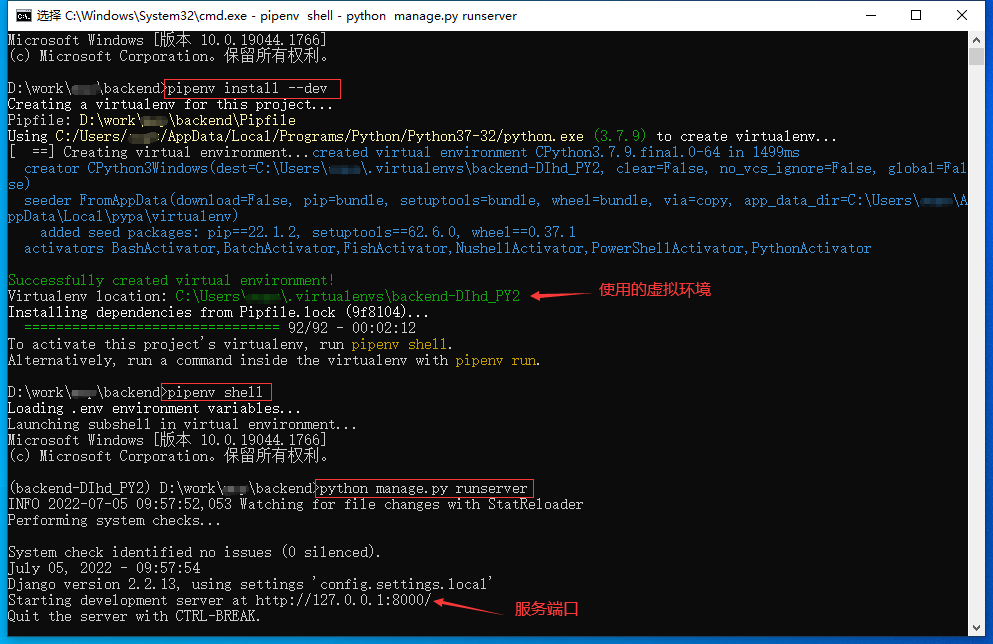
6.完整的日常使用demo
Django项目
- pipenv install —dev 安装依赖
- pipenv shell 进入虚拟环境
- python manage.py runserver [port] [ip:port] 运行Django服务

若有收获,就点个赞吧
0 人点赞
