一、Windows部署集群
注意: elasticSearch8和7版本的配置方法不同,此处只演示7版本
ElasticSearch7.8.0版本下载地址
1. 配置部署
1.1 步骤
- 解压之后可以在,config文件夹下面找到elasticsearch.yml配置文件,将文件内容修改为下列配置。
- 负责完整的elasticsearch文件夹,重命名为node1002,按照上面的步骤,修改elasticsearch.yaml文件。
- 删除文件夹中data文件夹,然后双击bin目录下elasticsearch.bat文件运行即可
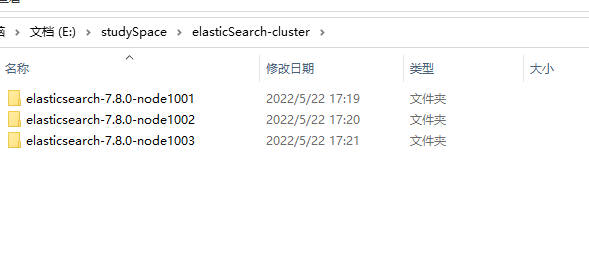
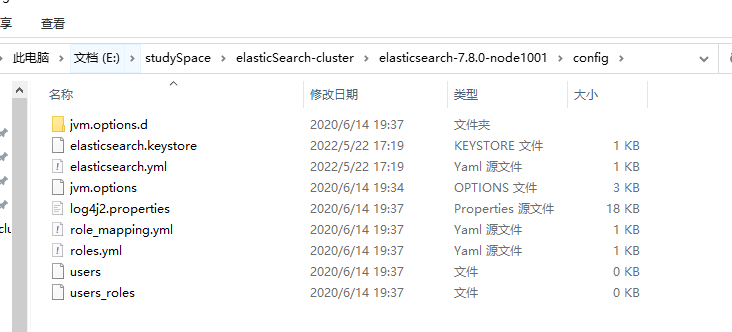
1.2 文件路径截图
1.3节点配置文件
- node1001配置
#节点 1 的配置信息:#集群名称,节点之间要保持一致cluster.name: my-elasticsearch#节点名称,集群内要唯一node.name: node-1001node.master: truenode.data: true#ip 地址network.host: localhost#http 端口http.port: 1001#tcp 监听端口transport.tcp.port: 9301#discovery.seed_hosts: ["localhost:9301", "localhost:9302","localhost:9303"]#discovery.zen.fd.ping_timeout: 1m#discovery.zen.fd.ping_retries: 5#集群内的可以被选为主节点的节点列表#cluster.initial_master_nodes: ["node-1", "node-2","node-3"]#跨域配置#action.destructive_requires_name: truehttp.cors.enabled: truehttp.cors.allow-origin: "*"
- node1002配置
#节点 2 的配置信息:#集群名称,节点之间要保持一致cluster.name: my-elasticsearch#节点名称,集群内要唯一node.name: node-1002node.master: truenode.data: true#ip 地址network.host: localhost#http 端口http.port: 1002#tcp 监听端口transport.tcp.port: 9302discovery.seed_hosts: ["localhost:9301"]discovery.zen.fd.ping_timeout: 1mdiscovery.zen.fd.ping_retries: 5#集群内的可以被选为主节点的节点列表#cluster.initial_master_nodes: ["node-1", "node-2","node-3"]#跨域配置#action.destructive_requires_name: truehttp.cors.enabled: truehttp.cors.allow-origin: "*"
- node1003配置
#节点 3 的配置信息:#集群名称,节点之间要保持一致cluster.name: my-elasticsearch#节点名称,集群内要唯一node.name: node-1003node.master: truenode.data: true#ip 地址network.host: localhost#http 端口http.port: 1003#tcp 监听端口transport.tcp.port: 9303#候选主节点的地址,在开启服务后可以被选为主节点discovery.seed_hosts: ["localhost:9301", "localhost:9302"]discovery.zen.fd.ping_timeout: 1mdiscovery.zen.fd.ping_retries: 5#集群内的可以被选为主节点的节点列表#cluster.initial_master_nodes: ["node-1", "node-2","node-3"]#跨域配置#action.destructive_requires_name: truehttp.cors.enabled: truehttp.cors.allow-origin: "*"
1.5 查看部署情况
分别访问不同端口的elasticsearch健康查询情况
- http://127.0.0.1:1001/_cluster/health
- http://127.0.0.1:1002/_cluster/health
- http://127.0.0.1:1003/_cluster/health
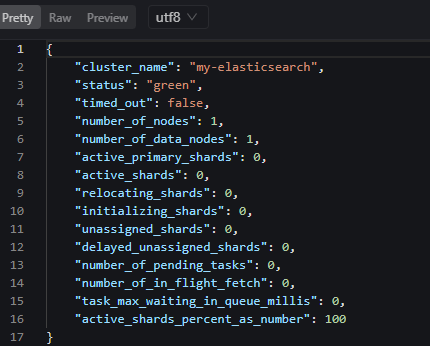
green:所有的主分片和副本分片都正常运行。
yellow:所有的主分片都正常运行,但不是所有的副本分片都正常运行。
red:有主分片没能正常运行。
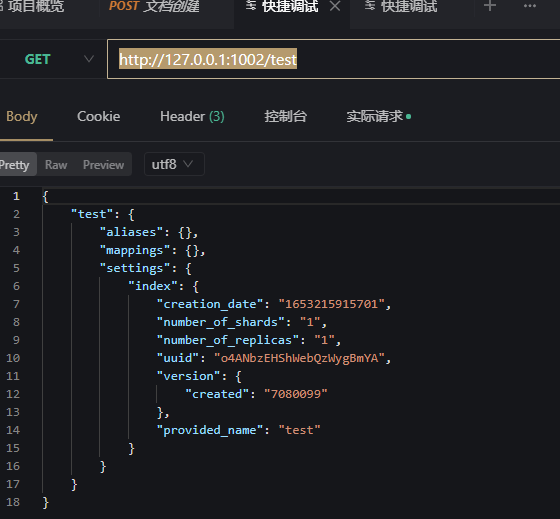
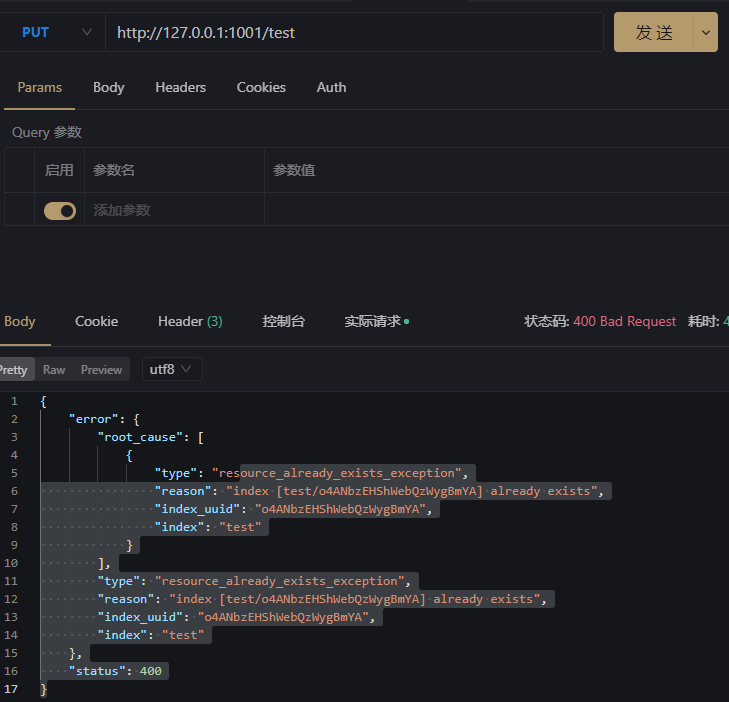
1.6 集群部署测试
向node1001端口创建test索引
- put请求 http://127.0.0.1:1001/test
- get请求 http://127.0.0.1:1002/test
 啊啊
啊啊

若有收获,就点个赞吧
0 人点赞
