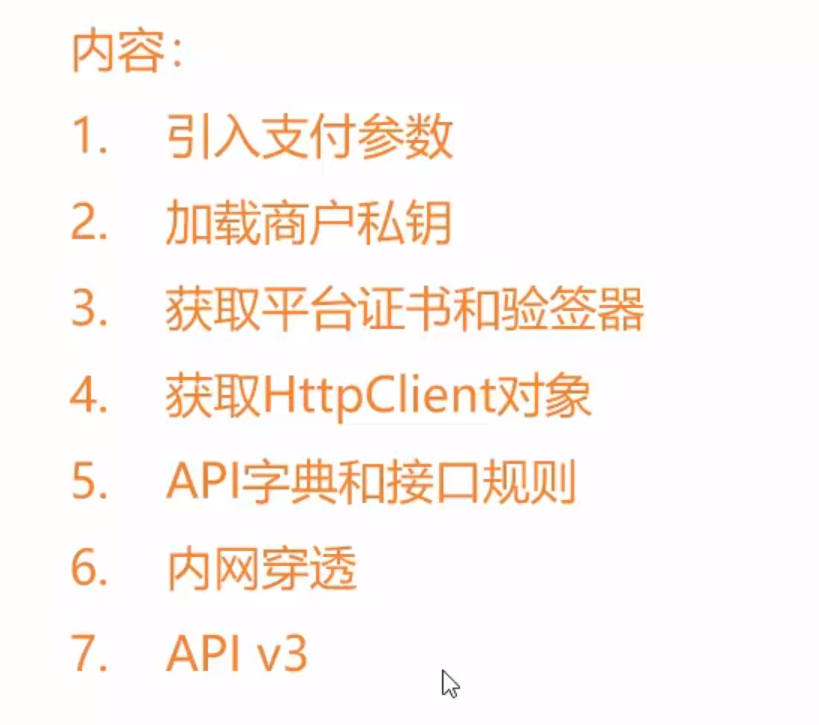
1、介绍
2、引入支付参数
微信支付相关参数配置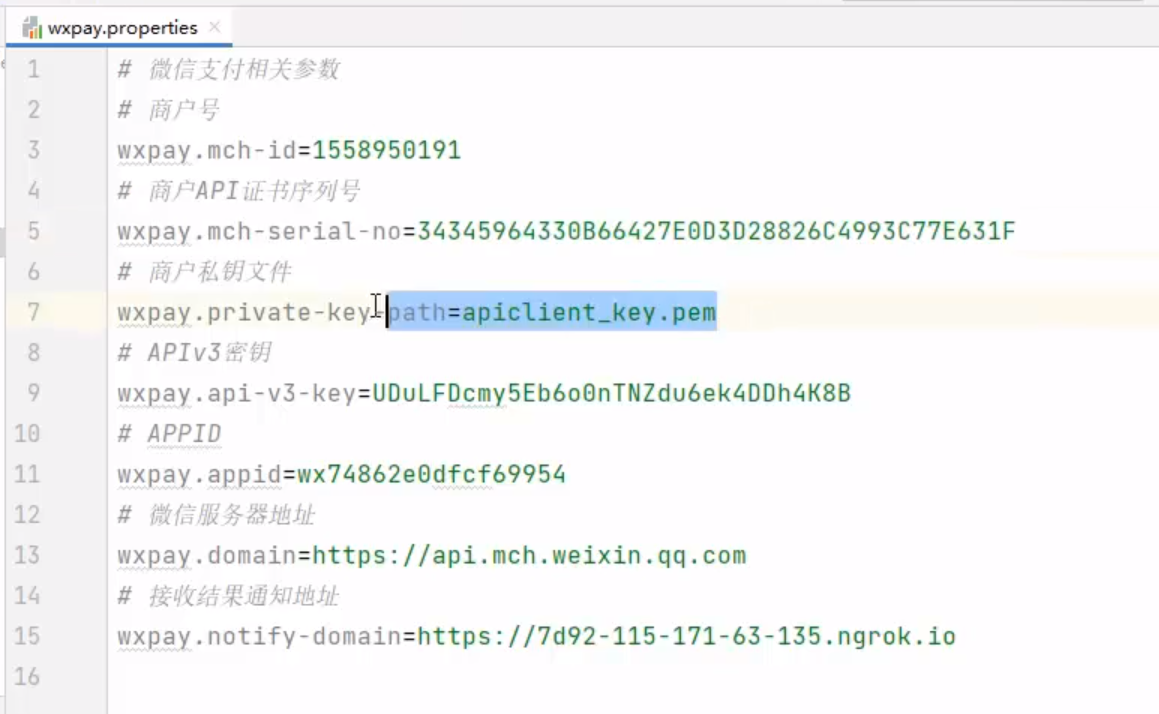
# 微信支付相关参数# 商户号wxpay.mch-id=1558950191# 商户API证书序列号wxpay.mch-serial-no=34345964330B66427E0D3D28826C4993C77E631F# 商户私钥文件wxpay.private-key-path=apiclient_key.pem# APIv3密钥wxpay.api-v3-key=UDuLFDcmy5Eb6o0nTNZdu6ek4DDh4K8B# APPIDwxpay.appid=wx74862e0dfcf69954# 微信服务器地址wxpay.domain=https://api.mch.weixin.qq.com# 接收结果通知地址wxpay.notify-domain=https://7d92-115-171-63-135.ngrok.io
证书序列号查询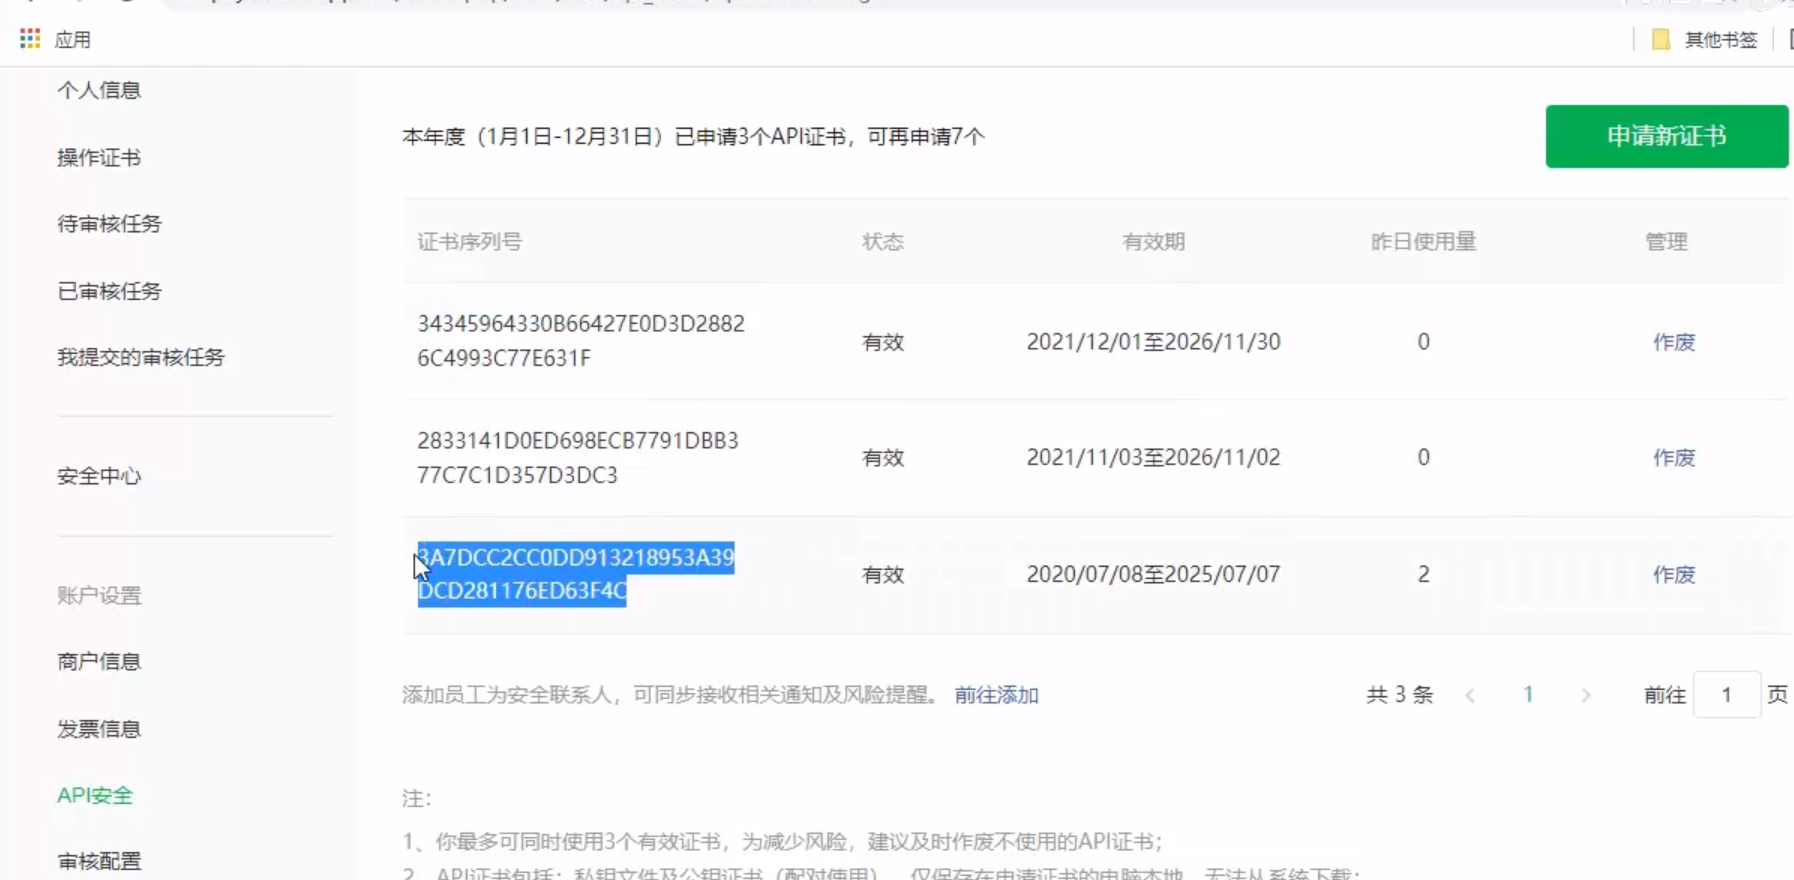
接收结果通知,需要用到natapp内网穿透软件
地址:https://natapp.cn/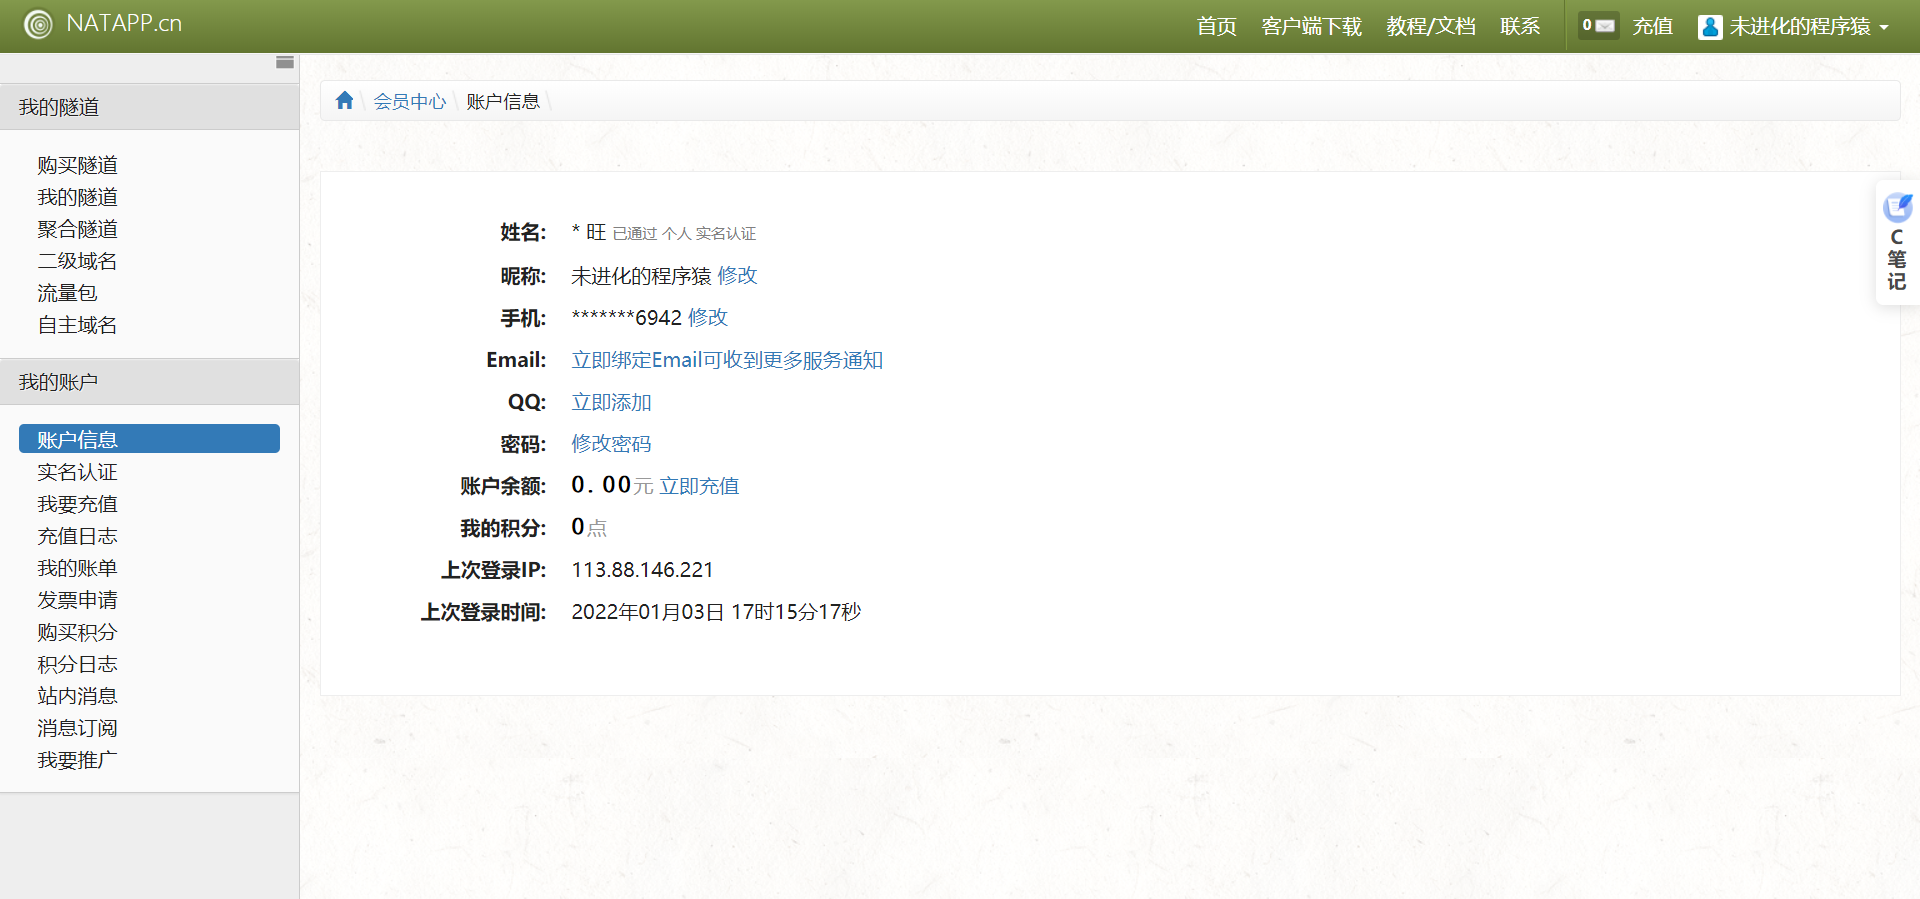
读取微信支付相关参数的配置类
package com.gmw.payment.config;import lombok.Data;import org.springframework.boot.context.properties.ConfigurationProperties;import org.springframework.context.annotation.Configuration;import org.springframework.context.annotation.PropertySource;@Configuration@PropertySource("classpath:wxpay.properties") //读取配置文件@ConfigurationProperties(prefix="wxpay") //读取wxpay节点@Data //使用set方法将wxpay节点中的值填充到当前类的属性中public class WxPayConfig {// 商户号private String mchId;// 商户API证书序列号private String mchSerialNo;// 商户私钥文件private String privateKeyPath;// APIv3密钥private String apiV3Key;// APPIDprivate String appid;// 微信服务器地址private String domain;// 接收结果通知地址private String notifyDomain;}
3、加载商户私钥
微信支付开发者文档:https://pay.weixin.qq.com/wiki/doc/apiv3/index.shtml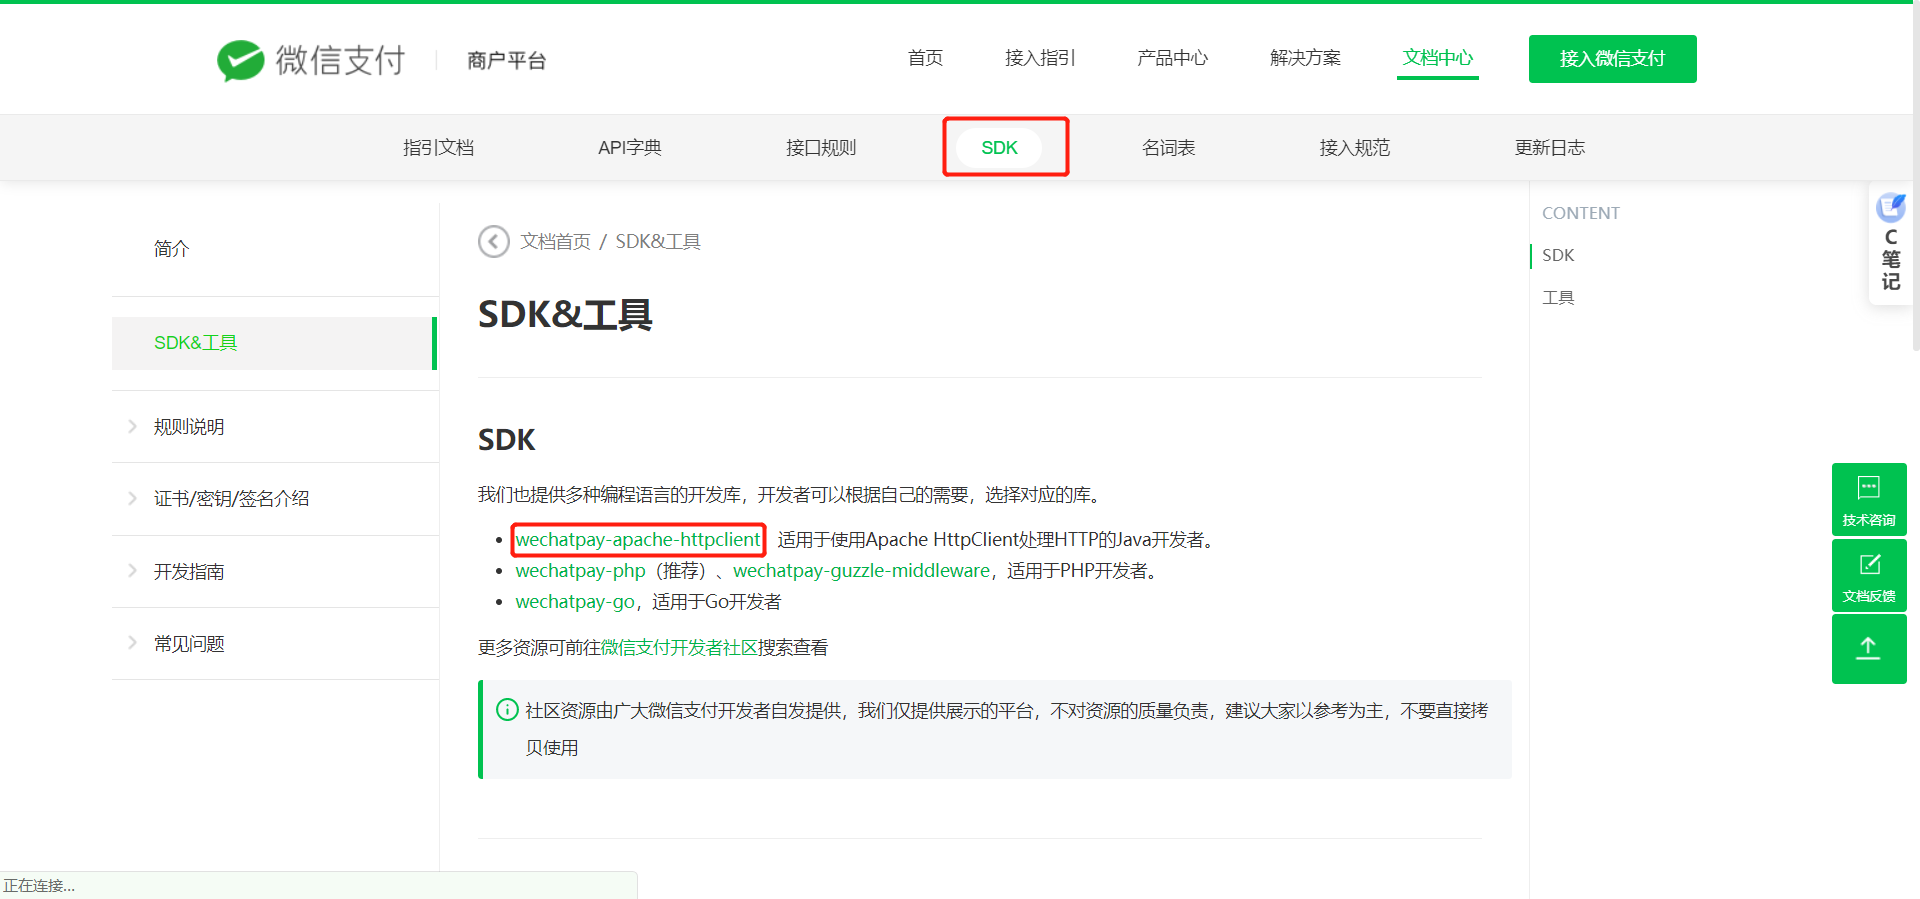
https://github.com/wechatpay-apiv3/wechatpay-apache-httpclient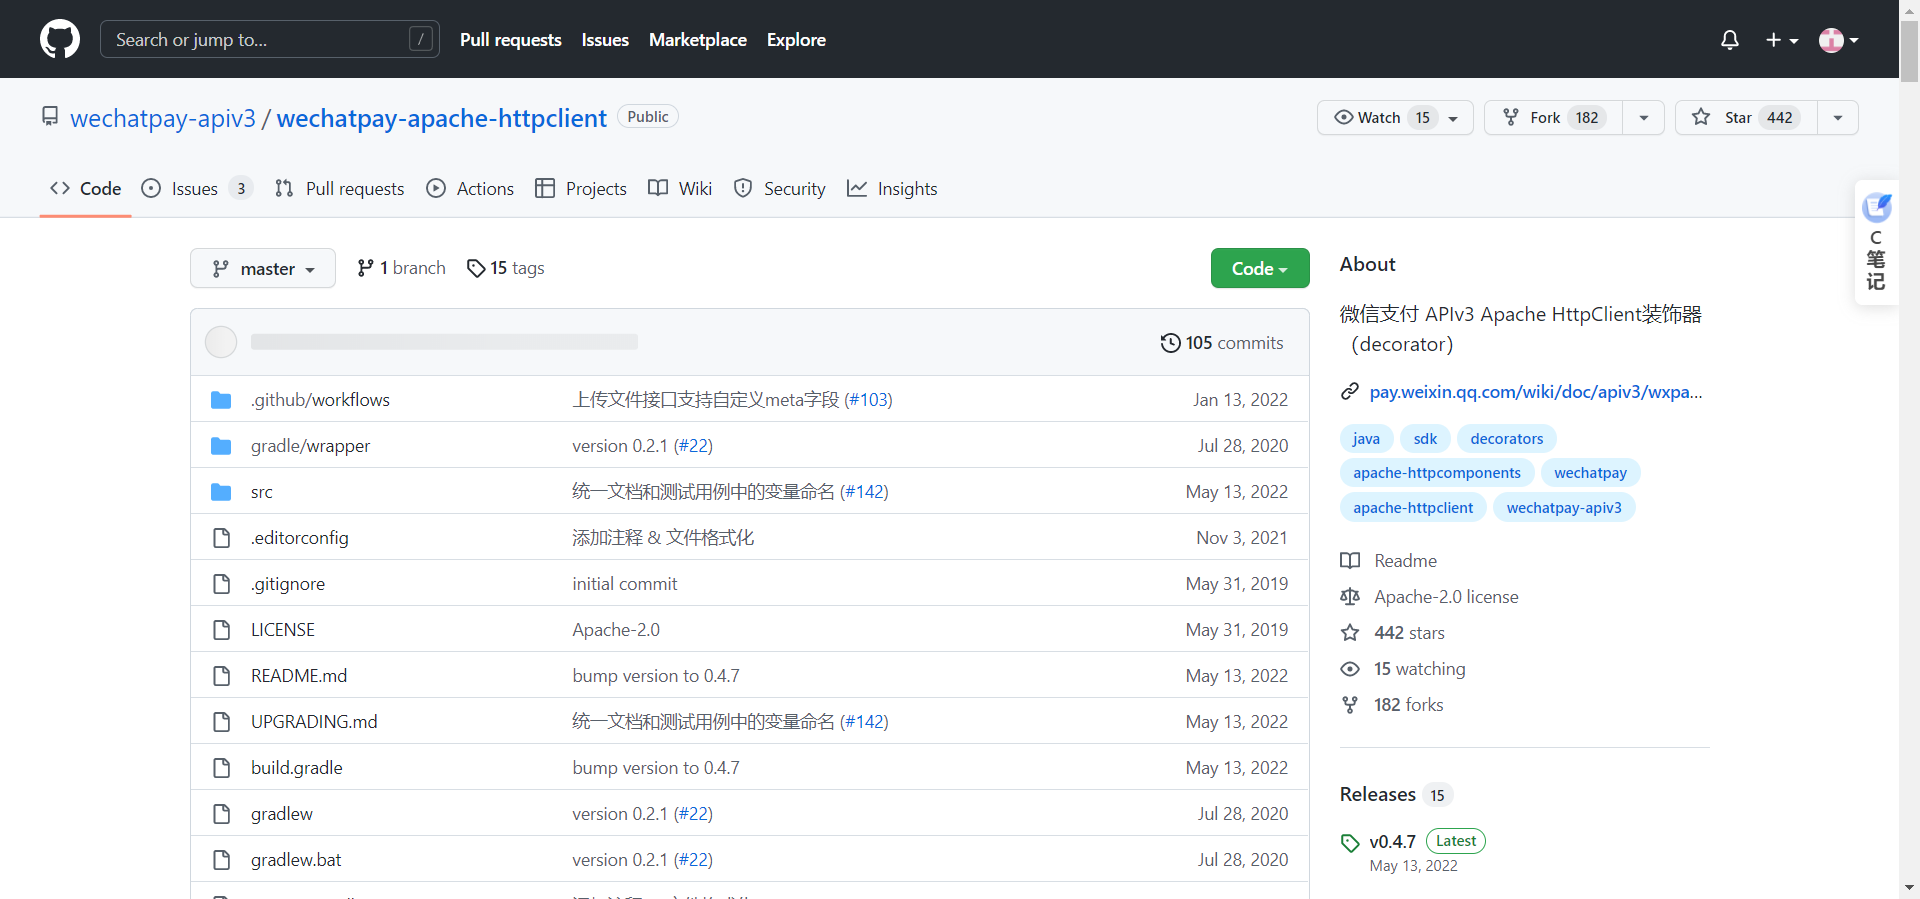
https://gitee.com/toutatis/wechatpay-apache-httpclient
如何加载商户私钥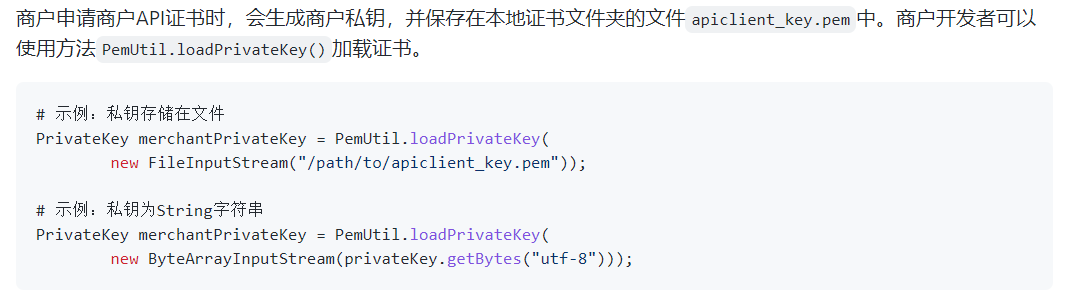
# 示例:私钥存储在文件PrivateKey merchantPrivateKey = PemUtil.loadPrivateKey(new FileInputStream("/path/to/apiclient_key.pem"));# 示例:私钥为String字符串PrivateKey merchantPrivateKey = PemUtil.loadPrivateKey(new ByteArrayInputStream(privateKey.getBytes("utf-8")));
/*** 加载商户的私钥*/private PrivateKey getPrivateKey(String filename) {PrivateKey merchantPrivateKey = null;try {//# 示例:私钥存储在文件merchantPrivateKey = PemUtil.loadPrivateKey(new FileInputStream(filename));} catch (FileNotFoundException e) {throw new RuntimeException("商户私钥文件不存在",e);}return merchantPrivateKey;}
测试加载商户私钥
@Resourcepublic WxPayConfig wxPayConfig;@Testvoid testGetPrivateKey() {//获取商户私钥路径String privateKeyPath = this.wxPayConfig.getPrivateKeyPath();//获取私钥文件PrivateKey privateKey = this.wxPayConfig.getPrivateKey(privateKeyPath);//打印私钥文件信息System.out.println(privateKey);}

4、实现了请求签名的生成和应答签名的验证
如果你是使用Apache HttpClient的商户开发者,可以使用它构造HttpClient。得到的HttpClient在执行请求时将自动携带身份认证信息,并检查应答的微信支付签名。
定时更新平台证书功能
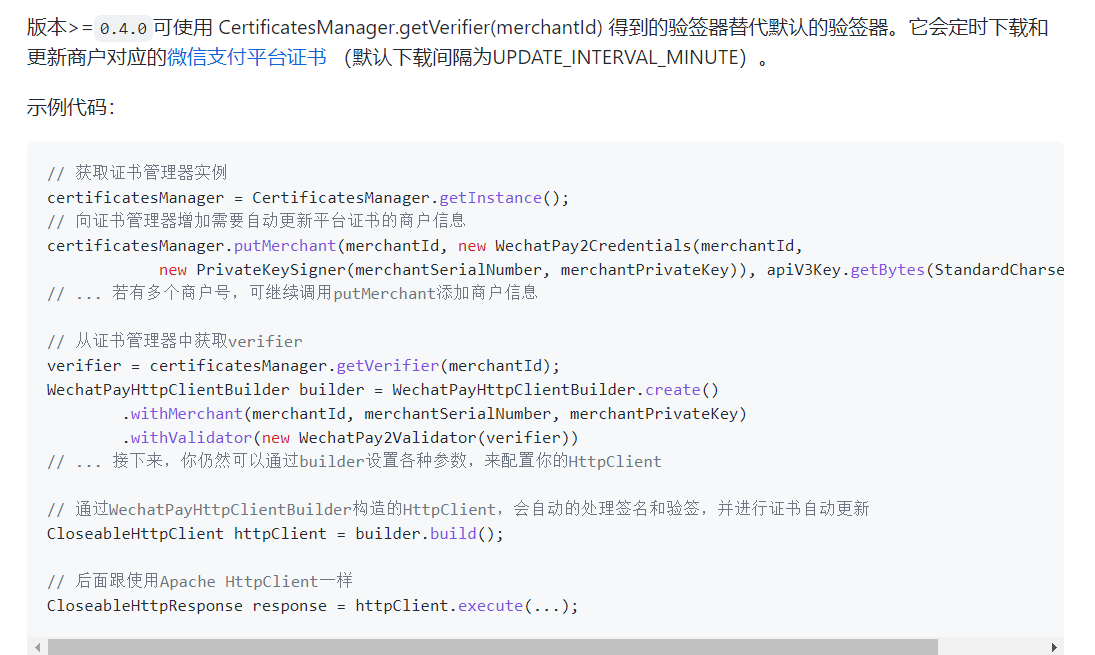
// 获取证书管理器实例certificatesManager = CertificatesManager.getInstance();// 向证书管理器增加需要自动更新平台证书的商户信息certificatesManager.putMerchant(merchantId, new WechatPay2Credentials(merchantId,new PrivateKeySigner(merchantSerialNumber, merchantPrivateKey)), apiV3Key.getBytes(StandardCharsets.UTF_8));// ... 若有多个商户号,可继续调用putMerchant添加商户信息// 从证书管理器中获取verifierverifier = certificatesManager.getVerifier(merchantId);WechatPayHttpClientBuilder builder = WechatPayHttpClientBuilder.create().withMerchant(merchantId, merchantSerialNumber, merchantPrivateKey).withValidator(new WechatPay2Validator(verifier))// ... 接下来,你仍然可以通过builder设置各种参数,来配置你的HttpClient// 通过WechatPayHttpClientBuilder构造的HttpClient,会自动的处理签名和验签,并进行证书自动更新CloseableHttpClient httpClient = builder.build();// 后面跟使用Apache HttpClient一样CloseableHttpResponse response = httpClient.execute(...);
进行封装
版本0.2.1
<dependency><groupId>com.github.wechatpay-apiv3</groupId><artifactId>wechatpay-apache-httpclient</artifactId><version>0.2.1</version></dependency>
/*** 获取签名验证器* @return*/@Beanpublic ScheduledUpdateCertificatesVerifier getVerifier(){log.info("获取签名验证器");//获取商户私钥PrivateKey privateKey = getPrivateKey(privateKeyPath);//私钥签名对象PrivateKeySigner privateKeySigner = new PrivateKeySigner(mchSerialNo, privateKey);//身份认证对象WechatPay2Credentials wechatPay2Credentials = new WechatPay2Credentials(mchId, privateKeySigner);// 使用定时更新的签名验证器,不需要传入证书ScheduledUpdateCertificatesVerifier verifier = new ScheduledUpdateCertificatesVerifier(wechatPay2Credentials,apiV3Key.getBytes(StandardCharsets.UTF_8));return verifier;}/*** 获取http请求对象* @param verifier* @return*/@Bean(name = "wxPayClient")public CloseableHttpClient getWxPayClient(ScheduledUpdateCertificatesVerifier verifier){log.info("获取httpClient");//获取商户私钥PrivateKey privateKey = getPrivateKey(privateKeyPath);WechatPayHttpClientBuilder builder = WechatPayHttpClientBuilder.create().withMerchant(mchId, mchSerialNo, privateKey).withValidator(new WechatPay2Validator(verifier));// ... 接下来,你仍然可以通过builder设置各种参数,来配置你的HttpClient// 通过WechatPayHttpClientBuilder构造的HttpClient,会自动的处理签名和验签,并进行证书自动更新CloseableHttpClient httpClient = builder.build();return httpClient;}
版本:0.4.7
<dependency><groupId>com.github.wechatpay-apiv3</groupId><artifactId>wechatpay-apache-httpclient</artifactId><version>0.4.7</version></dependency>
/*** 获取签名验证器*/@Beanpublic Verifier getVerifier(){Verifier verifier = null;try {// 获取证书管理器实例CertificatesManager certificatesManager = CertificatesManager.getInstance();// 向证书管理器增加需要自动更新平台证书的商户信息//获取商户私钥PrivateKey privateKey = getPrivateKey(privateKeyPath);certificatesManager.putMerchant(mchId, new WechatPay2Credentials(mchSerialNo,new PrivateKeySigner(mchSerialNo, privateKey)), apiV3Key.getBytes(StandardCharsets.UTF_8));// ... 若有多个商户号,可继续调用putMerchant添加商户信息// 从证书管理器中获取verifierverifier = certificatesManager.getVerifier(mchId);} catch (IOException e) {e.printStackTrace();} catch (GeneralSecurityException e) {e.printStackTrace();} catch (HttpCodeException e) {e.printStackTrace();} catch (NotFoundException e) {e.printStackTrace();}return verifier;}/*** 获取http请求对象*/@Beanpublic CloseableHttpClient getWxPayClient(Verifier verifier){//获取商户私钥PrivateKey privateKey = getPrivateKey(privateKeyPath);WechatPayHttpClientBuilder builder = WechatPayHttpClientBuilder.create().withMerchant(mchId, mchSerialNo, privateKey).withValidator(new WechatPay2Validator(verifier));// ... 接下来,你仍然可以通过builder设置各种参数,来配置你的HttpClient// 通过WechatPayHttpClientBuilder构造的HttpClient,会自动的处理签名和验签,并进行证书自动更新CloseableHttpClient httpClient = builder.build();return httpClient;}
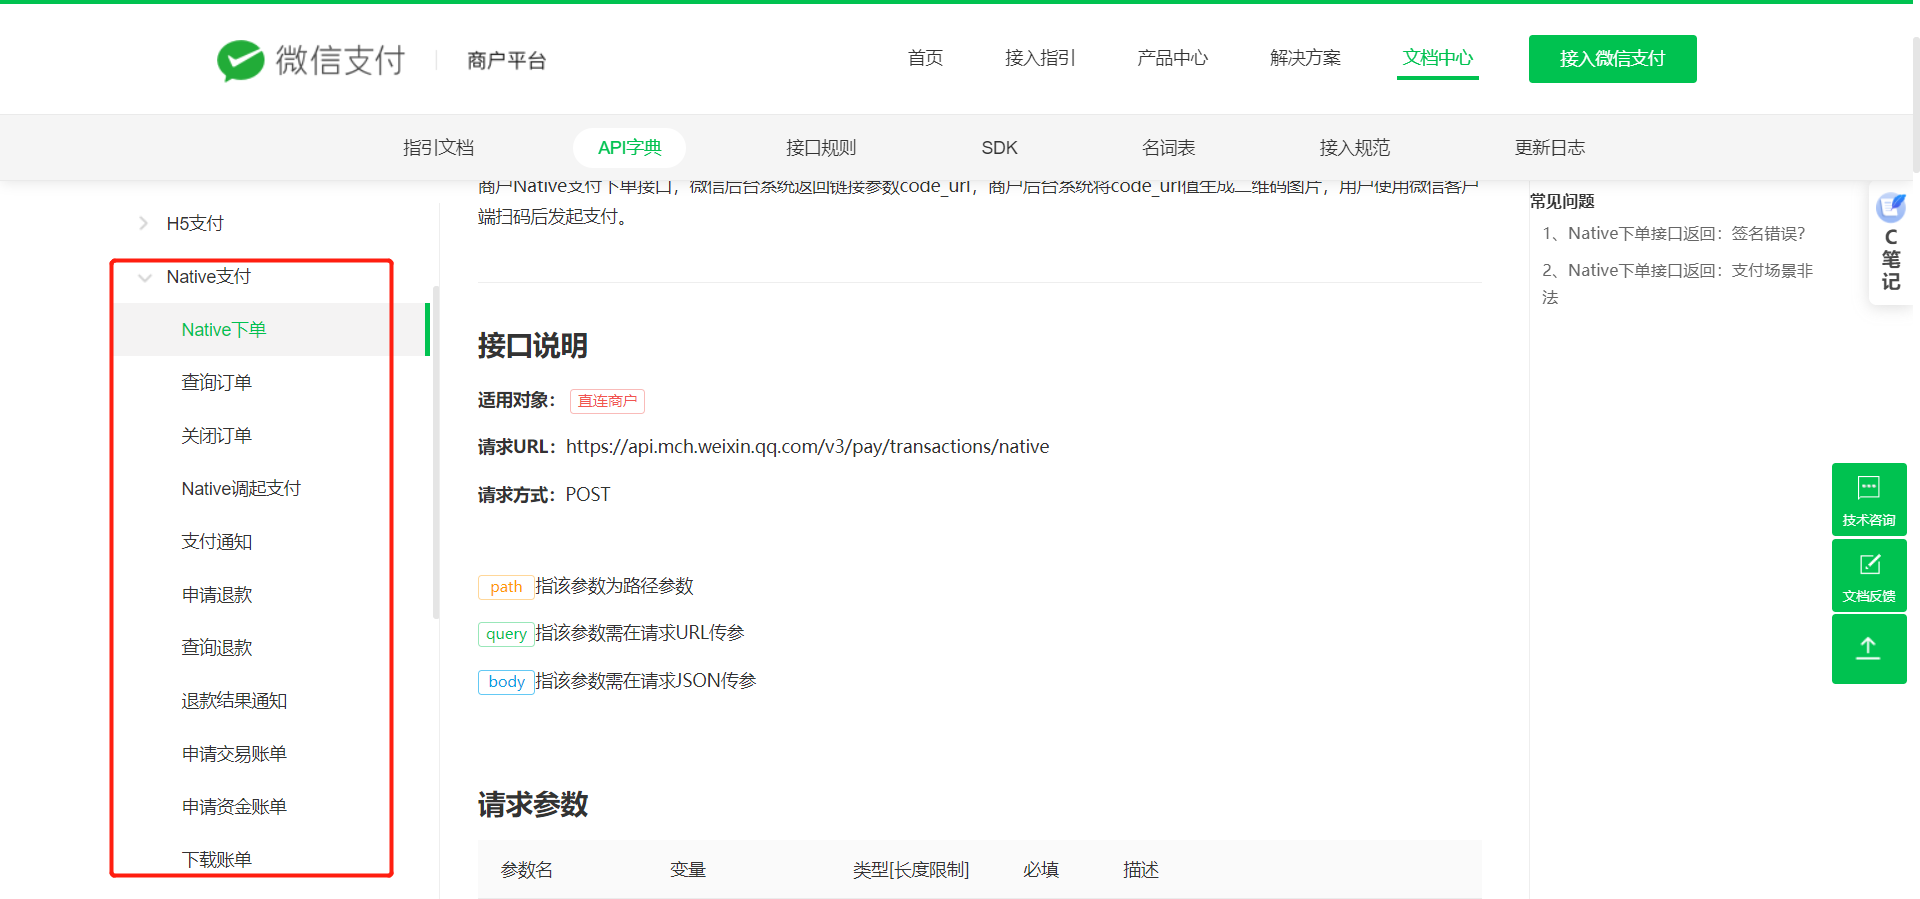
5、API字典和相关工具

若有收获,就点个赞吧
0 人点赞
