安装 docker-compose 太慢的解决方案
https://www.jianshu.com/p/7261b6d51d19
docker 安装较慢的解决方案 https://www.cnblogs.com/thisismartin/p/12601760.html
安装mongodb
https://www.cnblogs.com/larrydpk/p/11925515.html
docker 中启动 mongodb
- 在相关目录创建docker-compose.yml文件,用来配置启动项,示例如下: ``` version: ‘3.1’
services:
mongo: image: mongo restart: always environment: MONGO_INITDB_ROOT_USERNAME: root MONGO_INITDB_ROOT_PASSWORD: example ports:
- 27017:27017 ###此处为端口映射volumes:- /home/mongotest:/data/db ###此处为设置mongo持久化存储目录,前面为服务器目录,后面为mongo目录
2. 执行 docker-compose up -d 启动(如未安装则拉取并启动) mongo
docker-compose up -d /usr/lib/python2.7/site-packages/paramiko/transport.py:33: CryptographyDeprecationWarning: Python 2 is no longer supported by the Python core team. Support for it is now deprecated in cryptography, and will be removed in a future release. from cryptography.hazmat.backends import default_backend Creating mongotest_mongo_1 … done
3.执行 docker exec -it mongotest_mongo_1 mongo   连接到数据库,

其中

- mongo为启动mongodb的命令。
- mongotest_mongo_1 为容器名称,可通过 docker ps | grep mongotest  来查看容器名称
[root@VM_0_17_centos ~]# docker ps | grep mongotest dc263c864603 mongo “docker-entrypoint.s…” 18 minutes ago Up 18 minutes 0.0.0.0:27017->27017/tcp mongotest_mongo_1 [root@VM_0_17_centos ~]#
- docker exec :在运行的容器中执行命令
docker exec [OPTIONS] CONTAINER COMMAND [ARG…] OPTIONS说明:
-d :分离模式: 在后台运行
-i :即使没有附加也保持STDIN 打开
-t :分配一个伪终端
4. mongo仅为连接mongodb的交互模式,此时并未连接成功,需按如下操作
   1. show dbs   显示全部数据库,此时展示为空
   1. use  xxxdb    切换到 xxxdb数据库  针对示例中,应为 use admin
   1. db.auth('root','example')   使用用户名密码登录到数据库
   1. 此时 show  dbs 将可以看到 相关的数据库
[root@VM_0_17_centos ~]# docker exec -it mongotest_mongo_1 mongo MongoDB shell version v4.4.2 connecting to: mongodb://127.0.0.1:27017/?compressors=disabled&gssapiServiceName=mongodb Implicit session: session { “id” : UUID(“766e69ab-9a94-4237-bf11-53ac5d0eb9c1”) } MongoDB server version: 4.4.2
show dbs use admin switched to db admin show dbs db.auth(‘root’,’example’) 1 show dbs admin 0.000GB config 0.000GB local 0.000GB
```
- 创建数据库并连接
use testdb 创建testdb
> use  testdb
switched to db testdb
> db.createUser({user:'test',pwd:'123456',roles:[{role:'dbOwner',db:'testdb'}]})
Successfully added user: {
        "user" : "test",
        "roles" : [
                {
                        "role" : "dbOwner",
                        "db" : "testdb"
                }
        ]
}
>

#### roles中,role代表角色,db:代表哪个数据库
插入数据 db.users.insertOne({name:’test’,age:30,email:’test@test.com’})
上面的语句代表 往users表中插入一条数据。
MongoDB shell version v4.4.2
connecting to: mongodb://127.0.0.1:27017/?compressors=disabled&gssapiServiceName=mongodb
Implicit session: session { "id" : UUID("bc466aa9-1011-4f8f-bb2c-3316ead40179") }
MongoDB server version: 4.4.2
> use testdb
switched to db testdb
> show dbs
> db.auth('test','123456')
1
> show dbs
>  db.users.insertOne({name:'test',age:30,email:'test@test.com'})
{
     "acknowledged" : true,
     "insertedId" : ObjectId("5fc347d17bfa90b001778cf3")
}
>
使用robo 连接mongodb
下载地址 https://robomongo.org/download 可选择 Robo 3T 进行下载

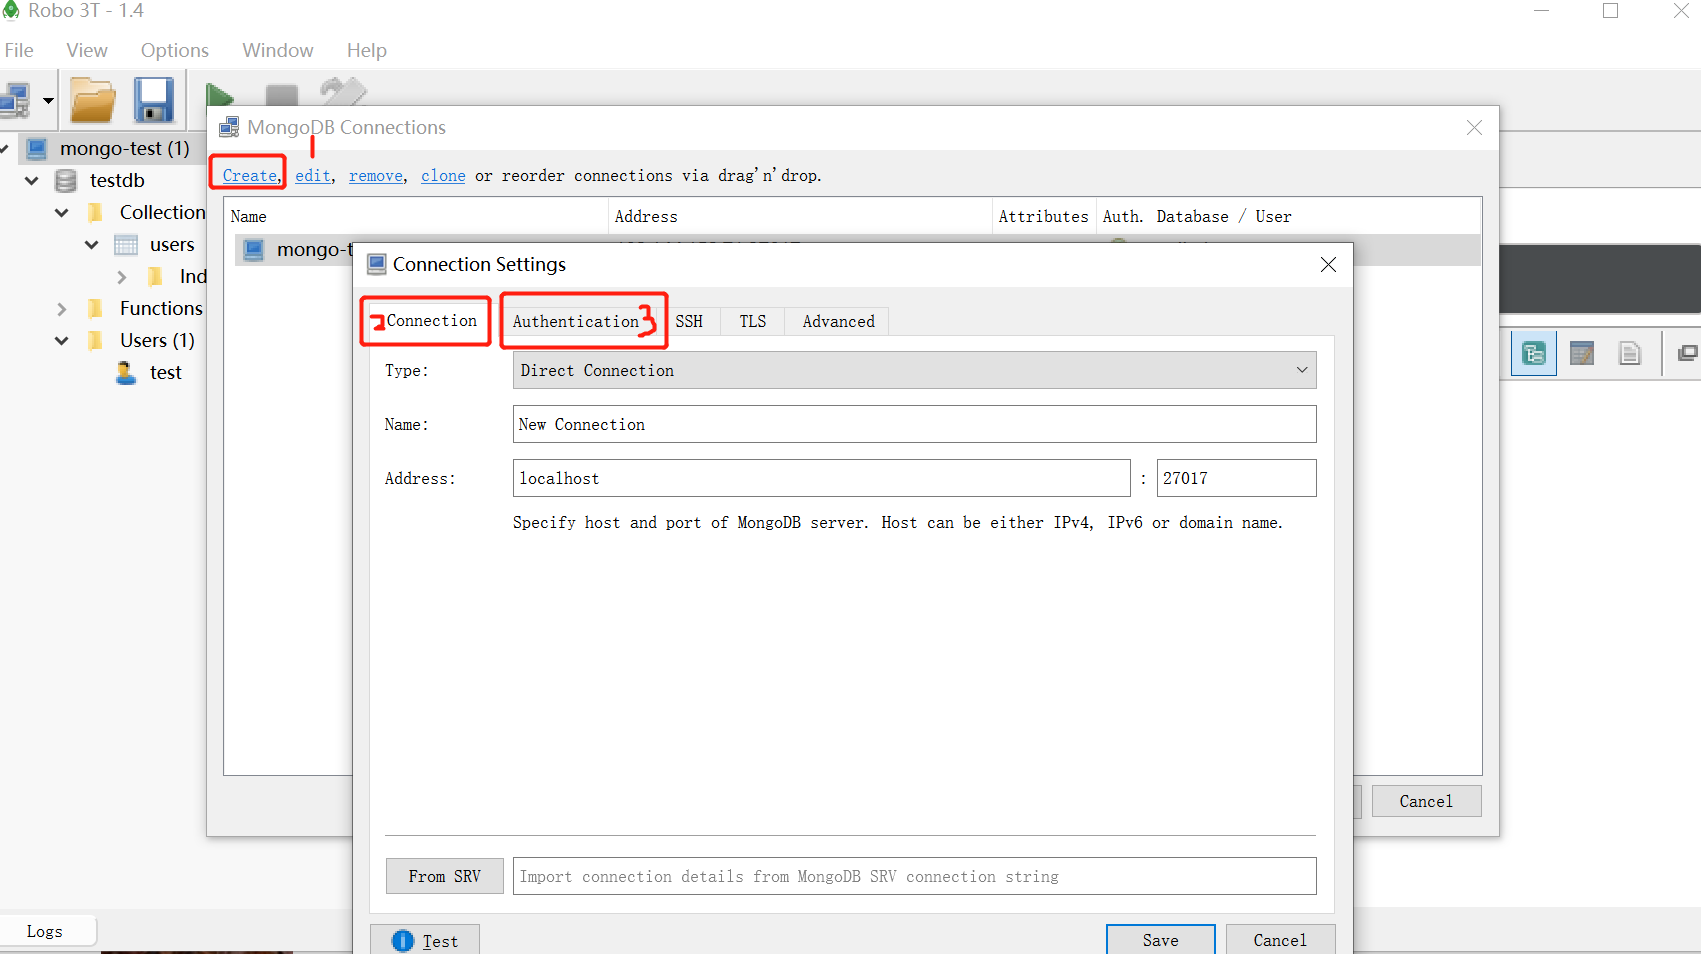
- 安装成功后,默认弹出连接界面(如安装过程中出现 邮箱等信息填写界面,可直接跳过)
- 在连接界面,点击create 创建连接,connect中填写连接信息,authentication中填写认证用户信息

mongo数据库的备份与恢复
备份操作 docker exec -it mongotest_mongo_1 mongodump -h localhost -u root -p example -o /tmp/test
[root@VM_0_17_centos ~]# docker exec -it mongotest_mongo_1 mongodump -h localhost -u root -p example -o /tmp/test
2020-11-29T08:18:13.233+0000    writing admin.system.users to /tmp/test/admin/system.users.bson
2020-11-29T08:18:13.234+0000    done dumping admin.system.users (2 documents)
2020-11-29T08:18:13.235+0000    writing admin.system.version to /tmp/test/admin/system.version.bson
2020-11-29T08:18:13.235+0000    done dumping admin.system.version (2 documents)
2020-11-29T08:18:13.236+0000    writing testdb.users to /tmp/test/testdb/users.bson
2020-11-29T08:18:13.237+0000    done dumping testdb.users (3 documents)
[root@VM_0_17_centos ~]#
mongodump -h localhost -u root -p example -o /tmp/test -h == --host -u == --username -p == --password -o == --out 指定BSON保存到的目录 配置名和值之间,可以用等号连接,也可以用空格隔开此时,数据被备份到 docker 中的 /tmp/test 目录
将备份数据拷贝到主机:
- docker cp 镜像id :/备份目录 /主机目录
[root@VM_0_17_centos ~]# docker ps | grep mongo
dc263c864603        mongo               "docker-entrypoint.s…"   23 hours ago        Up 23 hours         0.0.0.0:27017->27017/tcp            mongotest_mongo_1
[root@VM_0_17_centos ~]# docker cp dc263c864603:/tmp/test /tmp/test
[root@VM_0_17_centos ~]# ls /tmp/test
admin  testdb
[root@VM_0_17_centos ~]#
- docker cp 镜像id :/备份目录 /主机目录
数据恢复
- docker exec -it mongotest_mongo_1 mongorestore -h localhost -u root -p example —dir /tmp/test
[root@VM_0_17_centos ~]# docker exec -it mongotest_mongo_1 mongorestore -h localhost -u root -p example --dir /tmp/test
2020-11-29T08:31:10.990+0000    preparing collections to restore from
2020-11-29T08:31:10.995+0000    restoring to existing collection testdb.users without dropping
2020-11-29T08:31:10.995+0000    reading metadata for testdb.users from /tmp/test/testdb/users.metadata.json
2020-11-29T08:31:10.995+0000    restoring testdb.users from /tmp/test/testdb/users.bson
2020-11-29T08:31:10.999+0000    continuing through error: E11000 duplicate key error collection: testdb.users index: _id_ dup key: { _id: ObjectId('5fc347d17bfa90b001778cf3') }
2020-11-29T08:31:10.999+0000    continuing through error: E11000 duplicate key error collection: testdb.users index: _id_ dup key: { _id: ObjectId('5fc34f963d6365b1c74589d3') }
2020-11-29T08:31:10.999+0000    continuing through error: E11000 duplicate key error collection: testdb.users index: _id_ dup key: { _id: ObjectId('5fc3503eec32111e899c75c0') }
2020-11-29T08:31:11.006+0000    no indexes to restore
2020-11-29T08:31:11.006+0000    finished restoring testdb.users (0 documents, 3 failures)
2020-11-29T08:31:11.006+0000    restoring users from /tmp/test/admin/system.users.bson
2020-11-29T08:31:11.117+0000    0 document(s) restored successfully. 3 document(s) failed to restore.
[root@VM_0_17_centos ~]#
node中连接mongodb
- docker exec -it mongotest_mongo_1 mongorestore -h localhost -u root -p example —dir /tmp/test
mongoose 介绍:http://www.mongoosejs.net/
- 安装mongoose
npm install -S mongoose
可按照如下内容来进行测试连接并新增数据
const mongoose  = require('mongoose')

mongoose.connect('mongodb://test:123456@192.144.152.72:27017/testdb',{useNewUrlParser:true,useUnifiedTopology:true})

const User = mongoose.model('users',{name:String,age:Number,email:String})

const test = new User({
    name:'mongo-test',
    age:33,
    email:'mongotest@test.com'
})

test.save().then(()=>{
    console.log('save ok!')
})
- 实战练习

若有收获,就点个赞吧
0 人点赞
