Mac
安装
brew install nginx
路径
安装路径:/usr/local/Cellar/nginx/1.17.6
服务器默认路径:/usr/local/var/www
配置文件路径:/usr/local/etc/nginx
启动
/usr/local/Cellar/nginx/1.17.6/bin/nginx -c /usr/local/etc/nginx/nginx.conf 
查看网页http://localhost:8080/看是否启动成功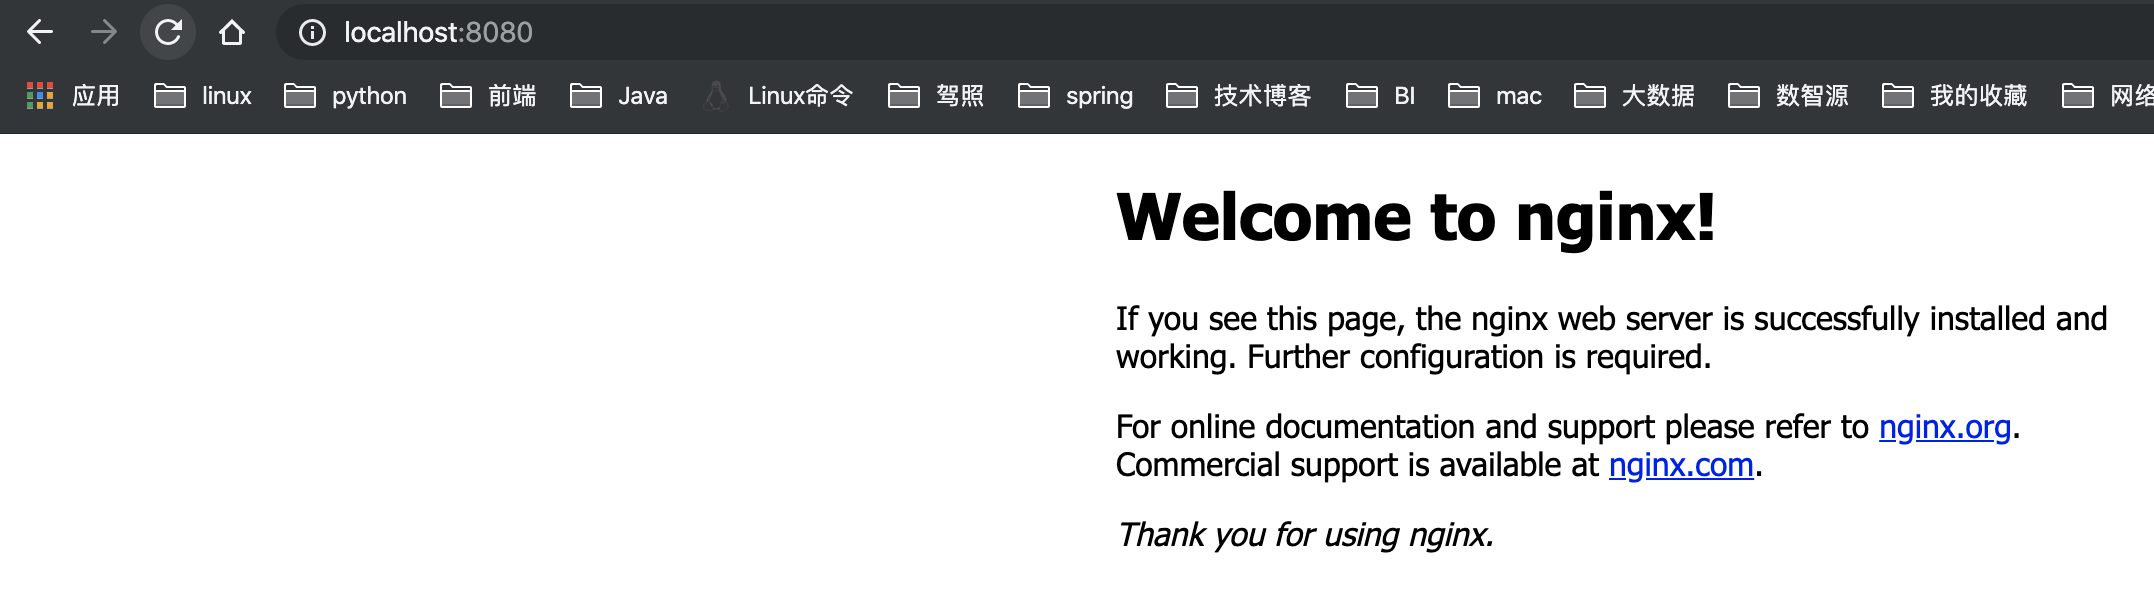
或者查看进程 ps -ef|grep nginx 如果master进程启动则是成功的
配置文件
默认配置文件
nginx.conf
worker_processes 1;#pid logs/nginx.pid;events {worker_connections 1024;}http {include mime.types;default_type application/octet-stream;#access_log logs/access.log main;sendfile on;keepalive_timeout 65;server {listen 8080;server_name localhost;location / {root html;index index.html index.htm;}error_page 500 502 503 504 /50x.html;location = /50x.html {root html;}}include servers/*;}
注意http块里有一句 include servers/*; 所以我们自己的应用的配置文件可以放在servers文件夹下。
CentOS7
安装
sudo yum install -y nginx
启动
sudo systemctl start nginx 启动sudo systemctl status nginx 状态sudo systemctl stop nginx 停止sudo systemctl enable nginx 开机启动
路径
安装路径:/usr/sbin/nginx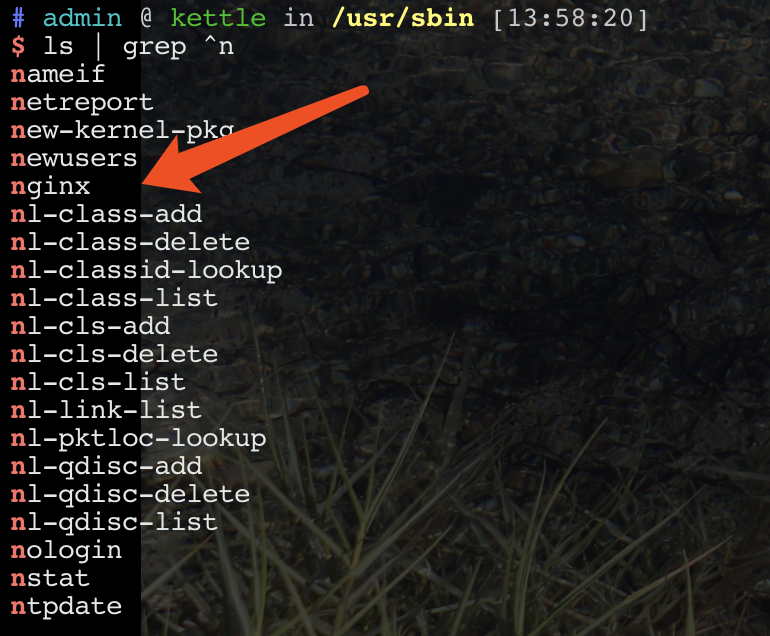
配置文件:/etc/nginx
服务器默认路径:/usr/share/nginx/html
日志文件:/var/log/nginx (需root权限才能访问)
配置文件
http {log_format main '$remote_addr - $remote_user [$time_local] "$request" ''$status $body_bytes_sent "$http_referer" ''"$http_user_agent" "$http_x_forwarded_for"';access_log /var/log/nginx/access.log main;sendfile on;tcp_nopush on;tcp_nodelay on;keepalive_timeout 65;types_hash_max_size 2048;include /etc/nginx/mime.types;default_type application/octet-stream;include /etc/nginx/conf.d/*.conf;server {listen 80 default_server;listen [::]:80 default_server;server_name _;root /usr/share/nginx/html;# Load configuration files for the default server block.include /etc/nginx/default.d/*.conf;location / {}error_page 404 /404.html;location = /40x.html {}error_page 500 502 503 504 /50x.html;location = /50x.html {}}}
注意:用户自己的配置文件请放在/etc/nginx/conf.d/目录下。
常见问题
- 403 forbidden
解决:打开nginx.conf文件,将 user nginx 改成 nginx root , 并且保证root用户对你的应用具有访问权限
源码编译安装
为什么要通过编译源码的方式安装 nginx 呢?因为我想要安装第三方模块 http_sub_module 。
在默认的发行版中,是没有 http_sub_module 模块的,所以只能学习怎么通过编译源码的方式安装了。
源码地址
源码地址入口:https://nginx.org/en/download.html
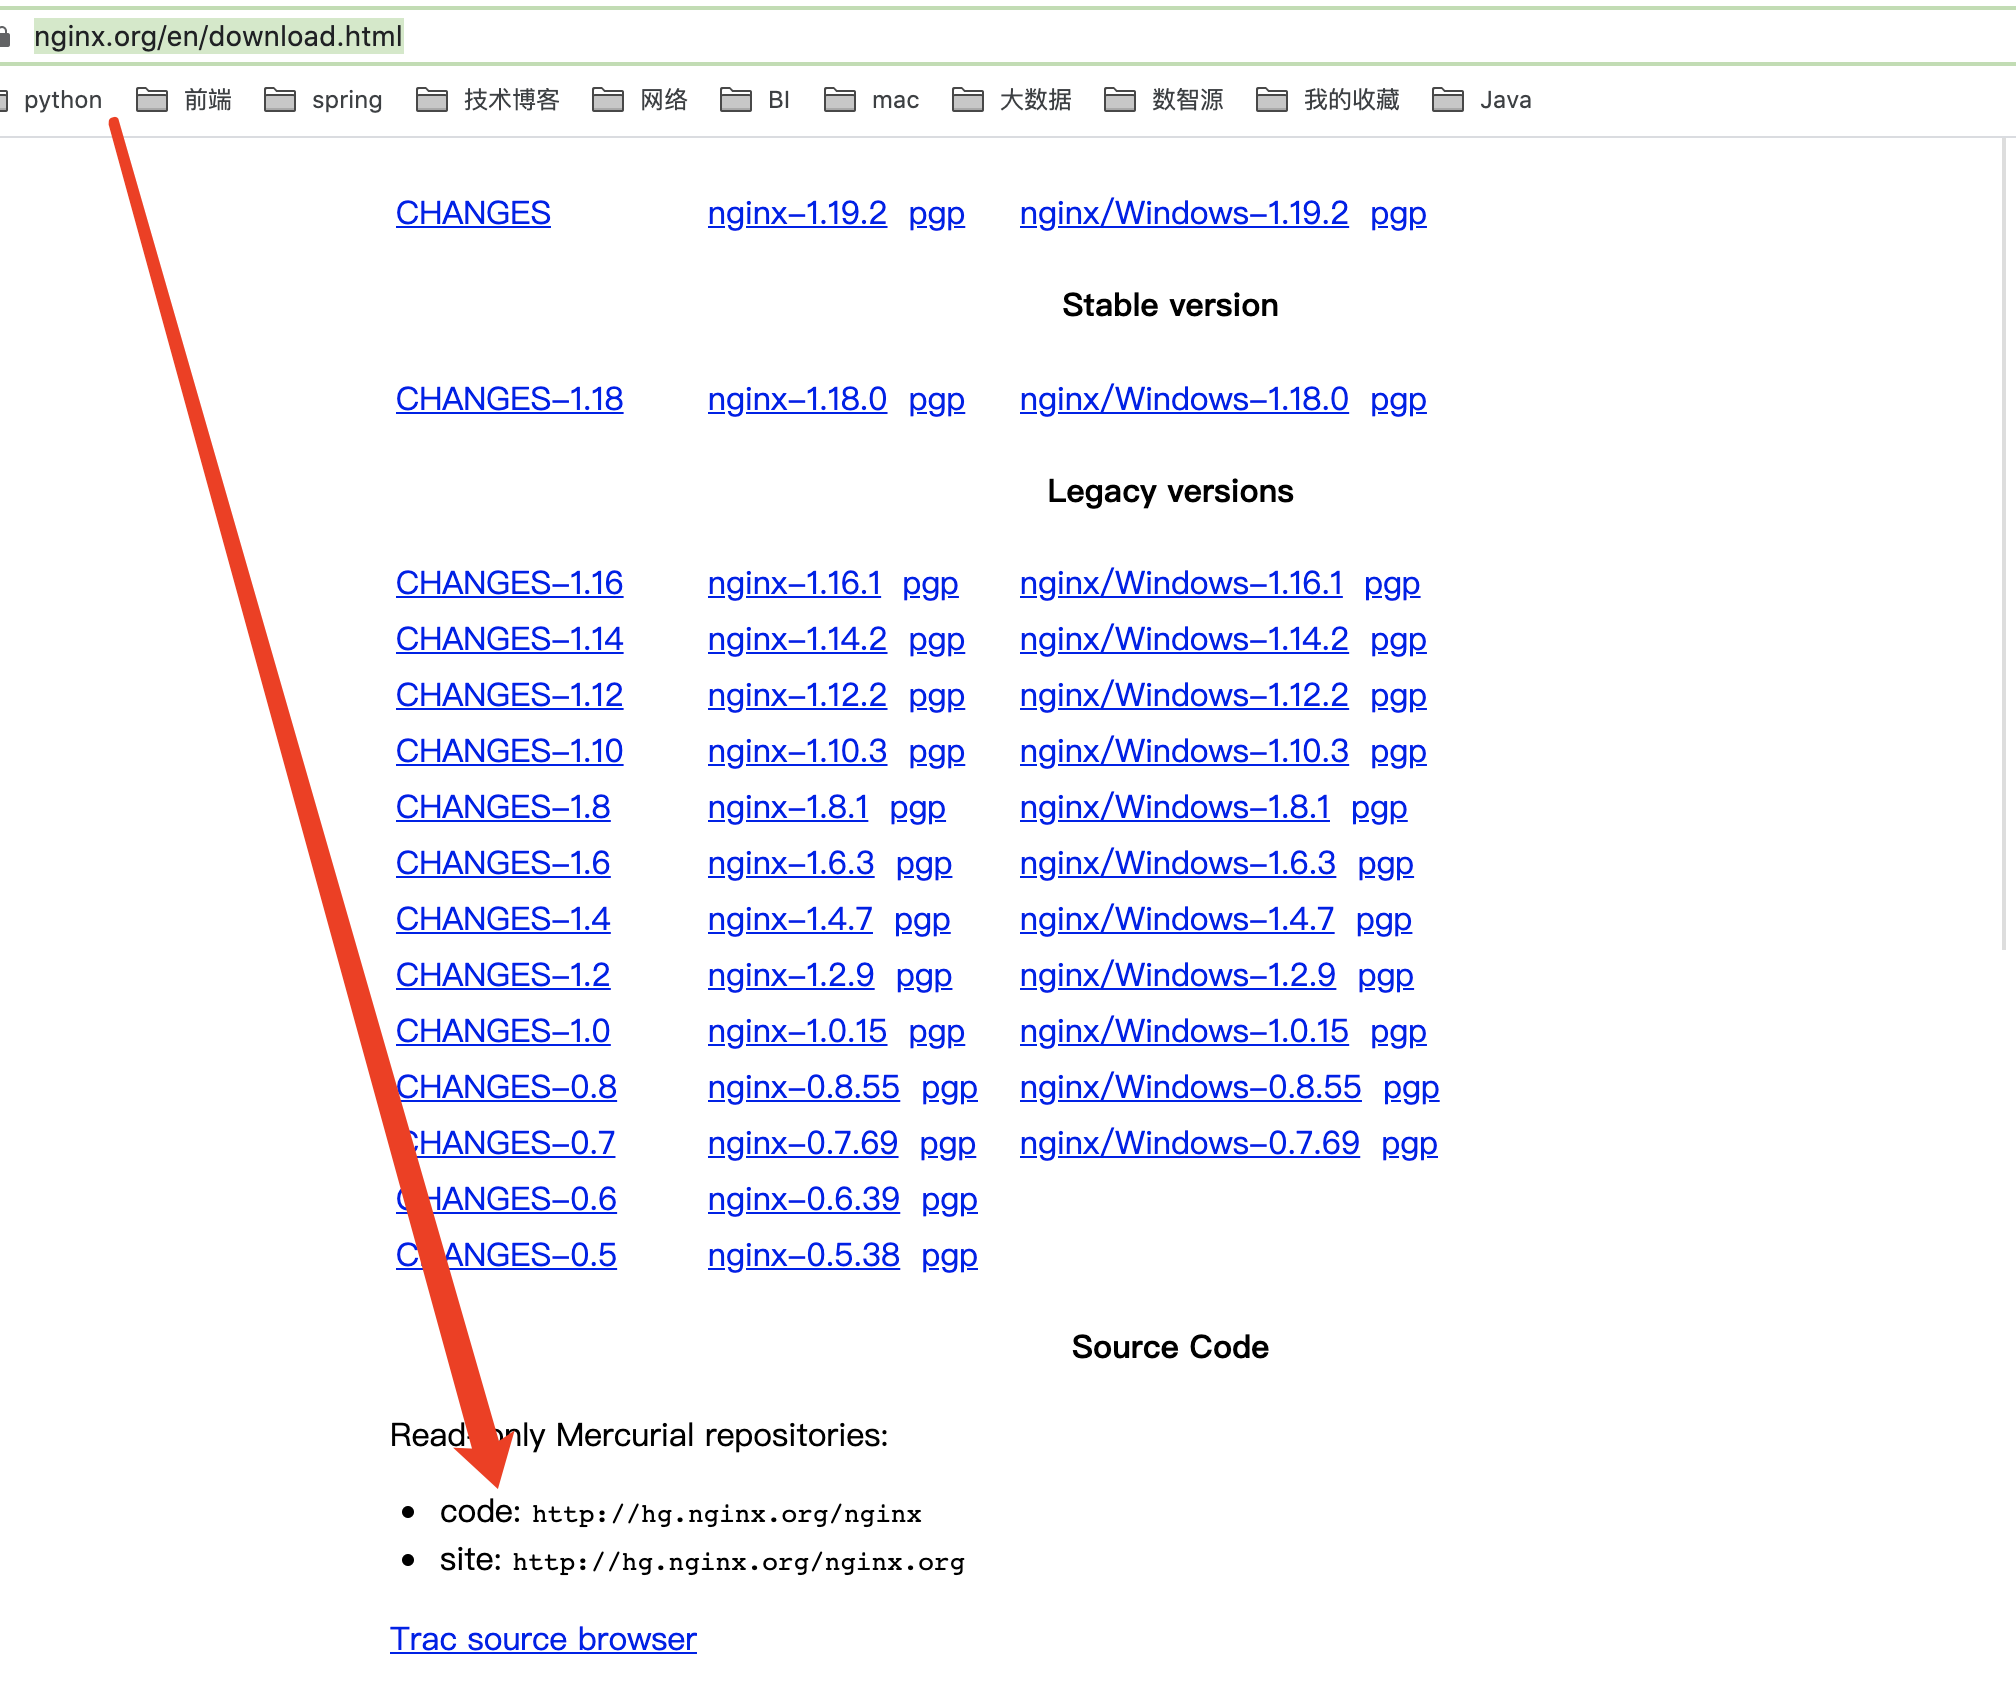
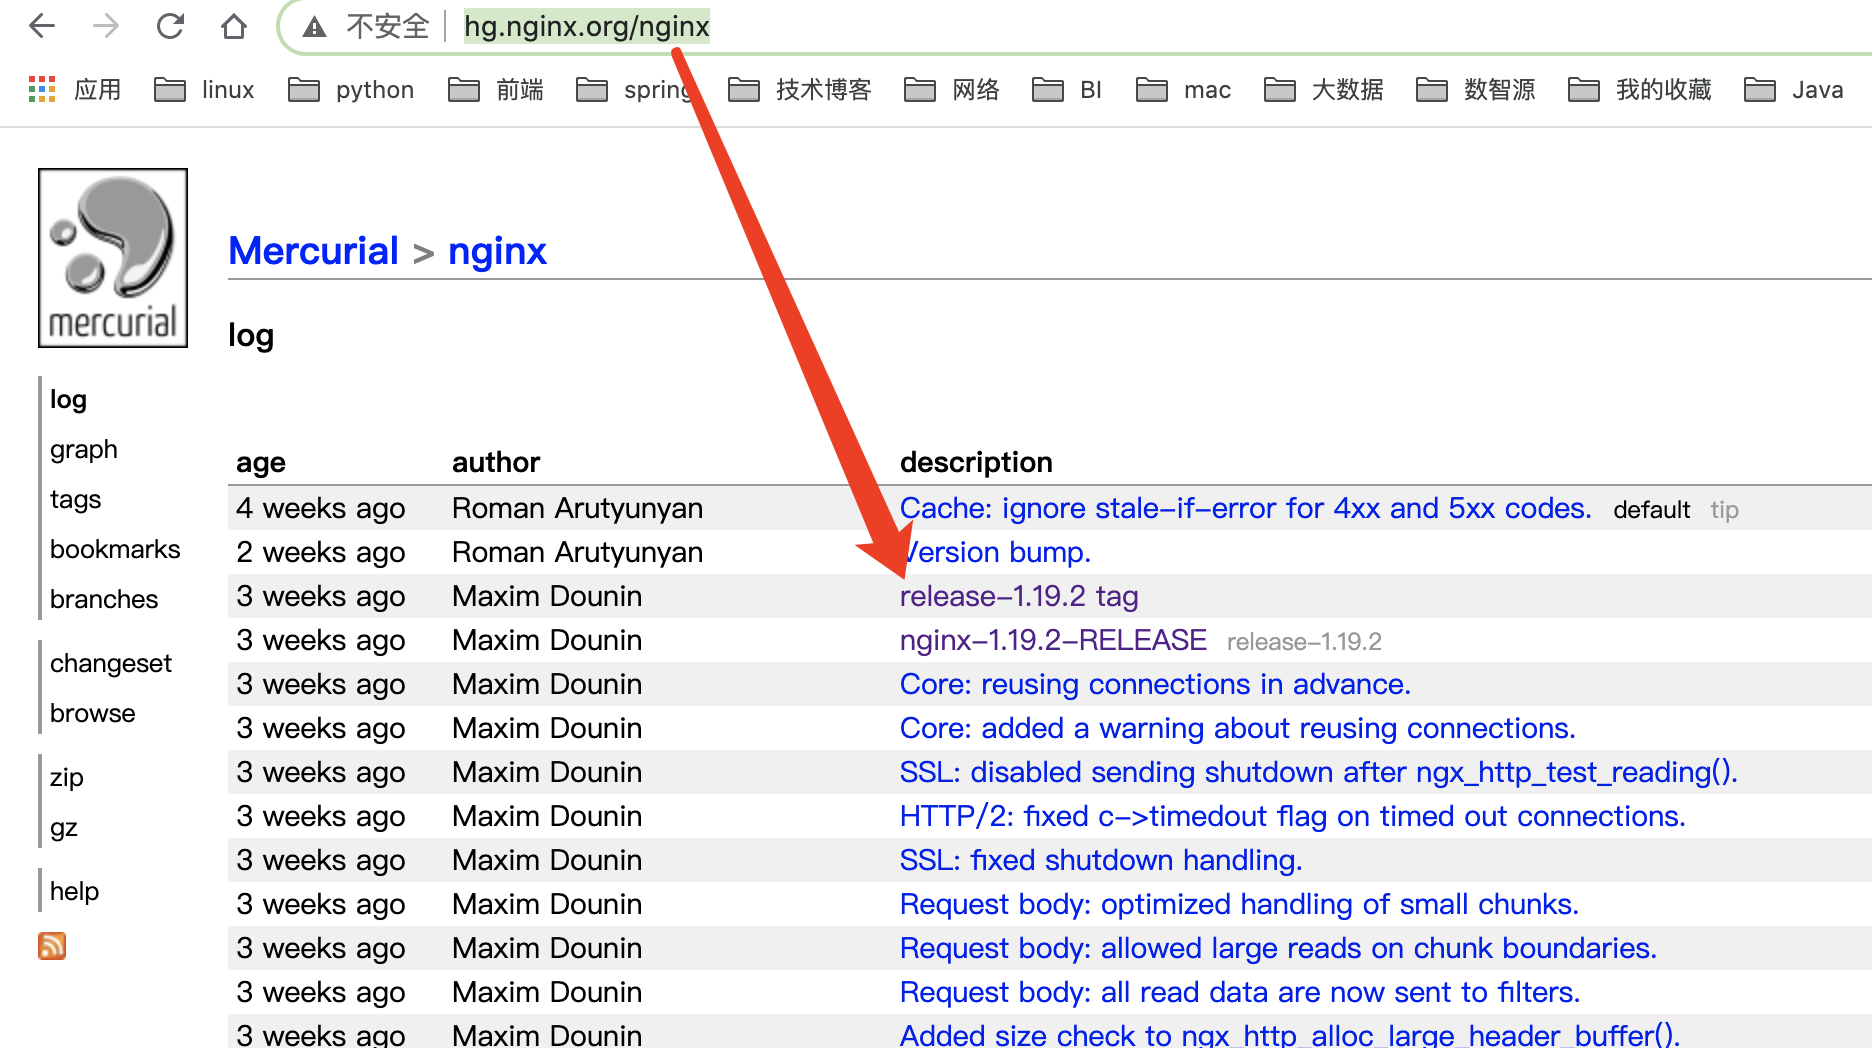
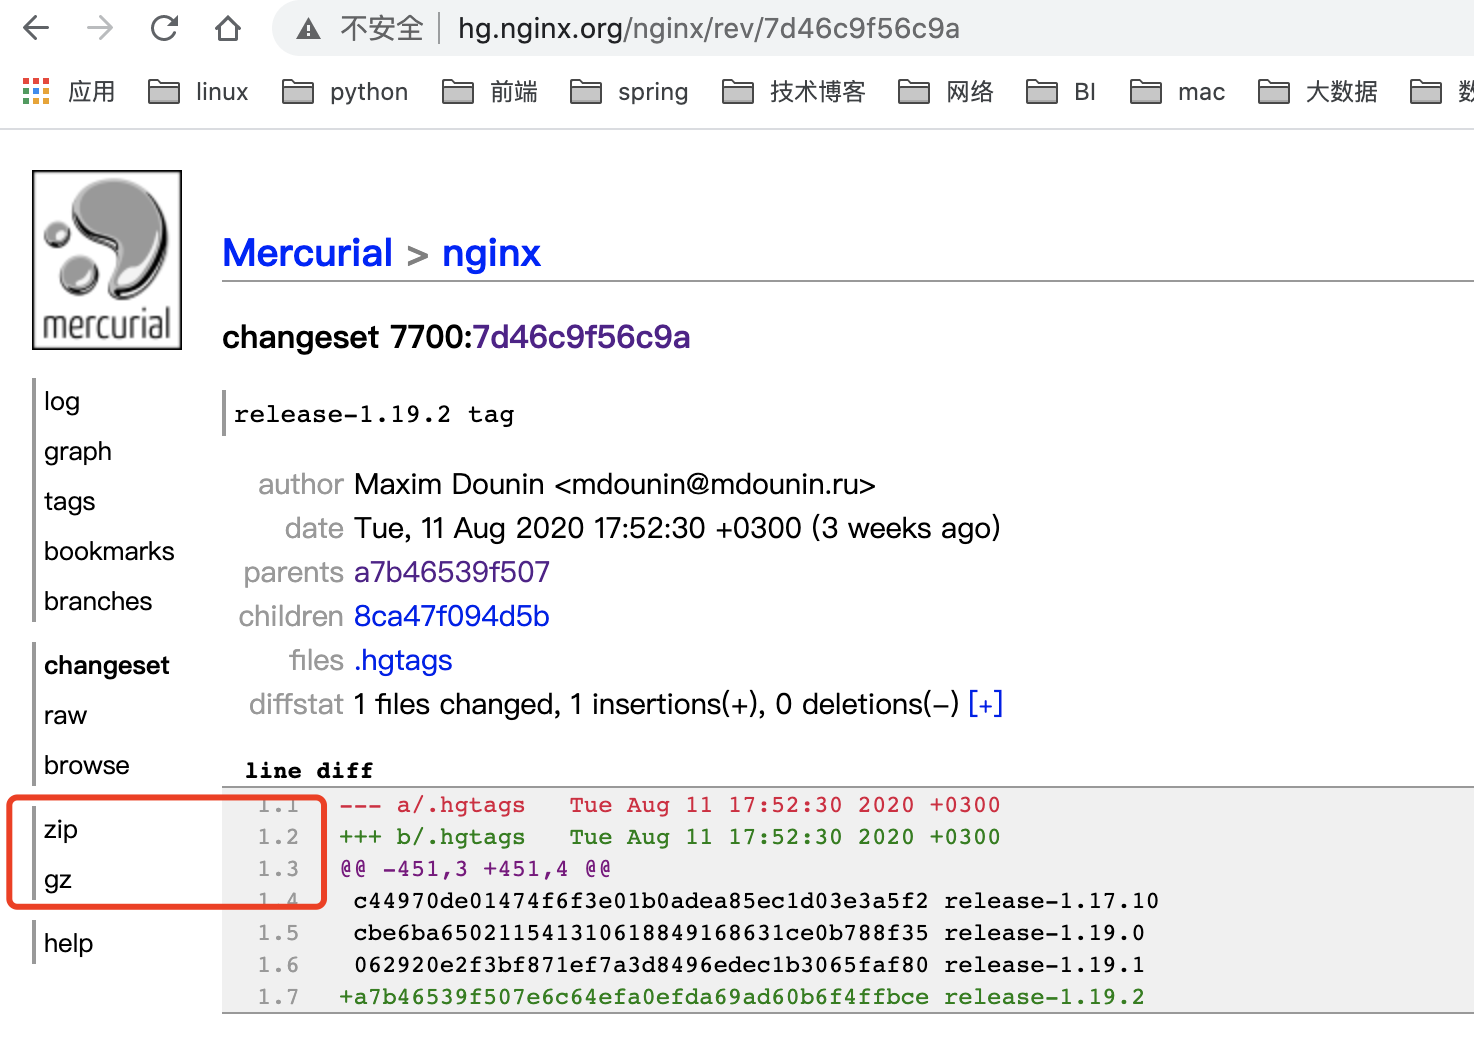
访问代码仓库:http://hg.nginx.org/nginx,找到一个想要的版本单击,然后点击旁边的zip包或者gz包
源码编译
- 解压
tar -zxvf nginx-7d46c9f56c9a.tar.gz,目录如下图所示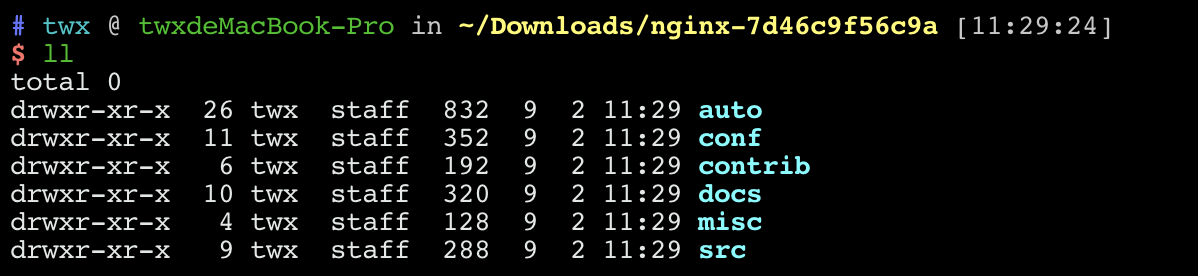
- 执行命令
./auto/configure --with-http_sub_module,其中--with-http_sub_module用于安装第三方模块(官网地址参照https://nginx.org/en/docs/configure.html)
执行完上述命令后,会生成一个Makefile,如下图所示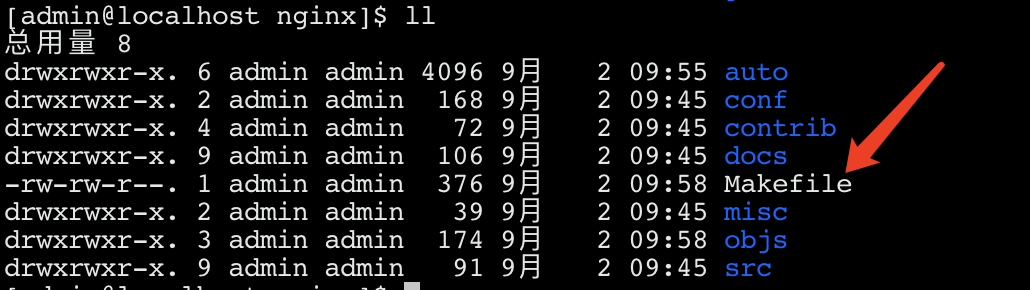
- 使用
make命令 - 然后再
sudo make install,查看/usr/local即可看到nginx已安装完成。 sudo ./sbin/nginx启动

若有收获,就点个赞吧
0 人点赞
