1.新建项目
新建项目过程需联网
新建项目时选择Spring Initializr;服务器URL默认为Spring的服务器,但是由于在国外访问不稳定,所以推荐更改为阿里云服务器https://start.aliyun.com(阿里云的依赖项版本较低);填名称即可点击“下一步”。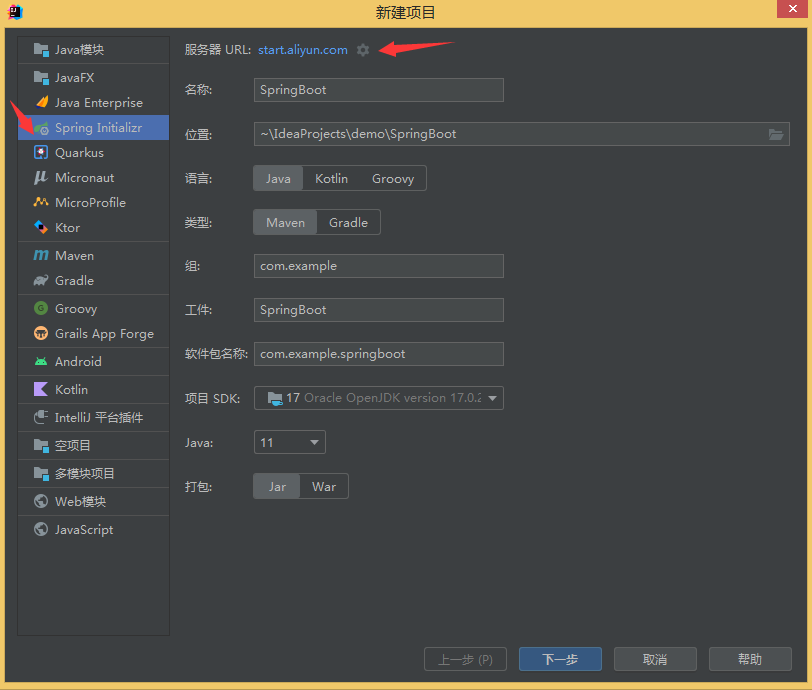
下一步是选择依赖项,实质上就是可视化的方法向pom.xml中添加依赖,可以在这里选择,也可进入项目之后在pom.xml中手动配置。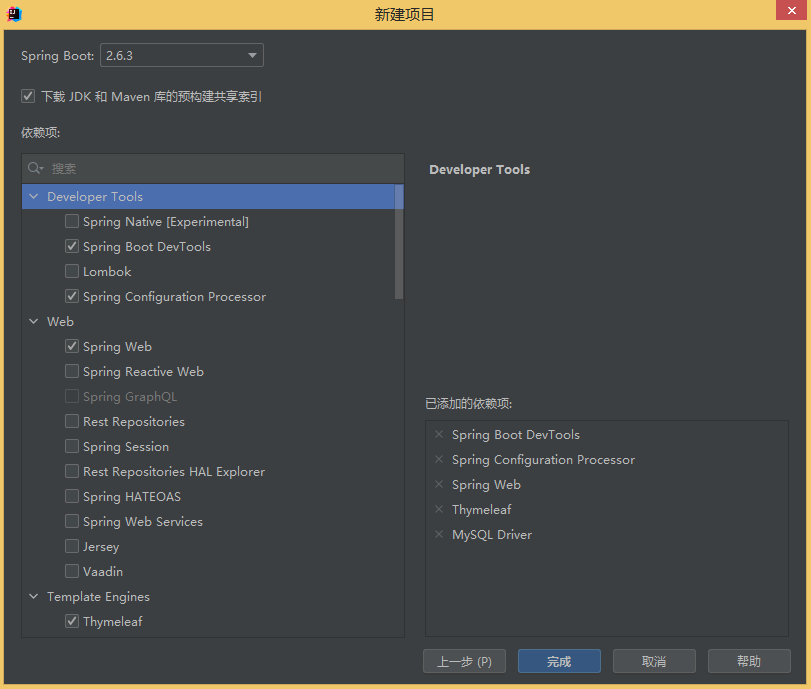
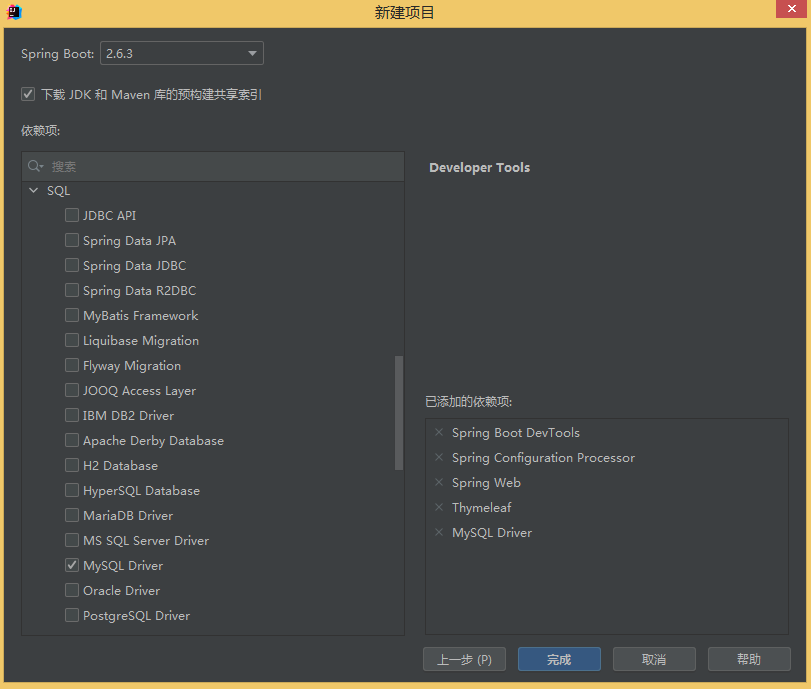
其实对于第一个Boot程序来说只需要勾选Spring Web即可,这里为了方便就将所有在后面笔记中需要使用的所有依赖项都勾选。 这里没有勾选MyBatis是因为稍后使用MyBatisPlus,MyBatisPlus包括MyBatis,且二者不建议同时在pom中配置,否则可能会出现版本冲突问题。
点击“完成”,IDE会从云端下载模板和依赖项。第一次加载因为需要下载依赖多所以时间稍长。
附:新建项目时的pom.xml
<?xml version="1.0" encoding="UTF-8"?><project xmlns="http://maven.apache.org/POM/4.0.0" xmlns:xsi="http://www.w3.org/2001/XMLSchema-instance"xsi:schemaLocation="http://maven.apache.org/POM/4.0.0 https://maven.apache.org/xsd/maven-4.0.0.xsd"><modelVersion>4.0.0</modelVersion><parent><groupId>org.springframework.boot</groupId><artifactId>spring-boot-starter-parent</artifactId><version>2.6.3</version><relativePath/> <!-- lookup parent from repository --></parent><groupId>com.example</groupId><artifactId>SpringBoot</artifactId><version>0.0.1-SNAPSHOT</version><name>SpringBoot</name><description>SpringBoot</description><properties><java.version>11</java.version></properties><dependencies><dependency><groupId>org.springframework.boot</groupId><artifactId>spring-boot-starter-thymeleaf</artifactId></dependency><dependency><groupId>org.springframework.boot</groupId><artifactId>spring-boot-starter-web</artifactId></dependency><dependency><groupId>org.springframework.boot</groupId><artifactId>spring-boot-devtools</artifactId><scope>runtime</scope><optional>true</optional></dependency><dependency><groupId>mysql</groupId><artifactId>mysql-connector-java</artifactId><scope>runtime</scope></dependency><dependency><groupId>org.springframework.boot</groupId><artifactId>spring-boot-configuration-processor</artifactId><optional>true</optional></dependency><dependency><groupId>org.springframework.boot</groupId><artifactId>spring-boot-starter-test</artifactId><scope>test</scope></dependency></dependencies><build><plugins><plugin><groupId>org.springframework.boot</groupId><artifactId>spring-boot-maven-plugin</artifactId><version>2.6.3</version></plugin></plugins></build></project>
2.测试运行
项目加载完毕后,找到src/java下的唯一一个类。这个类为SpringBoot的启动类,非必要请不要编辑这个文件。
点击右上角的启动或者启动类左面的启动按钮都可以启动服务器。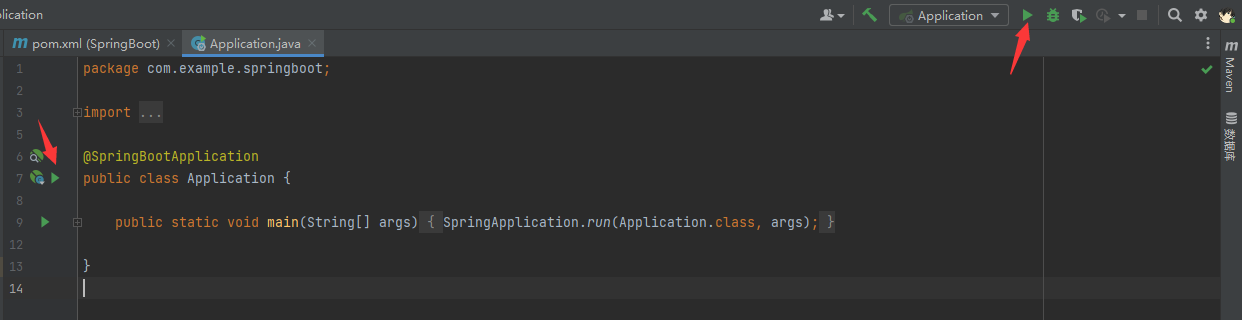
SpringBoot自带一个Tomcat服务器,所以暂时不需要再额外配置Tomcat
当跳转到空白错误页时,SpringBoot程序就已经在运行了(报错是因为这是一个空项目,是正常的)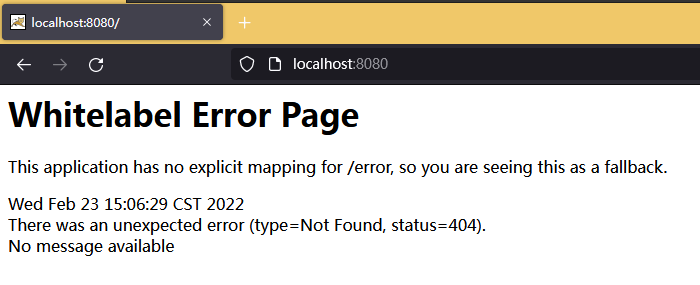
3.返回Hello World
新建一个RestController
package com.example.springboot.controller;

import org.springframework.web.bind.annotation.RequestMapping;
import org.springframework.web.bind.annotation.RestController;

@RestController
public class HelloController {
    @RequestMapping("/hello")
    public String hello(){
        return "hello world!";
    }
}
启动项目,浏览器进入[http://localhost:8080/hello](http://localhost:8080/hello)<br />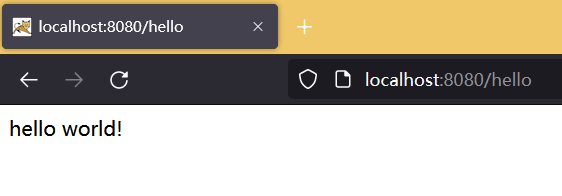<br />hello world!显示在页面上。第一个简单的SpringBoot项目就完成了。

若有收获,就点个赞吧
0 人点赞
