安装方式
Yii框架的安装有两种方式:Composer安装、归档文件安装,推荐使用Composer安装方式。
安装前请确认系统已经安装了Composer、PHP
如果还没有安装Composer,请进入穿越门
如果还没有安装PHP,请进入穿越门
版本比较
Yii2.0框架分为基础版和高级版,推荐使用高级版,关于高级版与基础版的区别如下~
| 特性 | 基础版 | 高级版 |
|---|---|---|
| 项目结构 | ✓ | ✓ |
| Site controller | ✓ | ✓ |
| 用户 登录/退出 | ✓ | ✓ |
| 表单 | ✓ | ✓ |
| 数据库链接 | ✓ | ✓ |
| 命令行操作 | ✓ | ✓ |
| 资源包 | ✓ | ✓ |
| 代码测试 | ✓ | ✓ |
| Bootstrap | ✓ | ✓ |
| 前端 以及 后端 应用 | ✓ | |
| 准备使用用户模型 | ✓ | |
| 用户注册以及密码重置 | ✓ |
安装命令
执行以下命令:composer create-project --prefer-dist yiisoft/yii2-app-advanced yii-application
将项目安装在 yii-application 这个目录下面,如果需要,可以更改成为不同的目录名称。
初始化项目
进入到 yii-application 这个目录下面,执行下面命令:php init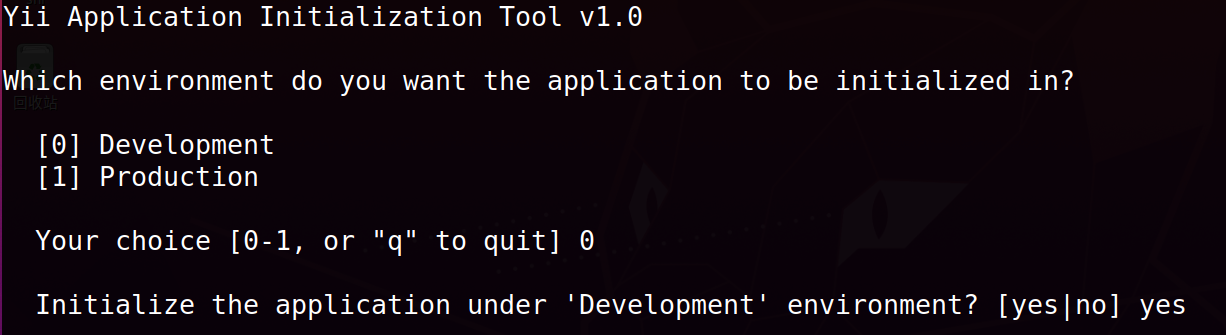
0:测试环境、1:生产环境。
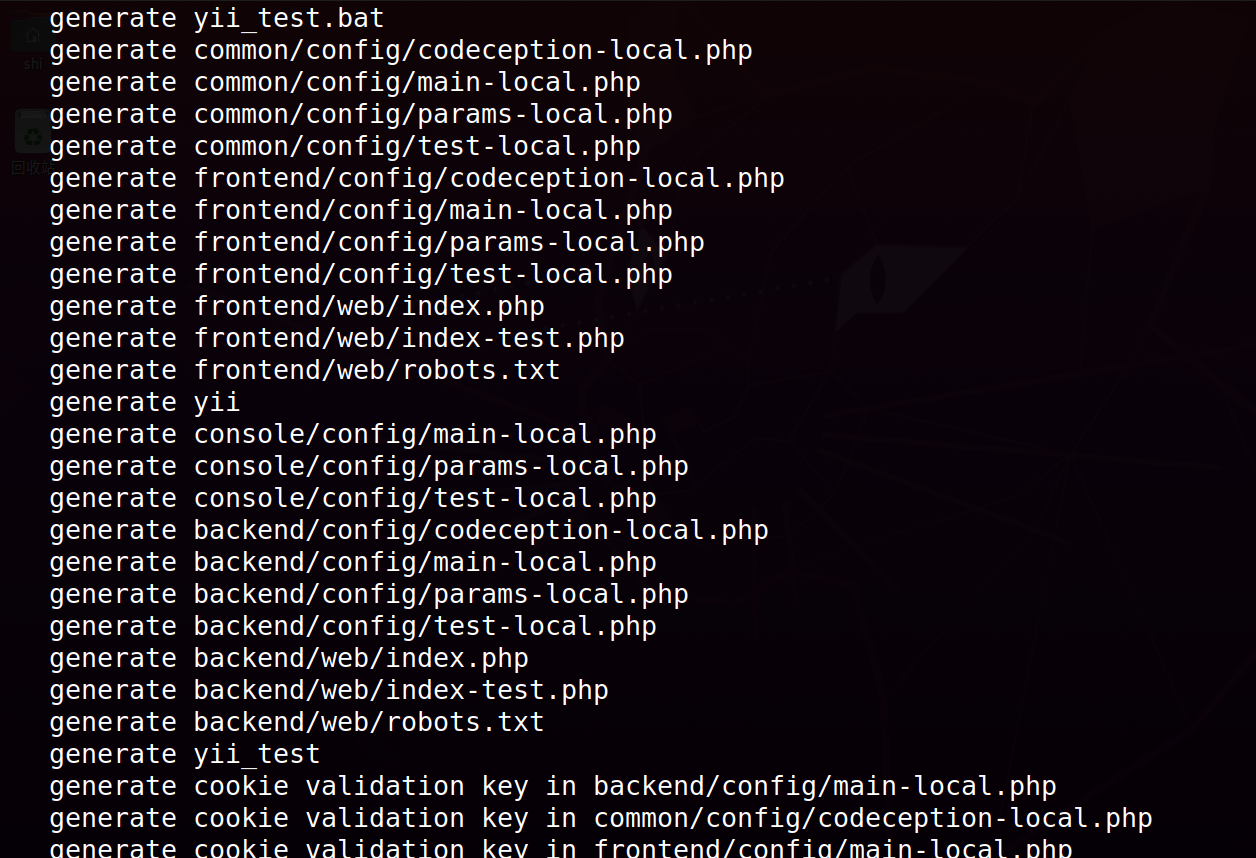
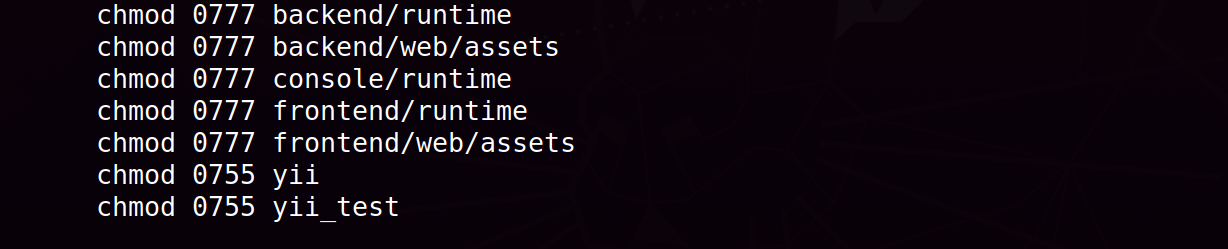
选择测试环境,进行项目的初始化配置。初始化配置主要做以下两件事情
生成文件
更改权限
数据库配置
在MySQL服务中,创建一个新的数据库,我们暂且称新的数据库名称为 yii2advanced,更新项目的配置文件 common/config/main-local.php 中的 components['db'] 配置。示例如下: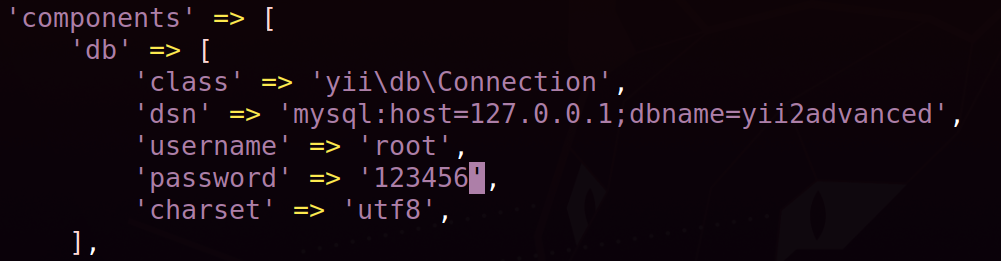
然后执行命令 php yii migrate 进行数据表的创建,结果如下: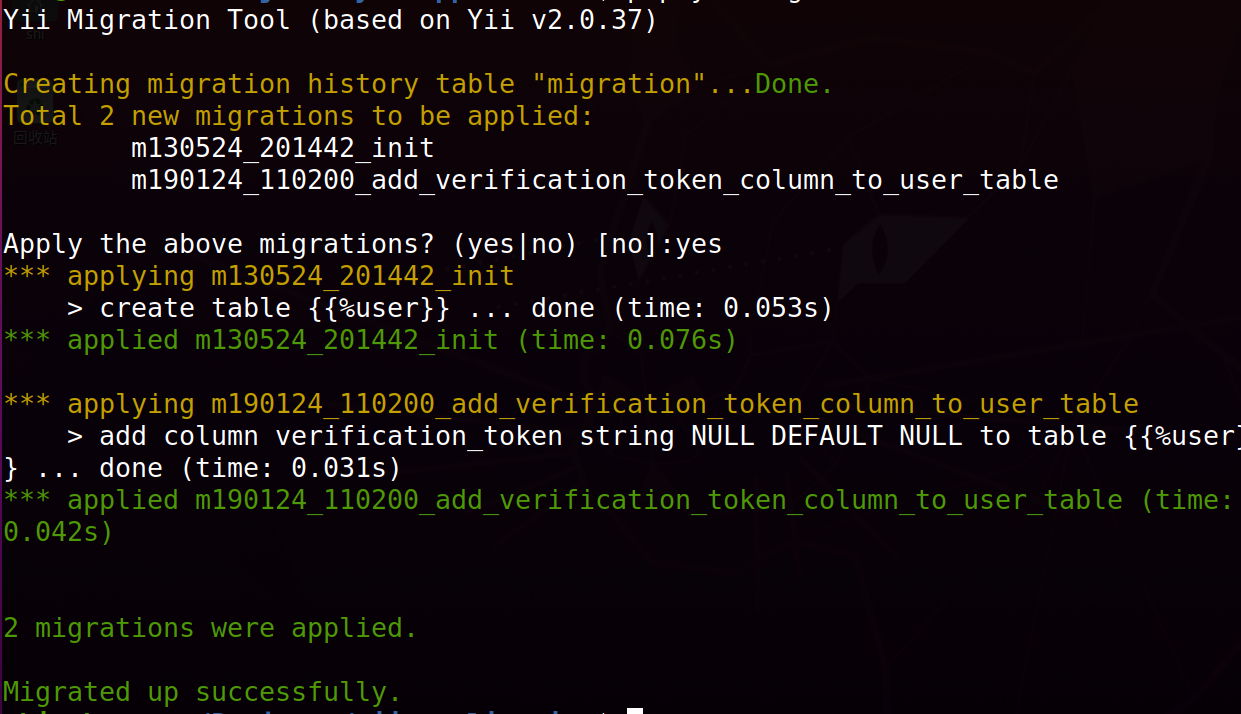
进入数据库查看,生成了两张数据表:user、migration。
Nginx配置
进入Nginx配置目录下,使用如下配置:
server {charset utf-8;client_max_body_size 128M;listen 80; ## listen for ipv4#listen [::]:80 default_server ipv6only=on; ## listen for ipv6server_name frontend.test;root /path/to/yii-application/frontend/web/;index index.php;access_log /path/to/yii-application/log/frontend-access.log;error_log /path/to/yii-application/log/frontend-error.log;location / {# Redirect everything that isn't a real file to index.phptry_files $uri $uri/ /index.php$is_args$args;}# uncomment to avoid processing of calls to non-existing static files by Yii#location ~ \.(js|css|png|jpg|gif|swf|ico|pdf|mov|fla|zip|rar)$ {# try_files $uri =404;#}#error_page 404 /404.html;# deny accessing php files for the /assets directorylocation ~ ^/assets/.*\.php$ {deny all;}location ~ \.php$ {include fastcgi_params;fastcgi_param SCRIPT_FILENAME $document_root$fastcgi_script_name;fastcgi_pass 127.0.0.1:9000;#fastcgi_pass unix:/var/run/php5-fpm.sock;try_files $uri =404;}location ~* /\. {deny all;}}server {charset utf-8;client_max_body_size 128M;listen 80; ## listen for ipv4#listen [::]:80 default_server ipv6only=on; ## listen for ipv6server_name backend.test;root /path/to/yii-application/backend/web/;index index.php;access_log /path/to/yii-application/log/backend-access.log;error_log /path/to/yii-application/log/backend-error.log;location / {# Redirect everything that isn't a real file to index.phptry_files $uri $uri/ /index.php$is_args$args;}# uncomment to avoid processing of calls to non-existing static files by Yii#location ~ \.(js|css|png|jpg|gif|swf|ico|pdf|mov|fla|zip|rar)$ {# try_files $uri =404;#}#error_page 404 /404.html;# deny accessing php files for the /assets directorylocation ~ ^/assets/.*\.php$ {deny all;}location ~ \.php$ {include fastcgi_params;fastcgi_param SCRIPT_FILENAME $document_root$fastcgi_script_name;fastcgi_pass 127.0.0.1:9000;#fastcgi_pass unix:/var/run/php5-fpm.sock;try_files $uri =404;}location ~* /\. {deny all;}}
注意:access_log、error_log、root中的 /path/to 替换成真实目录。
修改本机hosts文件,将域名frontend.test和backend.test绑定到127.0.0.1。
这时使用域名就可访问前台和后台。

若有收获,就点个赞吧
0 人点赞
