1.图片变量
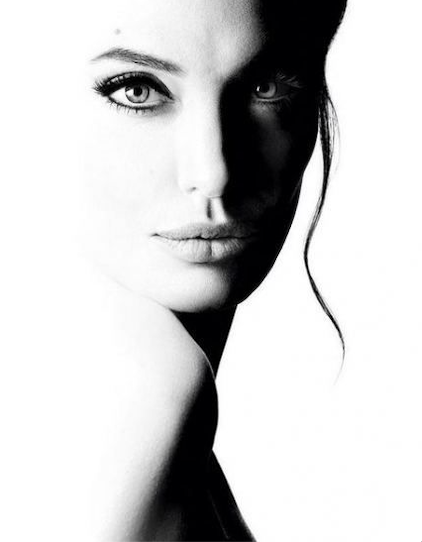
PImage girl; //声明PImage类,girl为变量名size(400,400);girl=loadImage("girl.jpeg"); //载入图片给pic变量girl.resize(400,0); //resize函数,其中一个参数为0代表等比缩放image(girl,0,0);
resize函数 设定图片尺寸
pic.resize(width,height); //图片按照画布的尺寸
pic.resize(400,400); //图片按照400*400的尺寸,会有等比拉伸
pic.resize(400,0); //其中一个参数为0代表等比缩放
加载image
image(图片名,x,y); //x,y代表坐标
image(图片名,x,y,moueX,mouseY); // 图片安鼠标拖拽
改变image属性
tint(0,255,255); //改变图片颜色rgb
tint(0,mouseX,mouseY); //安坐标轨迹改变图片颜色rgb
2.颜色变量color
color col=color(255,100,30); //声明color变量col,赋值()的颜色给col
background(col); //调用col作为背景色

color col=color(90,80,70); //再次给col赋值
strokeWeight(16);
stroke(col);

point(50,50);
3.条件语句
if( 条件){
执行内容
}
if( 条件1 ){
内容1
}else(条件2){
内容 2}
4.如何从一个元素获取灰度值
color col = pic.get(320,180); //颜色变量
float redValue = red (col); //红色变量
float greenValue = green(col); //绿色变量
float blueValue = blue(col); //蓝色变量
float hueValue = hue(col); // 色相
float satValue = satuaraion(col); // 饱和度
float briValue = brightness(col); // 明度
float alphaVaulue = alpha(col);
5.map函数
b= map ( a,a起点,a终点,b起点,b终点 );
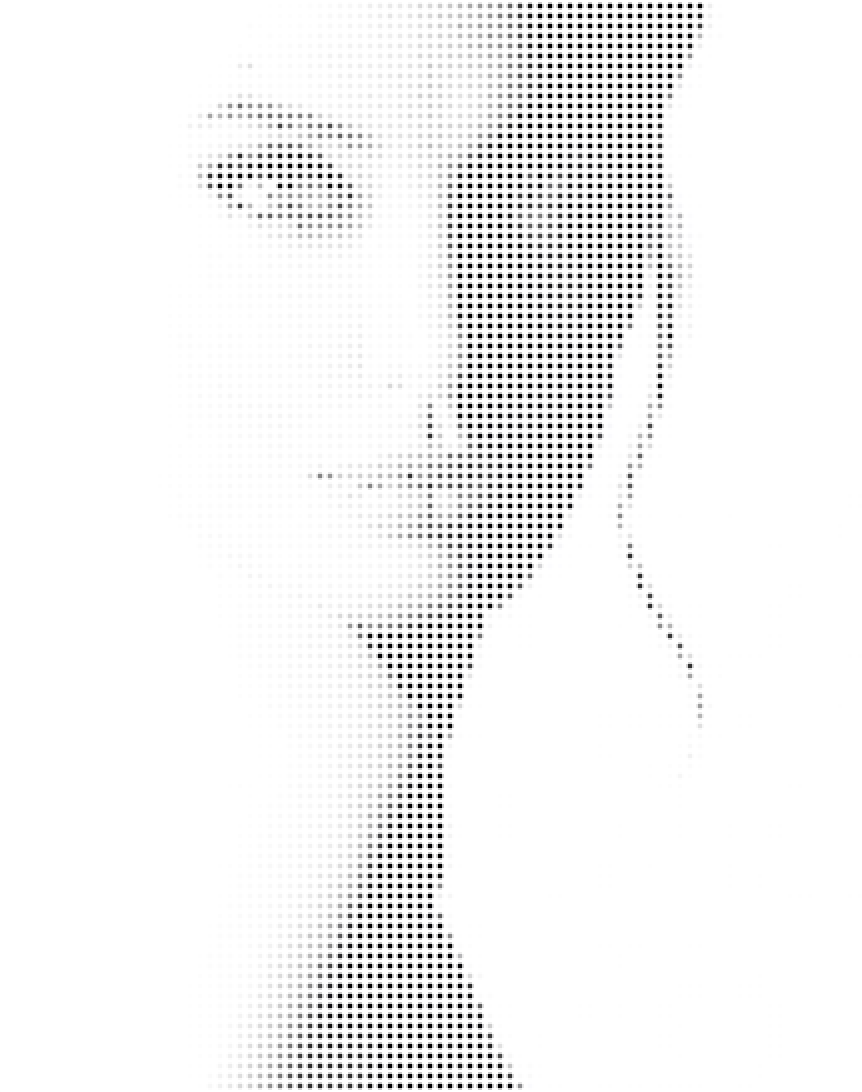
6.遍历去生成一个像素图
PImage pic;
size(440,550);
noStroke();
background(255);

pic = loadImage("girl.jpg");
pic.resize(width,height);

int space=5;
for (int x=space; x<width; x+=space){
  for (int y=space; y <height; y+=space){
    color c = pic.get(x,y);
    fill(c);
    ellipse(x,y,space*0.5,space*0.5);
  }
}
size(512, 256);
colorMode(HSB); //先调整颜色模式
for (int i=0; i
line(i, 0, i, height); //屏幕上一共画了512根线,每根线颜色不同
}

若有收获,就点个赞吧
0 人点赞
