极简部署
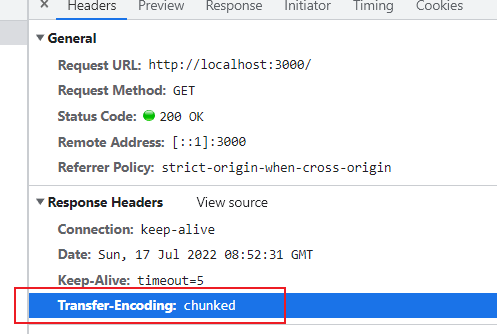
获取报文信息 curl -v localhost:3000
curl: 客户端的url工具
StatusCode : 200StatusDescription : OKContent : {60, 33, 68, 79...}RawContent : HTTP/1.1 200 OKConnection: keep-aliveKeep-Alive: timeout=5Content-Length: 275Date: Sun, 17 Jul 2022 08:48:30 GMT<!DOCTYPE html><html lang="en"><head><meta charset="UTF-8"><meta ht...Headers : {[Connection, keep-alive], [Keep-Alive, timeout=5], [Content-Length, 275], [Date, Sun, 17 Jul 2022 08:48:30 GMT]}RawContentLength : 275
手写简单服务器
const http = require('node:http')const fs = require('node:fs')// const html = fs.readFileSync('./index.html')const server = http.createServer((req, res) => {// 创建一个可读流fs.createReadStream('./index.html').pipe(res)})server.listen(3000, () => {console.log('listening 3000...')})
基于 docker/docker-compose 对极简项目的部署
1. 安装Docker Destop
Dockerfile referencedocker build .:在当前目录下构建docker环境,默认以指定路径下的Dockerfile来构建docker build -f /path/to/a/Dockerfile .:在当前目录下基于指定路径的Dockerfile来构建
了解 Compose file Reference(opens new window)。
了解 Docker Hub(opens new window)
2. WSL2
运行docker destop后根据提示点击链接安装linux内核更新包
安装后后双击运行,之后就可以打开docker
3. Dockerfile
FROM node:14-alpine# 工作目录WORKDIR /src# 将当前项目根目录下的代码复制到镜像的工作目录/src下,注意 . /src之间有空格ADD . /src# 运行命令 安装依赖 node:14-alpine镜像包含了npm yarn 但没有pnpmRUN yarnCMD npm start# 暴露3000端口EXPOSE 3000
Dockerfile常见命令
# adds “test.txt” to <WORKDIR>/relativeDir/# 相对路径 相对于构建时指定的context 意思是复制test.txt到镜像的文件系统中的relativeDir/目录下ADD test.txt relativeDir/
4. 构建镜像
-t 指定镜像名称
docker build -t simple-app .
构建成功查看镜像docker images
git rev-parse --short HEAD: 列出当前仓库的 CommitId
5. 运行容器
docker run --rm -p 3000:3000 simple-app:—rm表示当容器停止时自动删除容器-p: 3000:3000,将容器中的 3000 端口映射到宿主机的 3000 端口,左侧端口为宿主机端口,右侧为容器端口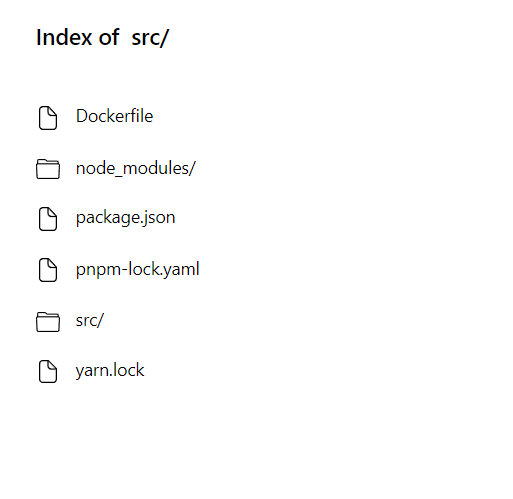
修改一下Dockerfile
FROM node:14-alpineWORKDIR /srcADD . /src# 用于调试,列出当前工作目录下的文件RUN ls -lahRUN yarnCMD npm startEXPOSE 3000
需要运行命令docker build --progress plain --no-cache .才能使RUN ls -lah输出
6. 使用docker-compose
用配置文件的形式替代之前使用命令行的形式
编辑配置文件
version: "3"services:# 镜像名称app:# build: 从当前路径构建镜像build: .# 端口映射ports:- 3000:3000
运行
# up: 创建并启动容器# --build: 每次启动容器前构建镜像$ docker-compose up --build

注意停掉之前相同端口下的服务
基于nginx的镜像
优点:对于静态资源不需要使用node镜像,使用nginx可以大幅减小镜像体积,还有性能上的考虑
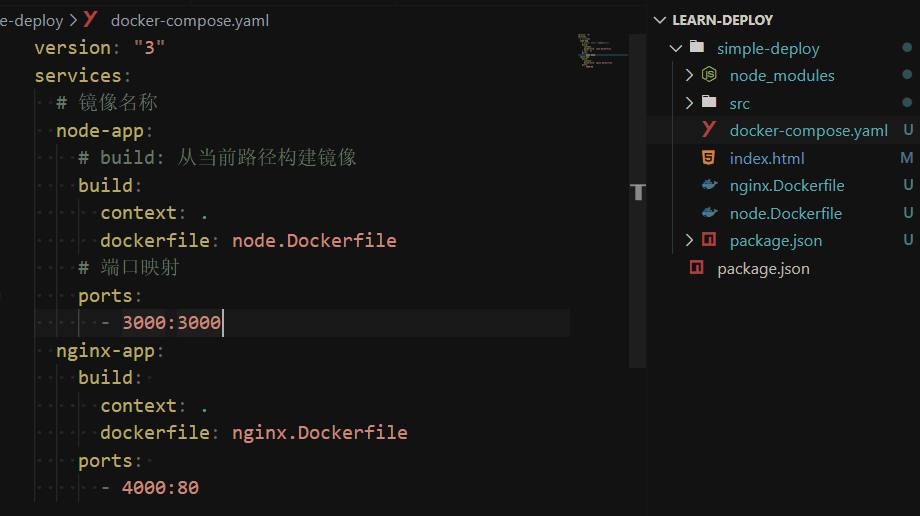
FROM nginx:alpine# 这个目录 /usr/share/nginx/html/ 下的index.html是nginx默认展示页面ADD index.html /usr/share/nginx/html/
docker-compose up --build nginx-app
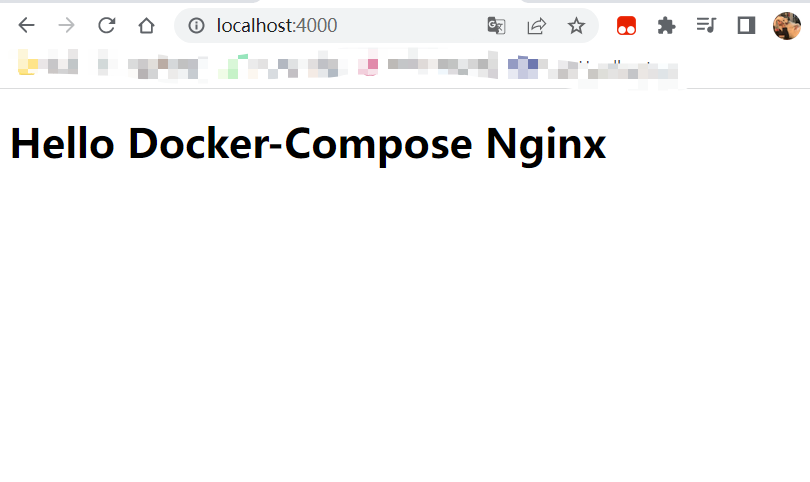
通过docker-compose学习nignx配置
nginx 镜像会默认将 80 端口暴露出来
# 进入 nginx 的环境当中$ docker run -it --rm nginx:alpine sh# 进入容器中,在容器中可通过 exit 退出容器环境$ exit# 通过以下一行命令可直接访问 nginx 的默认页面# -p 3000:80,在本地 3000 端口访问 nginx 页面$ docker run -it --rm -p 3000:80 nginx:alpine# nginx 默认配置文件位于 /etc/nginx/conf.d/default.conf# 查看该文件# 该命令在 nginx 的容器中执行$ cat /etc/nginx/conf.d/default.conf
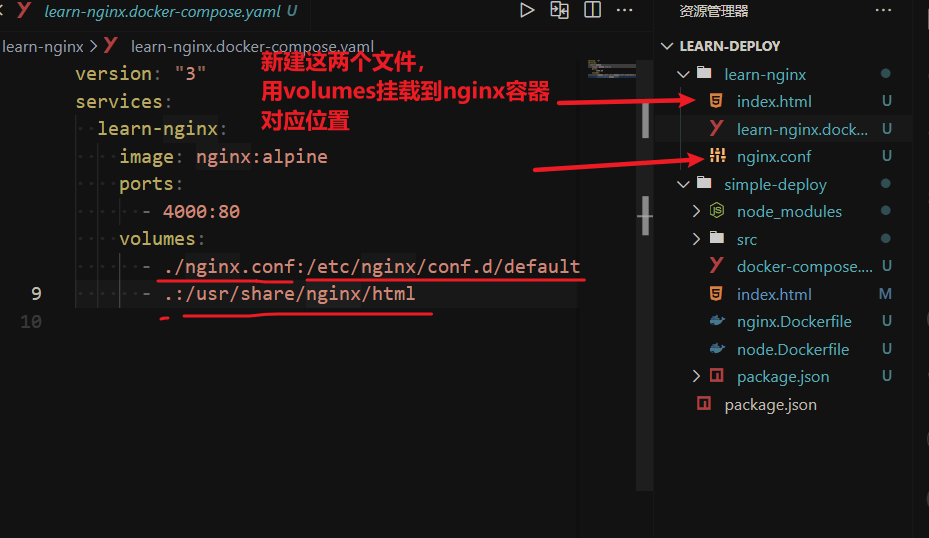
volumes:将主机的数据卷或着文件挂载到容器里。
version: "3"services:learn-nginx:image: nginx:alpineports:- 4000:80volumes:- ./nginx.conf:/etc/nginx/conf.d/default.conf- .:/usr/share/nginx/html
启动容器
docker-compose -f learn-nginx.docker-compose.yaml up learn-nginx

server {listen 80;server_name localhost;location / {root /usr/share/nginx/html;index index.html index.htm;# 以X开头代表自定义头 注意加分号,否则报错add_header X-Hello corner;add_header X-Server corner;# 开启gzip 对应响应头 Content-Encoding: gzip;gzip on;}error_page 500 502 503 504 /50x.html;location = /50x.html {root /usr/share/nginx/html;}}
使用dokcer-compose构建并容器
构建一个cra应用
# 创建一个 cra 应用$ npx create-react-app cra-deploy# 进入 cra 目录$ cd cra-deploy# 进行依赖安装$ yarn# 对资源进行构建$ npm run build
本地将应用跑起来
$ yarn$ npm run build$ npx serve -s build
使用dokcer来构建,在项目根目录下新建simple.Dockerfile,内容如下:
使用了构建缓存优化和多阶段构建
FROM node:14-alpine as builderWORKDIR /code# 单独分离 package.json,是为了安装依赖可最大限度利用缓存ADD package.json yarn.lock /code/RUN yarnADD . /codeRUN npm run build# 选择更小体积的基础镜像FROM nginx:alpineCOPY --from=builder code/build /usr/share/nginx/html
在项目根目录下新建docker-compose.yaml
version: "3"services:simple:build:context: .dockerfile: simple.Dockerfileports:- 4000:80
运行启动容器
docker-compose up --build simple
常用命令
# 使用docker-compose构建镜像docker-compose up --build# 列出所有镜像,可以查看各个镜像的体积等信息docker images# 查看当前目录docker-compose配置文件中的镜像信息docker-compose images

