title: GitLab
GitLab介绍
::: tip
GitLab 是一个用于仓库管理系统的开源项目,使用Git作为代码管理工具,并在此基础上搭建起来的Web服务。
类似于GitHub和Gitee.
GitLab 是使用 Ruby 开发的开源版本管理系统,以 Git 作为代码管理工具并实现自托管的 Git 项目仓库,可通过 Web 界面访问公开或私人的项目。
:::
示例版本
- GitLab:社区版 14.6.2
本文使用的服务器配置如下:
- CPU:2核
- 内存:4GB
- Linux 操作系统:以 CentOS 8.2
安装GitLab
登录实例
安装依赖包 已CentOS 8.2为例
yum install -y curl policycoreutils-python-utils openssh-server
- 依次执行以下命令,设置 SSH 开机自启动并启动 SSH 服务。
systemctl enable sshd
systemctl start sshd
- 执行以下命令,安装 Postfix。
yum install -y postfix
- 执行以下命令,设置 Postfix 服务开机自启动。
systemctl enable postfix
- 执行以下命令,打开 Postfix 的配置文件 main.cf。
vim /etc/postfix/main.cf
按 i 进入编辑模式,删除
inet_interfaces = all前的#,在inet_interfaces = localhost前加上#。修改完成后如下图所示:
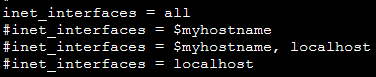
按 Esc 并输入 :wq 保存修改并退出文件。
执行以下命令,启动 Postfix。
systemctl start postfix
- 执行以下命令,添加 GitLab 软件包仓库。
curl https://packages.gitlab.com/install/repositories/gitlab/gitlab-ce/script.rpm.sh | sudo bash
- 执行以下命令,安装 GitLab。
sudo EXTERNAL_URL="实例公网 IP 地址" yum install -y gitlab-ce
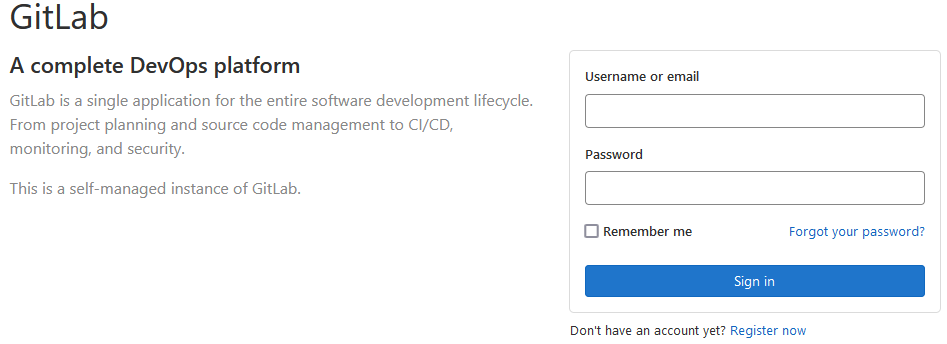
- 在本地浏览器中访问已获取的公网 IP,返回页面如下所示,则表示已成功安装 GitLab。
设置管理员帐户密码
- 登录实例,并执行以下命令获取管理员帐户登录密码。
cat /etc/gitlab/initial_root_password
登录 GitLab。
在本地浏览器中访问云服务器的公网 IP,进入 GitLab 登录界面。使用root帐户及已获取的登录密码进行登录。修改管理员帐户密码。由于保存默认密码的文件将在首次配置运行24小时后自动删除,请尽快修改帐户登录密码。
- 选择页面右上角的用户头像,在弹出菜单中选择 Perferences。
- 在 “User Settings” 页面中,选择左侧导航栏的 Password。
- 在页面中输入目前使用密码,新密码及确认新密码后,单击 Save Password 即可。如下图所示:

什么是CI/CD
首先要说的ci/cd 是分成三部分 持续集成,持续交付,持续部署;
为了快速、自动化、可重复的方式 处理工程
开发阶段: 编码 -> 构建 -> 集成 -> 测试 -> 交付 -> 部署

需要注意的是ci中的test阶段不是 交给测试人员的测试环境,而是自动化测试;
cd中的Delivery才是包含测试环境,stg环境,灰度环境等;
1. 持续集成(CI)
持续集成就是把多个码农写的代码集成到同一个分支,然后经过编译、测试、打包之后将程序保存到 仓库中。
CI 需要具备这些:
1. 全面的自动化测试。这是实践持续集成&持续部署的基础,同时,选择合适的自动化测试工具也极其重要;
2. 灵活的基础设施。容器,虚拟机的存在让开发人员和 QA 人员不必再大费周折;
3. 版本控制工具。如 Git,CVS,SVN 等;
4. 自动化的构建和软件发布流程的工具,如 Jenkins,flow.ci;
5. 反馈机制。如构建/测试的失败,可以快速地反馈到相关负责人,以尽快解决达到一个更稳定的版本。
2. 持续交付(CD / Continuous Delivery)
持续交付就是定时地、自动地从 仓库中 将最新的程序部署到测试环境里。
3. 持续部署(CD / Continuous Deployment)
持续部署就是定时地、自动地将过去一个稳定的发布版本部署到生产环境里。

4.一个基本的ci/cd pipeline

GitRunner介绍
目前就自己的感觉而言,gitlab的runner和jenkins的agent是一个概念,是一个用来安装到各种系统上的软件包,安装好了以后,能够从项目的CI/CD管道里读取任务到机器上去执行,执行完成后,将结果返回。一般执行的任务都是用来编译打包,这种方式可以同时在多个机器上并行处理多个任务,提高CI/CD的效率。
Gitlab的Runner是一个使用Go语言编写的开源软件,能够运行在目前常用的平台上,例如:
- Linux/Unix
- Windows
- MacOS
- Kubernetes
等等,在Linux上还支持多种不同的发行版。让runner的扩展变得更加容易。
GitLab Runner提供的特性
- 同时运行多个任务(只要硬件支持)
- 多个服务器对应多个token(甚至每个项目一个,token的作用下面会讲解)
- 单个token可以限制并发运行的任务数量
- 任务可以在以下环境里运行
- 本地
- Docker容器里
- 通过SSH在Docker容器上
- 在不同的云和虚拟化环境里动态缩放的Docker容器里
- 连接到远程的SSH服务器上
- 以Go语言编写,只有一个二进制文件,不需要其他依赖。安装和使用简单
- 可以支持多平台(上面讲过)
- 运行自定义任务的运行环境
- 可以启用Docker容器缓存
- 内嵌Prometheus 指标HTTP服务器
GitLab Runner版本的选择
为了兼容性期间,Runner的版本一般要和部署的Gitlab版本一致,毕竟从架构上看,Gitlab类似于服务端,Runner类似于客户端,如果两端版本不一致,可能会导致一些意料之外的错误。
安装Runner
1、下载安装包
sudo wget -O /usr/local/bin/gitlab-runner https://gitlab-runner-downloads.s3.amazonaws.com/latest/binaries/gitlab-runner-linux-amd64
2、赋予可执行权限
sudo chmod +x /usr/local/bin/gitlab-runner
3、以root身份安装 (注意文件夹是否创建)
gitlab-runner install --working-directory /home/gitlab-runner --user root
4、修改配置文件
vi /etc/systemd/system/gitlab-runner.service
添加下面的内容:
ExecStart=/usr/lib/gitlab-runner/gitlab-runner "run" "--working-directory" "/home/gitlab-runner" "--config" "/etc/gitlab-runner/config.toml" "--service" "gitlab-runner" "--syslog" "--user" "gitlab-runner"
相关内容
# 重启服务
gitlab-runner restart
# 停止服务
gitlab-runner stop

# 取消随机启动
chkconfig gitlab-runner off

# 卸载服务
gitlab-runner uninstall

# 清理文件
rm -rf /etc/gitlab-runner
rm -rf /usr/local/bin/gitlab-runner
rm -rf /usr/bin/gitlab-runner
rm -rf /etc/sudoers.d/gitlab-runner

# 删除用户
userdel -r gitlab-runner
注册Runner
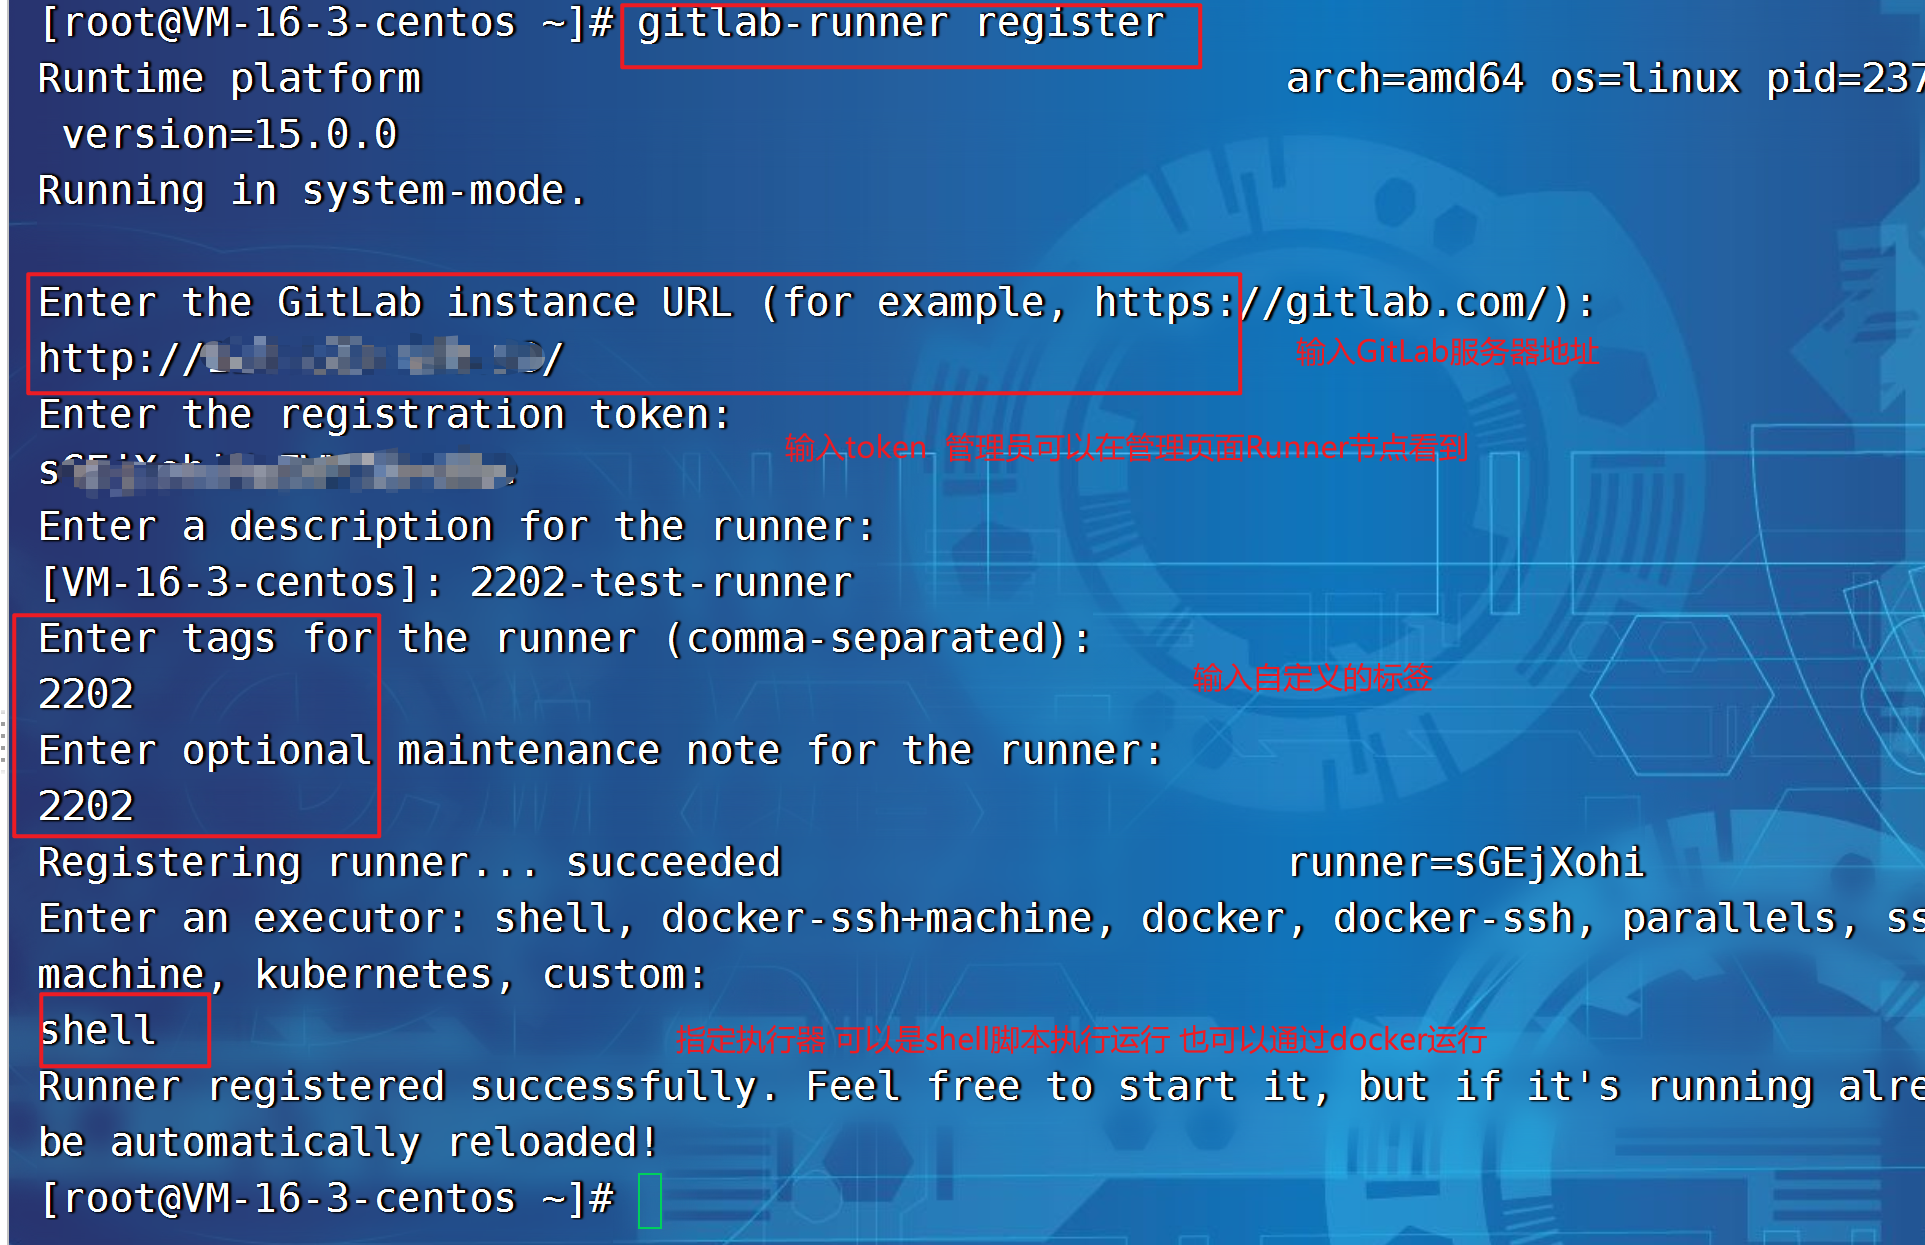
注册
gitlab-runner register
输入本地的 gitlab URL
Please enter the gitlab-ci coordinator URL (e.g. https://gitlab.com )
http://124.223.190.53/
输入 Token
Please enter the gitlab-ci token for this runner
HLtyapR94PosKvgP3zwM
输入 tag, 注意要跟 job 的 tag 一致,后续详细说明
Please enter the gitlab-ci tags for this runner (comma separated):
my-tag,another-tag
选择 executor,
Please enter the executor: ssh, docker+machine, docker-ssh+machine, kubernetes, docker, parallels, virtualbox, docker-ssh, shell:
shell
| 注册Runner的全过程 |
|---|
 |
| 在web页面可以看到注册号的runner |
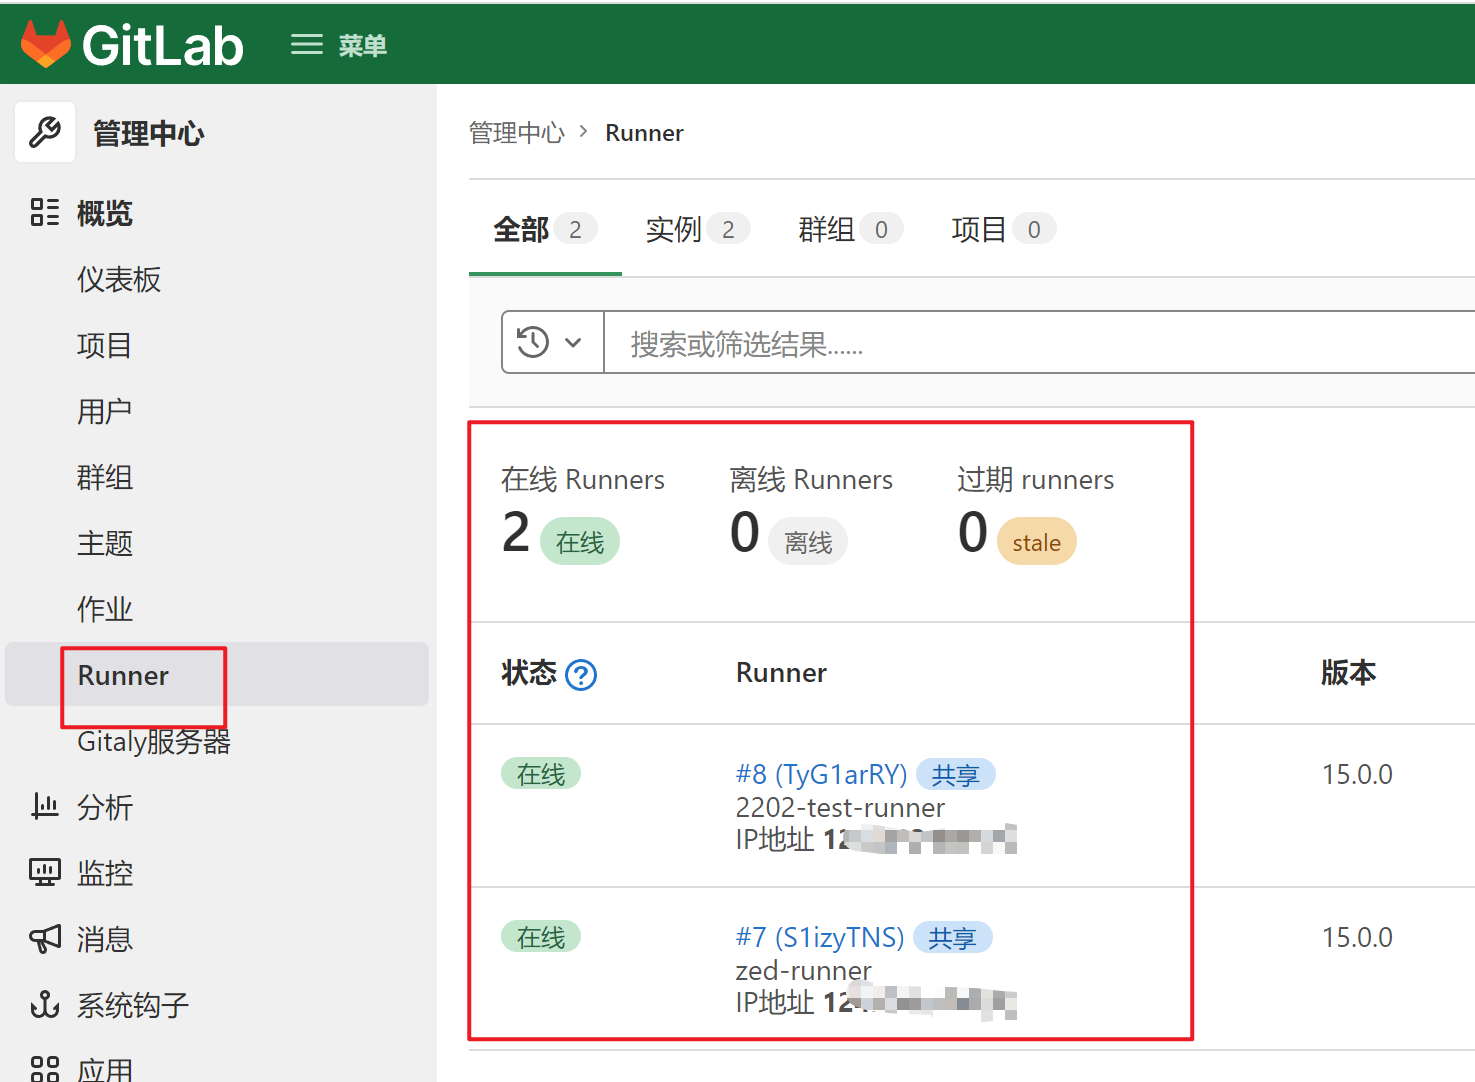 |
Runner详情

CI/CD配置
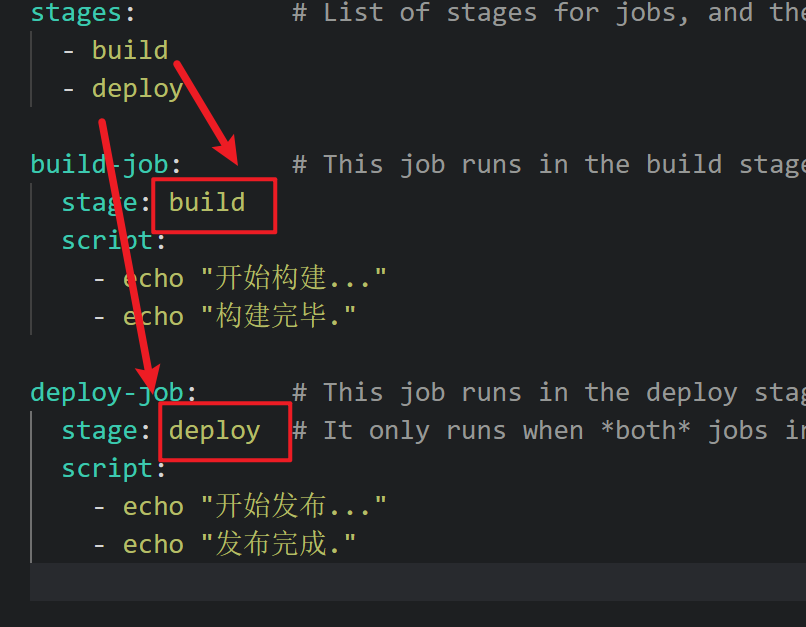
典型的配置文件内容如下:
stages:          # List of stages for jobs, and their order of execution
  - build
  - deploy

build-job:       # This job runs in the build stage, which runs first.
  stage: build
  script:
    - echo "开始构建..."
    - echo "构建完毕."
  artifacts:
      paths: # 这里指定的是作业结束后保留的作业产物,由于上面已经复制到了根目录,所以可以直接给出文件名
        - ./target

deploy-job:      # This job runs in the deploy stage.
  stage: deploy  # It only runs when *both* jobs in the test stage complete successfully.
  script:
    - echo "开始发布..."
    - echo "发布完成."
stages : 整个流水线由极端阶段[作业]组成
stage: build 定义一个阶段 ,构建阶段
script: 执行的脚本命令
只要仓库有任何变化,会自动触发流水线的执行。当前这个地方也可以配置为其他时机执行流水线,
| 作业执行成功的截图 |
|---|
 |
| 作业详情中 |
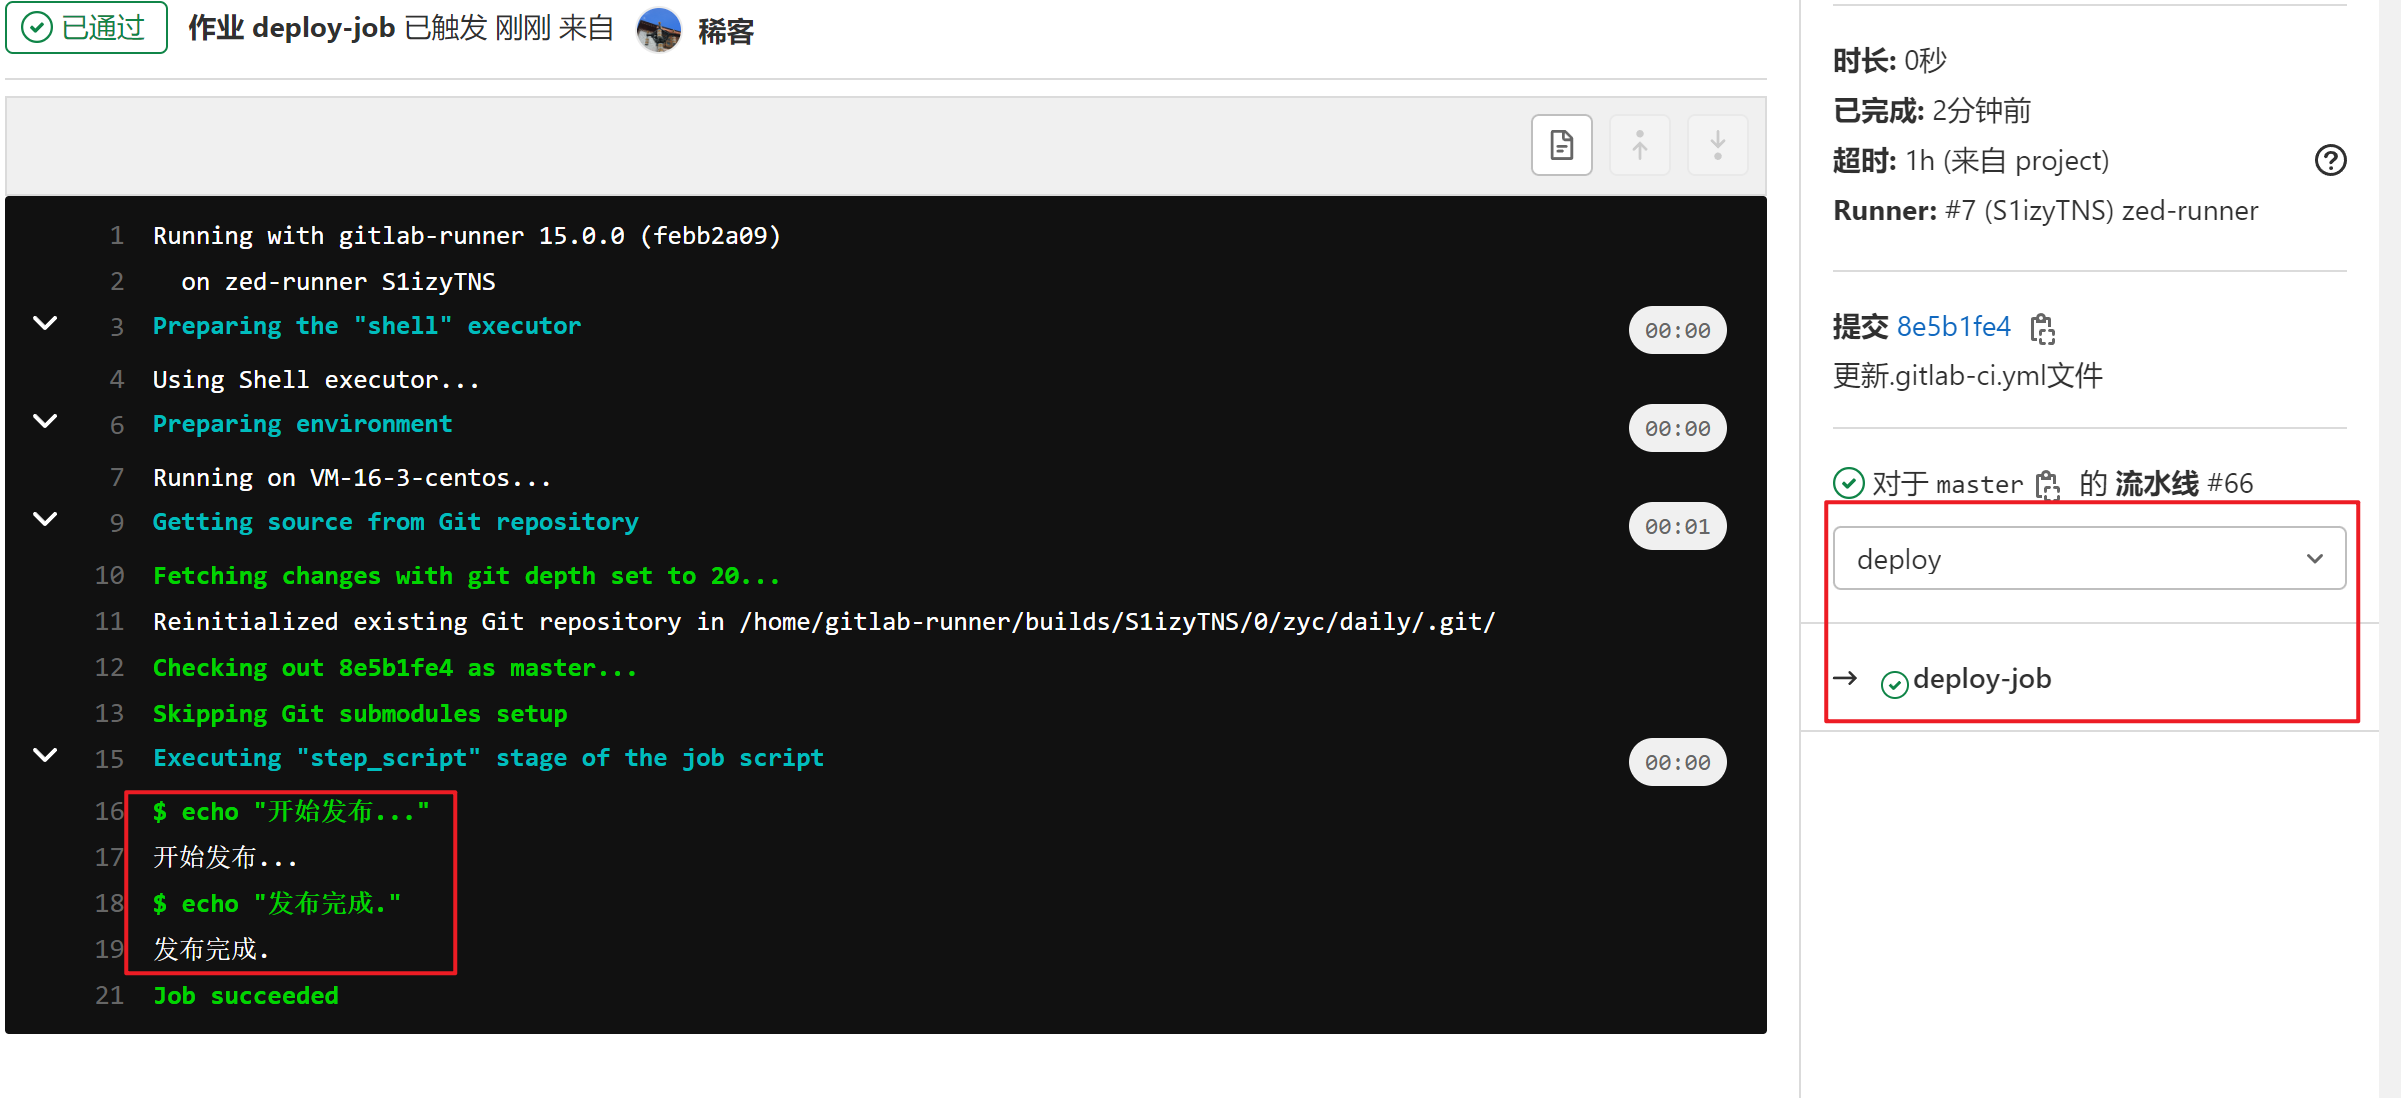 |
部署前后端项目
前端项目流水线
.gitlab-ci.yml
stages:          # List of stages for jobs, and their order of execution
  - build

build-job:       # This job runs in the build stage, which runs first.
  stage: build
  script:
    - echo "开始构建项目"
    - npm install
    - npm start
    - echo "构建完毕"
SpringBoot项目流水线
.gitlab-ci.yml
stages:          # List of stages for jobs, and their order of execution
  - build
  - deploy

build-job:       # This job runs in the build stage, which runs first.
  stage: build
  script:
    - mvn clean package -DskipTests
    - echo "构建完毕."
  artifacts:
    expire_in: 10 mins  # 10分钟后自动删除构建产物
    paths:
      - ./target  # 构建产物的保存路径

deploy-job:      # This job runs in the deploy stage.
  stage: deploy  # It only runs when *both* jobs in the test stage complete successfully.
  script:
    - echo "开始发布..."
    - nohup java -jar ./target/daily-0.0.1-SNAPSHOT.jar --server.port=9090 --server.context-path=/zyc &
    - echo "发布完成."
| 流水线执行完毕,就可以直接访问项目了 |
|---|
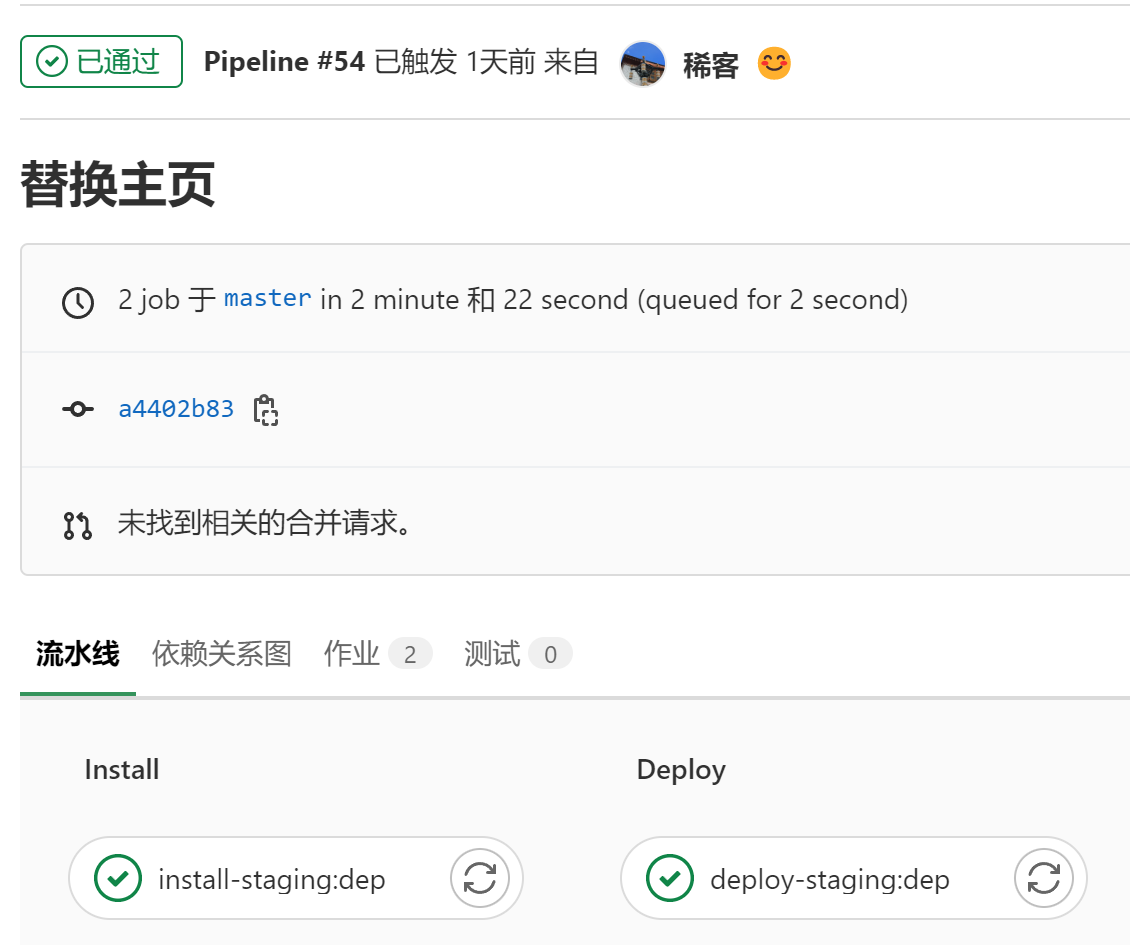 |

若有收获,就点个赞吧
0 人点赞
