引子
Docker引擎可以从Docker网站下载,也可以基于Github上的源码进行构建。 无论是开源版还是商业版,都有Linux和Windows版本
版本号介绍
Docker 引擎主要有两个版本:企业版(EE)和社区版(CE)
每个季度,企业版和社区版都会发布一个稳定版本,社区版会提供4个月的支持,而企业版会提供12个月的支持。
⭐从2017年第一季度开始,Docker版本号遵循YY.MM-xx 格式,类似于Ubuntu等项目。列如,2018年6月第一次发布的社区版本为:18.06.0-ce
💣注:2017年第一个季度以前,Docker版本号遵循 大版本号.小版本号的格式,采用新格式前的最后一个版本是Docker1.13
❌❌!!别忘记关闭selinux和firewalld
可能 linux的内核中的SELinux不支持 overlay2 graph driver ,
解决方法有两个,要么启动一个新内核,要么就在docker里禁用selinux,–selinux-enabled=false
关闭selinux
# 永久关闭 # 开机不会自启 # 复制粘贴回车执行一劳永逸sed -i 's/SELINUX=enforcing/SELINUX=disabled/g' /etc/selinux/config
关闭centos7自带防火墙firewalld
systemctl stop firewalld.service # 关闭防火墙systemctl disable firewalld.service # 禁止开机自启
😶检查环境
Centos7的Base源 以及epel源
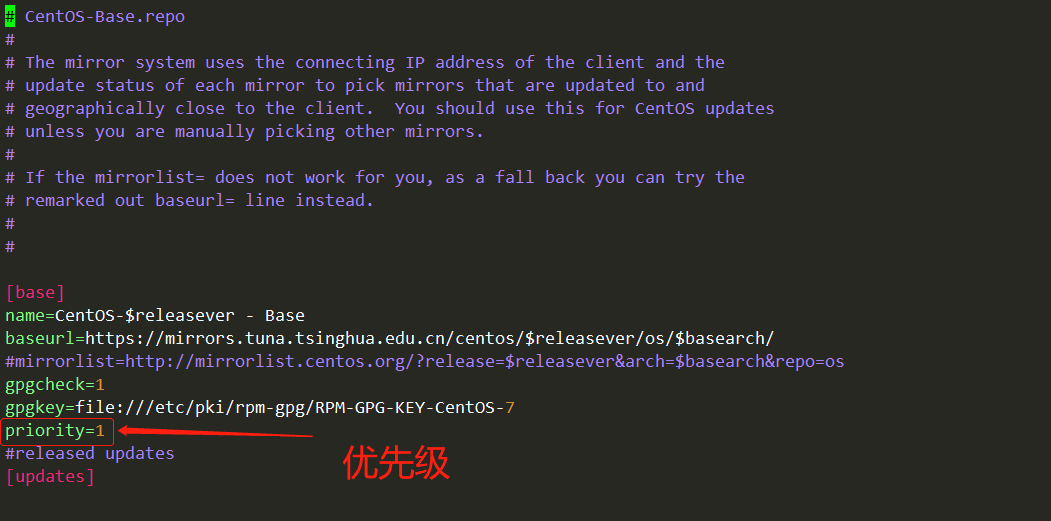
mv /etc/yum.repos.d/CentOS-Base.repo /etc/yum.repos.d/CentOS-Base.repo.backup # 备份原有base源# 下载新的CentOS-Base.repo到/etc/yum.repos.d/curl -o /etc/yum.repos.d/CentOS-Base.repo http://mirrors.aliyun.com/repo/Centos-7.repoyum makecache # 生成缓存yum clean all # 清除缓存# 安装最新版本epel-release源yum install -y epel-release💣💣💣### 可选步骤 💣💣💣# 设置 base源与 repl源的优先级yum install -y yum-plugin-priorities # 安装优先级插件# 编辑base.repo和epel.repo两个配置文件# 添加一行priority=num,num代表优先级,我这里设置的base源优先级为1,epel源优先级为2 # 如下图所示yum clean all # 清空缓存yum makecache # 建立缓存
安装与配置
安装
yum install -y yum-utils # 安装扩展工具yum-config-manager --add-repo http://mirrors.aliyun.com/docker-ce/linux/centos/docker-ce.repo # 添加docker-ce源yum list docker-ce --show-duplicates # 查看docker-ce版本 截止到文章撰写是 阿里云提供的最后版本为 3:19.03.13-3.el7yum install docker-ce # 安装最后更新的docker-ce# ⚡安装指定版本的docker-ce # yum install docker-ce-19.03.13-3.el7.x86_64 #docker-ce-<版本号>.x86_64
配置Docker引擎
mkdir -p /data/docker # 创建目录# /etc/docker/daemon.json{"graph": "/data/docker","storage-driver": "overlay2","insecure-registries": ["registry.access.redhat.com","quay.io"],"registry-mirrors": ["https://q2gr04ke.mirror.aliyuncs.com"],"bip": "172.11.35.1/24","exec-opts": ["native.cgroupdriver=systemd"],"live-restore": true}:wqsystemctl reset-failed docker.servicesystemctl start docker

若有收获,就点个赞吧
0 人点赞
