问题描述
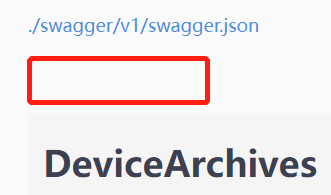
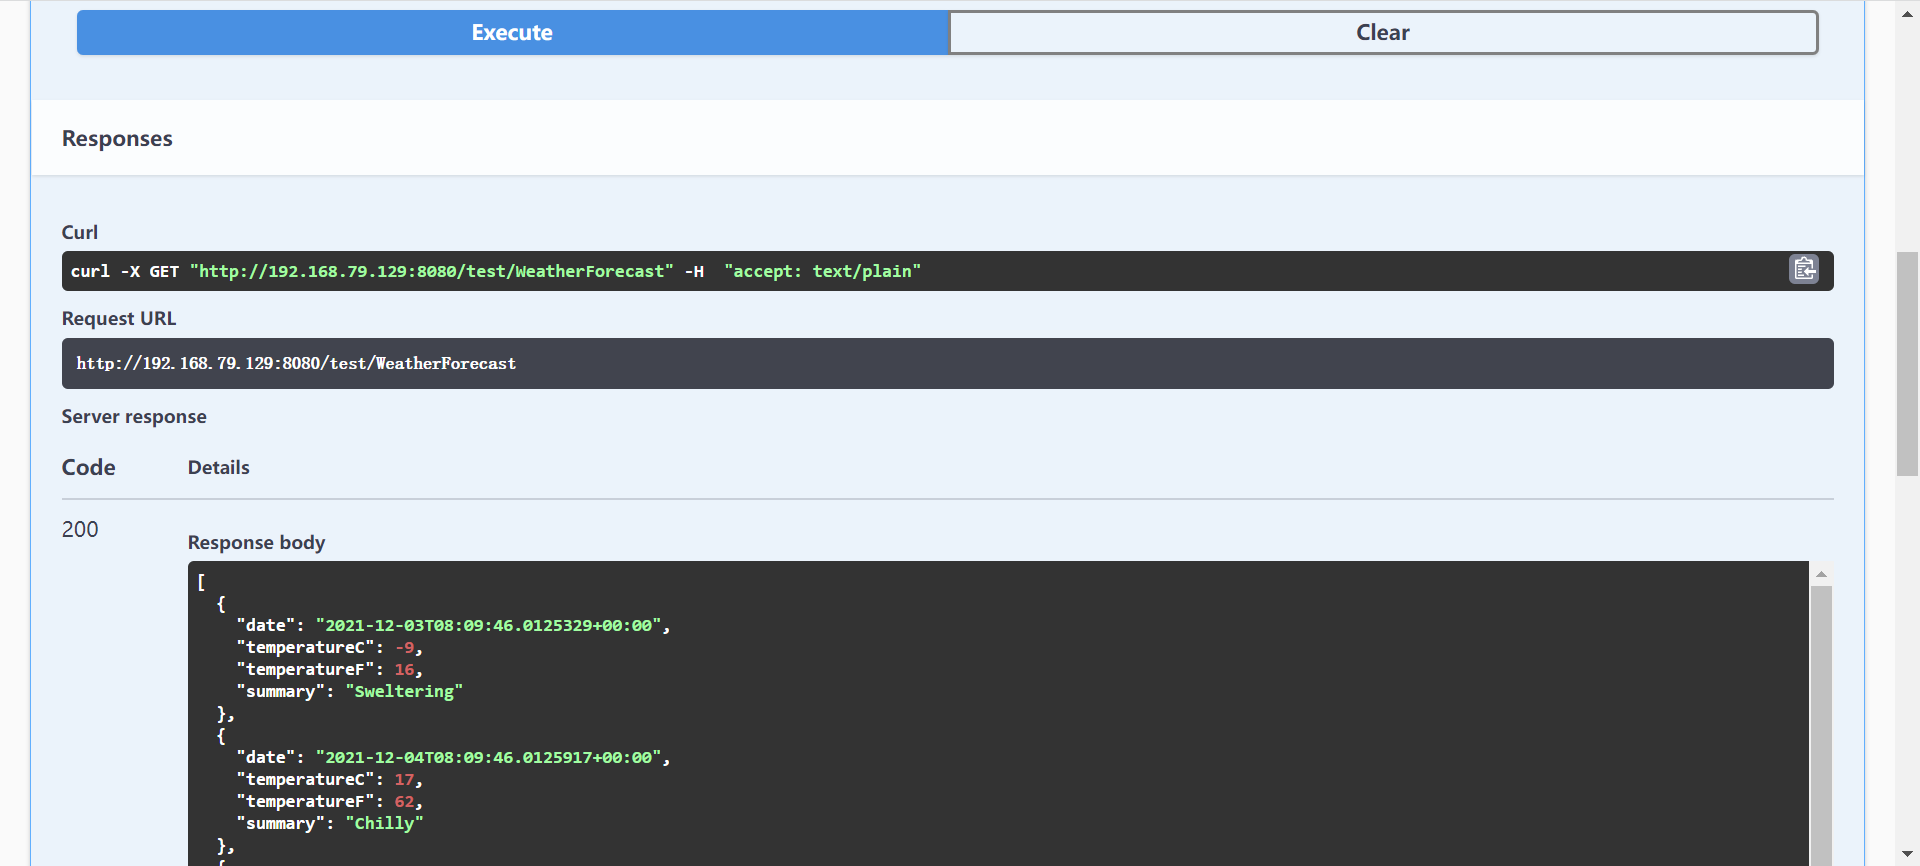
用nginx反向代理方法把.Net Core Web API项目部署到二级虚拟目录,Swagger调试时二级目录路径没有,报404!同时Swagger页面有不生产Servers选项。
如下图: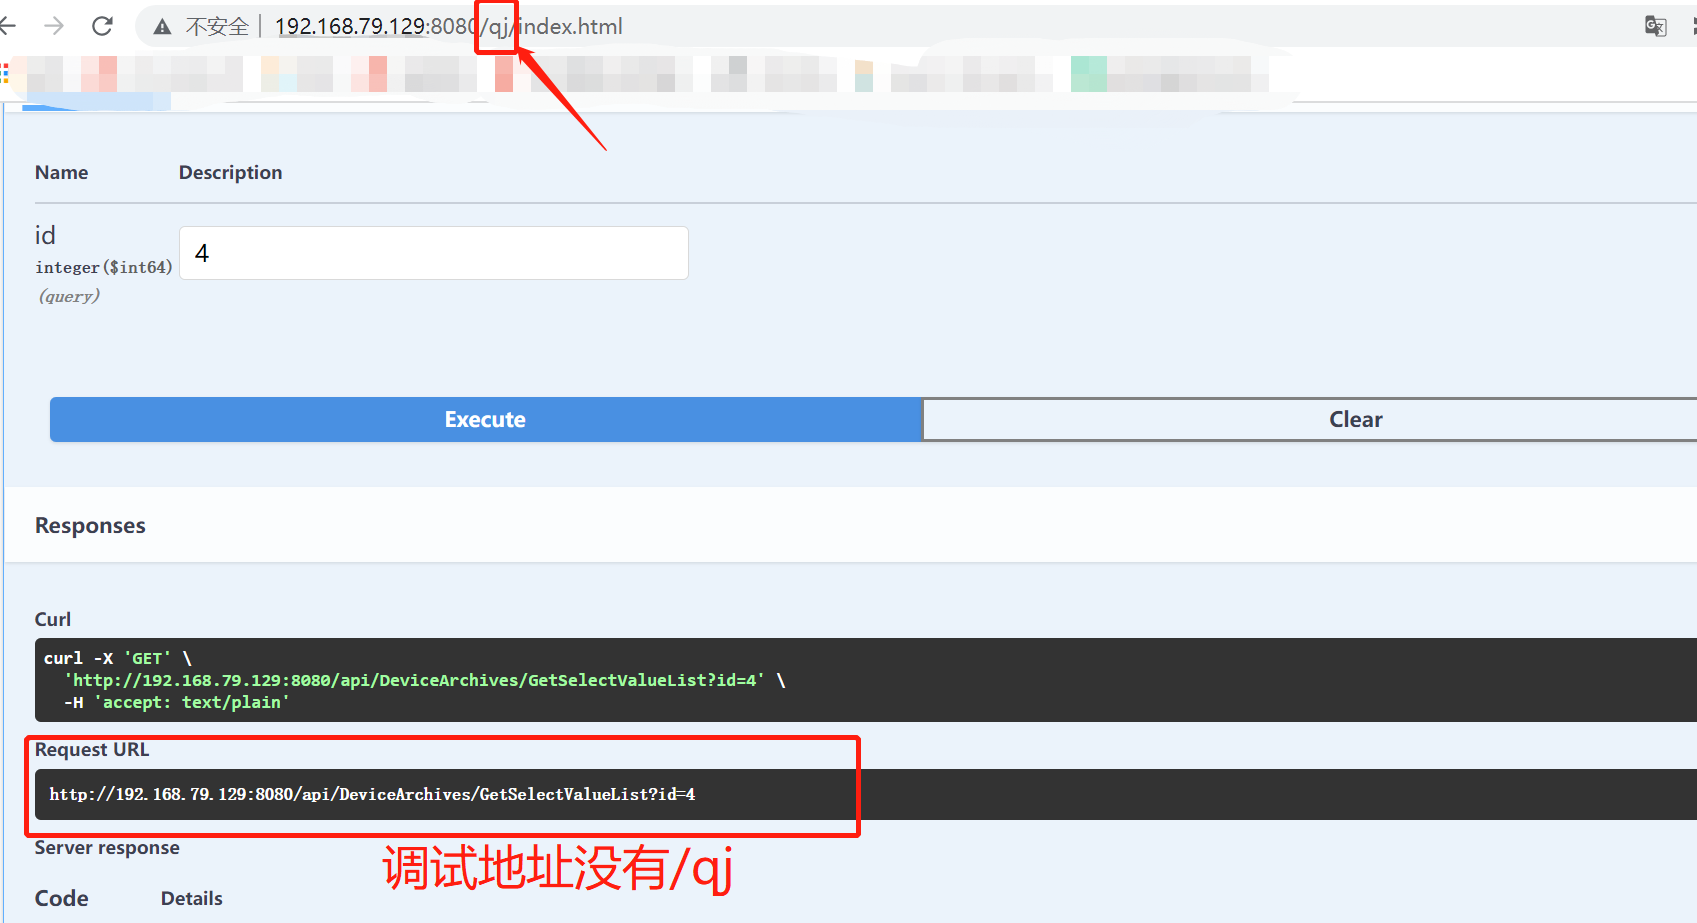
注:.Net Core 5、Swashbuckle swagger 6.2.3
问题查找
出现问题解决问题,虽说这个问题对于项目推进影响不是很大,顶多通过Postman调试就OK了,但总就觉得差那么一点,因此开启了“漫长的百度、谷歌之旅”。
链接1:https://www.cnblogs.com/shanfeng1000/p/13476831.html
链接2:https://www.cnblogs.com/weihanli/p/servers-in-swagger.html
链接3:https://www.cnblogs.com/cuiguoliang/articles/15183664.html
链接4:https://github.com/domaindrivendev/Swashbuckle.AspNetCore#working-with-virtual-directories-and-reverse-proxies
以上参考链接都给到了或多或少的启示,最终通过链接1同“没有星星的夏季”的对话“悟了”!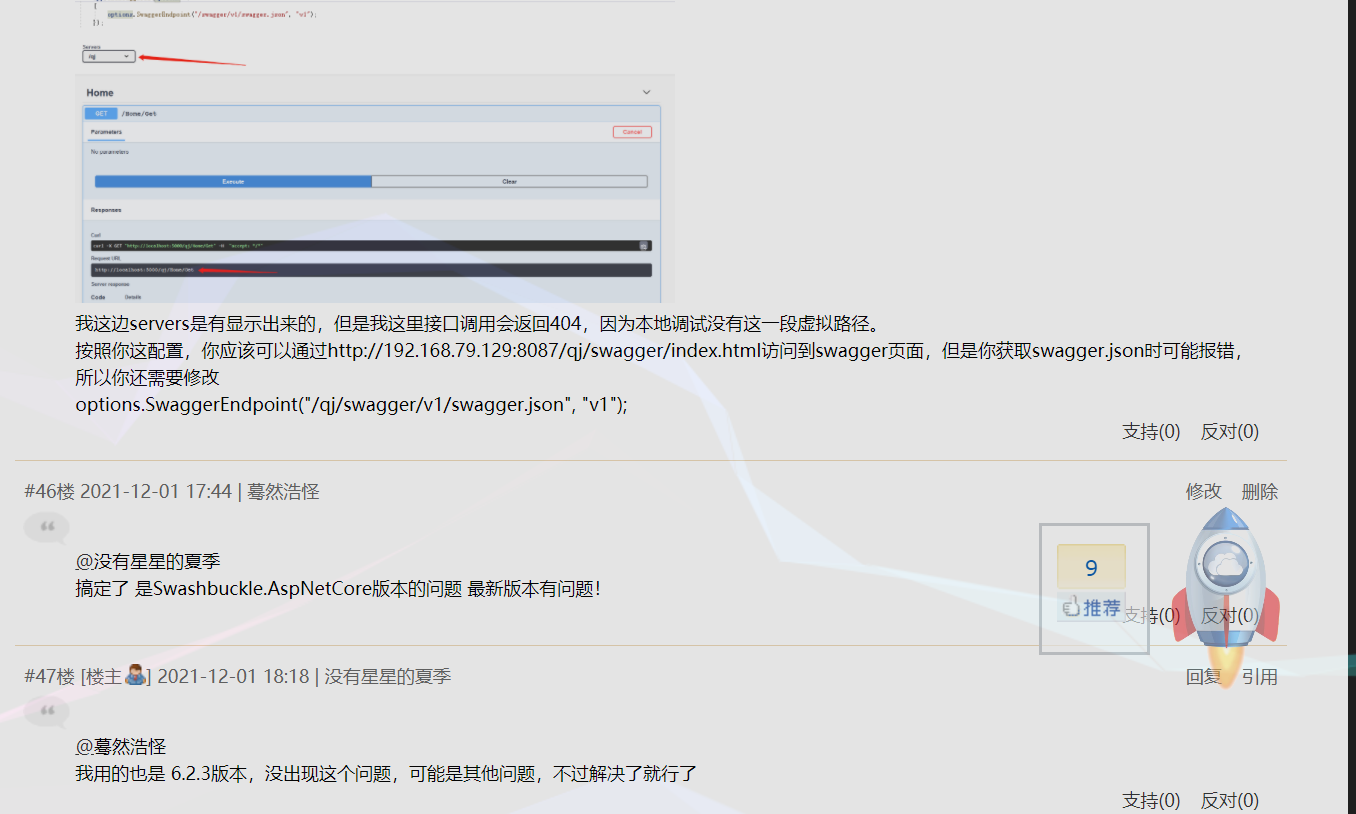
不过今早看到回复,还是没有想通为啥我的6.2.3版本就是有问题!!!(待后续再研究吧)
解决方案
1、创建.Net Core5 Web API项目(注:Swashbuckle.AspNetCore为5.6.3)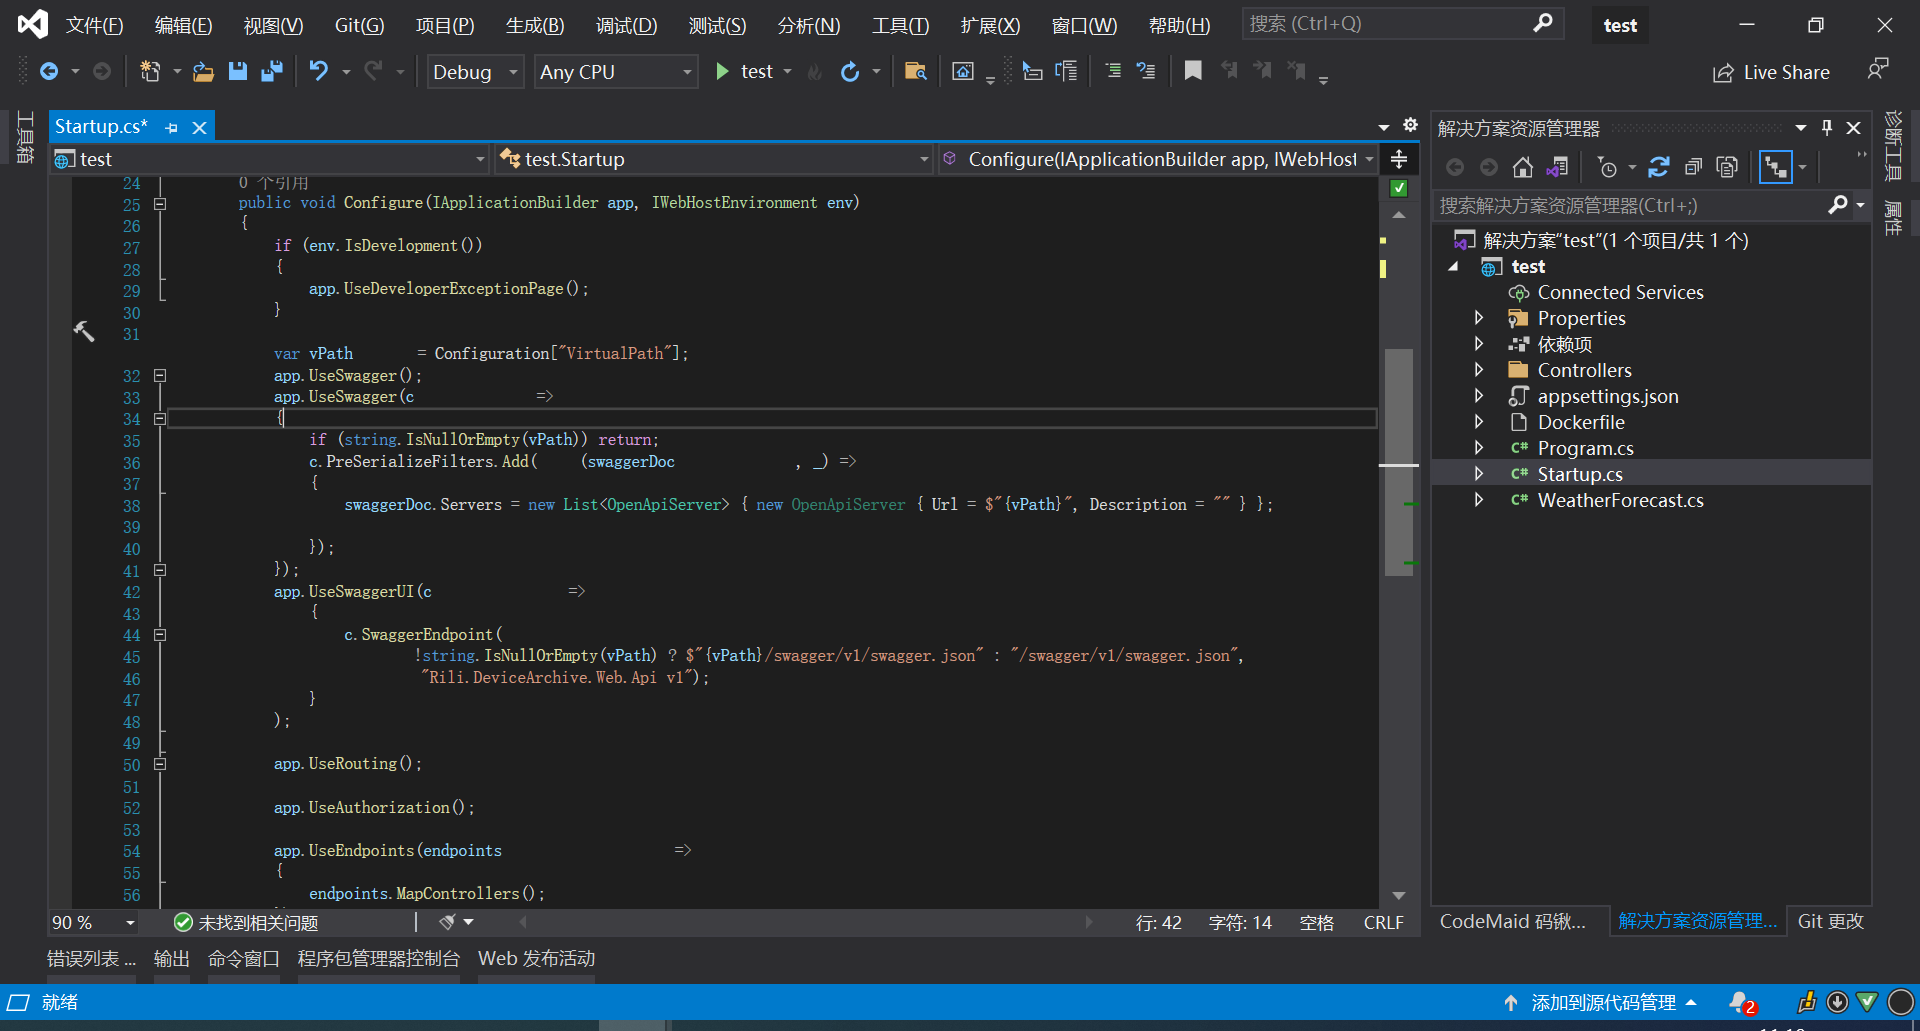
appsettings.json配置
{"VirtualPath": "/test", //二级目录或虚拟目录"Logging": {"LogLevel": {"Default": "Information","Microsoft": "Warning","Microsoft.Hosting.Lifetime": "Information"}},"AllowedHosts": "*"}
Startup.cs配置
using Microsoft.AspNetCore.Builder;
using Microsoft.AspNetCore.Hosting;
using Microsoft.Extensions.Configuration;
using Microsoft.Extensions.DependencyInjection;
using Microsoft.Extensions.Hosting;
using Microsoft.OpenApi.Models;
using System.Collections.Generic;

namespace test
{
    public class Startup
    {
        public Startup(IConfiguration configuration)
        {
            Configuration = configuration;
        }

        public IConfiguration Configuration { get; }

        // This method gets called by the runtime. Use this method to add services to the container.
        public void ConfigureServices(IServiceCollection services)
        {

            services.AddControllers();
            services.AddSwaggerGen(c =>
            {
                c.SwaggerDoc("v1", new OpenApiInfo { Title = "test", Version = "v1" });
            });
        }

        // This method gets called by the runtime. Use this method to configure the HTTP request pipeline.
        public void Configure(IApplicationBuilder app, IWebHostEnvironment env)
        {
            if (env.IsDevelopment())
            {
                app.UseDeveloperExceptionPage();
            }

            var vPath = Configuration["VirtualPath"];
            app.UseSwagger();
            app.UseSwagger(c =>
            {
                if (string.IsNullOrEmpty(vPath)) return;
                c.PreSerializeFilters.Add((swaggerDoc, _) =>
                {
                    swaggerDoc.Servers = new List<OpenApiServer> { new OpenApiServer { Url = $"{vPath}", Description = "" } };

                });
            });
            app.UseSwaggerUI(c =>
                {
                    c.SwaggerEndpoint(
                        !string.IsNullOrEmpty(vPath) ? $"{vPath}/swagger/v1/swagger.json" : "/swagger/v1/swagger.json",
                        "Rili.DeviceArchive.Web.Api v1");
                }
            );

            app.UseRouting();

            app.UseAuthorization();

            app.UseEndpoints(endpoints =>
            {
                endpoints.MapControllers();
            });
        }
    }
}
DockerFile
FROM mcr.microsoft.com/dotnet/aspnet:5.0
WORKDIR /app/test
COPY . .
ENV ASPNETCORE_URLS http://0.0.0.0:8089
ENTRYPOINT ["dotnet", "test.dll"]
虚拟机部署命令:
cd /usr/local/src/test
docker image build -t test .
docker run —name=qj -p 8089:8089 -d qj:latest
2、安装nginx docker镜像
docker pull nginx  //获取nginx官方镜像
docker images      //查看镜像
docker run --name nginx-test -p 8080:80 -d nginx  //运行nginx镜像
输入网址出来如下说明启动成功
将nginx关键目录映射到本机
//www: nginx存储网站网页的目录  logs: nginx日志目录  conf: nginx配置文件目录
mkdir -p /root/nginx/www /root/nginx/logs /root/nginx/conf
mkdir -p /root/nginx/conf/conf.d

////查看运行的容器
docker ps -a

//将nginx-test容器配置文件copy到本地
docker cp 容器ID:/etc/nginx/nginx.conf /root/nginx/conf
docker cp 容器ID:/etc/nginx/conf/conf.d/default.conf /root/nginx/conf/conf.d
在本机/root/nginx/www目录下创建index.html,内容为
<!DOCTYPE html>
<html>
<head>
<meta charset="utf-8">
<title>docker搭建nginx</title>
</head>
<body>
    <h1>docker搭建nginx映射成功</h1>
</body>
</html>
//停掉刚才运行的nginx-test
docker stop 容器Id
docker rm 容器Id
//重新运行nginx-test
docker run -d -p 8080:80 --name nginx-web -v /root/nginx/www:/usr/share/nginx/html -v /root/nginx/conf/nginx.conf:/etc/nginx/nginx.conf -v /root/nginx/conf/conf.d/default.conf:/etc/nginx/conf.d/default.conf -v /root/nginx/logs:/var/log/nginx nginx
即可访问,如下图:
至此映射成功。
3、设置反向代理
default.conf配置
#upstream qj{
    #server 192.168.79.129:8087;
#}
server {
    listen       80;
    listen  [::]:80;
    server_name  localhost;

    #access_log  /var/log/nginx/host.access.log  main;

    location / {
        root   /usr/share/nginx/html;
        index  index.html index.htm;
    }

    location /qj/ {
       proxy_pass http://192.168.79.129:8087/;
       proxy_set_header   Host $http_host; # 使用http_host而非host以满足带有端口号的情况
       proxy_set_header   X-Real-IP $remote_addr;
       proxy_set_header   X-Forwarded-For $proxy_add_x_forwarded_for;
       proxy_set_header   X-Forwarded-Proto $scheme; # 将请求使用的协议告知被代理服务器
        proxy_set_header   X-Forwarded-Prefix /qj; # 将路由名称"qj"告知被代理服务器

        #proxy_redirect     off;
        #proxy_set_header   Host $host;
        #proxy_set_header   Upgrade $http_upgrade;
    }

    location /test/ {
       proxy_pass http://192.168.79.129:8089/;
       proxy_set_header   Host $http_host; # 使用http_host而非host以满足带有端口号的情况
       proxy_set_header   X-Real-IP $remote_addr;
       proxy_set_header   X-Forwarded-For $proxy_add_x_forwarded_for;
       proxy_set_header   X-Forwarded-Proto $scheme; # 将请求使用的协议告知被代理服务器
        proxy_set_header   X-Forwarded-Prefix /test; # 将路由名称"qj"告知被代理服务器

        #proxy_redirect     off;
        #proxy_set_header   Host $host;
        #proxy_set_header   Upgrade $http_upgrade;
    }

    #error_page  404              /404.html;

    # redirect server error pages to the static page /50x.html
    #
    error_page   500 502 503 504  /50x.html;
    location = /50x.html {
        root   /usr/share/nginx/html;
    }

    # proxy the PHP scripts to Apache listening on 127.0.0.1:80
    #
    #location ~ \.php$ {
    #    proxy_pass   http://127.0.0.1;
    #}

    # pass the PHP scripts to FastCGI server listening on 127.0.0.1:9000
    #
    #location ~ \.php$ {
    #    root           html;
    #    fastcgi_pass   127.0.0.1:9000;
    #    fastcgi_index  index.php;
    #    fastcgi_param  SCRIPT_FILENAME  /scripts$fastcgi_script_name;
    #    include        fastcgi_params;
    #}

    # deny access to .htaccess files, if Apache's document root
    # concurs with nginx's one
    #
    #location ~ /\.ht {
    #    deny  all;
    #}
}
//重新运行nginx-test
docker run -d -p 8080:80 --name nginx-web -v /root/nginx/www:/usr/share/nginx/html -v /root/nginx/conf/nginx.conf:/etc/nginx/nginx.conf -v /root/nginx/conf/conf.d/default.conf:/etc/nginx/conf.d/default.conf -v /root/nginx/logs:/var/log/nginx nginx

或者

docker ps
//重启nginx-test容器
docker restart 容器ID


至此,nginx二级虚拟目录反向代理设置成功。

若有收获,就点个赞吧
0 人点赞
