1、官网下载对应版本
https://www.elastic.co/cn/downloads/past-releases#elasticsearch
本次使用7.8版本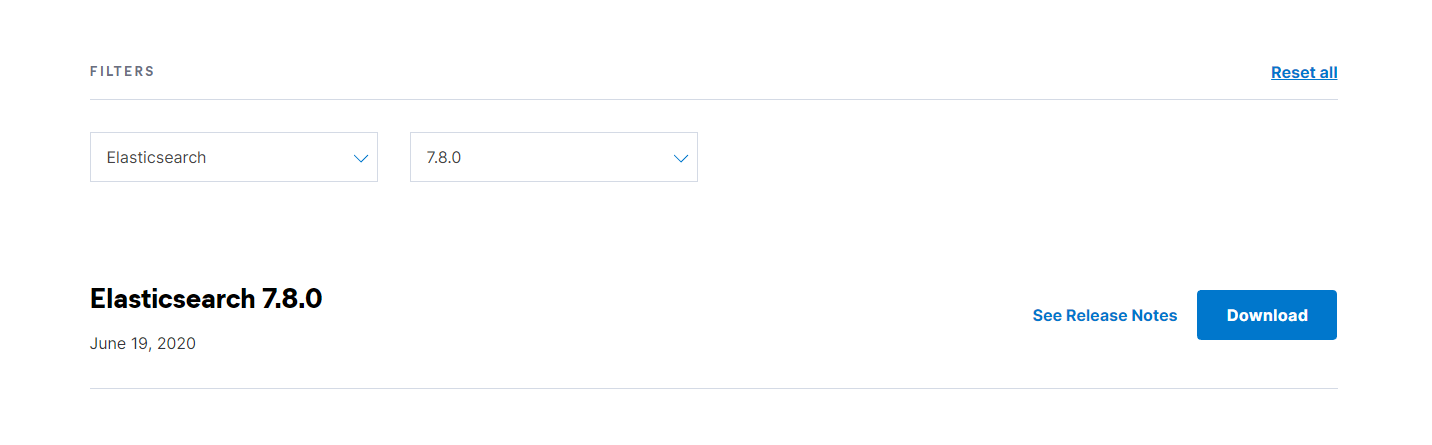
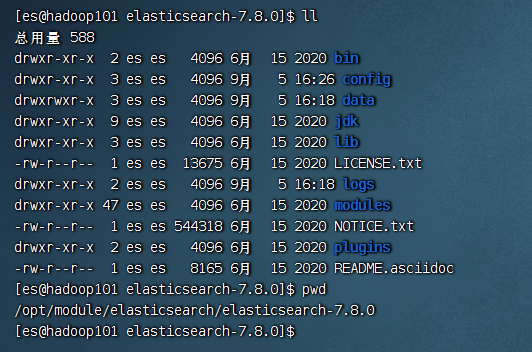
2、下载上传到服务器解压
3、配置-启动
#ES 不允许 root 用户直接运行,所以要创建新用户,在 root 用户中创建新用户useradd es #新增 es 用户passwd es #为 es 用户设置密码userdel -r es #如果错了,可以删除再加chown -R es:es /opt/module/es #文件夹所有者
vim config/elasticsearch.yml# 加入如下配置cluster.name: elasticsearchnode.name: node-1network.host: 0.0.0.0http.port: 9200cluster.initial_master_nodes: ["node-1"]
# 在文件末尾中增加下面内容# 每个进程可以打开的文件数的限制vim /etc/security/limits.confes soft nofile 65536es hard nofile 65536# 在文件末尾中增加下面内容# 每个进程可以打开的文件数的限制vim /etc/security/limits.d/20-nproc.confes soft nofile 65536es hard nofile 65536* hard nproc 4096重新加载sysctl -p
cd /opt/module/es/#启动bin/elasticsearch#后台启动bin/elasticsearch -d
启动失败文件所述问题,执行一下命令
chown -R es:es /opt/module/es #文件夹所有者

若有收获,就点个赞吧
0 人点赞
