1)软件准备
| 软件包 | 版本 | 大小 |
|---|---|---|
| lnmp1.7.tar.gz | 1.7 | 165kB |
| wordpress-4.7.3-zh_CN.zip | 4.7.3 | 8995KB |
| CentOS-7-x86_64-DVD-1511.iso | 1511 | 4.03GB |
2)运行lnmp包
tar -zxf lnmp1.7.tar.gzcd lnmp1.7./install.sh
3)配置MySQL
mysql -uroot -plnmp.org#你自己的mysql的密码mysql> create database wordpress;mysql> grant all privileges on *.* to root@localhost identified by '000000' with grant option;mysql> grant all privileges on *.* to root@"%" identified by '000000' with grant option;mysql> exit
4)配置wordpress
解压wordpressunzip wordpress-4.7.3-zh_CN.zip 或 tar -zxvfls# 删除nginx默认文件rm -rf /home/wwwroot/default/index.html# 把wordpress文件 全部复制到nginx的默认目录当中cp -rvf wordpress/* /home/wwwroot/default/ls /home/wwwroot/default/# 赋予777权限chmod 777 /home/wwwroot/default/*# 修改wordpress模板cd /home/wwwroot/default/lscp wp-config-sample.php wp-config.phpvi wp-config.php

若是新的环境则不需要改变配置文件
如果你是lnmp环境下配置的话
进入vhostscd /usr/local/nginx/conf/vhost/mkdir aa将配置文件移入到aamv default.conf load.conf proxy.conf ssl.conf test.com.conf aavim aa.confserver{location ~ \.php$ {root /var/www/html;fastcgi_pass 127.0.0.1:9000;fastcgi_index index.php;fastcgi_param SCRIPT_FILENAME $document_root$fastcgi_script_name;include fastcgi_params;}}重启service nginx restart
在浏览器中输入虚拟机IP地址,进入wordpress安装界面,填写必要信息,单机左下角安装按钮即可。
配置站点名和你自己的用户名 添加自己的密码和邮箱然后点击安装
登录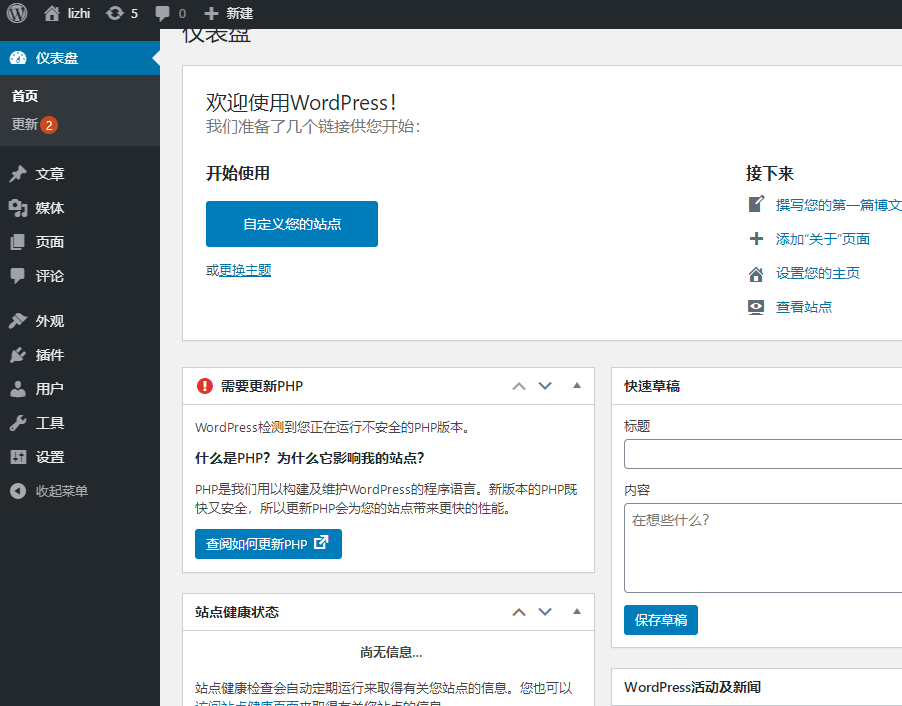

若有收获,就点个赞吧
0 人点赞
