I transformed a static MJ image into an animated video with sound. It took me 4.5 hours, and I used AI tools since I still don’t know how to use Photoshop. This is how I did it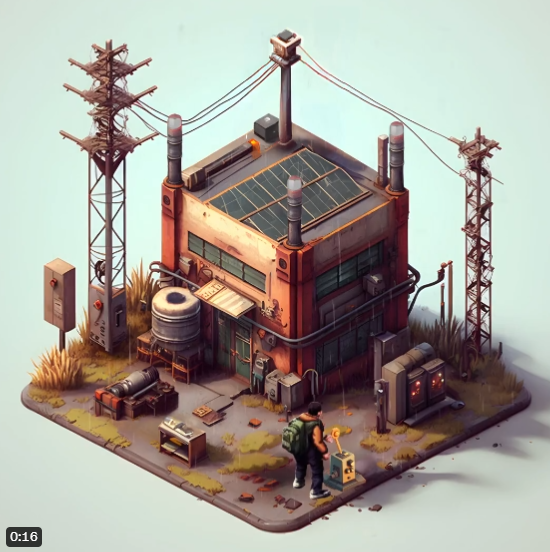
First, I generated an image on Midjourney. The prompt I used was: Electric station, post-apocalyptic, dystopia-core, abandoned, isometric, detailed objects, grid aligned, rusty, dirty, view from left, white background —v 4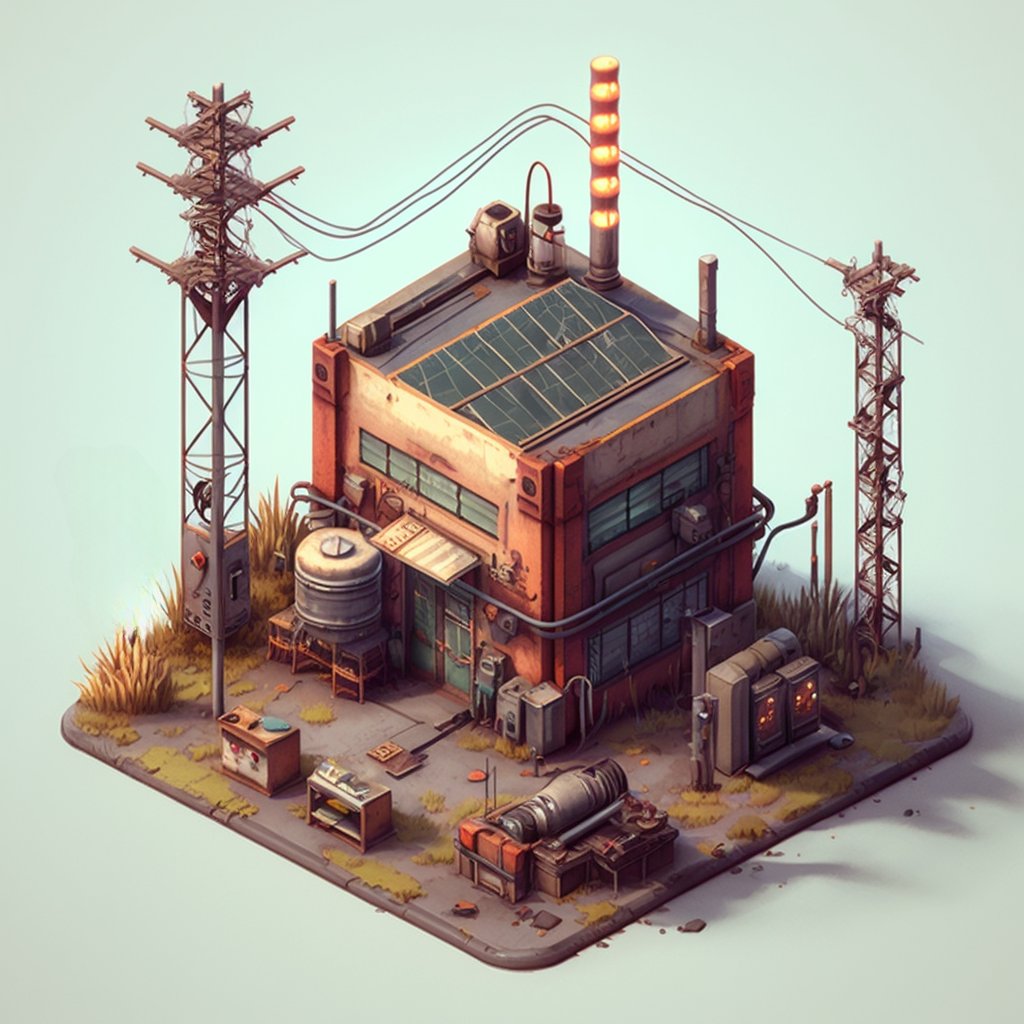
NOTE: Change “Electric station” to another type of building and you will get some other cool properties in the same style.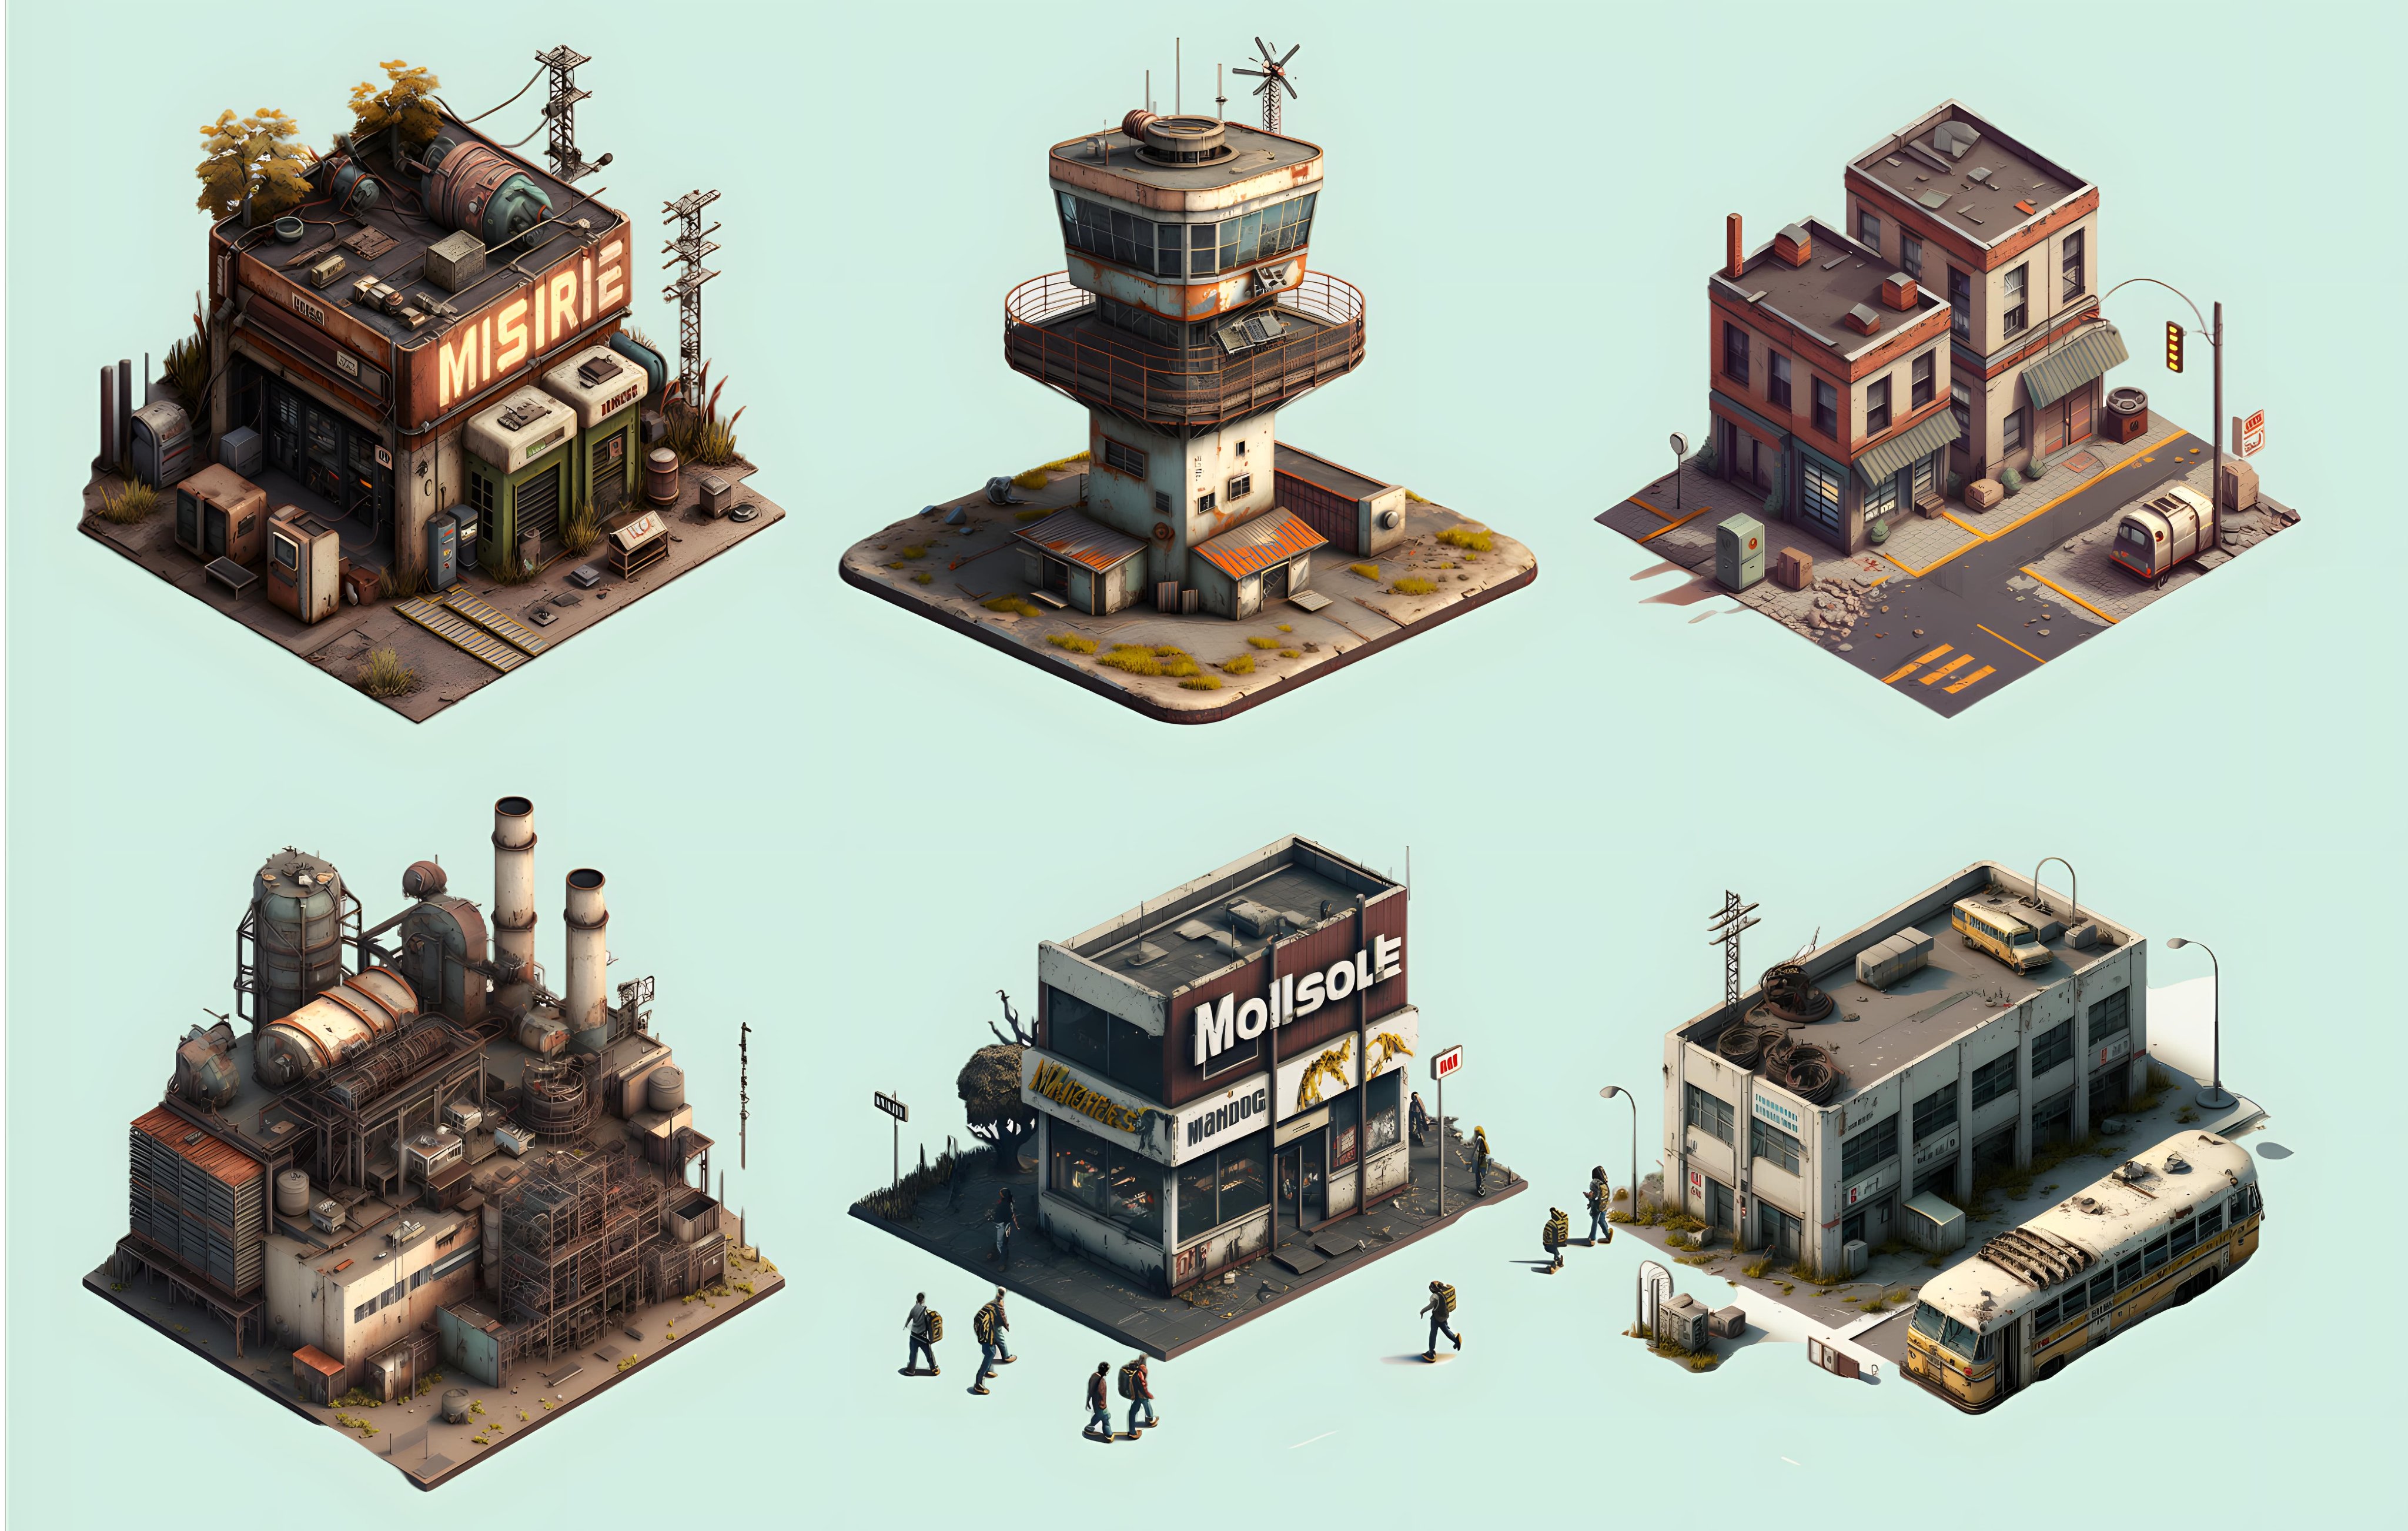
You may notice that the original MJ picture is missing some elements that appear in the video.
These are additional assets that I created.
Can you find ‘em all?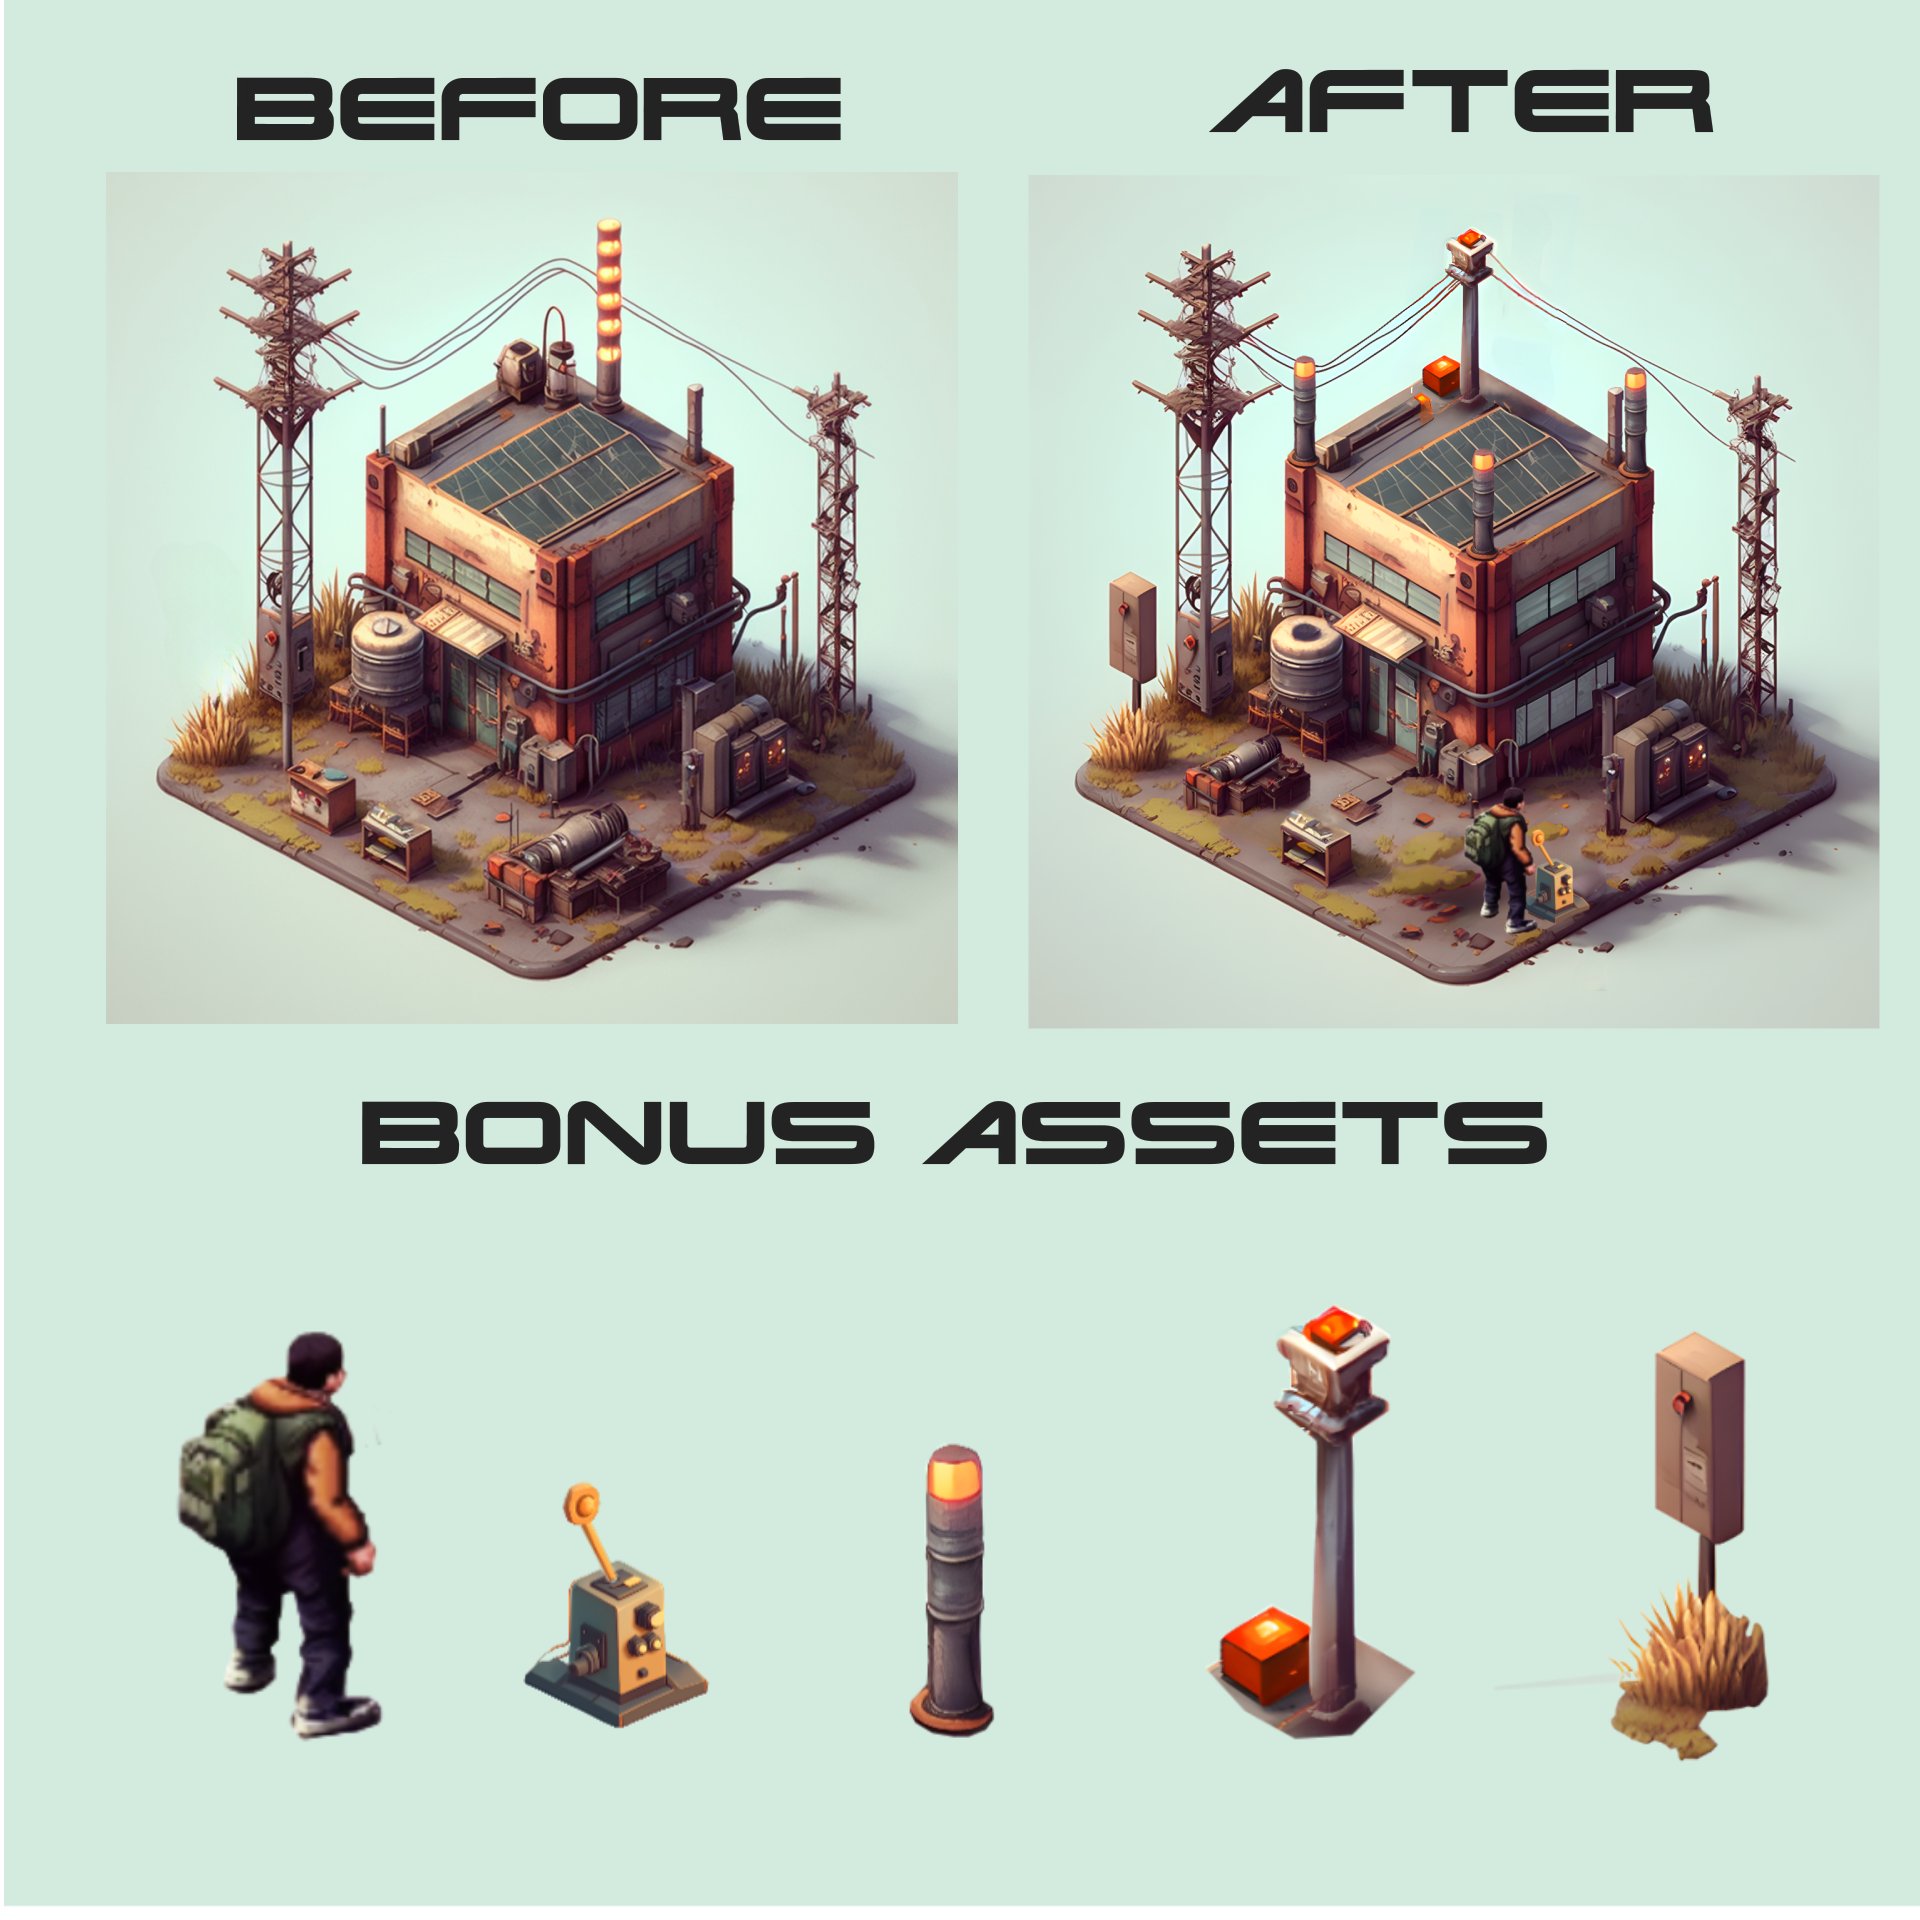
There are two ways to create additional assets and incorporate them into your main picture:
1. Modify the prompt slightly, simply by including the elements you need.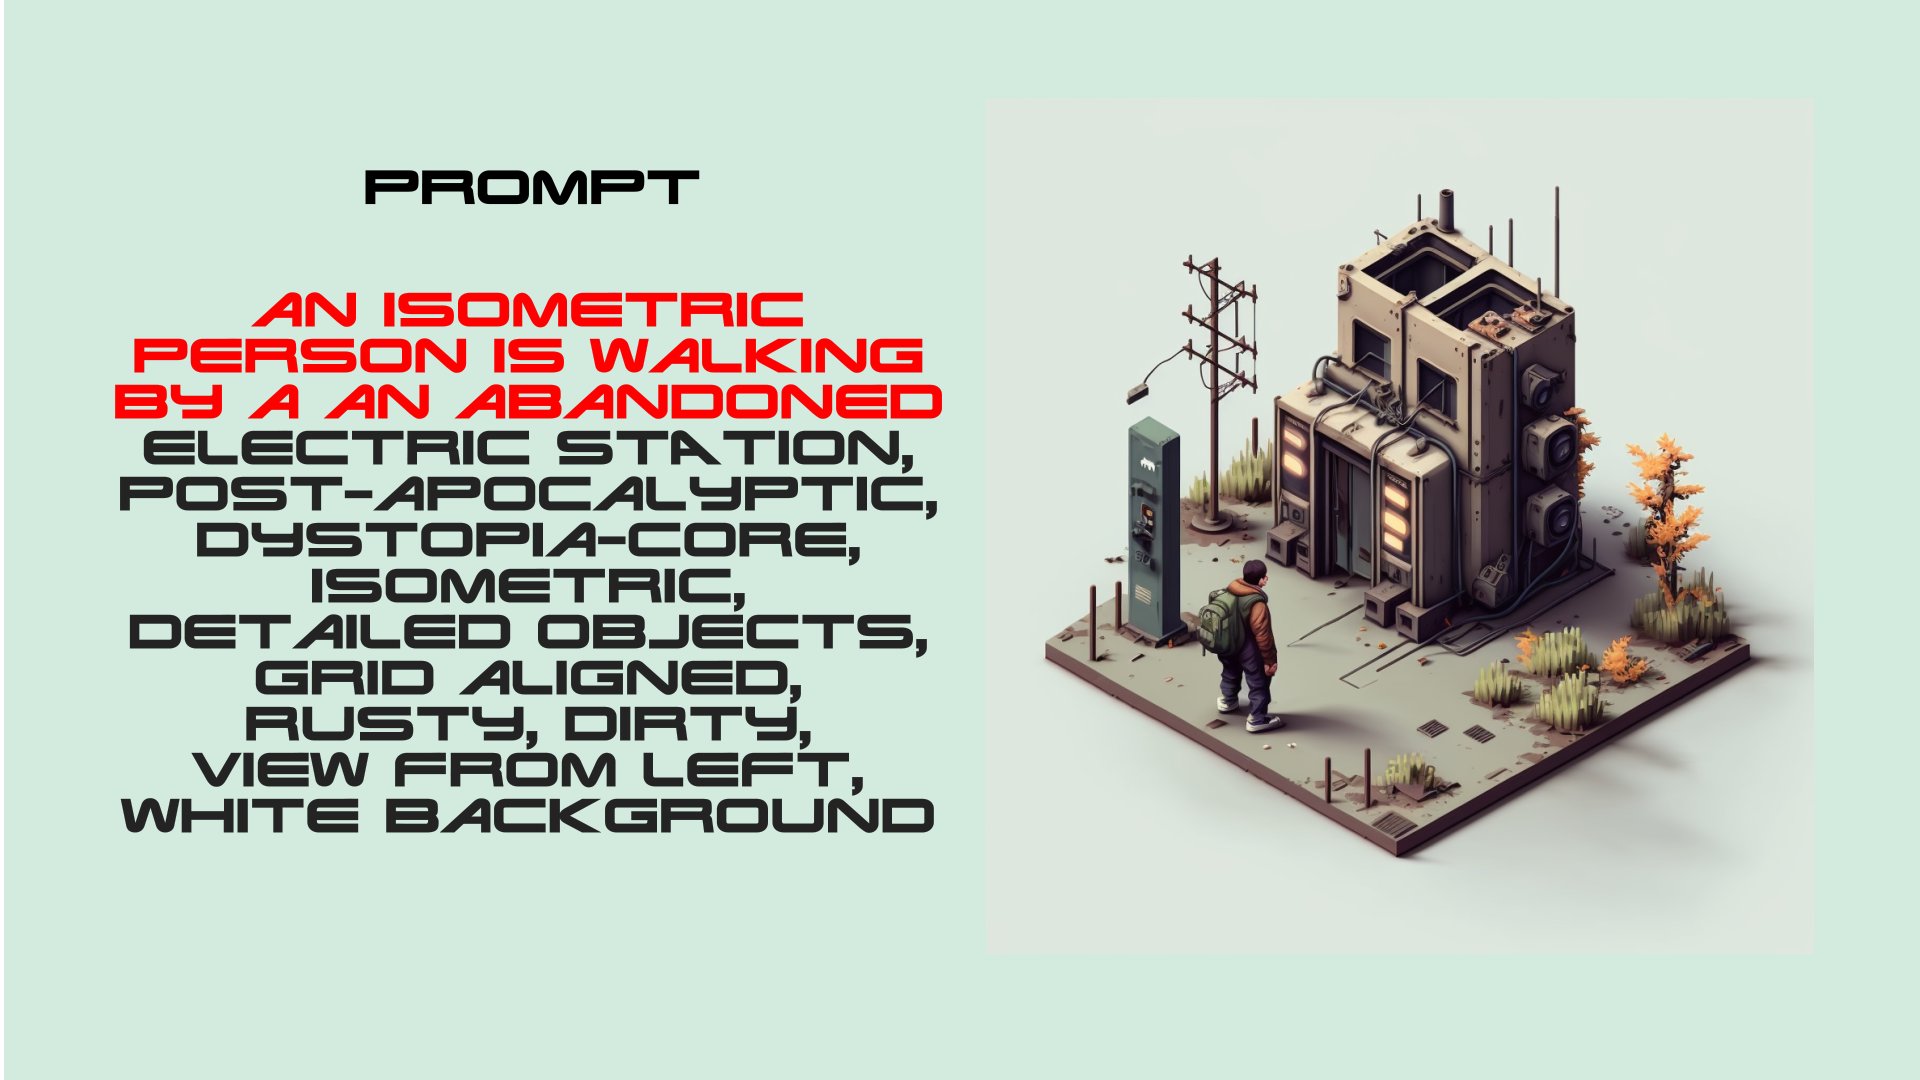
2. Use DALLE-2. Upload the original picture, remove the section you want to alter and provide a prompt for what you need.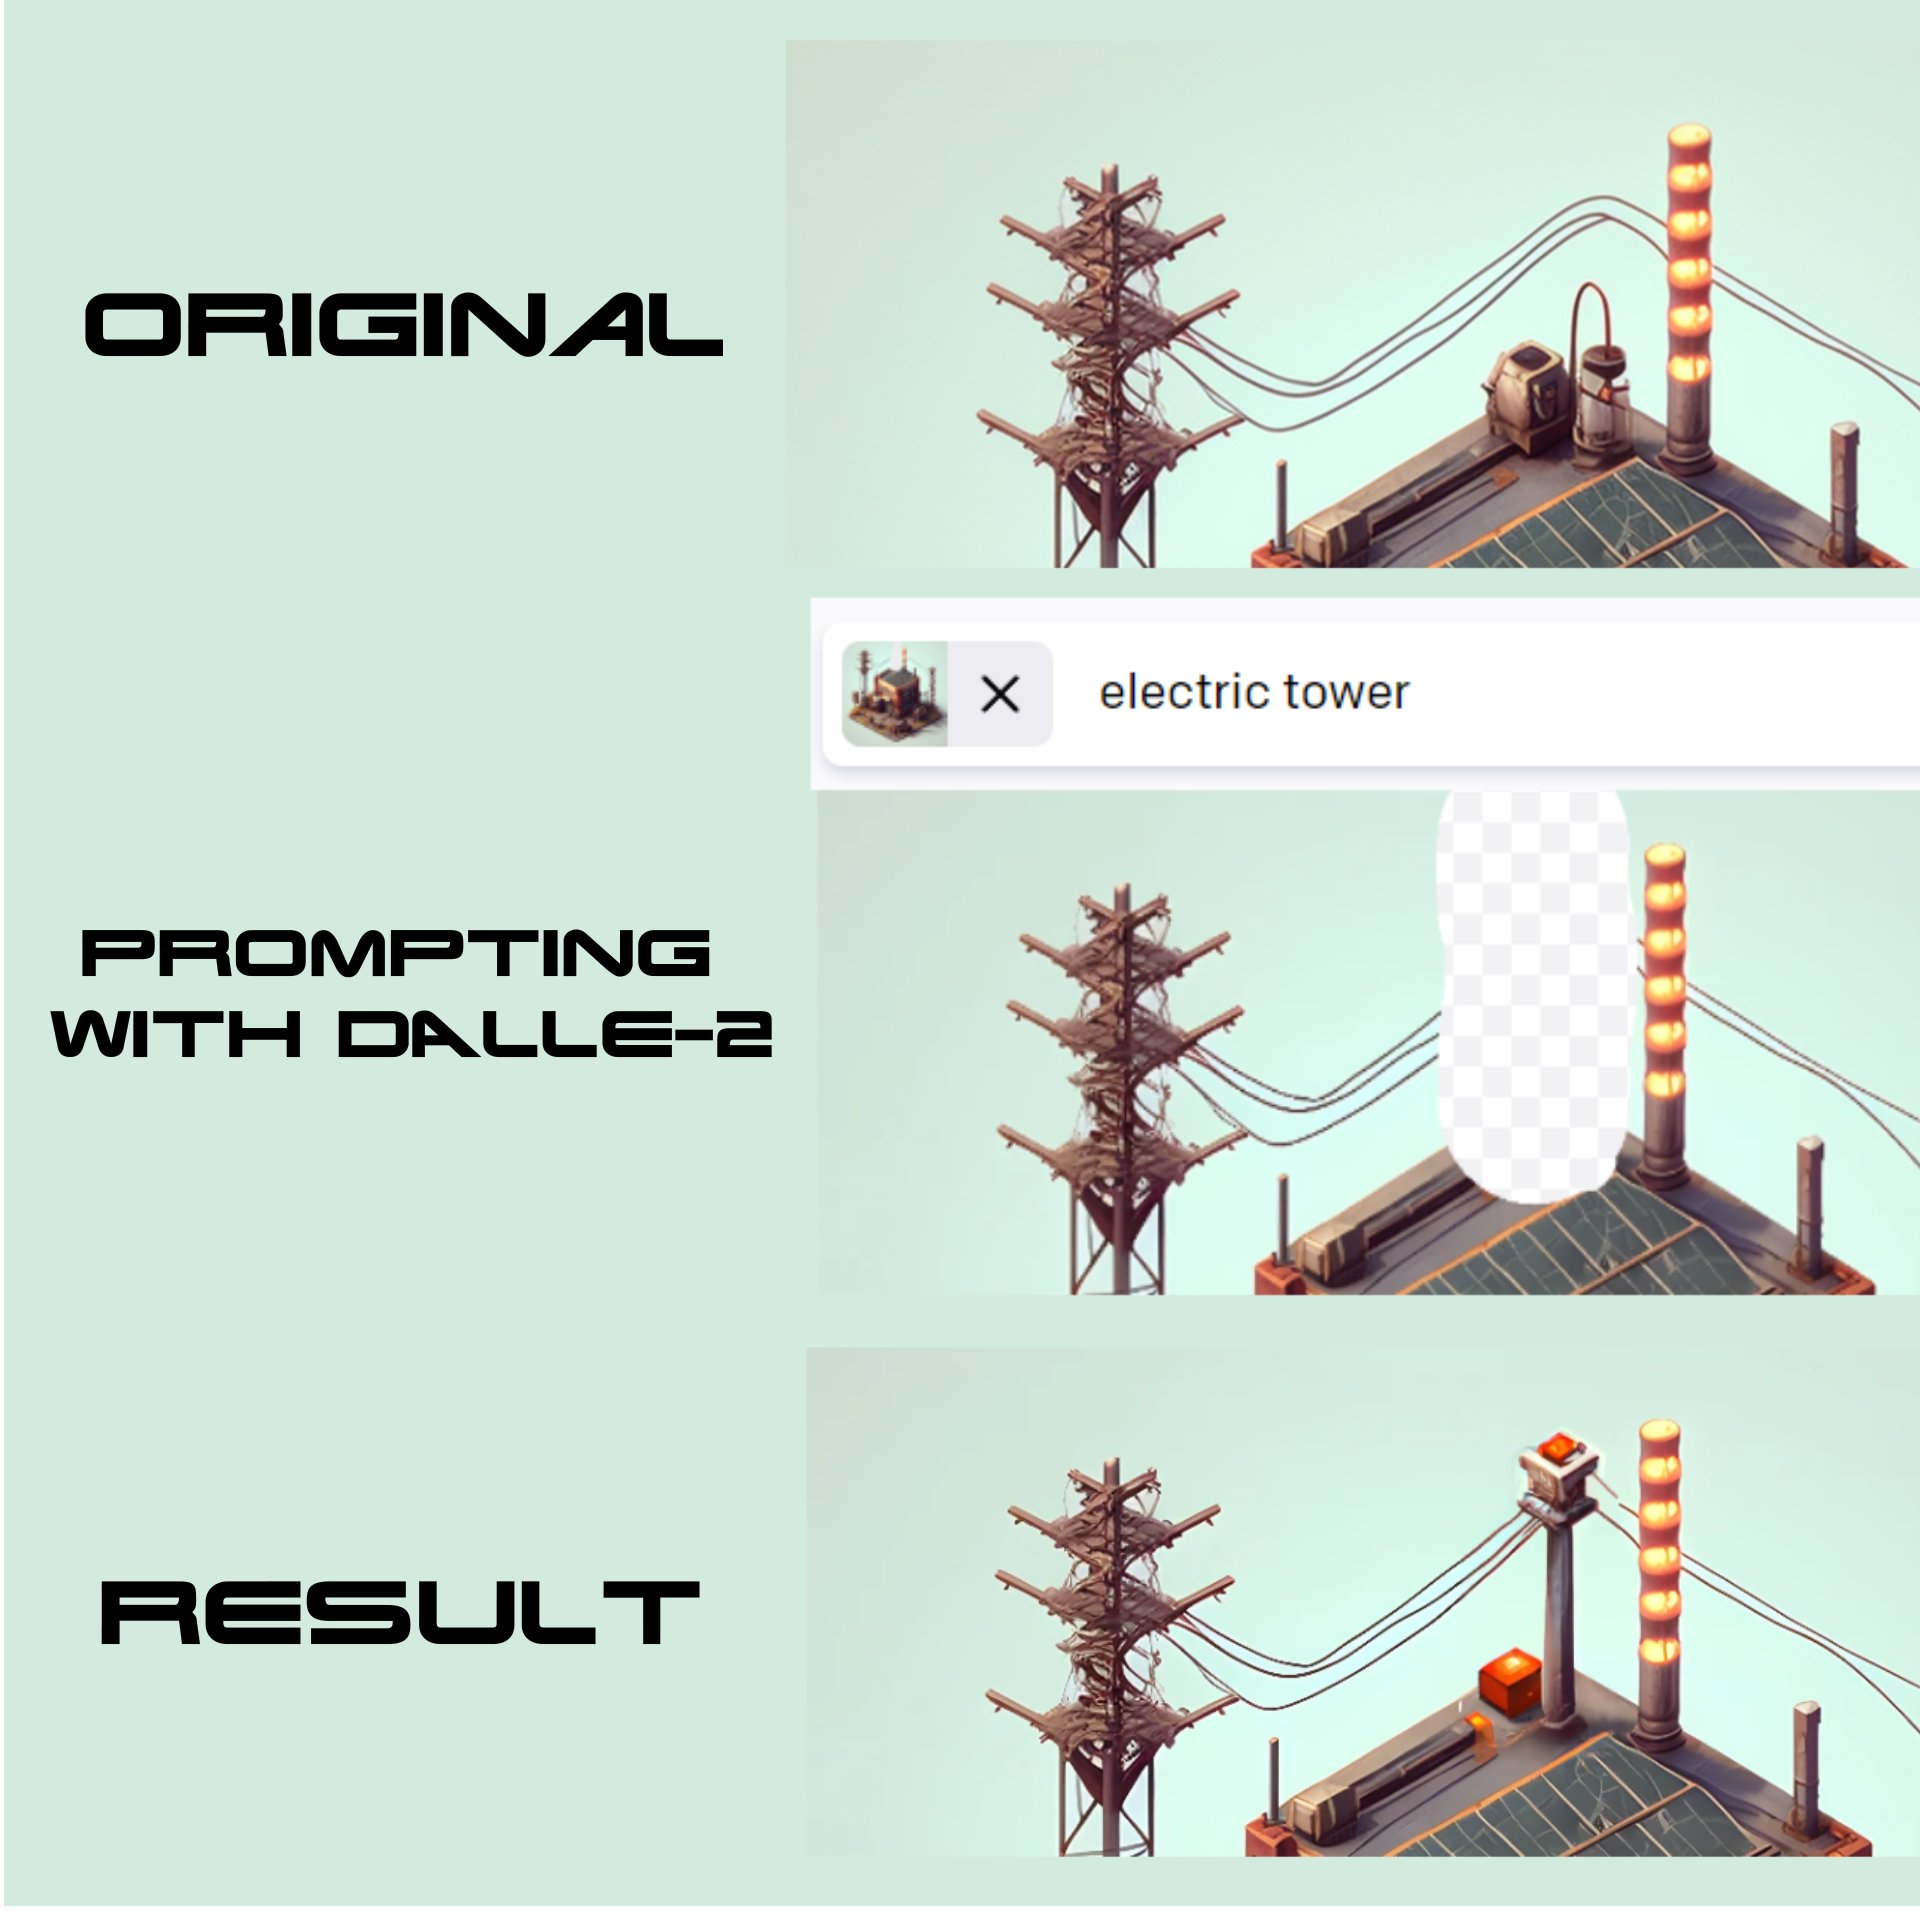
But sometimes, you just need a minor change, and even though it’s not perfect, DALLE-2 is by far the best solution.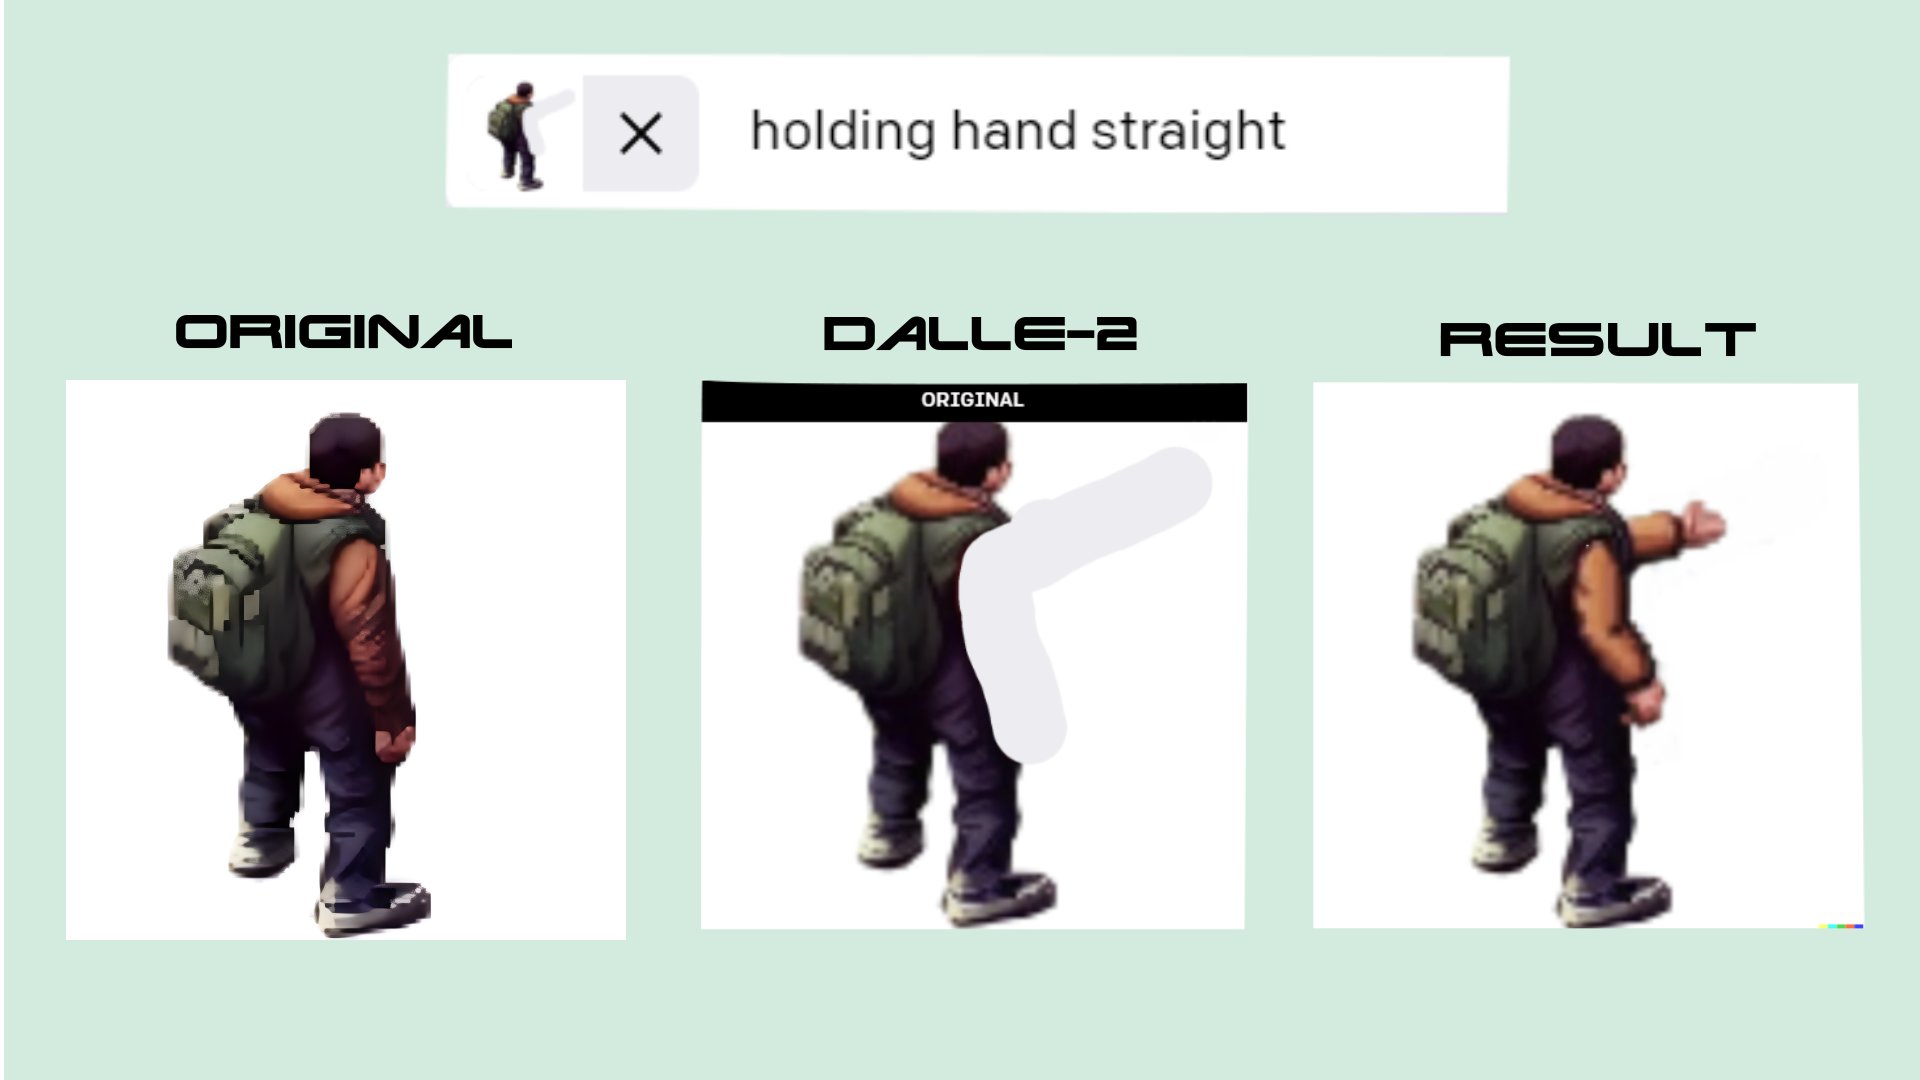
If you have to remove certain elements from a scene, there are plenty of cool online AI cleaning tools, but “cleanup pictures” is my personal favorite.
This is how I quickly remove the stuff I don’t like:
 The image is ready, but we must ensure the file is of top quality.
I use “Nero AI” image upscaling tool (by far the best one I’ve found) to increase pic quality by 2-4x. Crazy.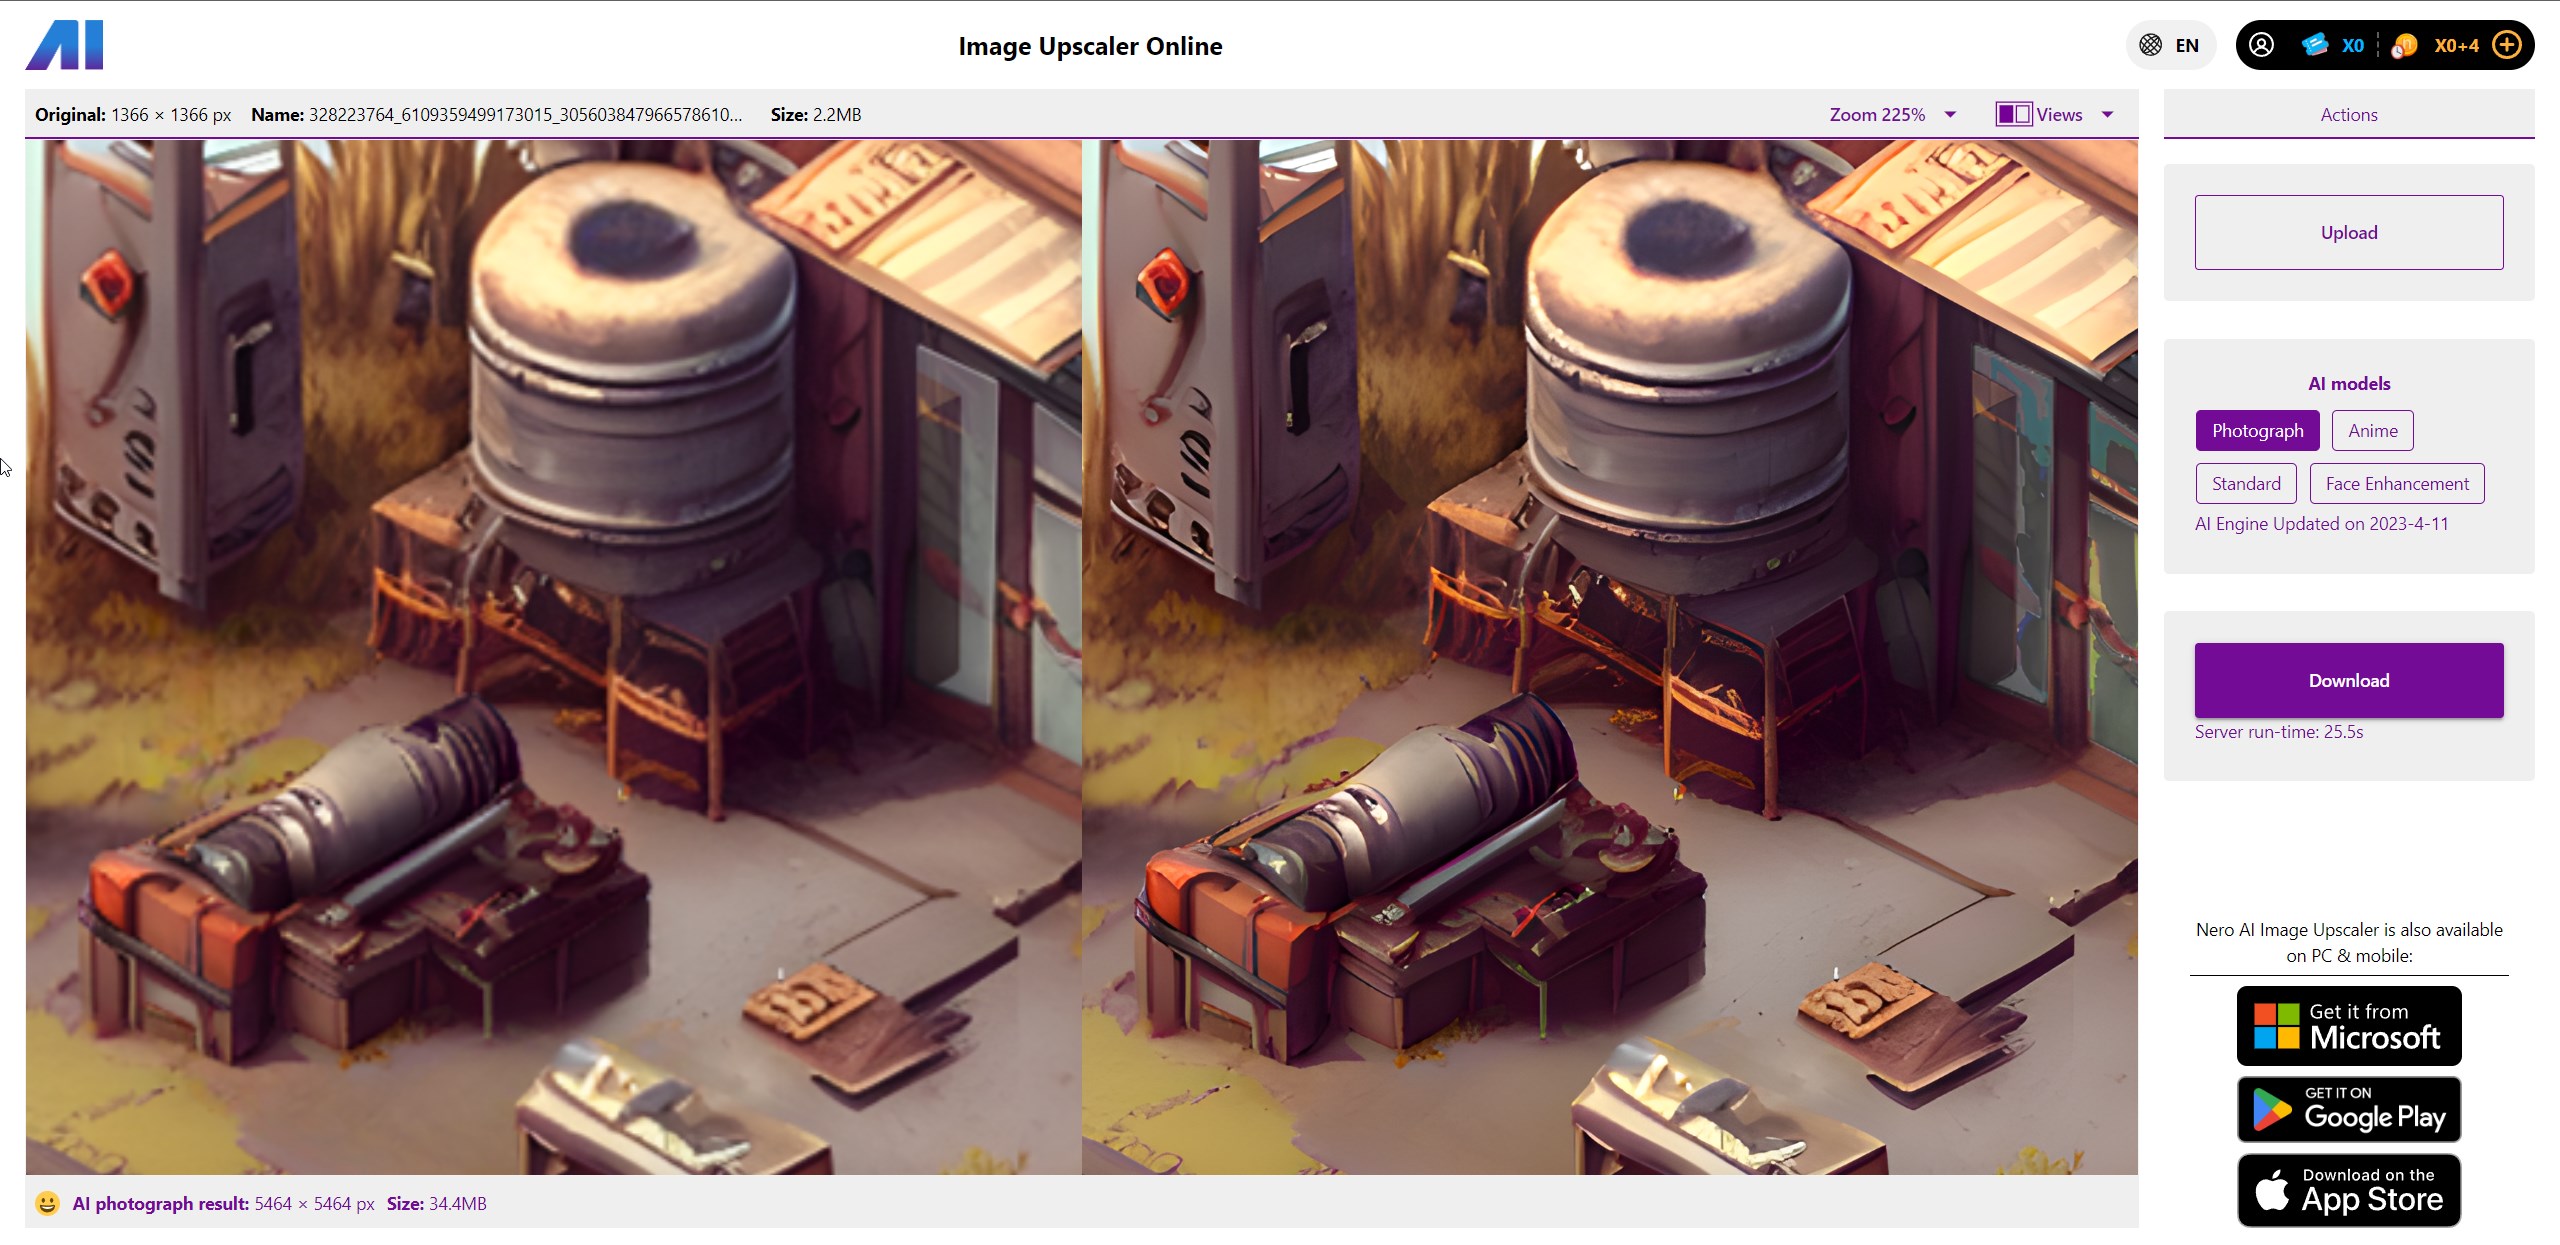
Alright, we have the finished image. Time to add some cool animation!
The only software I use in my creative AI work is Adobe After Effects. You can download it from Adobe Cloud along with 20+ other Adobe programs.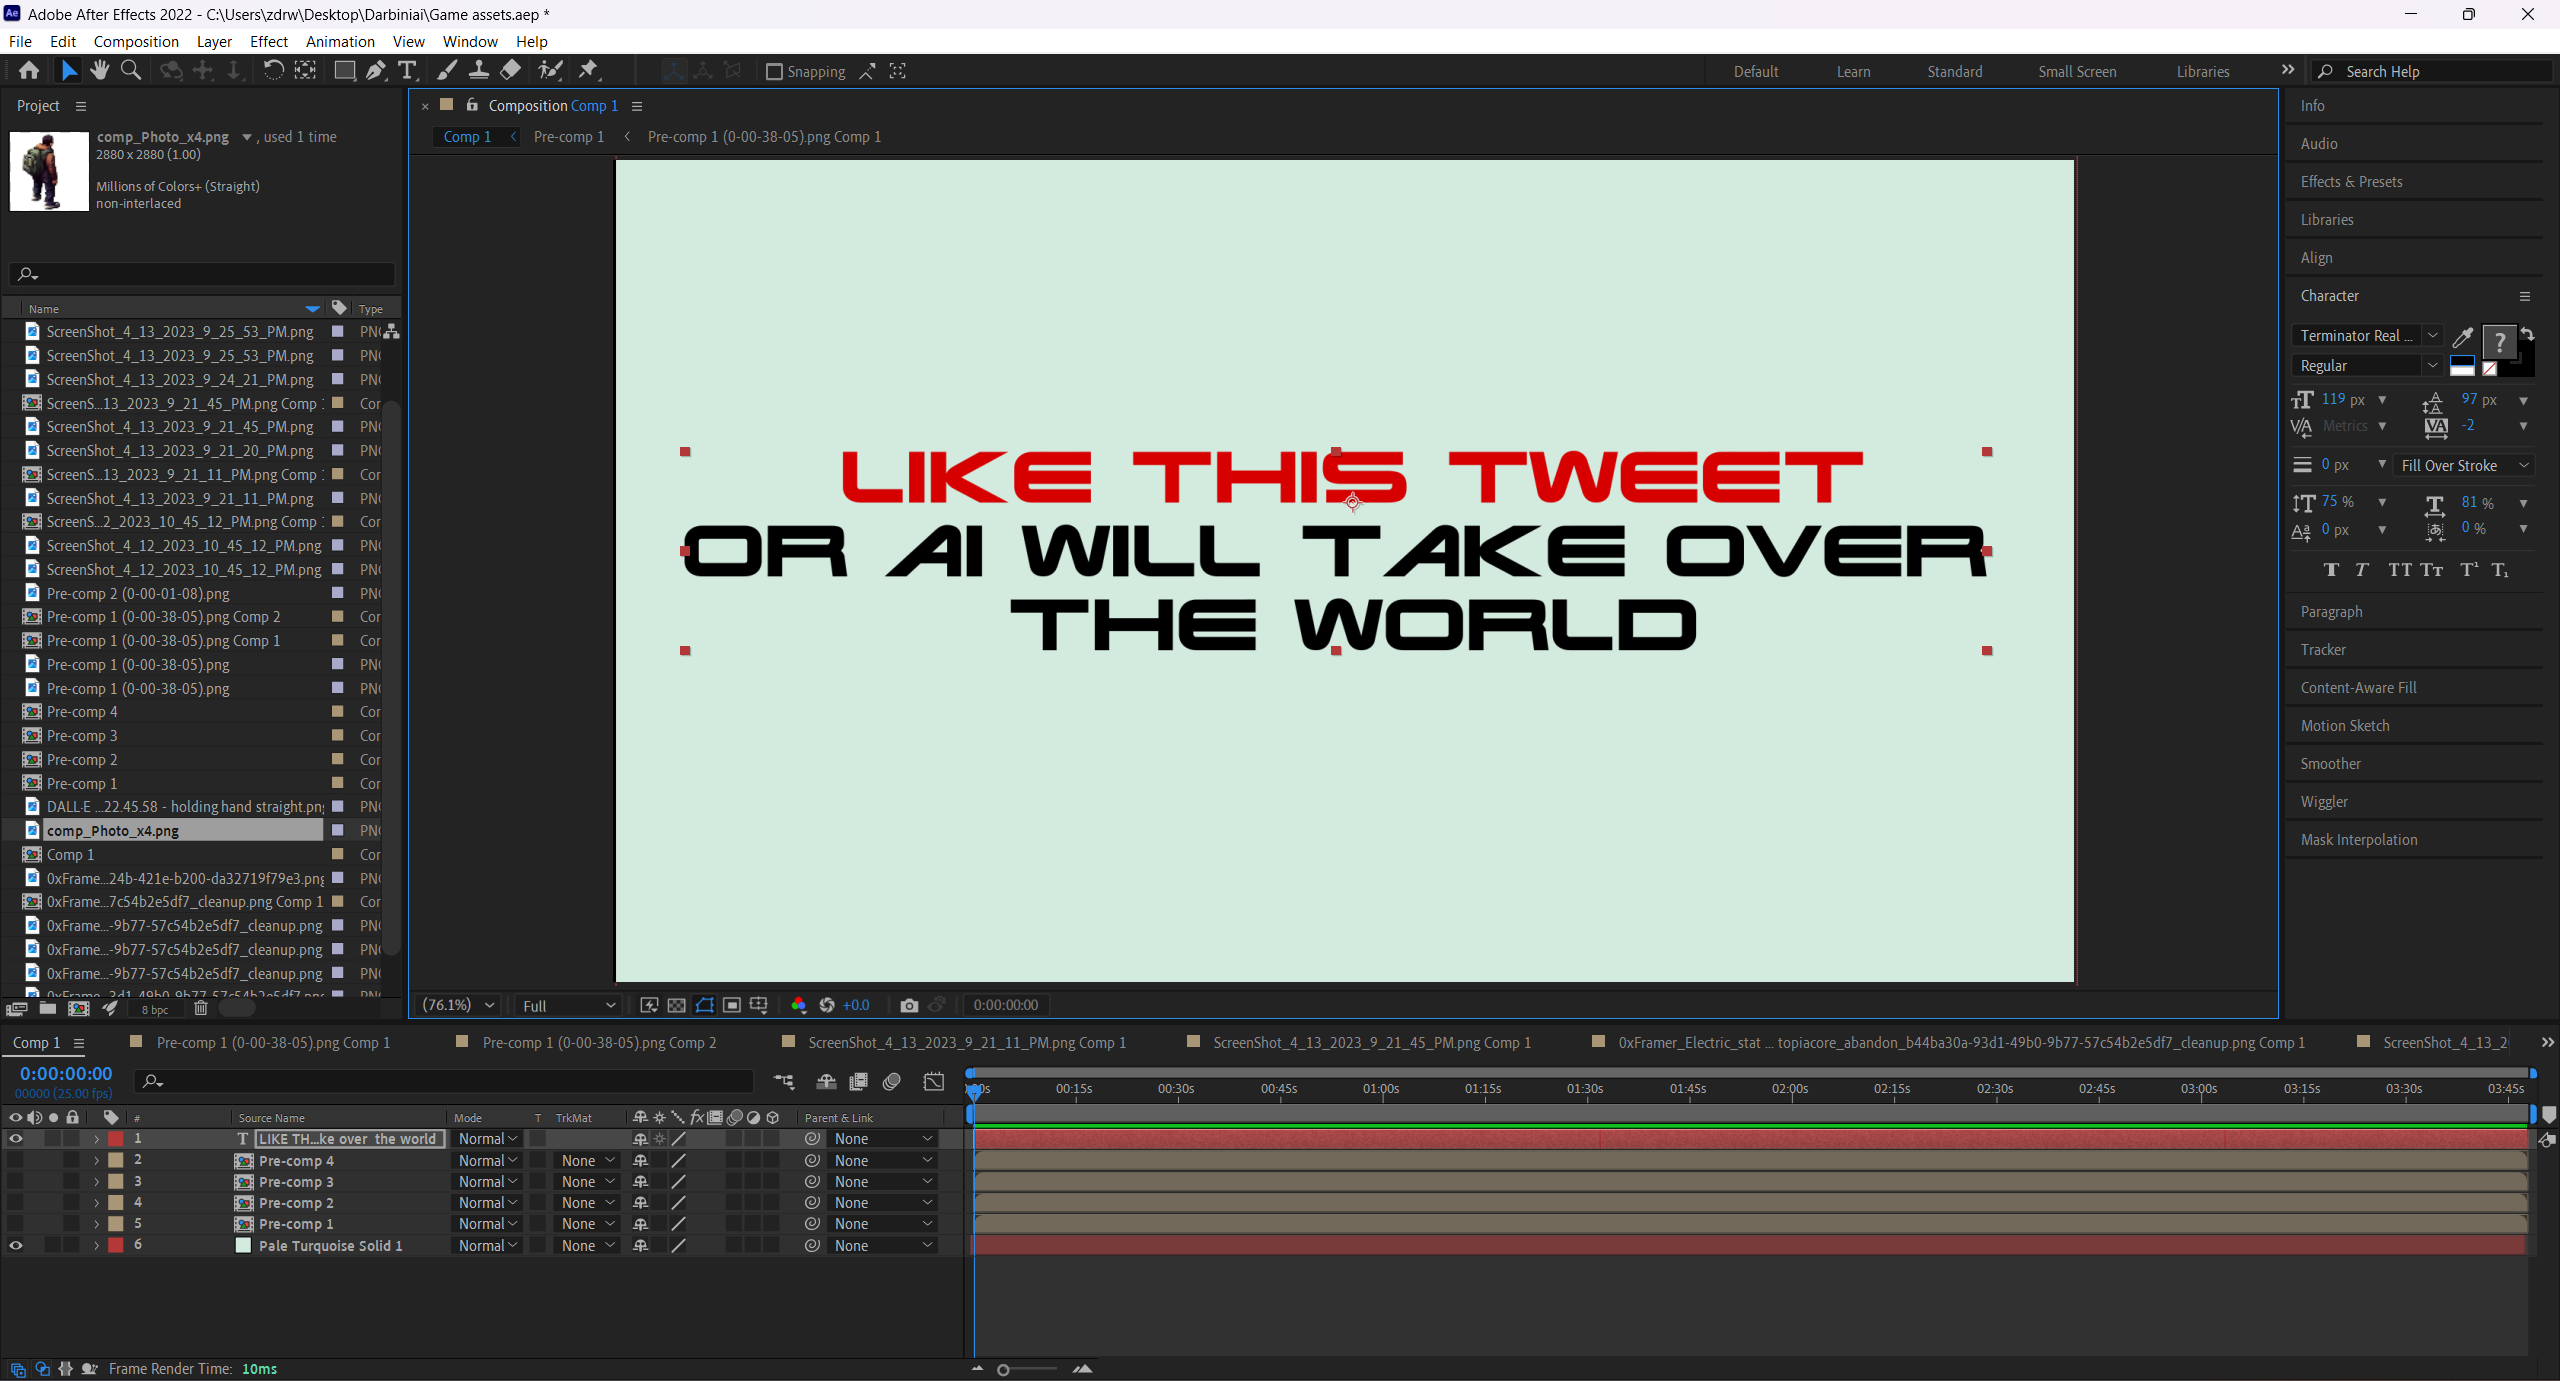
The main AE functions I use to animate elements:
1. Mask - to cut out objects and add them to the main scene.
2. Rotate/Position - to make things move.
3. Hue/Saturation, Fill - to change the color.
This is how I added an electric tower and changed the lamp’s color.
 My style of animation is very basic, and this is what makes it awesome, as it can be easily learned by anyone within a day or two.
 Do you know what’s even more awesome?
50% of the animated elements I used in this video are simply green screen stock footage from YouTube.
All you have to do is find what fits.
Couldn’t be easier.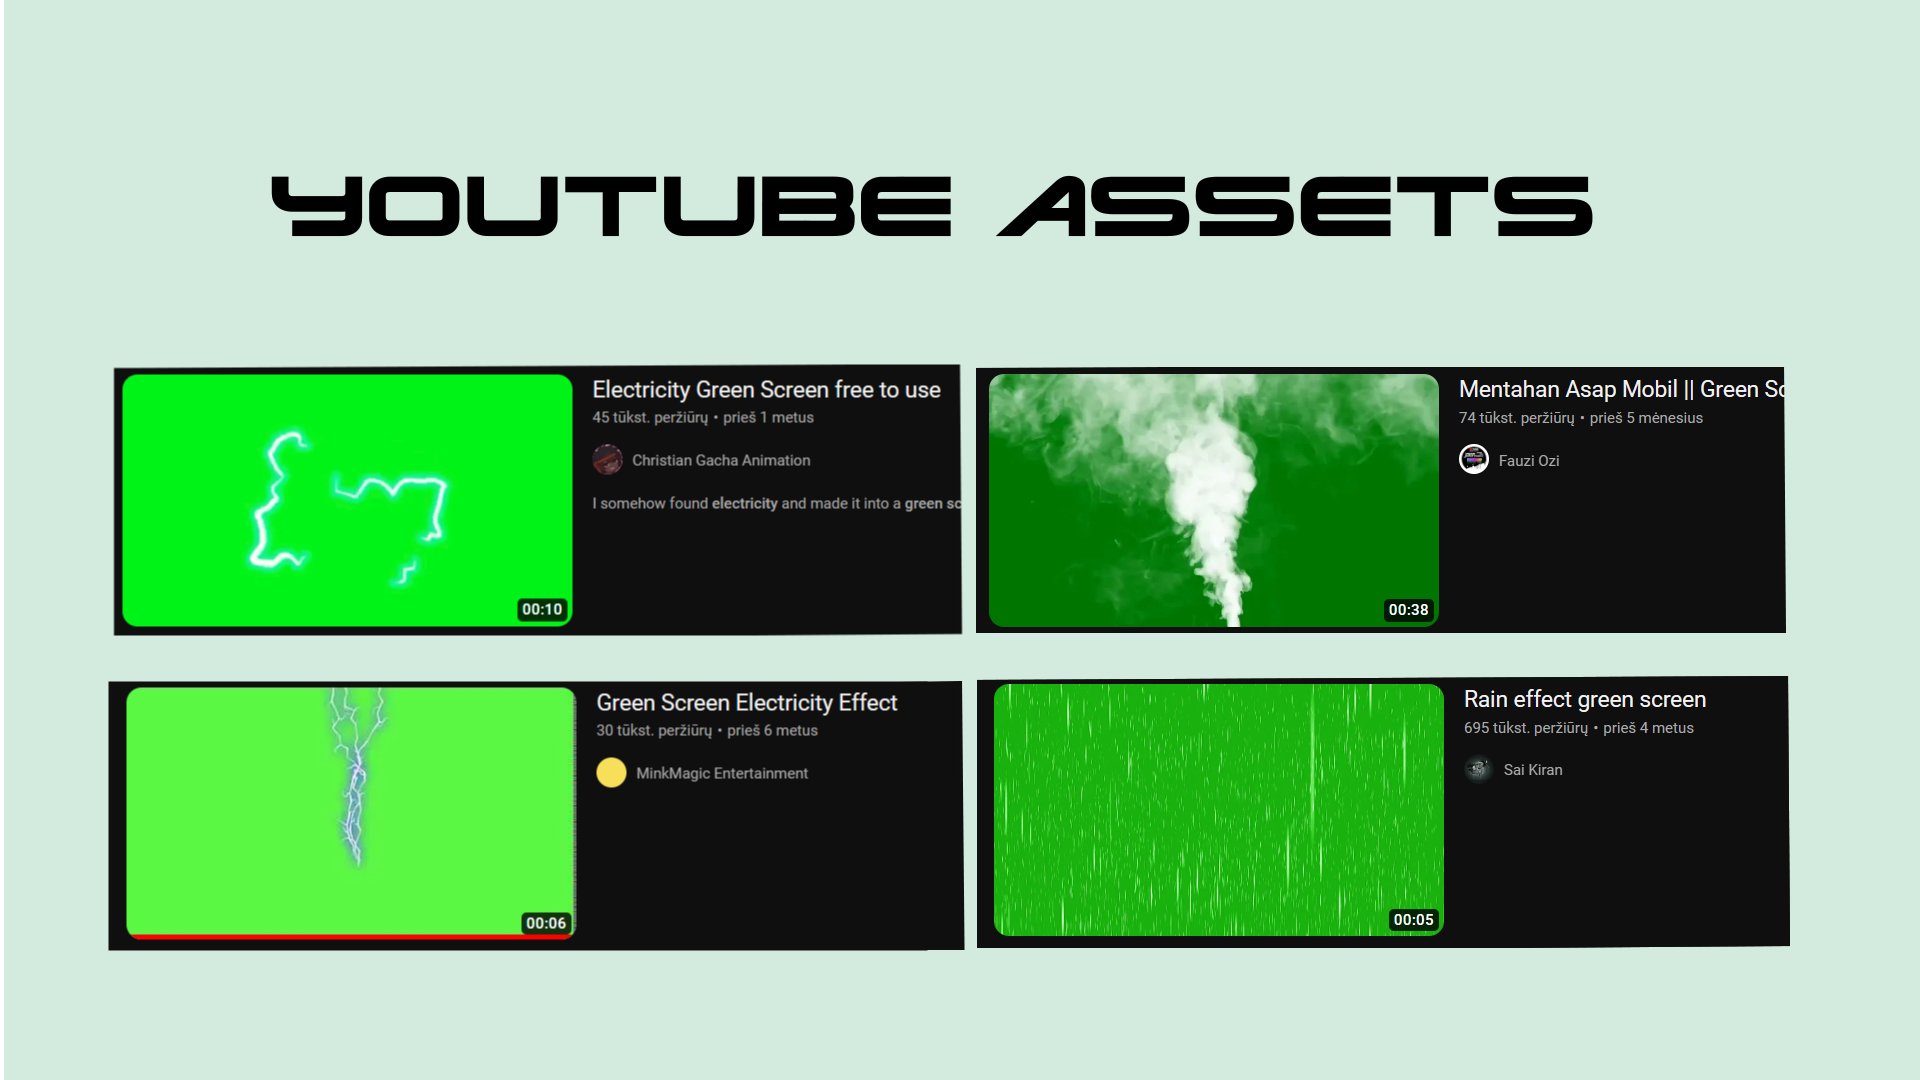
And finally, sound design.
Also Youtube. Just think of the sounds that would be a good fit for your scene and download them from YT.
It might take some time to find the best ones, but the experience can be quite satisfying.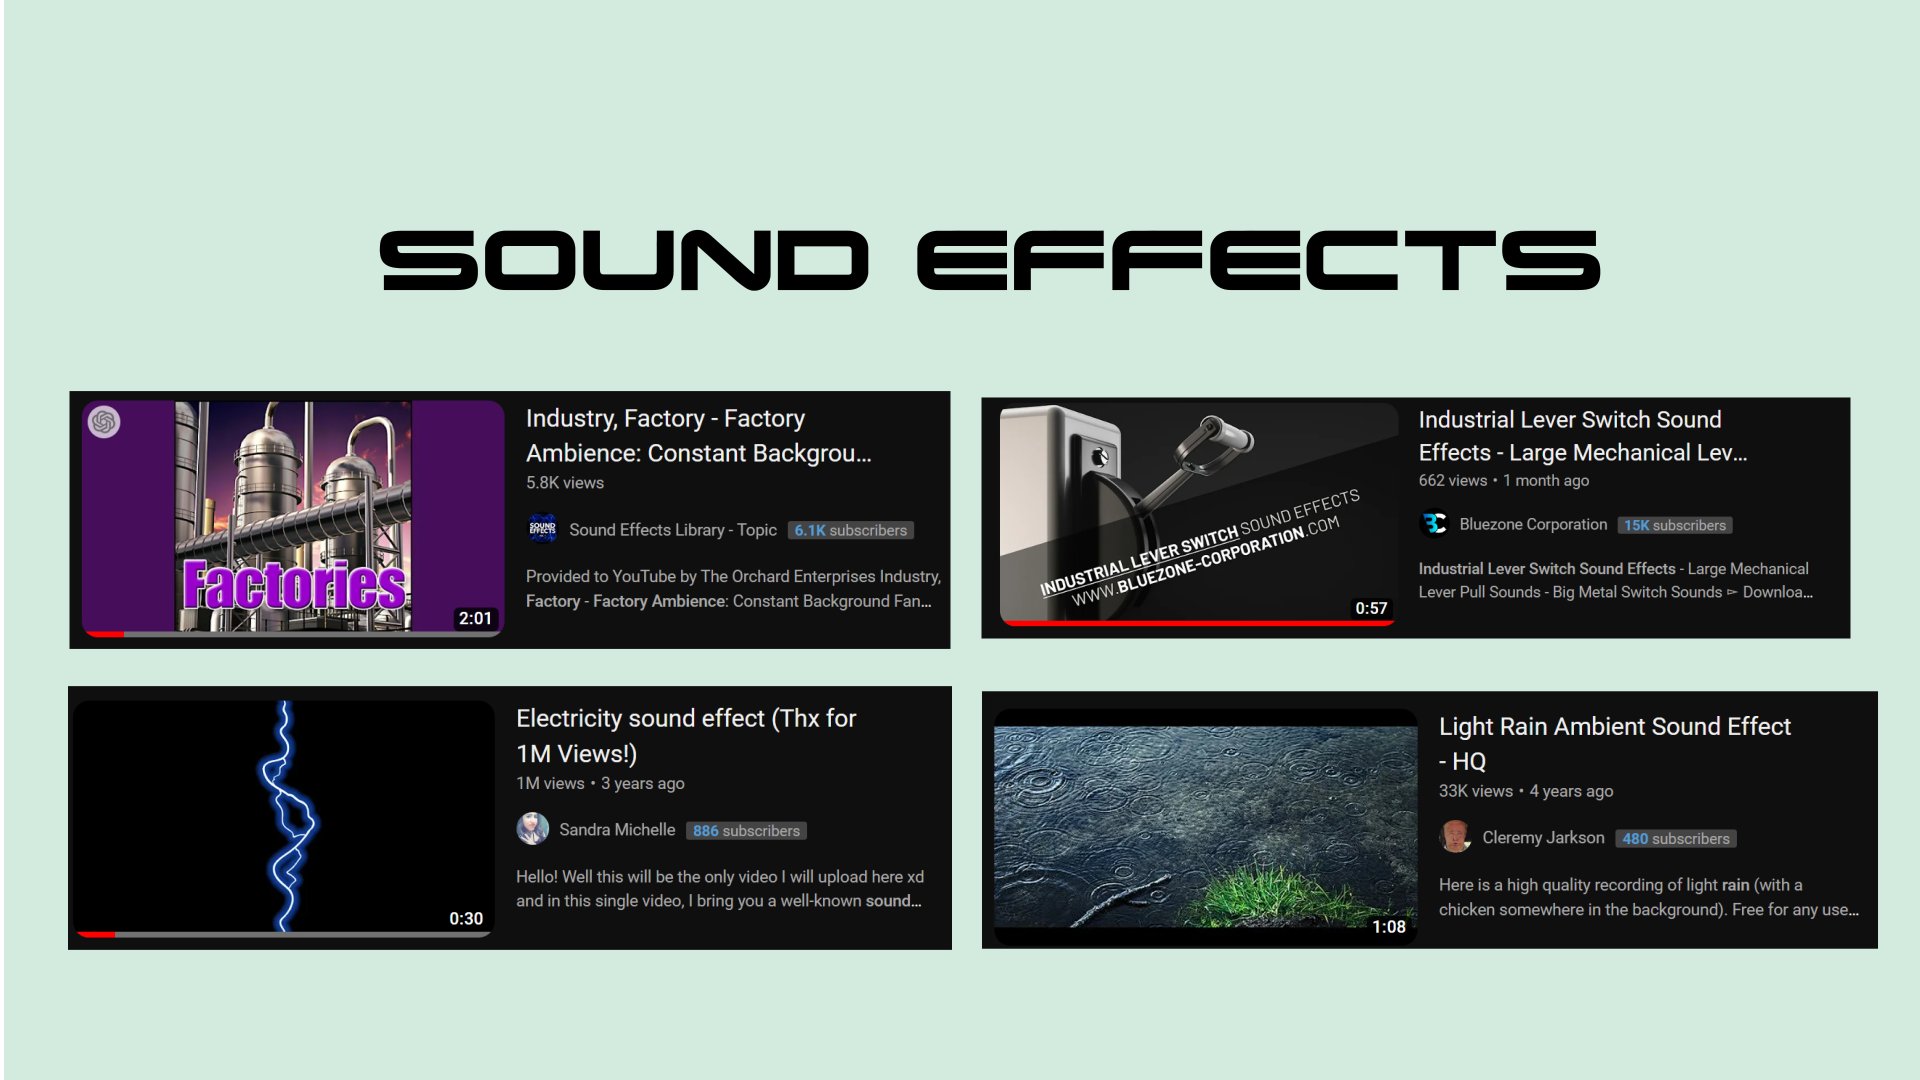
That’s it, folks!
As you can see, it’s really easy and doesn’t take much time.
If you enjoyed this “Animated MJ pic + tutorial” type of content, like this Tweet, and I’ll create more. Also, don’t forget to follow me
 原始链接
原始链接
https://twitter.com/0xframer/status/1646868007182823425?s=21

