Element-Plus
这里请注意区分两个项目:
element3 是由前端大圣老师(hug-sun)组织社区开发的适配vue3的版本,用于学习与研究,非官方。
element-plus 是由饿了么大前端打造的项目,也是本次使用的项目,是element-ui官方团队。
安装
# yarnyarn add element-plus -S# npmnpm i element-plus -S
引入项目(自定义主题)
这里直接讲述需要自定义主题时引入项目的方法。普通的引入以及按需引入请查看官方文档即可。
在 src/assets/style 文件夹中创建 element-variables.scss 文件:
/* 改变主题色变量 */$--color-primary: #7020e3;/* 引入字体文件 */$--font-path: 'element-plus/lib/theme-chalk/fonts';/* 引入element样式 */@import 'element-plus/packages/theme-chalk/src/index';
在 main.ts 文件中:
import { createApp } from 'vue'import App from './App.vue'import ElementPlus from 'element-plus'import '~/style/element-variables.scss'createApp(App).use(ElementPlus).mount('#app')
在 .vue 文件使用:
<template><h1>button</h1><el-button type="primary">button</el-button></template>
在Element-Plus中使用iconfont
首先进入 iconfont,注册账号。
创建一个项目,将喜欢的图标添加至购物车,再将购物车内的图标添加至项目。
- 将项目下载至本地并解压,得到如下文件:
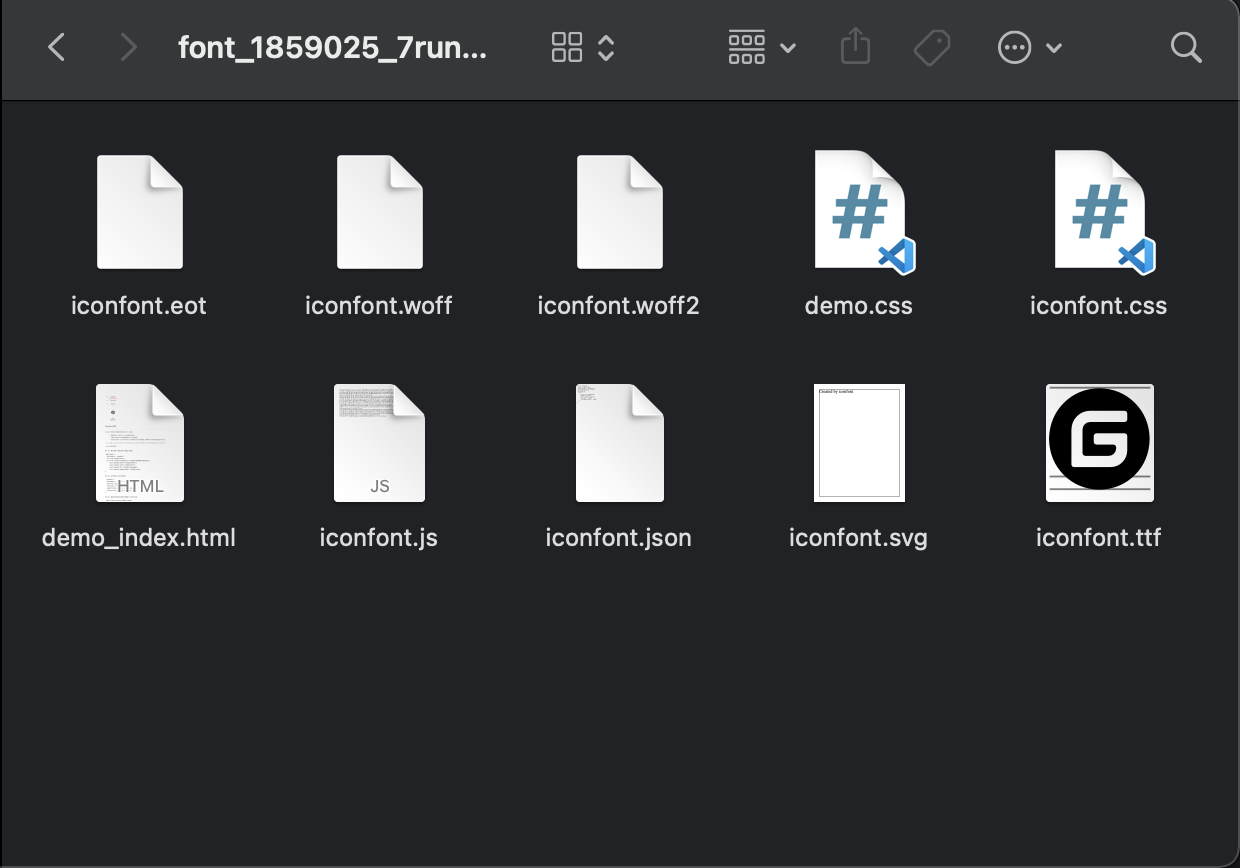
- 在
**src/assets**下创建一个**iconfont**文件夹,并将这五个文件放进去:
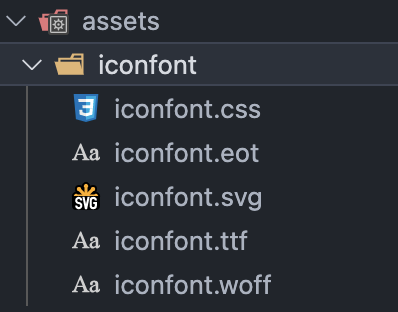
- 这是
**iconfont.css**的内容,下面的icon-xxx就是各个图标的类名:
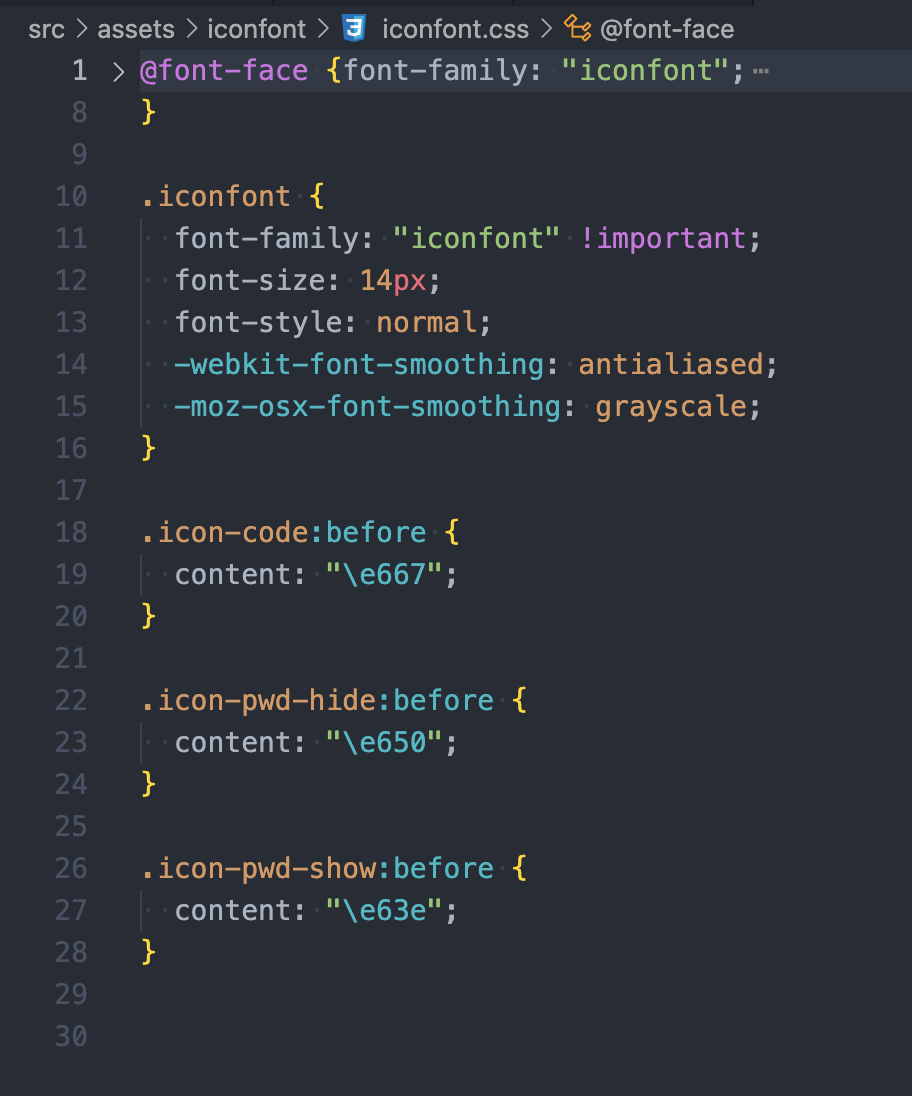
在
**main.ts**中引入import '~/iconfont/iconfont.css'
在
**.vue**文件中<template><h1>iconfont button</h1><el-buttonicon="iconfont icon-code"type="primary"><span>iconfont</span></el-button></template>
Trouble Shooting
当项目引入了Element-plus并打包时,可能会遭遇如下的错误:
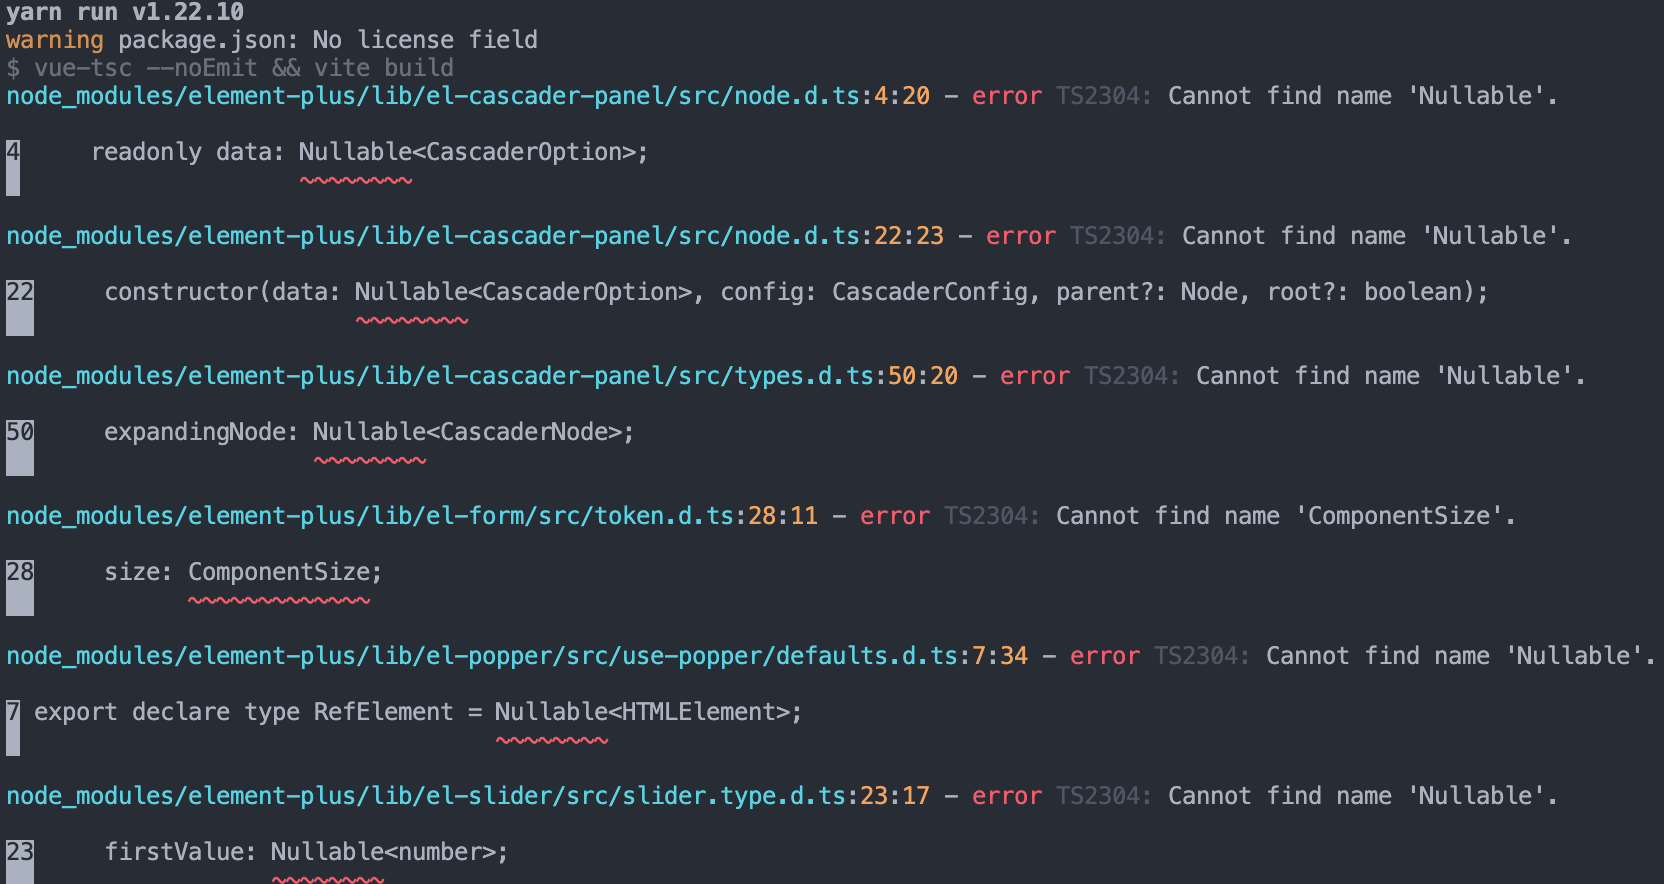
这应该属于Element Plus的问题,但是我们必须解决这个错误,免得我们无法打包。最简单的解决方案就是让vue-tsc的检查调过对这些第三方库的ts检测,我们在 tsc 后面添加一个--skipLibCheck参数即可。// package.json{"scripts": {"build": "vue-tsc --noEmit --skipLibCheck && vite build",},}
vite-plugin-svg-icons(svg雪碧图)
vite-plugin-svg-icons 是一个vite插件,生成svg雪碧图,并且在vue中可以使用一个简单易用的 SvgIcon 组件,轻松的展示svg图标。
以下仅展示基础用法,若要查看更多详细配置,请访问上方链接:
准备工作
1. 安装
# yarnyarn add vite-plugin-svg-icons -D# npmnpm i vite-plugin-svg-icons -D
2. 创建存放svg的文件夹
在 assets 下创建一个 icons 文件夹,将所有的svg放在这个文件夹中。
也可以在icons中按照svg功能区分文件夹存放。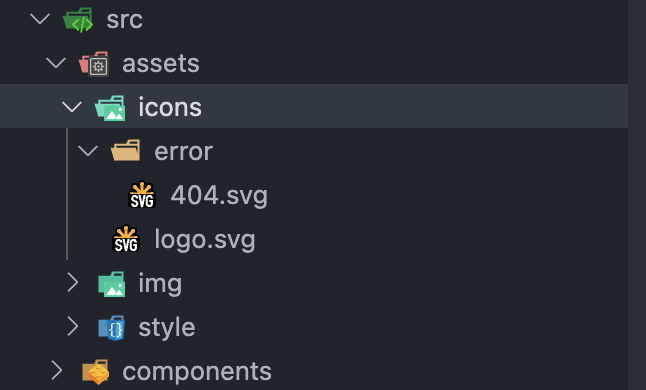
3. 配置Vite:
修改vite.config.ts文件:
// vite.config.tsimport { defineConfig } from 'vite'import vue from '@vitejs/plugin-vue'import { resolve } from 'path'import viteSvgIcons from 'vite-plugin-svg-icons'const pathResolve = (dir: string): string => {return resolve(__dirname, '.', dir)}// https://vitejs.dev/config/export default defineConfig({plugins: [vue(),viteSvgIcons({// 指定需要缓存的图标文件夹iconDirs: [pathResolve('./src/assets/icons')],// 指定symbolId格式symbolId: 'icon-[dir]-[name]',}),],})
4. 注册插件
在 main.ts 中注册插件:
// main.tsimport 'vite-plugin-svg-icons/register'
使用
1. 创建Vue组件
在 src/components 文件夹下创建 SvgIcon 组件:
// src/components/SvgIcon/index.vue<template><svg aria-hidden="true"><use :xlink:href="symbolId" /></svg></template><script>import { defineComponent, computed } from 'vue'export default defineComponent({name: 'SvgIcon',props: {prefix: {type: String,default: 'icon',},name: {type: String,required: true,},},setup(props) {const symbolId = computed(() => `#${props.prefix}-${props.name}`)return { symbolId }},})</script>
2. 注册全局组件
在main.ts中:
// main.tsimport { createApp } from 'vue'import App from './App.vue'import 'vite-plugin-svg-icons/register'import SvgIcon from '@/components/SvgIcon/index.vue'createApp(App).component('SvgIcon', SvgIcon).mount('#app')
3. 使用
在.vue文件中:
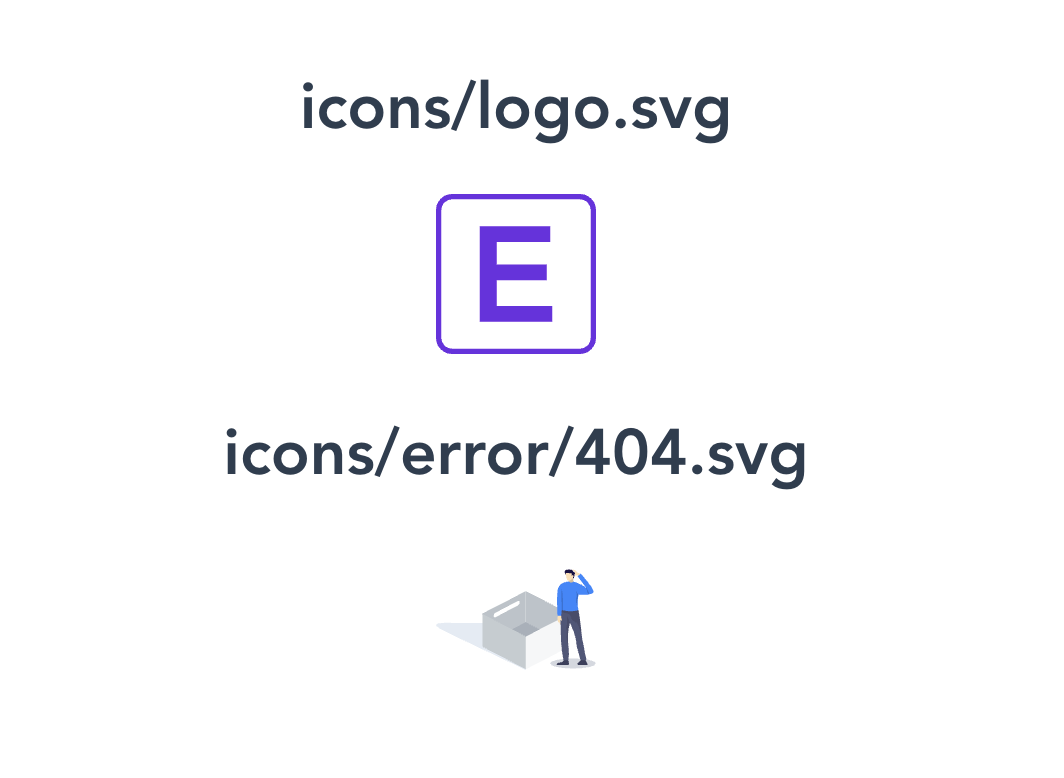
<template><h1>icons/logo.svg</h1><SvgIconname="logo"style="width: 80px;height:80px;"/><h1>icons/error/404.svg</h1><SvgIconname="error-404"style="width: 80px;height:80px;"/></template><script lang="ts">import { defineComponent } from 'vue'export default defineComponent({name: 'App',components: {},})</script>
查看页面,已经成功生成了,且更改svg文件内容也可以热更新~