Certbot的两种工作方式:
- Standalone 方式: certbot 会自己运行一个 web server 来进行验证。如果我们自己的服务器上 已经有 web server 正在运行 (比如 Nginx 或 Apache ),用 standalone 方式 的话需要先关掉它,以免冲突。
- Web root 方式: certbot 会利用既有的 web server,在其 web root目录下创建隐藏文件, Let’s Encrypt 服务端会通过域名来访问这些隐藏文件,以确认你的确拥有对应 域名的控制权。
下载客户端
#下载wget https://dl.eff.org/certbot-auto#添加执行权限chmod a+x ./certbot-auto
编辑nginx的配置文件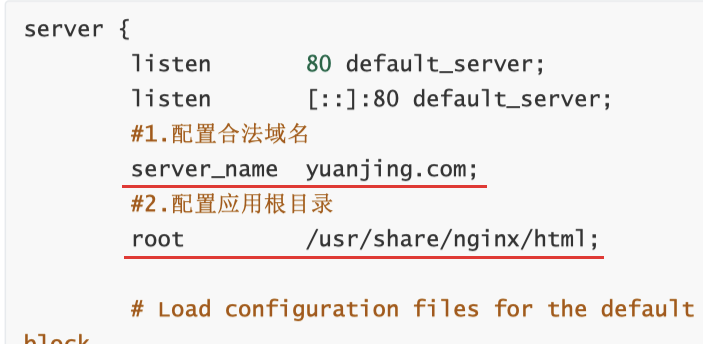
使用certbot-auto命令,生成证书
(1)使用certbot-auto命令,生成证书
#域名必须真实有效./certbot-auto certonly --webroot --email yuanjing@lagou.com -w /usr/share/nginx/html/ -d [填写合法域名的地址]
(2)生成的证书放在/etc/letsencrypt/live/[网站域名]下
例如:/etc/letsencrypt/live/yuanjing.com
一般情况下fullchain.pem和privkey.pem就够用了
(3) 配置nginx支持https访问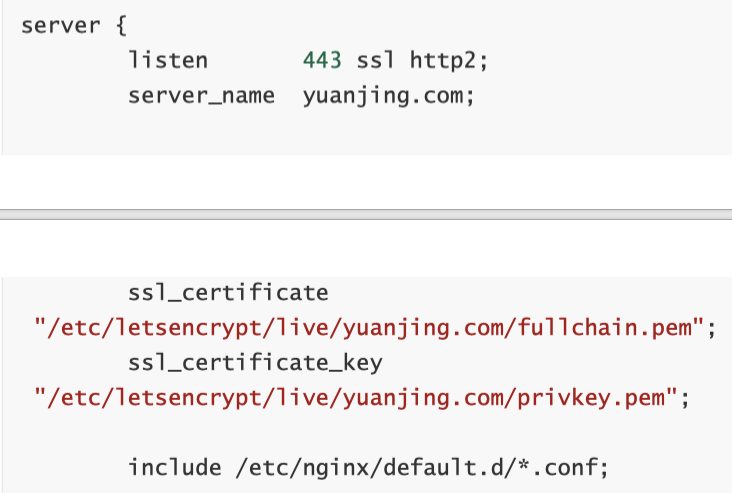
(4) http 跳转到 https
在网站在访问http时都会将http请求重定向到https,只需在nginx中配置下。配置如下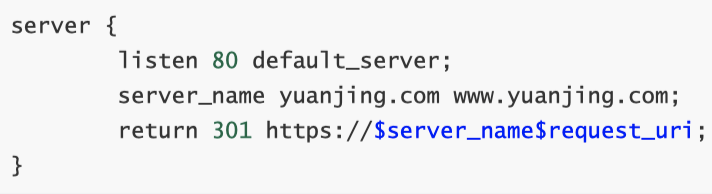
HSTS
server {listen 443 ssl;add_header Strict-Transport-Security "max-age=31536000; includeSubDomains" always;
重启nginx
nginx -s reload
更新证书
#创建定时任务sudo crontab -e#设置定时策略#/home/ubuntu/soft/certbot-auto:certbot所在的目录0 3 1 * * /home/ubuntu/soft/certbot-auto renew --renew-hook "sudo nginx -s reload"#查看一下是否存在刚才添加的定时命令sudo crontab -l

若有收获,就点个赞吧
0 人点赞
