使用ONLYOFFICE/build_tool编译server模块。
build_tool编译过程:
执行automate.py
- apt-get 安装需要的程序
- 安装node,安装npm包
- 安装qt:跨平台C++图形用户界面应用程序开发框架
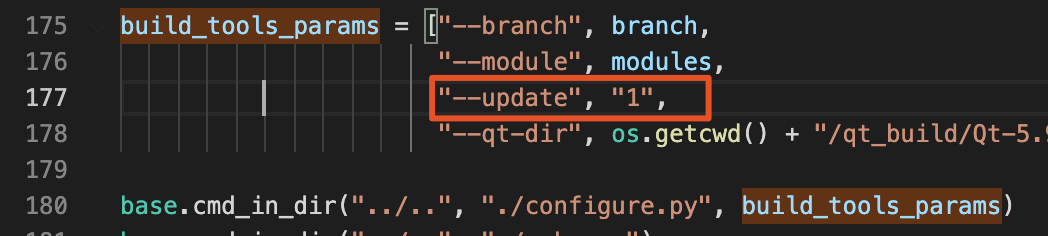
- 从命令行获取分支名、编译模块,设置编译参数。—update设置为0可以不更新git代码
- 执行configure.py
- 执行make.py
执行configure.py
- 配置各种编译参数
执行make.py
- git_update从github.com/ONLYOFFICE下载onlyoffice各个仓库,可以在这里改git地址
- 有配置develop参数会执行开发模式make,暂时没用到
- make_common.make()下载和编译第三方工具,这里也有git地址
- build.make()需要文件desktop-sdk/ChromiumBasedEditors/videoplayerlib/videoplayerlib.pro,但是只编译server不会下载desktop-sdk,可能是它本身的bug。需要手动把ONLYOFFICE/desktop-sdk仓库下载到根目录
- 编译web-apps和sdkjs,输出目录out/js
- 编译server
- deploy_server把最终可运行代码输出到out目录里。documentserver-snap/var/www/onlyoffice/documentserver-example里会生成example代码,是从ONLYOFFICE/document-server-integration仓库下载来的
启动server
- 根据build_tools里的指引安装nginx、PostgreSQL、RabbitMQ。
- 根据build_tools里的指引启动FileConverter和DocService。启动后可以访问到http://localhost:8000/web-apps/apps/api/documents/api.js
- 根据https://api.onlyoffice.com/editors/example/nodejs启动example:修改config/default.json里的siteUrl为http://localhost:8000,然后npm install,最后node bin/www运行。启动后可以访问到http://localhost:3000
链接数限制
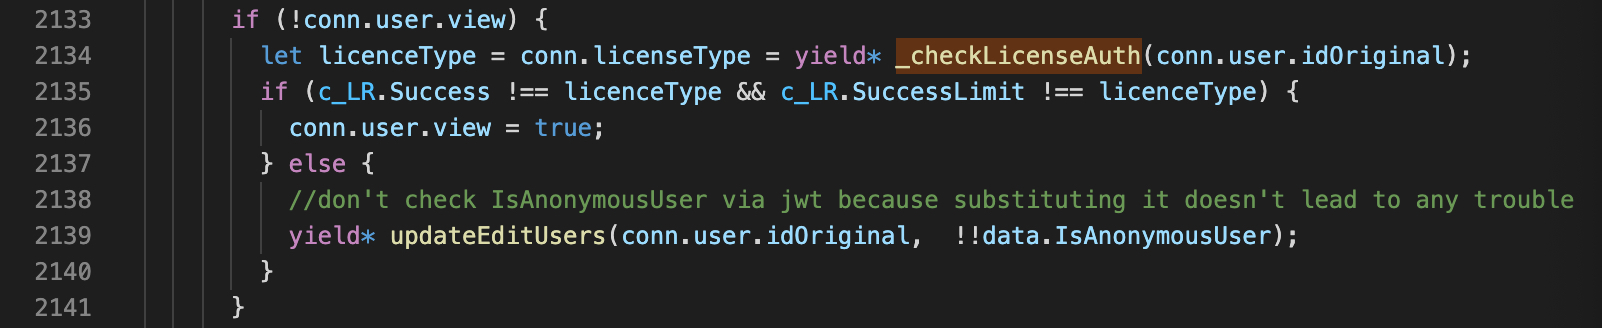
- 访问example,打开超过20个编辑页面会弹出提示,根据提示信息在源码中找到判断license的代码
- 修改/server/DocService/sources/DocsCoServer.js的2133 - 2142行,去掉checkLicense逻辑
改为: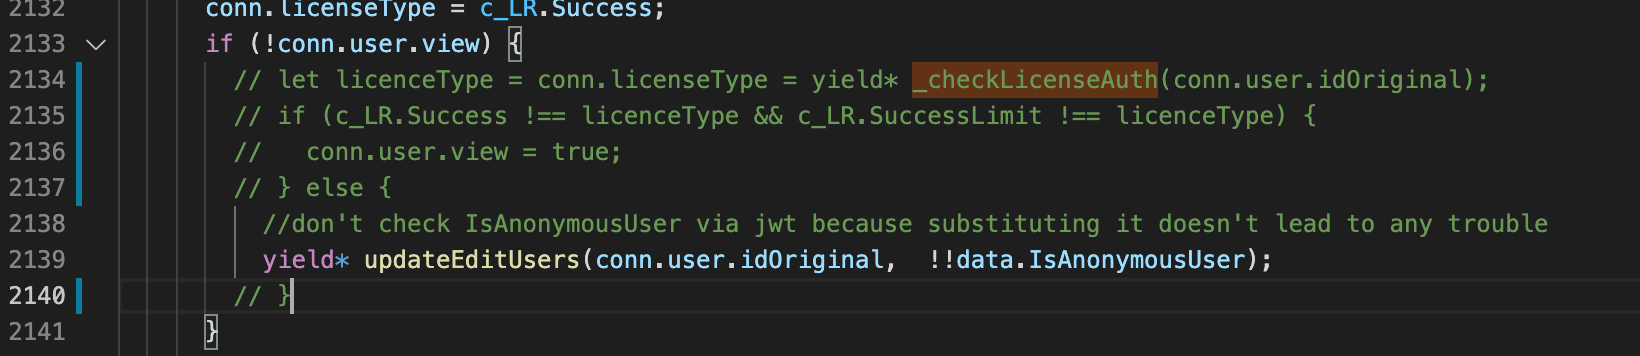
- 重新编译,注意要修改build_tools/tools/linux/automate.py里的—update参数为0,不然会覆盖掉修改的代码。
- 编译完成后重新启动服务,打开超过20个编辑页面测试,没有了限制
- 以下类型的限制都通过这个代码实现的:


若有收获,就点个赞吧
0 人点赞
