- 下载
- 创建环境
- 创建一个名为python34的环境,指定Python版本是3.4(不用管是3.4.x,conda会为我们自动寻找3.4.x中的最新版本)
conda create —name python34 python=3.4
# 安装好后,使用activate激活某个环境
activate python34 # for Windows
source activate python34 # for Linux & Mac
# 激活后,会发现terminal输入的地方多了python34的字样,实际上,此时系统做的事情就是把默认2.7环境从PATH中去除,再把3.4对应的命令加入PATH
# 此时,再次输入
python —version
# 可以得到Python 3.4.5 :: Anaconda 4.1.1 (64-bit),即系统已经切换到了3.4的环境
# 如果想返回默认的python 2.7环境,运行
deactivate python34 # for Windows
source deactivate python34 # for Linux & Mac
# 删除一个已有的环境
conda remove —name python34 —all
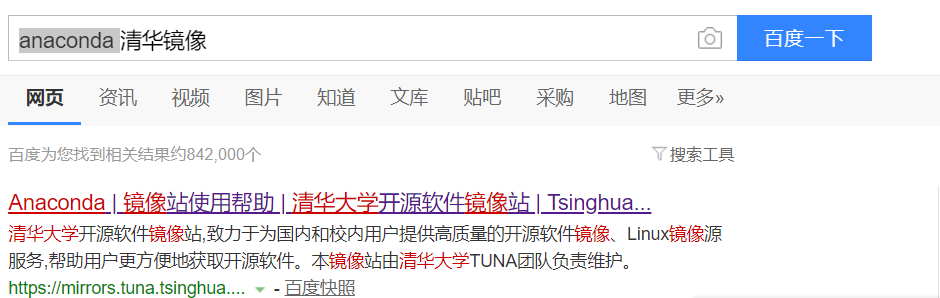
下载
配置下载资源包路径
conda config —add channels r
即在C:\Users\Dell目录下出现condarc文件
修改文件.condarc
channels:- defaultsshow_channel_urls: truedefault_channels:- https://mirrors.tuna.tsinghua.edu.cn/anaconda/pkgs/main- https://mirrors.tuna.tsinghua.edu.cn/anaconda/pkgs/rcustom_channels:conda-forge: https://mirrors.tuna.tsinghua.edu.cn/anaconda/cloudmsys2: https://mirrors.tuna.tsinghua.edu.cn/anaconda/cloudbioconda: https://mirrors.tuna.tsinghua.edu.cn/anaconda/cloudmenpo: https://mirrors.tuna.tsinghua.edu.cn/anaconda/cloudpytorch: https://mirrors.tuna.tsinghua.edu.cn/anaconda/cloud
创建环境
conda config —add channels https://mirrors.tuna.tsinghua.edu.cn/anaconda/pkgs/main/
conda config —add channels https://mirrors.tuna.tsinghua.edu.cn/anaconda/pkgs/free/
conda config —set show_channel_urls yes
conda create -n python3_1 python3
切换环境 source activate python3
创建一个名为python34的环境,指定Python版本是3.4(不用管是3.4.x,conda会为我们自动寻找3.4.x中的最新版本)
conda create —name python34 python=3.4
# 安装好后,使用activate激活某个环境
activate python34 # for Windows
source activate python34 # for Linux & Mac
# 激活后,会发现terminal输入的地方多了python34的字样,实际上,此时系统做的事情就是把默认2.7环境从PATH中去除,再把3.4对应的命令加入PATH
# 此时,再次输入
python —version
# 可以得到Python 3.4.5 :: Anaconda 4.1.1 (64-bit),即系统已经切换到了3.4的环境
# 如果想返回默认的python 2.7环境,运行
deactivate python34 # for Windows
source deactivate python34 # for Linux & Mac
# 删除一个已有的环境
conda remove —name python34 —all

若有收获,就点个赞吧
0 人点赞
