环境准备
需要先安装 dotnet-sdk-5.0,不同的系统环境安装方式不同,参考 https://docs.microsoft.com/zh-cn/dotnet/core/install/linux,这里以 Ubuntu-18.04 为例(root 权限运行):
wget https://packages.microsoft.com/config/ubuntu/18.04/packages-microsoft-prod.deb -O packages-microsoft-prod.debdpkg -i packages-microsoft-prod.debapt-get updateapt-get install -y apt-transport-httpsapt-get updateapt-get install -y dotnet-sdk-5.0dotnet --version
正确输出版本代表安装成功。
之后,需要安装 redis、mongo 数据库,可以使用 docker 部署,部署方式参考 https://www.yuque.com/gotoreinject/sharpblog/pfr0g3
开始部署
SharpBlog-Api
# clone code and restore depsgit clone https://github.com/cnsimo/SharpBlogX.gitcd SharpBlogXdotnet restore# deploy sharpblog-apicd src/SharpBlogX.Apidotnet publish -c Release -o /app/publish/sharpblog-apicd /app/publish/sharpblog-api# before run, need to edit appsettings.yml to file your configurationvim appsettings.yml# start sharpblog-apidotnet SharpBlogX.Api.dll# check database healthy, "Healthy" is ok, "Unhealthy" is not ok.curl -k https://localhost:44380/api/health
访问 https://your-server-ip:44380 查看接口列表: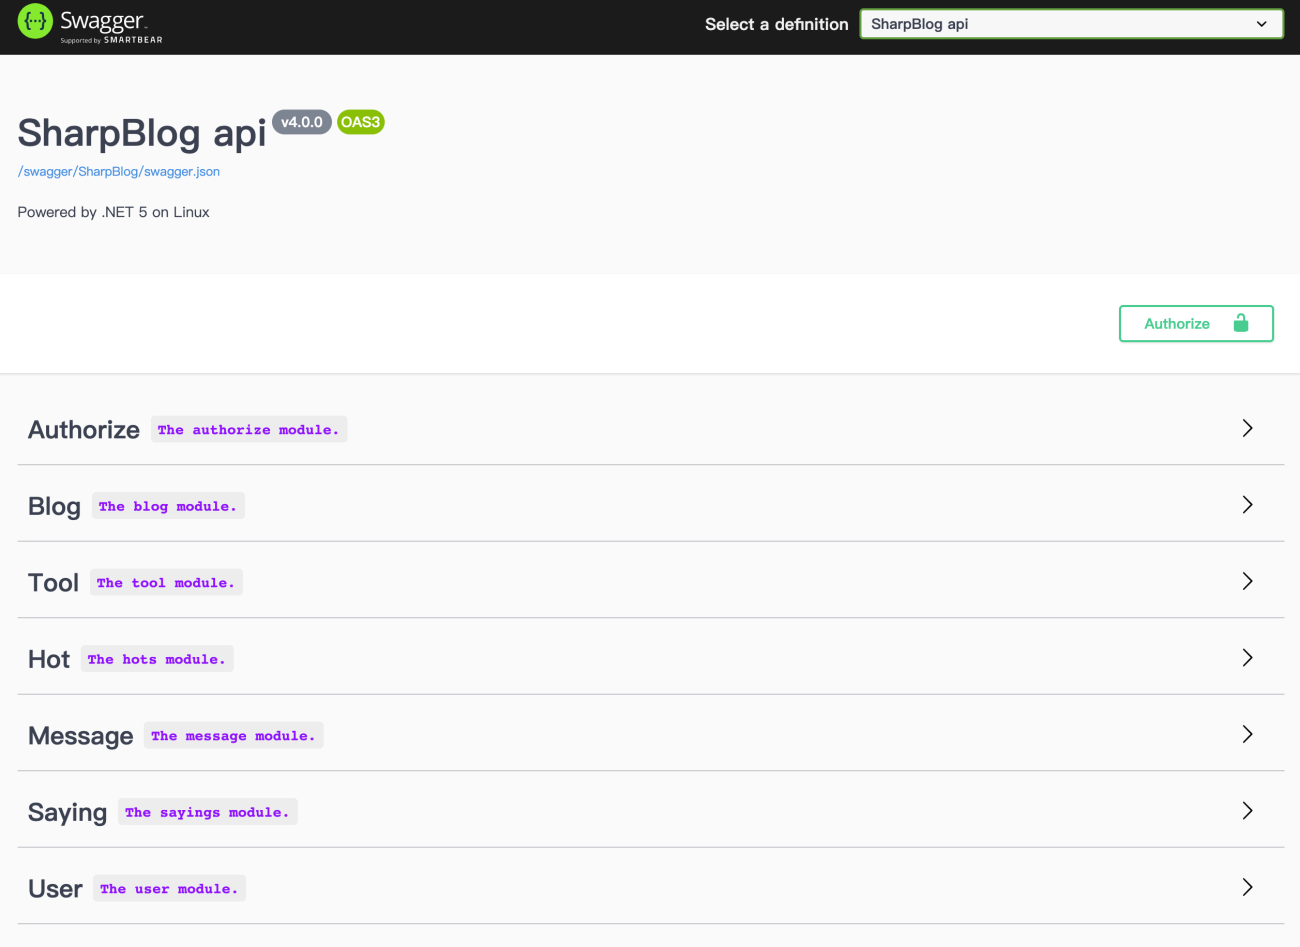
SharpBlog-Web
# clone code and restore depsgit clone https://github.com/cnsimo/SharpBlogX.gitcd SharpBlogXdotnet restore# deploy sharpblog-webcd src/SharpBlogX.Webdotnet publish -c Release -o /app/publish/sharpblog-webcd /app/publish/sharpblog-web# before run, need to edit appsettings.yml to file your configurationvim appsettings.yml# start sharpblog-webdotnet SharpBlogX.Web.dll
访问 https://your-server-ip:44381 查看博客。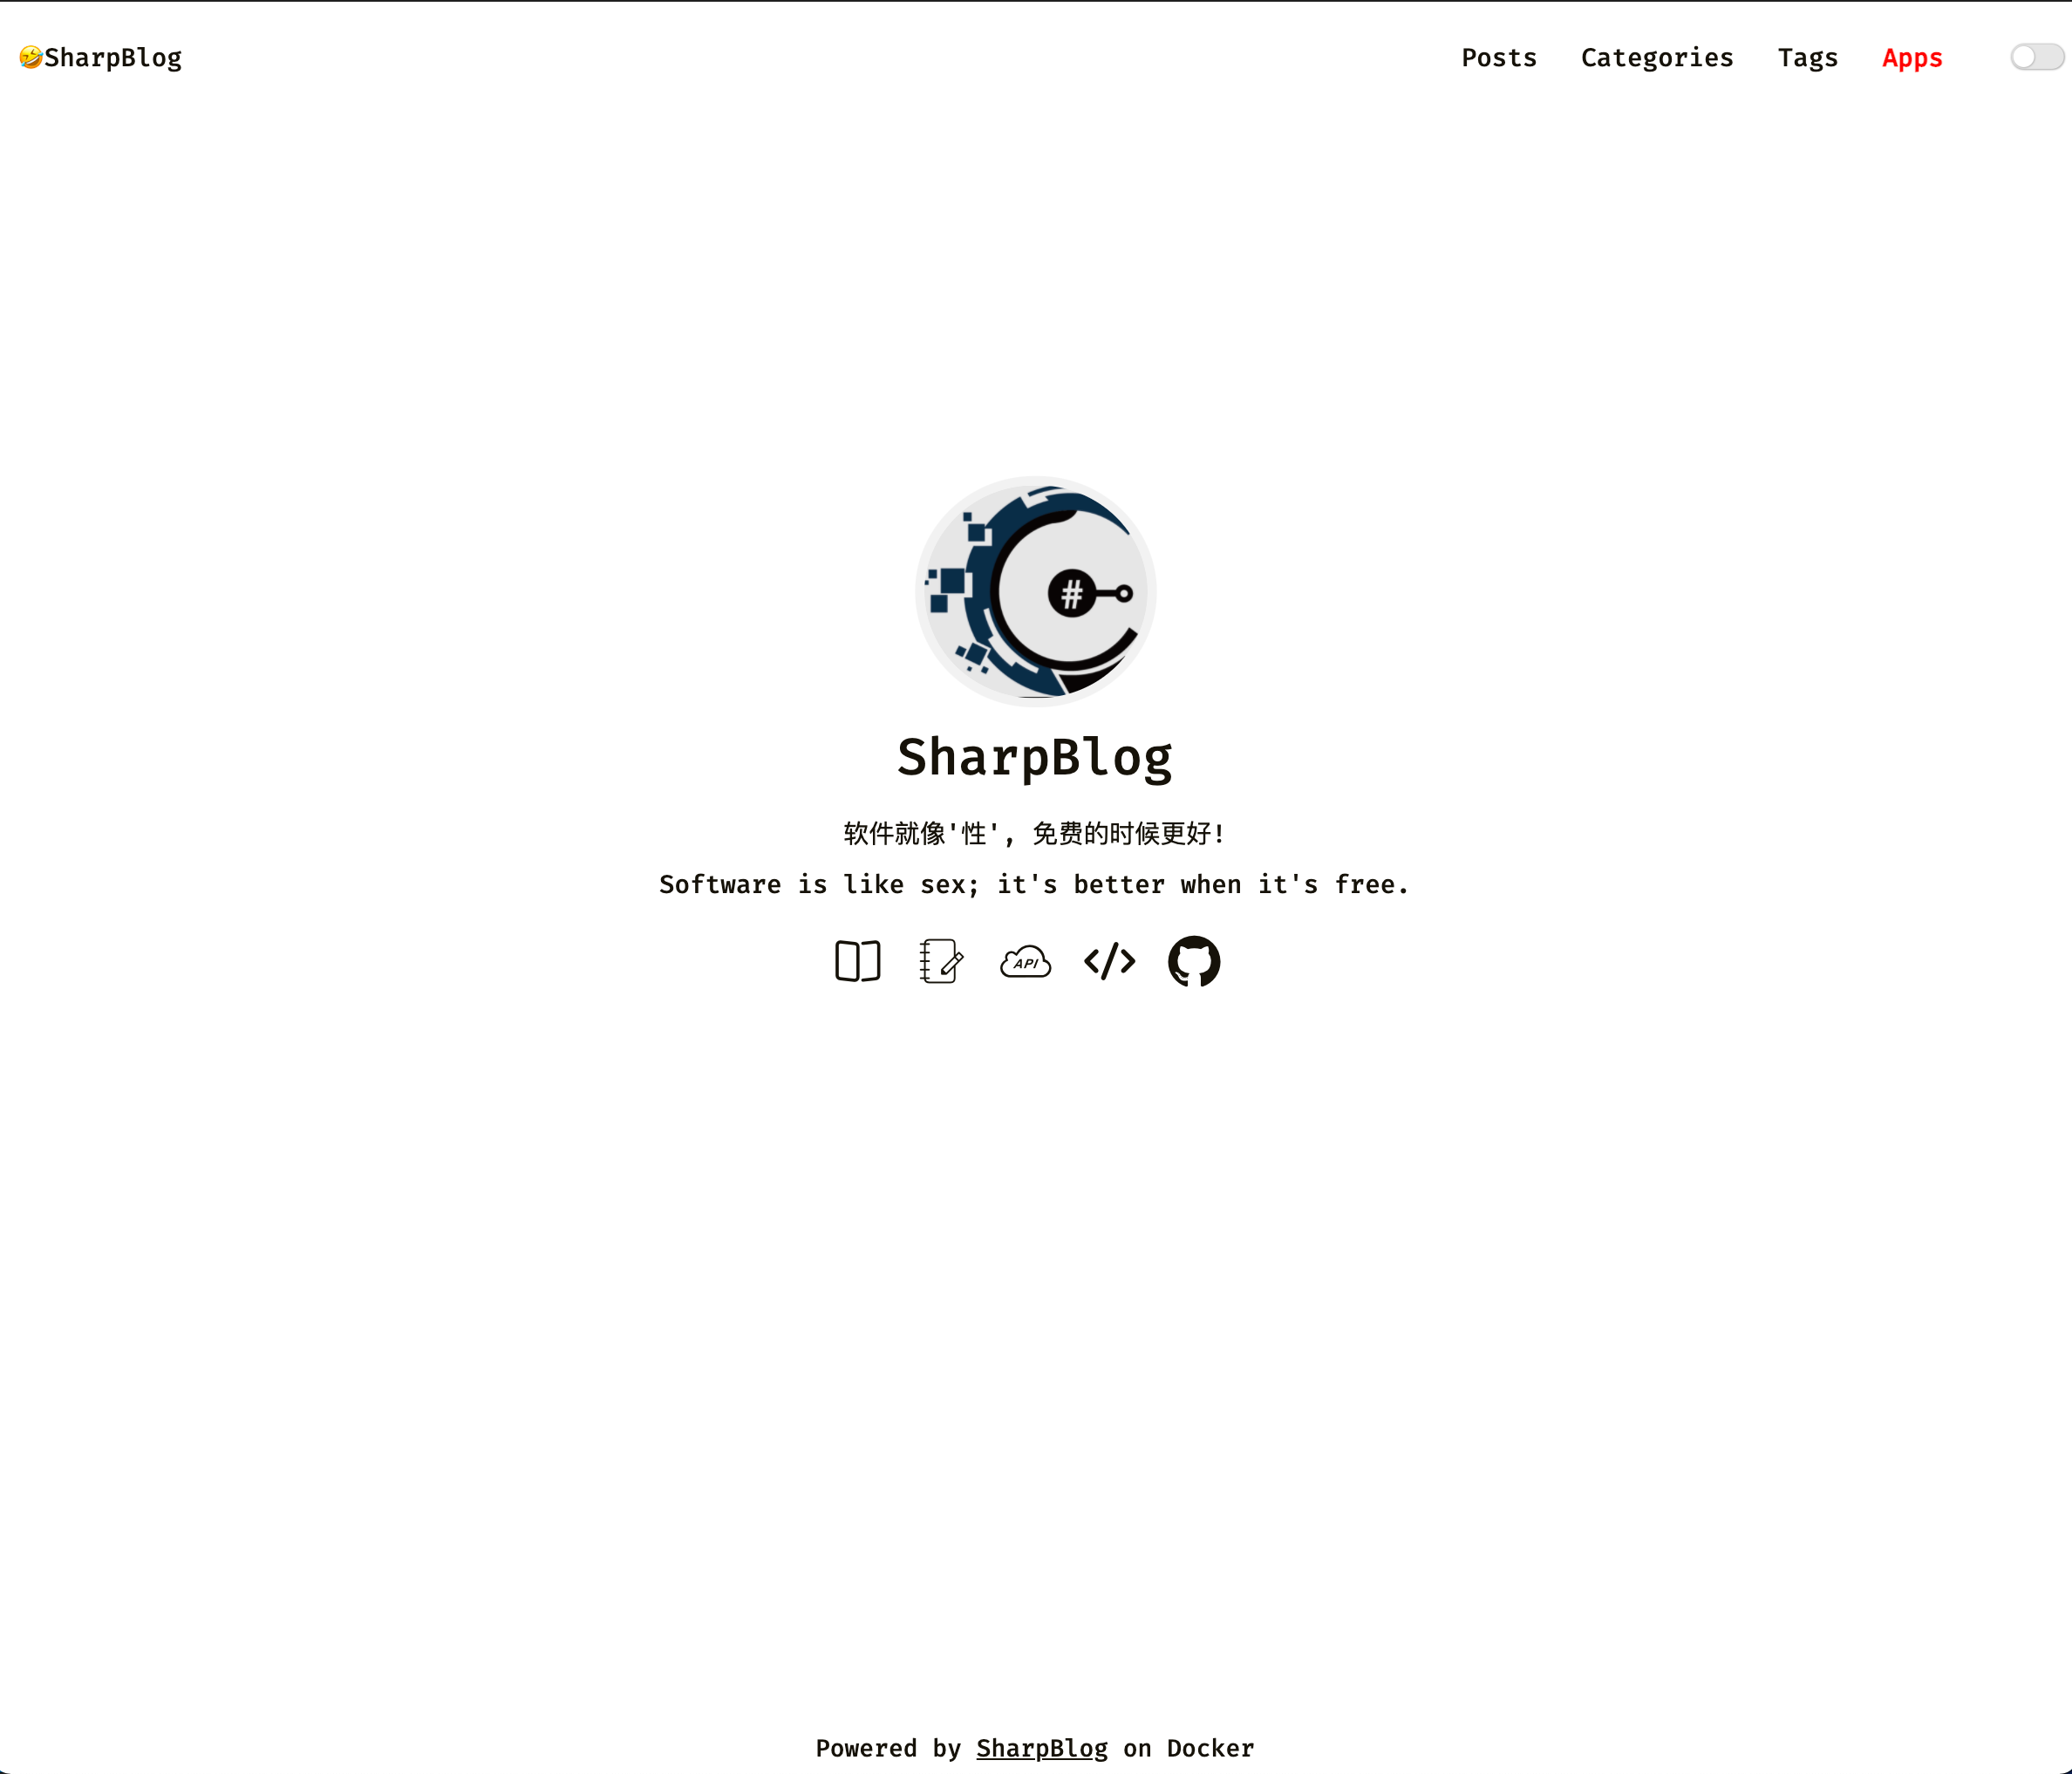
SharpBlog-Admin
# clone code and restore depsgit clone https://github.com/cnsimo/SharpBlogX.gitcd SharpBlogXdotnet restore# deploy sharpblog-admincd src/SharpBlogX.Admindotnet publish -c Release -o /app/publish/sharpblog-admincd /app/publish/sharpblog-admin# before run, need to edit appsettings.yml to file your configurationvim appsettings.yml# start sharpblog-admindotnet SharpBlogX.Admin.dll
访问 https://your-server-ip:44382,可以看到后台登录界面。
默认用户名密码:admin/123456,登陆前请先导入种子数据,或到数据库手动创建。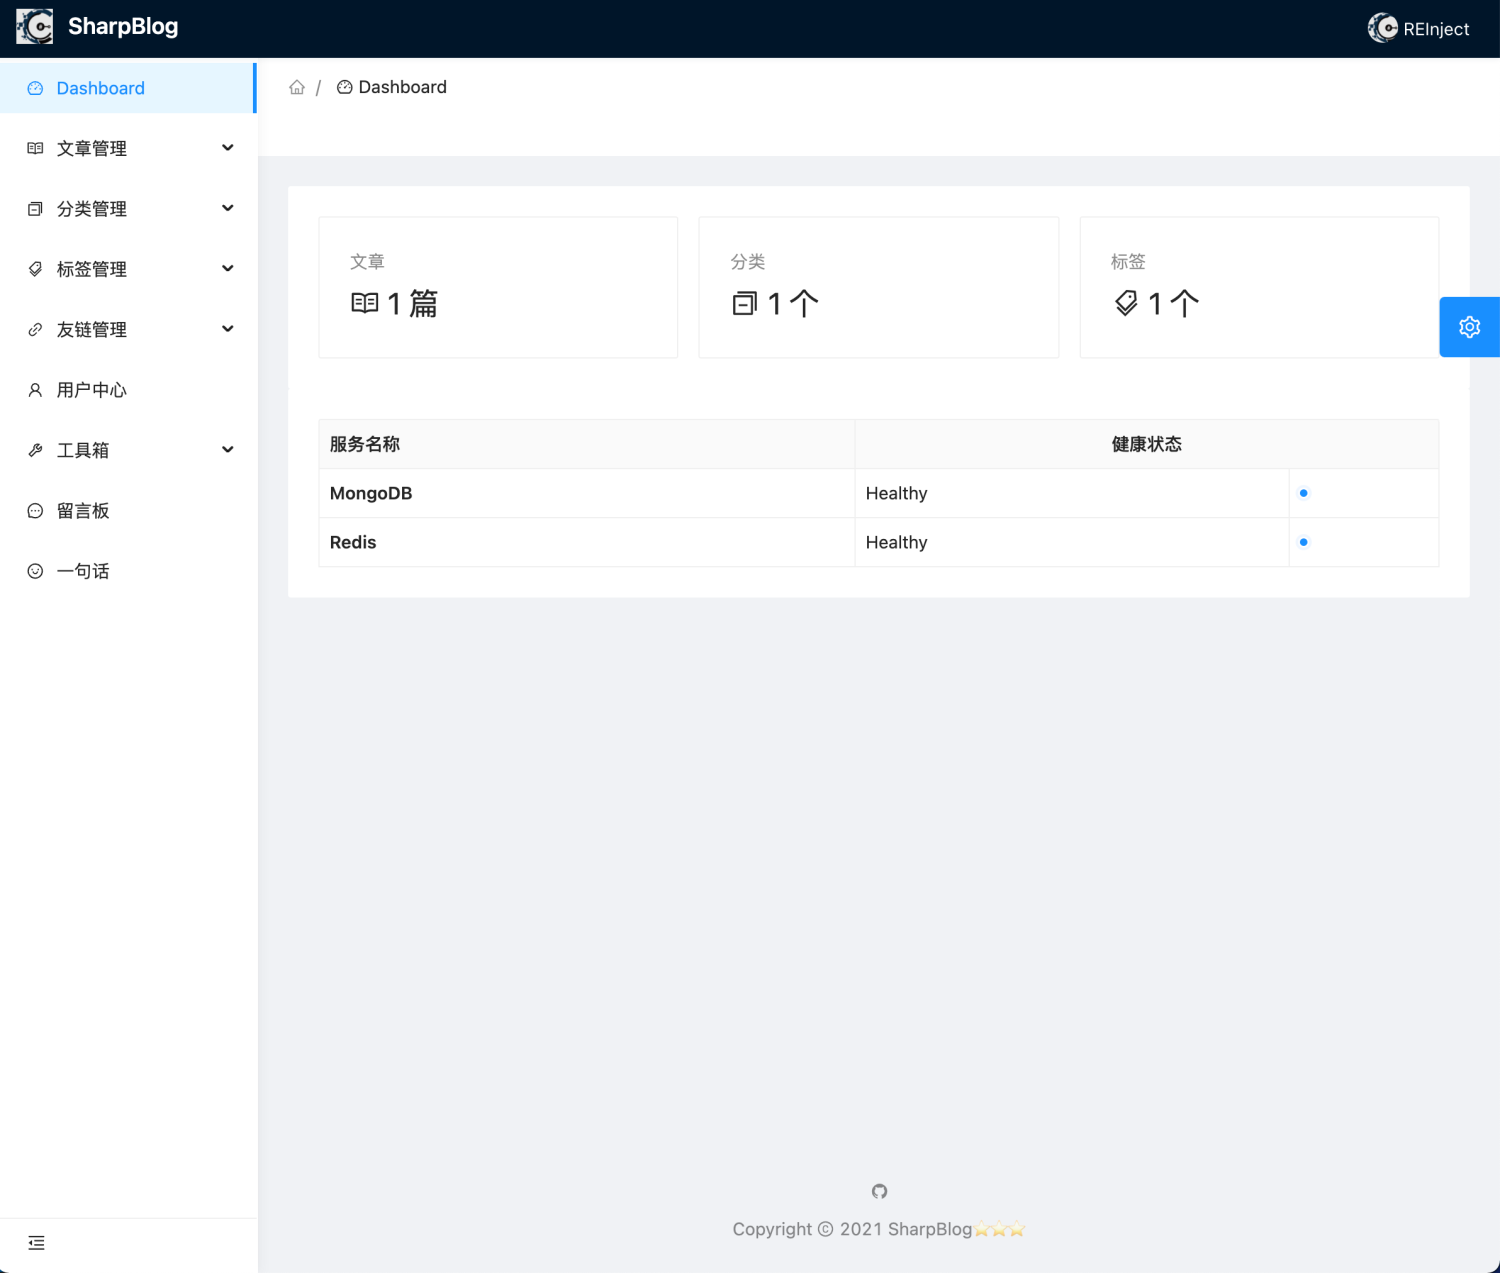

若有收获,就点个赞吧
0 人点赞
