
下面是一个人脸识别的完整例子,包括找脸、注册脸、识别脸等全过程。100行代码,其中自动生成代码60行,自己写的代码不到40行,搞定人脸识别。
from cvs import *import facerecognitionimport numpy as np#这个类是界面类,是自动生成的代码,通过wizard工具自动生成。class MyApp(App):def __init__(self, *args):super(MyApp, self).__init__(*args)def main(self):#creating a container VBox type, vertical (you can use also HBox or Widget)main_container = gui.VBox(width=360, height=680, style={'margin':'0px auto'})#添加一个摄像头self.aidcam = OpencvVideoWidget(self, width=340, height=480)self.aidcam.style['margin'] = '10px'self.aidcam.set_identifier("myimage_receiver")main_container.append(self.aidcam)#添加一个输入框self.txt = gui.TextInput(width=200, height=30, margin='10px')self.txt.set_text('usename')#给输入框添加一个事件self.txt.onchange.do(self.on_text_area_change)#添加一个注册按钮self.bt = gui.Button('Add Person!', width=200, height=30, margin='10px')# setting the listener for the onclick event of the button#给这个按钮添加一个事件self.bt.onclick.do(self.on_button_pressed)main_container.append(self.txt)main_container.append(self.bt)# returning the root widgetreturn main_containerdef on_text_area_change(self, widget, newValue):print('Text Area value changed!')def on_button_pressed(self, widget):userId = self.txt.get_text()cvs.setLbs(userId)self.bt.set_text('success!')#这个是每一帧的处理函数def process():cap=cvs.VideoCapture(1)#加载模型facerecog = facerecognition.FaceRecognition("./models", 0.73)while True:sleep(30)img =cap.read()if img is None :continueimage_char = img.astype(np.uint8).tostring()userId=cvs.getLbs()if userId!='':#注册一张人脸ret=facerecog.add_person(userId, img.shape[0], img.shape[1], image_char)if ret==0:print ('you add_person is success!')# cvs.setMsg_status(1)else :print ('you add_person is failed!')userId=''cvs.setLbs(userId)continue#识别一张脸rets = facerecog.recognize(img.shape[0], img.shape[1], image_char)#print 'rets:',retsfor ret in rets:#for ret in each:print ('draw bounding box for the face',ret)rect = ret['rect']p1 = (int(rect[0]), int(rect[1]))p2 = (int(rect[0]+rect[2]), int(rect[1]+rect[2]))#draw rect,names of facescv2.rectangle(img, p1,p2, (0, 255, 0) , 3, 1)cv2.putText(img, ret['name'], (int(rect[0]), int(rect[1])-30),cv2.FONT_ITALIC, 2, (77, 255, 9), 2)cvs.imshow(img)if __name__ == '__main__':initcv(process)startcv(MyApp)
Aid内置了大量的AI深度学习的例子,请参考: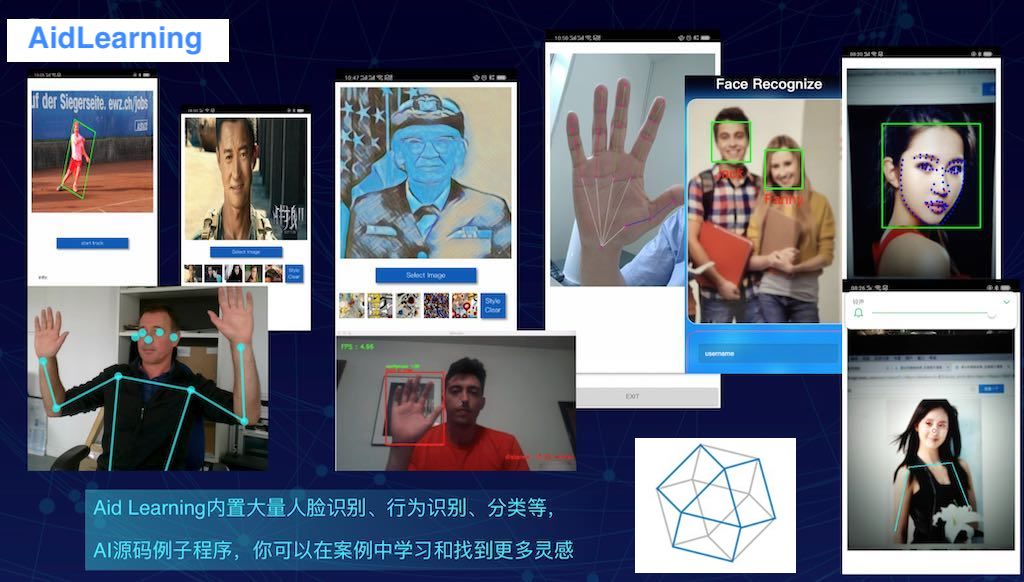

若有收获,就点个赞吧
0 人点赞
