下载
https://www.elastic.co/cn/downloads/elasticsearch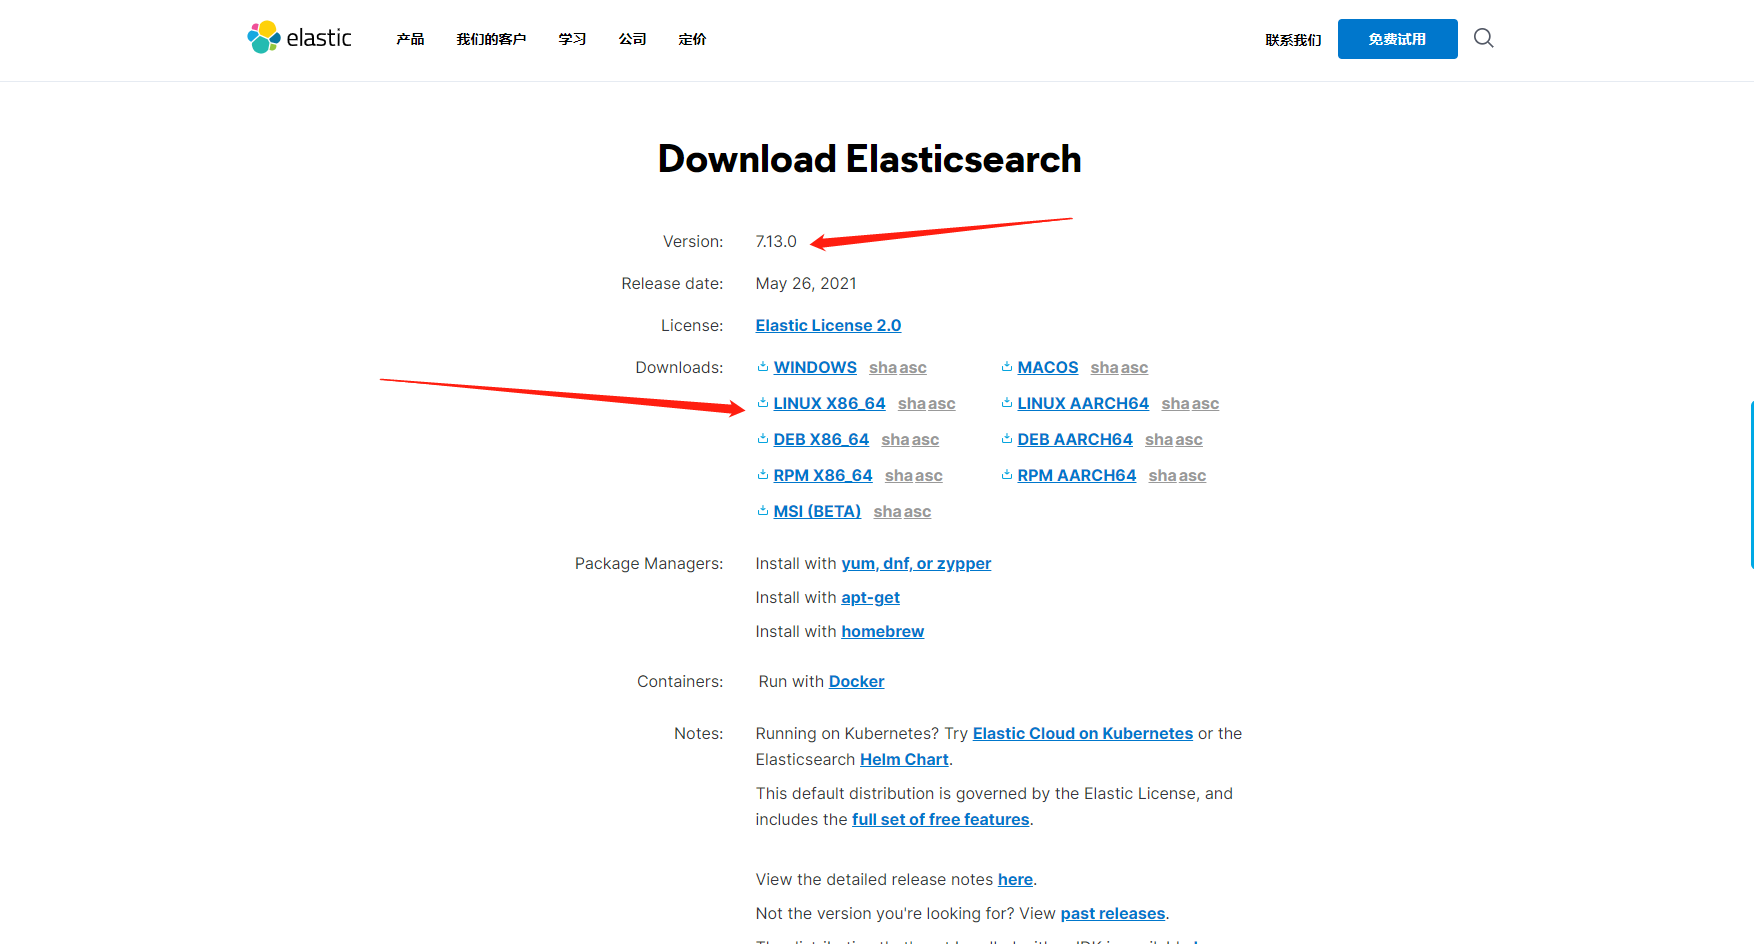
解压
tar -zxvf elasticsearch-7.13.0-linux-x86_64.tar.gz
移动至/opt路径
mv elasticsearch-7.13.0/ /opt
修改elasticsearch.yml配置文件
cluster.name: dams #自定义path.data: /var/es/data #elasticsearch数据路径path.logs: /var/es/logs #elasticsearch日志路径network.host: 192.168.2.13 #网络地址 0.0.0.0为所有http.port: 9200 #http请求端口 默认9200
修改/etc/security/limits.conf文件
添加以下配置,如果存在请忽略
* soft nofile 65536* hard nofile 131072* soft nproc 4096* hard nproc 4096
修改/etc/sysctl.conf
添加以下配置,如果存在请忽略
vm.max_map_count=655360
添加用户
如果存在或使用非root用户请忽略此步骤
添加用户
useradd es
给用户授权
chown -R es:es /opt/elasticsearch-7.13.0
此步骤非必须操作 elasticsearch的config目录权限为777时可跳过
切换至普通用户(非root)
su es
启动elasticsearch
进入elasticsearch的bin目录下,执行命令
./elasticsearch (非守护进程,前台启动)./elasticsearch -d (守护进程,后台启动)
注意:elasticsearch.yml中配置的path.data和path.logs所配置的路径启动es使用的用户必须有权限或者配置路径的目录权限为777

若有收获,就点个赞吧
0 人点赞
