一. windows平台
官方安装说明:
https://github.com/CMU-Perceptual-Computing-Lab/openpose/blob/master/doc/installation/0_index.md
- cuda + cuDNN+Visual Studio
- openPose 下载: https://github.com/CMU-Perceptual-Computing-Lab/openpose
注意下载得\openpose\3rdparty\caffe和\openpose\3rdparty\pybind11文件夹是空的,需重新下载这两个文件覆盖。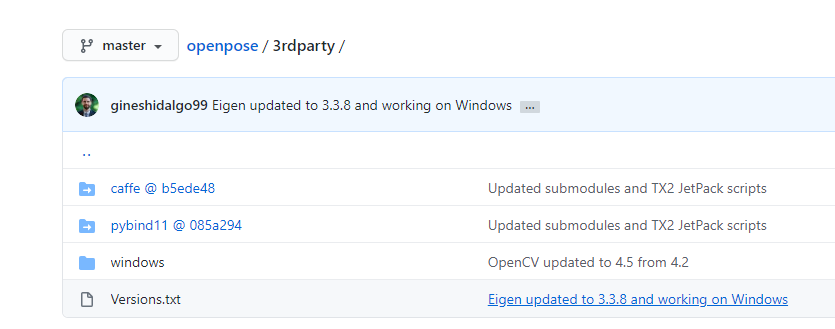
- CMake 下载:https://cmake.org/download/
- 在\openpose\3rdparty\windows下找到.bat批处理文件,分别双击运行自动下载所需环境。
(CMake时也会下载,但较慢,故提前下载)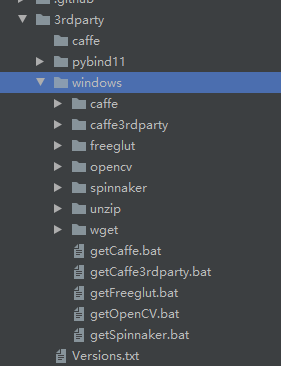
- 在\openpose\models下找到getModels.bat批处理文件运行下载所需模型
- 在CMakeLists.txt中将对应第5第6步中的下载语句注释掉
- CMake
(1)打开CMake: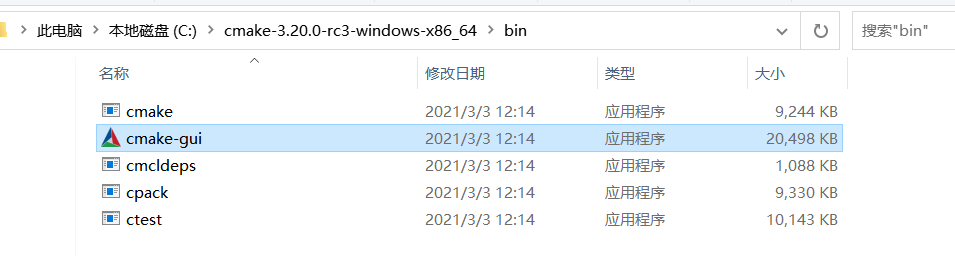
配置如下: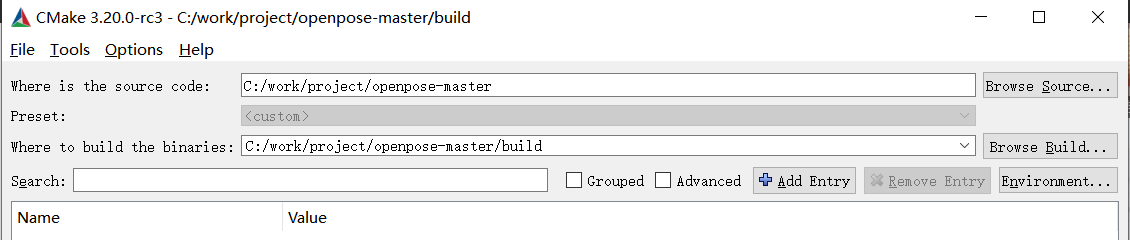
(2)直接点击下方的Configure
最好选择x64,避免后面报错
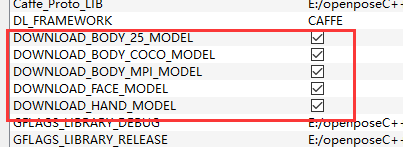
(3)勾选复选框,若要通过python命令执行,BUILD_PYTHON需要勾选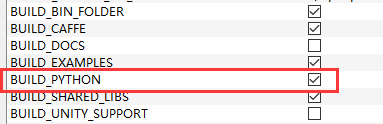
(4)再次Configure,最后Generate
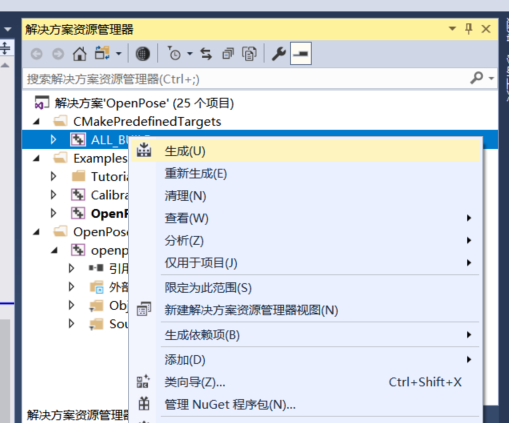
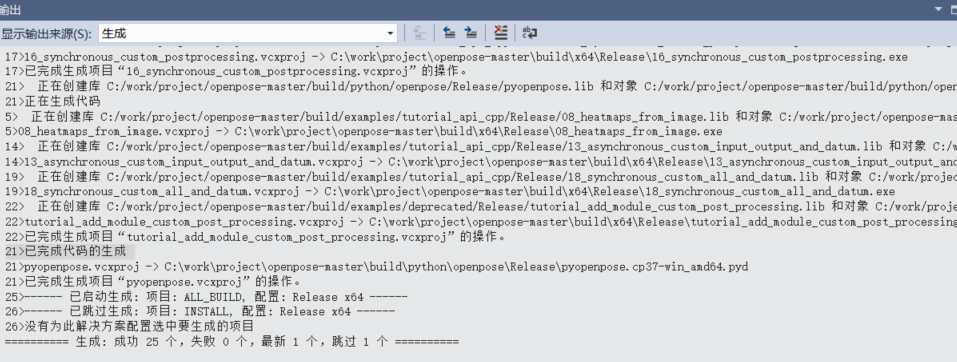
- 用Visual Studio打开,Debug模式,右击ALL_BUILD生成。Release模式,生成—>生成解决方案
- OpenPoseDemo右击设为启动项目F5运行
- cmd命令模式运行,cd 到项目目录下,然后执行:
build\x64\Release\OpenPoseDemo.exe —net_resolution 320x176 —model_pose COCO
build\x64\Release\OpenPoseDemo.exe —video examples\media\video.avi —face —hand —net_resolution 320x176
- python命令执行:
若python编译成功会生成以下文件: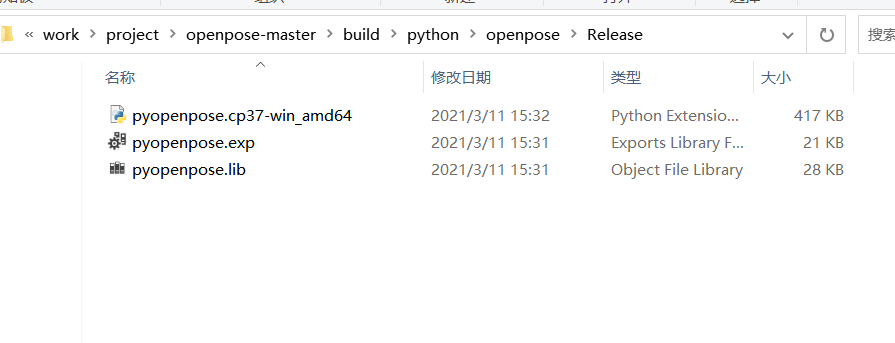
命令执行:
python 01_body_from_image.py
python openpose_python.py —net_resolution 320x176 —model_pose COCO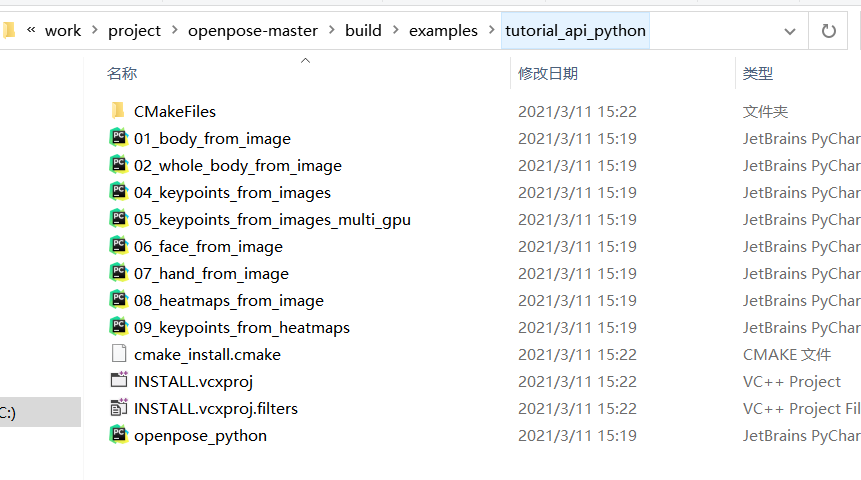
遇到的问题:
(1) openpose msb6006 cmd.exe exit code 1
https://blog.csdn.net/xiakejiang/article/details/102373861
(2) while running OpenPoseDemo.exe on Windows ,找不到 xxx.dll
https://github.com/CMU-Perceptual-Computing-Lab/openpose/issues/547
(3) syncedmem.cpp:71] Check failed: error == cudaSuccess (2 vs. 0) out of memory
通过命令改变模式 如build\x64\Release\OpenPoseDemo.exe —net_resolution 320x176 —model_pose COCO

若有收获,就点个赞吧
0 人点赞
