一、lnmp一建安装包安装
参考资料:https://lnmp.org/install.html
当前服务器:
**
- 腾讯云1核1GB,50G存储空间,CentOS7.6 64位
1、使用xshll连接服务器:
登陆后运行:
screen -S lnmp
然后提示screen: command not found 命令不存在执行:
yum install screen
安装,然后再运行上述命令。
2、下载并安装LNMP一键安装包:
wget http://soft.vpser.net/lnmp/lnmp1.6.tar.gz -cO lnmp1.6.tar.gz && tar zxf lnmp1.6.tar.gz && cd lnmp1.6 && ./install.sh lnmp
运行上述LNMP安装命令后,会出现如下提示:
输入对应MySQL或MariaDB版本前面的序号,回车进入下一步。我这边选择的是10.1.32的版本

设置MySQL的root密码(为了安全不输入直接回车将会设置为lnmp.org#随机数字)如果输入有错误需要删除时,可以按住Ctrl再按Backspace键进行删除(个别情况下是只需要Backspace键)。输入后回车进入下一步,如下图所示:
询问是否需要启用MySQL InnoDB,InnoDB引擎默认为开启,一般建议开启,直接回车或输入 y ,如果确定确实不需要该引擎可以输入 n,(MySQL 5.7+版本无法关闭InnoDB),输入完成,回车进入下一步。
我这边选择的是7.1.18版本
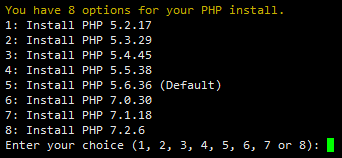
输入要选择的PHP版本的序号,回车进入下一步,选择是否安装内存优化:
可以选择不安装、Jemalloc或TCmalloc,输入对应序号回车,直接回车为默认为不安装。
我这儿直接回车
提示”Press any key to install…or Press Ctrl+c to cancel”后,按回车键确认开始安装。
LNMP脚本就会自动安装编译Nginx、MySQL、PHP、phpMyAdmin等软件及相关的组件。
安装时间可能会几十分钟到几个小时不等,主要是机器的配置网速等原因会造成影响。
然后确实等了几个小时才安装好
3、安装完成
如果显示Nginx: OK,MySQL: OK,PHP: OK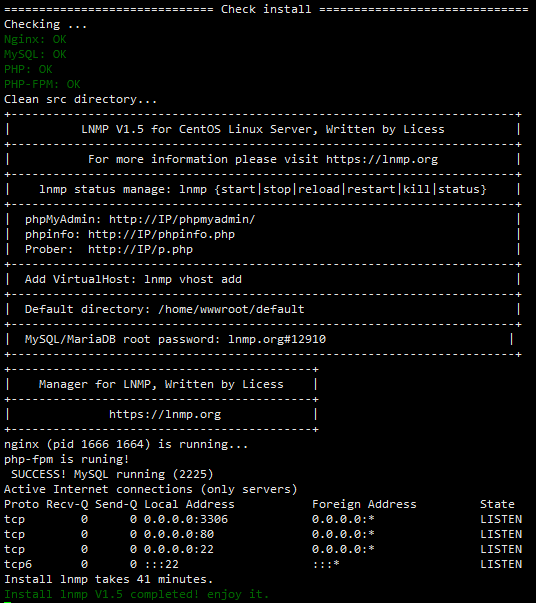
并且Nginx、MySQL、PHP都是running,80和3306端口都存在,并提示安装使用的时间及Install lnmp V1.6 completed! enjoy it.的话,说明已经安装成功。
浏览器输入我的ip,然后自动出现如下页面
二、配置多项目不同端口
由上述安装成功的截图可以看到,默认的网站根路径在/home/wwwroot/default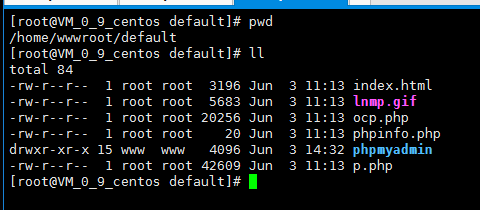
且通过查看,找到nginx配置目录在/usr/local/nginx/conf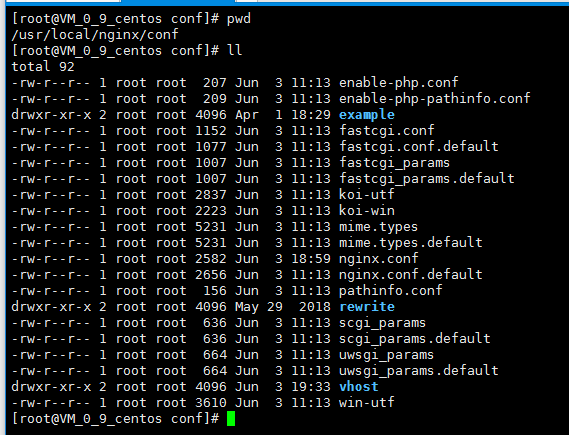
然后我想配置个81端口作为我测试用,我看了下官方给的LNMP添加、删除虚拟主机及伪静态使用教程(https://lnmp.org/faq/lnmp-vhost-add-howto.html),全是用命令行操作,但我实在不喜欢这种方式,故就未采用。
1,首先找到在nginx配置目录中打开nginx.conf文件
user www www;worker_processes auto;worker_cpu_affinity auto;error_log /home/wwwlogs/nginx_error.log crit;pid /usr/local/nginx/logs/nginx.pid;#Specifies the value for maximum file descriptors that can be opened by this process.worker_rlimit_nofile 51200;events{use epoll;worker_connections 51200;multi_accept off;accept_mutex off;}http{include mime.types;default_type application/octet-stream;server_names_hash_bucket_size 128;client_header_buffer_size 32k;large_client_header_buffers 4 32k;client_max_body_size 50m;sendfile on;sendfile_max_chunk 512k;tcp_nopush on;keepalive_timeout 60;tcp_nodelay on;fastcgi_connect_timeout 300;fastcgi_send_timeout 300;fastcgi_read_timeout 300;fastcgi_buffer_size 64k;fastcgi_buffers 4 64k;fastcgi_busy_buffers_size 128k;fastcgi_temp_file_write_size 256k;gzip on;gzip_min_length 1k;gzip_buffers 4 16k;gzip_http_version 1.1;gzip_comp_level 2;gzip_types text/plain application/javascript application/x-javascript text/javascript text/css application/xml application/xml+rss;gzip_vary on;gzip_proxied expired no-cache no-store private auth;gzip_disable "MSIE [1-6]\.";#limit_conn_zone $binary_remote_addr zone=perip:10m;##If enable limit_conn_zone,add "limit_conn perip 10;" to server section.server_tokens off;access_log off;server{listen 80 default_server reuseport;#listen [::]:80 default_server ipv6only=on;server_name _;index index.html index.htm index.php;root /home/wwwroot/default;#error_page 404 /404.html;# Deny access to PHP files in specific directory#location ~ /(wp-content|uploads|wp-includes|images)/.*\.php$ { deny all; }include enable-php.conf;location /nginx_status{stub_status on;access_log off;}include enable-php.conf;location /nginx_status{stub_status on;access_log off;}server_tokens off;access_log off;server{listen 80 default_server reuseport;#listen [::]:80 default_server ipv6only=on;server_name _;index index.html index.htm index.php;root /home/wwwroot/default;#error_page 404 /404.html;# Deny access to PHP files in specific directory#location ~ /(wp-content|uploads|wp-includes|images)/.*\.php$ { deny all; }include enable-php.conf;location /nginx_status{stub_status on;access_log off;}location ~ .*\.(gif|jpg|jpeg|png|bmp|swf)${expires 30d;}location ~ .*\.(js|css)?${expires 12h;}location ~ /.well-known {allow all;}location ~ /\.{deny all;}access_log /home/wwwlogs/access.log;}include vhost/*.conf;}
2,通过最后一句提示,在vhost目录中创建了个www.conf,并给了777和www权限
server
    {
        listen 81; #侦听81端口
        index index.html index.htm index.php; #定义首页索引文件的名称
        root  /opt/www; #定义服务器的默认网站根目录位置
        autoindex on; #允许目录浏览

        #解析.php的文件
        include /usr/local/nginx/conf/enable-php.conf;
    }
3,在/opt/www目录中新建了index.php并给权限
<?php
echo phpinfo();
这样,81端口则指向/opt/www目录,在该目录中写入项目就行
访问81端口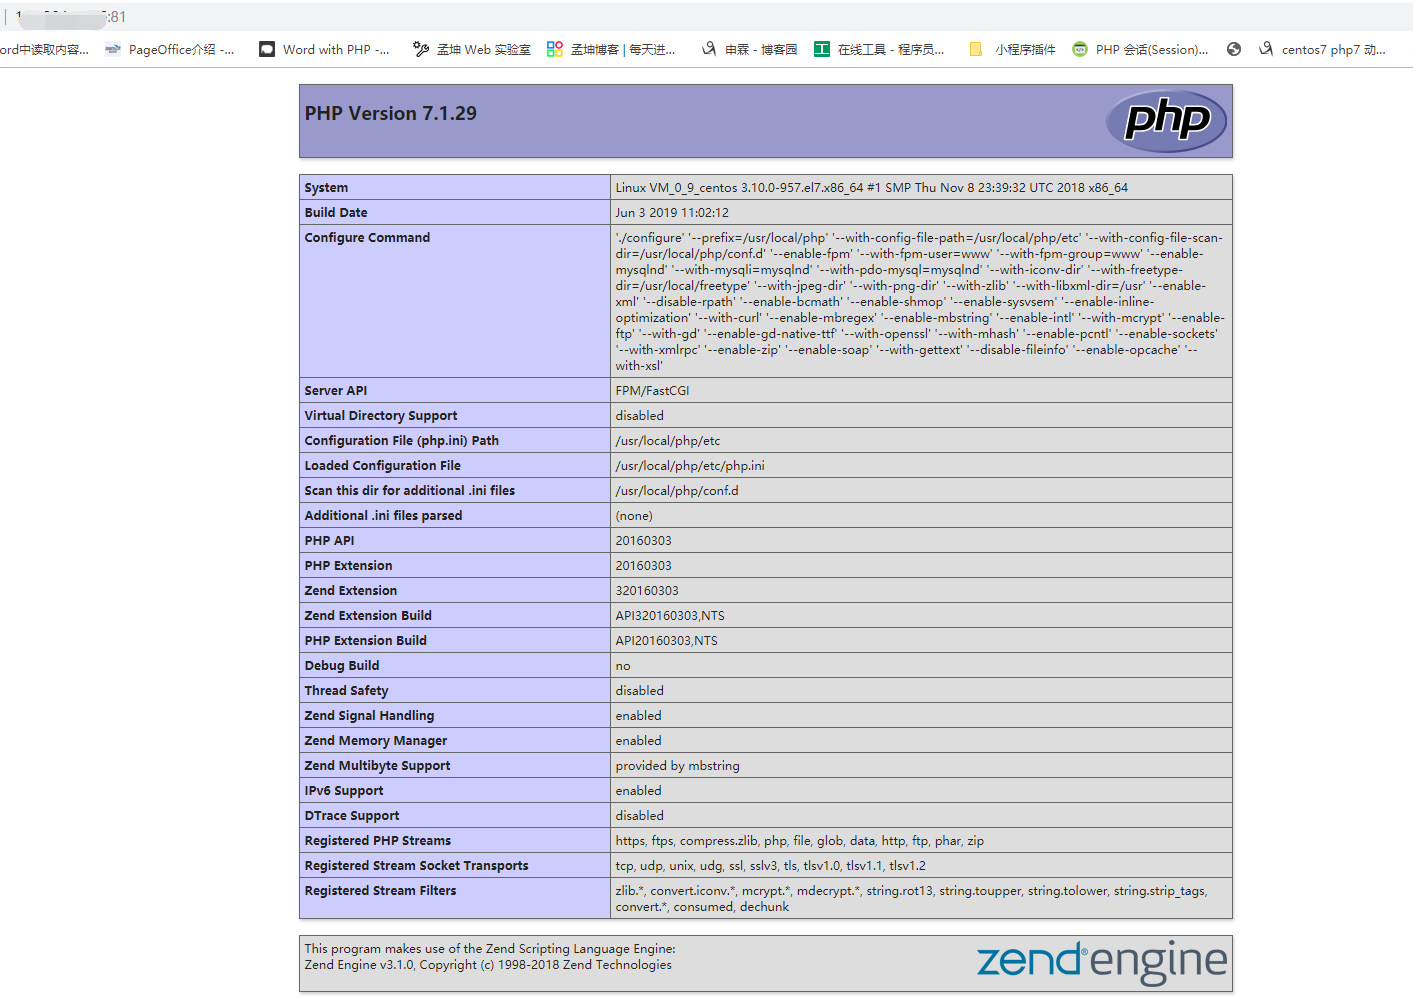
踩过的坑:
1,www.conf中如果不加解析php文件的代码,直接访问会将index.php下载下来;而加
include /usr/local/nginx/conf/enable-php.conf;
这个解析代码也是通过nginx.php中的
include enable-php.conf;
得的经验,毕竟不同的平台解析php方式不一样
location ~ [^/]\.php(/|$)
{
  try_files $uri =404;
  fastcgi_pass  unix:/tmp/php-cgi.sock;
  fastcgi_index index.php;
  include fastcgi.conf;
}
2,更改后需要重启nginx,但使用
systemctl restart nginx
会报错,而使用
systemctl status nginx
时发现nginx服务并未running。猜测之前安装时有脚本自动启动nginx了。
这时需要关闭nginx进程再重启就行
ps -ef | grep nginx
kill xx
3,其它
ps -ef | grep php-fpm

systemctl restart nginx
修改了nginx配置后,可以先使用
nginx -t
来检测修改的配置是否正确,如果有语法错误会提示出来

若有收获,就点个赞吧
0 人点赞
