前言
Ubuntu 是基于 Debian 的操作系统,所以在 Ubuntu 上安装 mysql 与 Debian 如出一辙。在 Debian 上推荐使用 APT 包管理安装和本地的 .deb-bundle 文件进行安装,在 Ubuntu 同样如此。
| 说明 |
|---|
| 在 Linux 上安装 MySQL 的通用方式都是解压安装,这种安装方式可以高度定制,如配置用户、权限以及数据目录。但是对于小白来说很容易出错,所以,不推荐。 |
准备工作
首先进入 MySQL 官网 ,在 MySQL 官网首页点击 DOWNLOADS 进入下载页面:
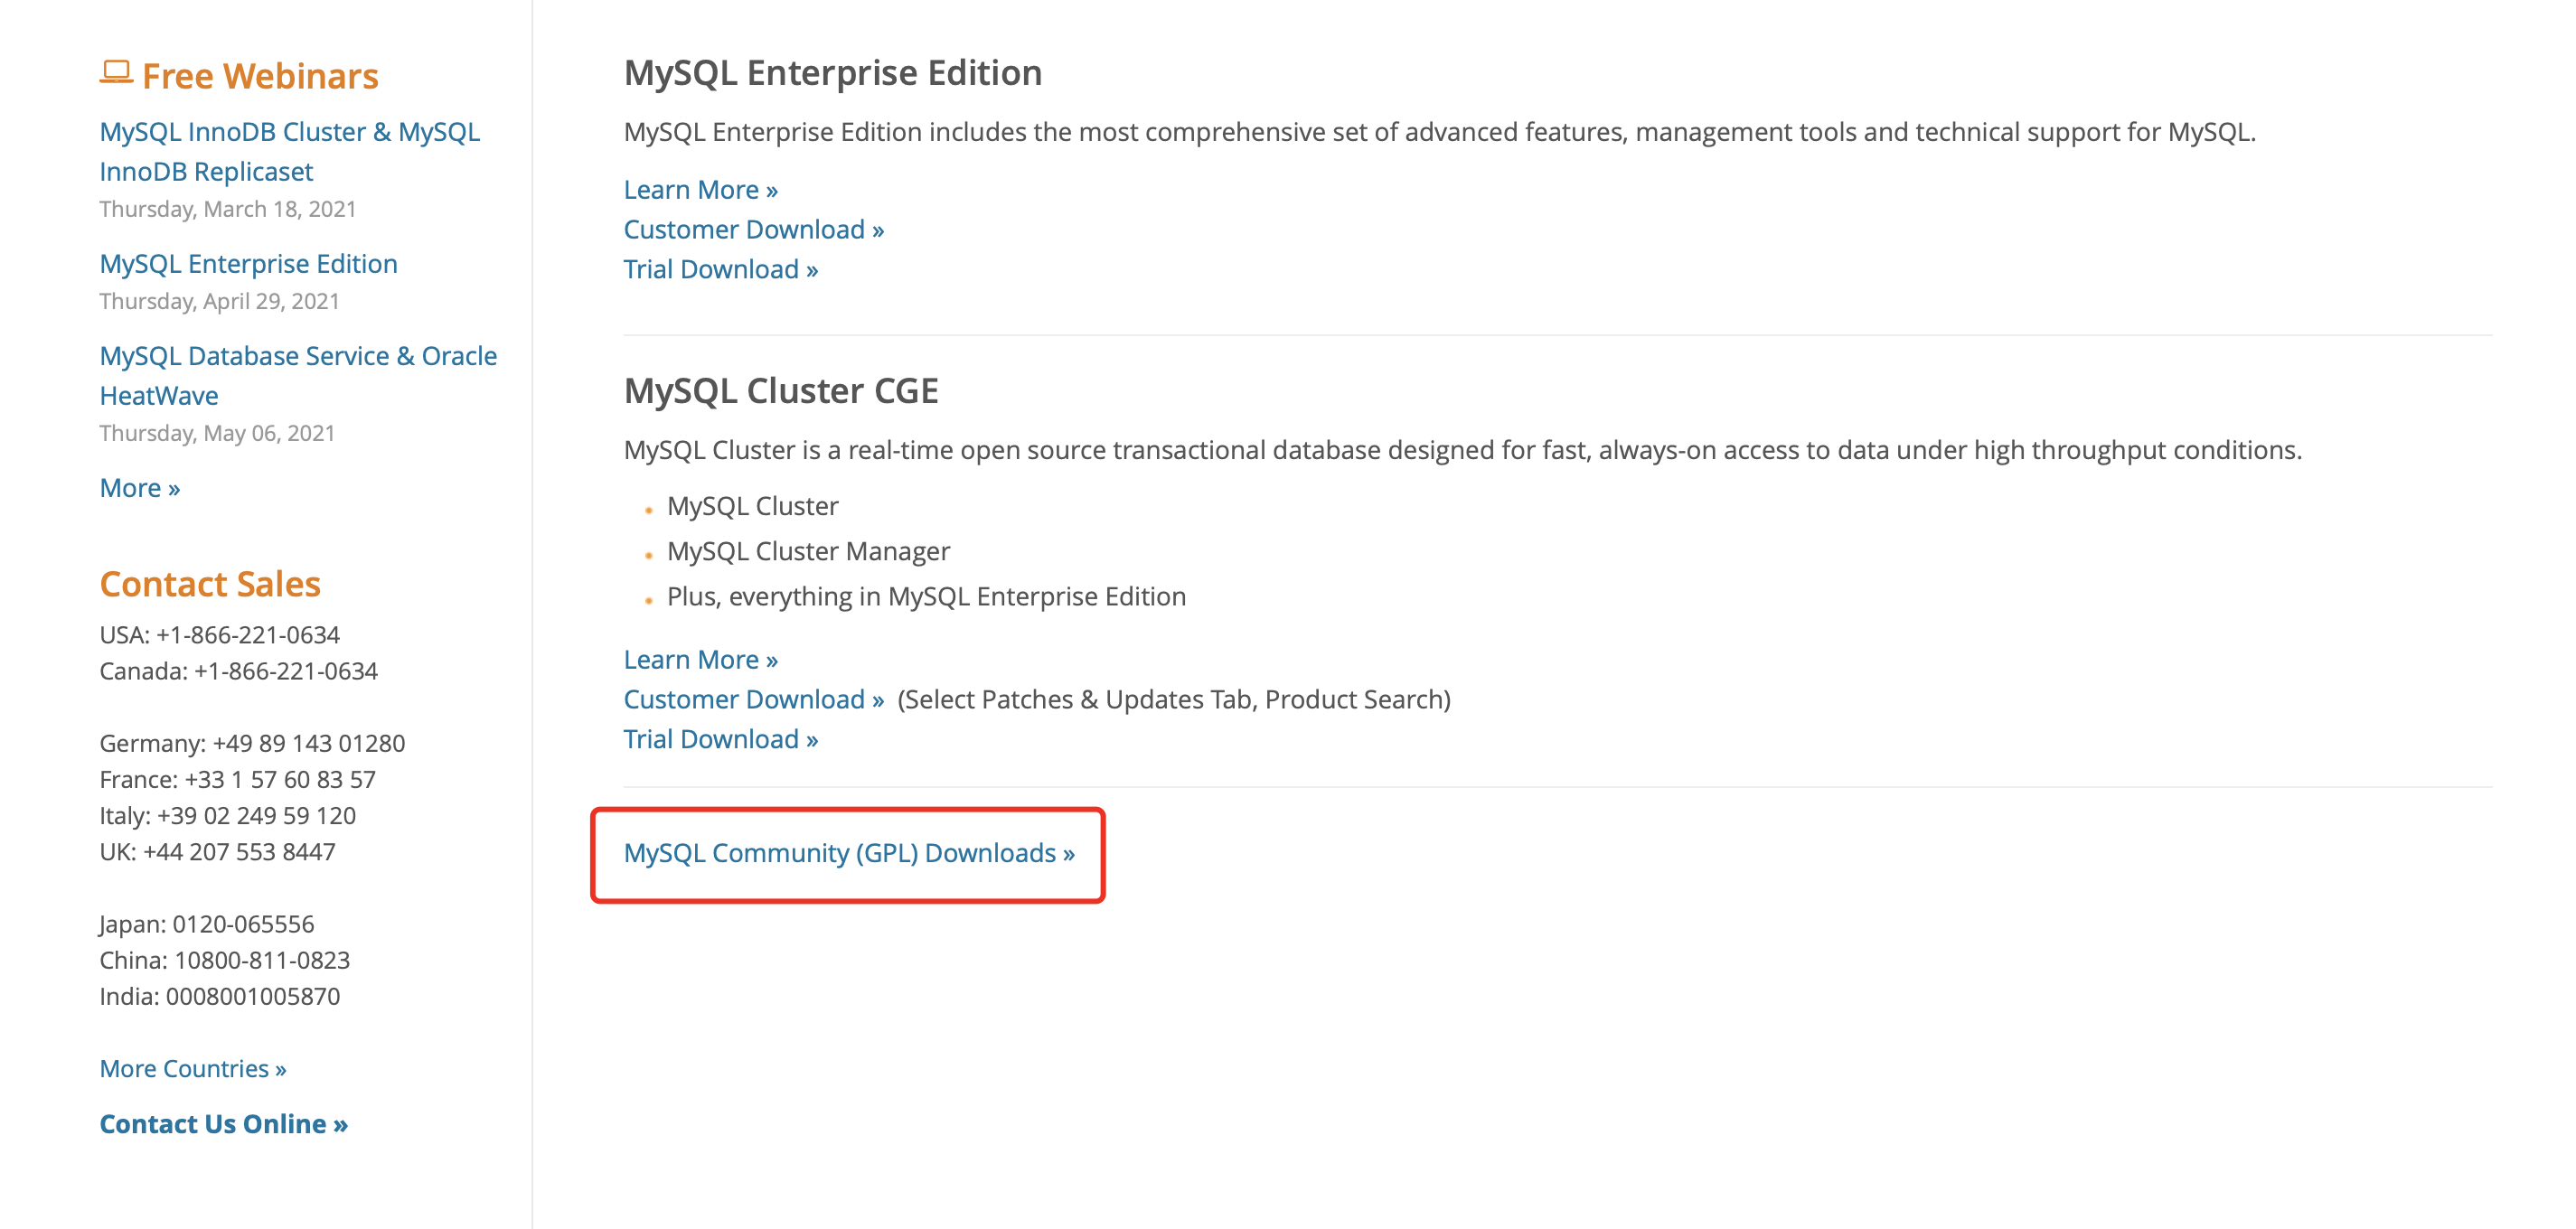
点击下载页面下方的 MySQL Community (GPL) Downloads » :
点击后就会进入操作系统选择页面: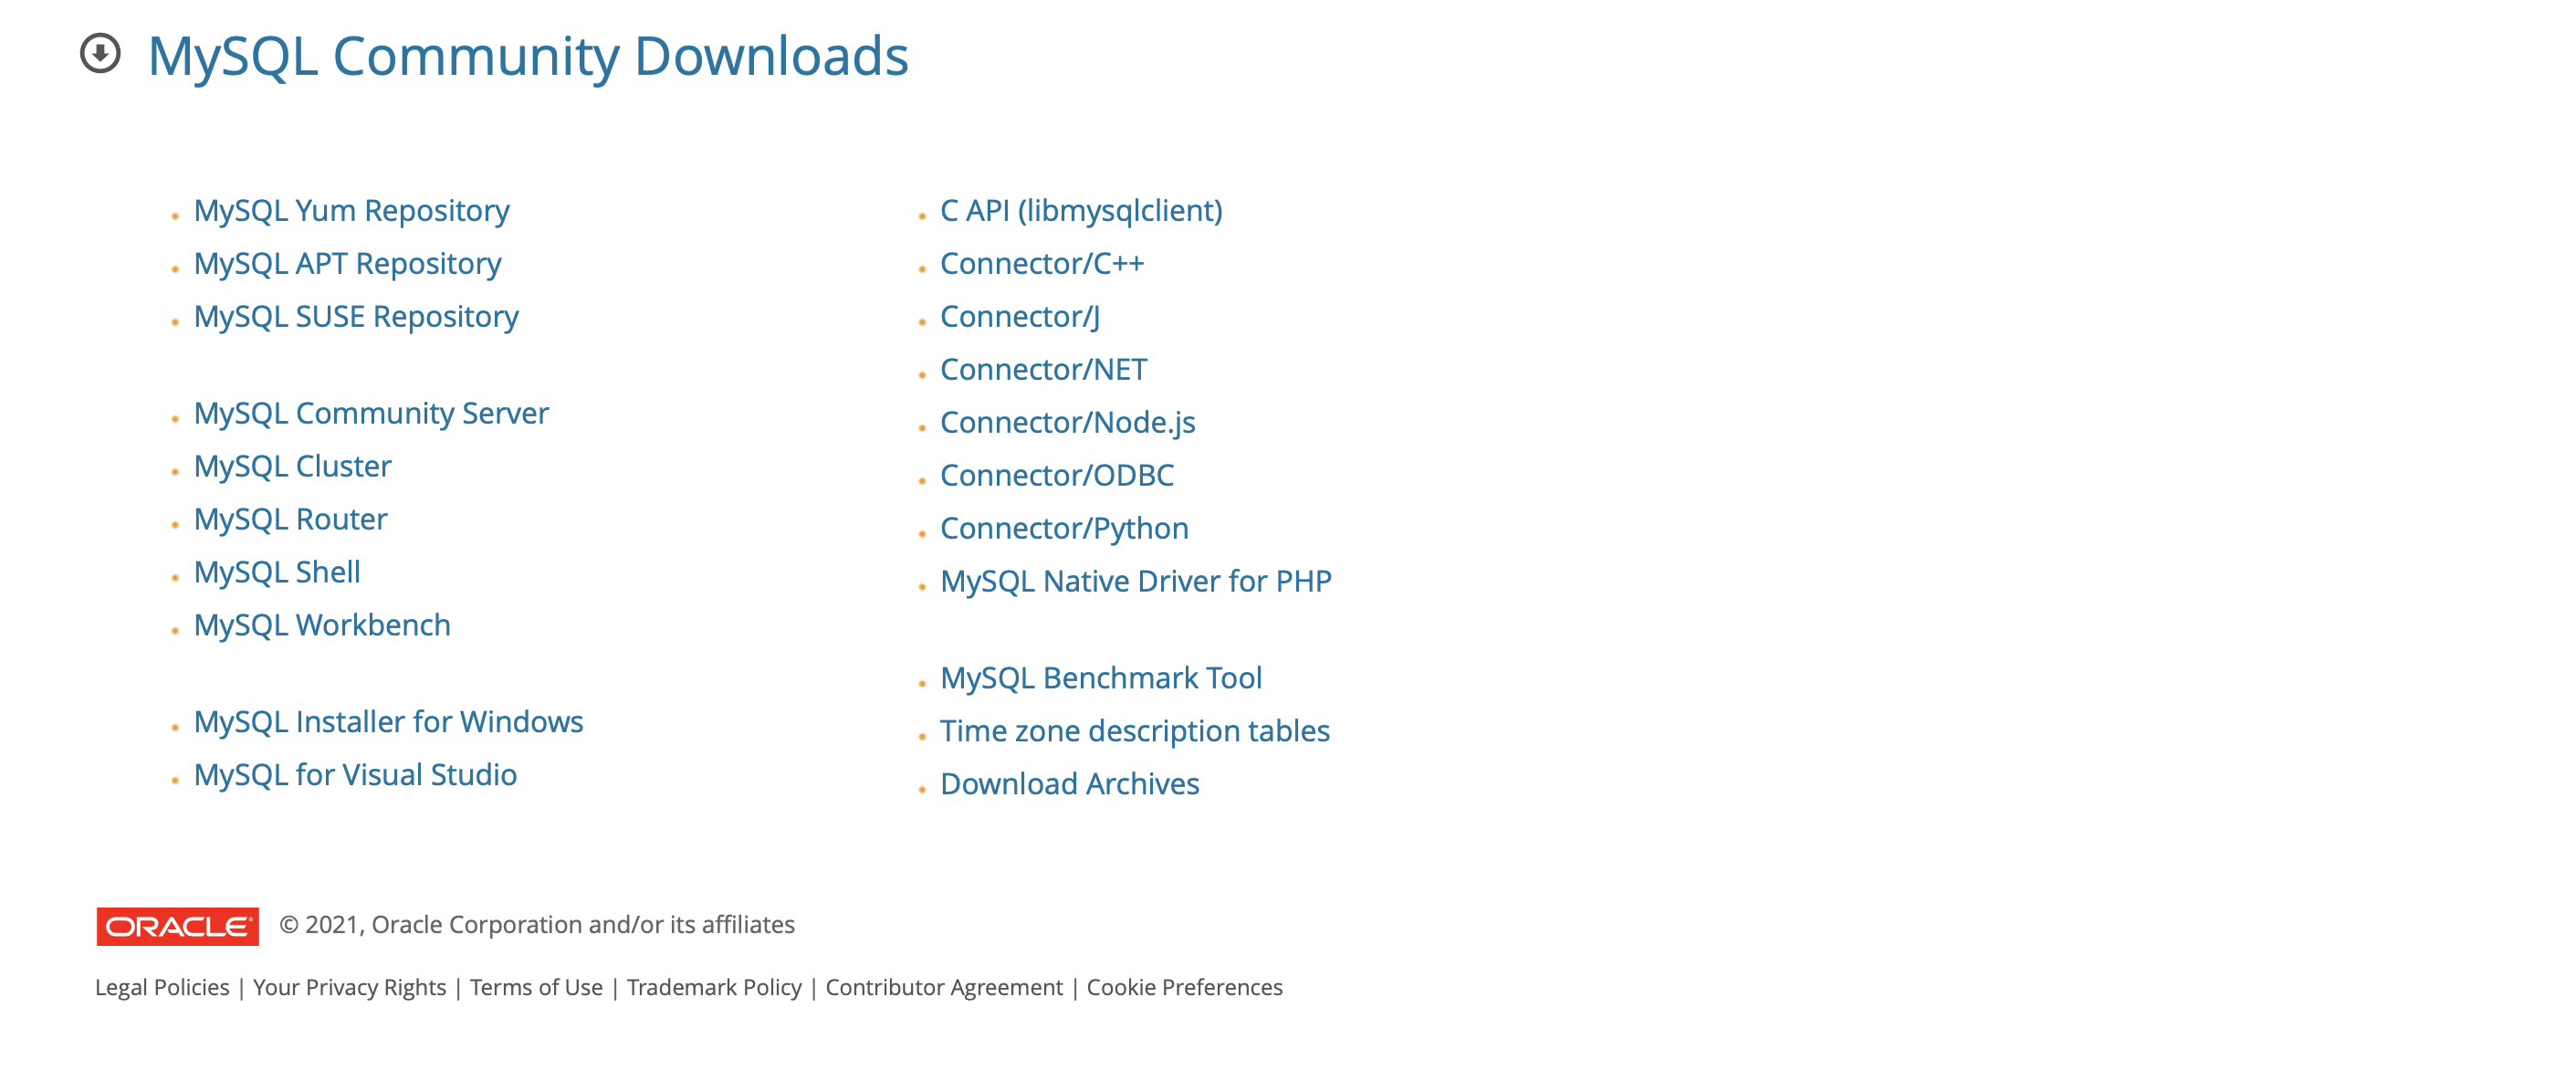
到这里就要选择是使用 APT 安装还是使用 .deb-bundle 文件进行安装了。
如果使用 APT 安装点击 MySQL APT Repository 就会进入对应的下载页面:
如果想要使用 .deb-bundle 文件进行安装需要点击 MySQL Community Server 就会进入对应的文件下载页面(默认展示的是当前最新版本):
| 说明 |
|---|
Ubuntu 20.04.2 LTS 以及之后的版本使用 APT 安装只能安装最新的 MySQL 8.0 版本,这个是默认设置。我在安装时尝试选择 5.7 版本是无法选择的,不过这个默认设置对于 Ubuntu 18 是无效的。如果你使用的是 Ubuntu 18 系统就没有关系,因为 Ubuntu 18 使用 APT 安装默认就是 5.7 版本,所以在安装时更多的还是建议使用 .deb-bundle 方式进行安装,因为可以随意选择安装版本。 |
安装 MySQL
在 Ubuntu 系统上安装 MySQL 推荐使用 .deb-bundle 文件进行安装,因为使用 APT 安装需要网络,如果网络不好的话安装过程就比较漫长。所以我们最好是使用下载工具(如迅雷)将 .deb-bundle 文件下载到本地之后再上传至 Ubuntu 进行安装。
使用 .deb-bundle 文件安装的另一个优点是版本可以随意选择,而使用 APT 不同,每个 Ubuntu 发行版本都会默认设置 mysql 的安装版本。
比如 Ubuntu 20.04.2 LTS 使用 APT 安装 MySQL 时默认的安装版本就是 MySQL8.0,而且我安装时想要选择 5.7 也没能成功。
所以在 Ubuntu 系统上还是建议使用 .deb-bundle 文件进行安装吧。
使用 Deb-Bundle 文件进行安装
下载安装包
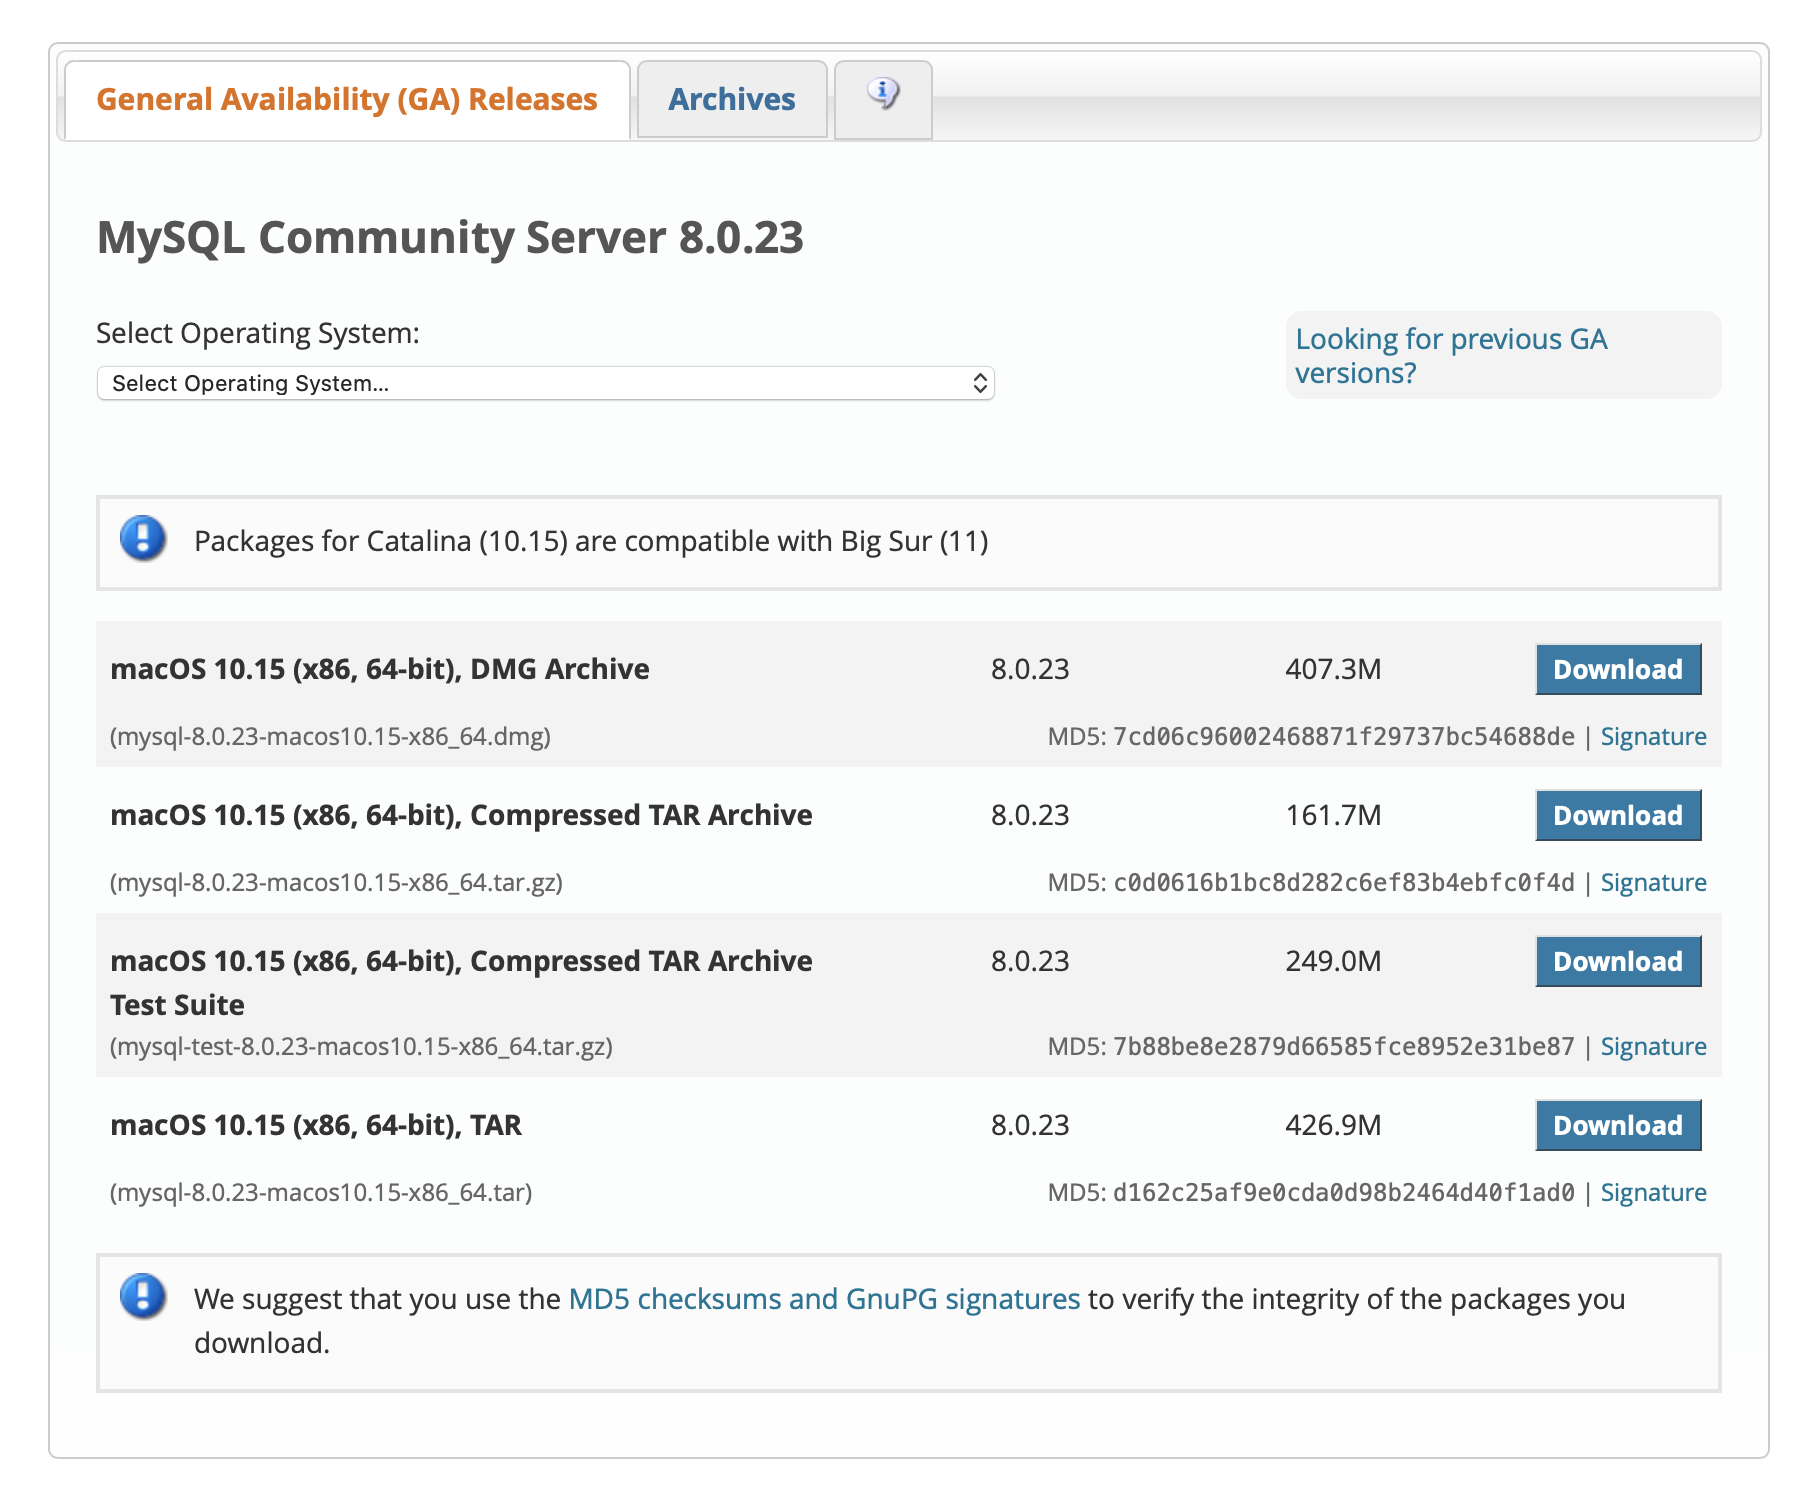
按照上面的说明进入 MySQL Community Server 页面,在这个页面中默认的 MySQL 是最新版本(当前是 v8.0.23),如果想要选择其他版本可以点击 Archives 或者 Looking for previous GA versions?
这里我要选择的是 v5.7 所以我点击 Archives 进入归档页面。在归档页面选择 MySQL5.7 版本,操作系统选择 Ubuntu 就会列出所有的适用文件:
在列出的文件中需要找到 DEB BUNDLE 文件,可以看到文件名都是以 .deb-bundle.tar 结尾。
另外,在下载时注意自己的操作系统的位数。文件下载完成后上传至自己的操作系统中,我这里上传的位置在 /opt/mysql 目录下:
$ cd /opt/mysql$ lsmysql-server_5.7.33-1ubuntu18.04_amd64.deb-bundle.tar
开始安装
现在我们需要做的就是解压这个 .deb-bundle.tar 文件:
sudo tar -xvf mysql-server_5.7.33-1ubuntu18.04_amd64.deb-bundle.tar
解压成功后可以看下解压文件:
$ lslibmysqlclient-dev_5.7.33-1ubuntu18.04_amd64.deb mysql-community-server_5.7.33-1ubuntu18.04_amd64.deblibmysqlclient20_5.7.33-1ubuntu18.04_amd64.deb mysql-community-source_5.7.33-1ubuntu18.04_amd64.deblibmysqld-dev_5.7.33-1ubuntu18.04_amd64.deb mysql-community-test_5.7.33-1ubuntu18.04_amd64.debmysql-client_5.7.33-1ubuntu18.04_amd64.deb mysql-server_5.7.33-1ubuntu18.04_amd64.debmysql-common_5.7.33-1ubuntu18.04_amd64.deb mysql-testsuite_5.7.33-1ubuntu18.04_amd64.debmysql-community-client_5.7.33-1ubuntu18.04_amd64.deb
这些文件包括服务端、客户端以及测试文件。
安装是需要依赖于 libaio1 软件包,如果当前机器上还没有需要进行安装:
sudo apt-get install -y libaio1
现在我们需要预先配置下的软件包:
sudo dpkg-preconfigure mysql-community-server_*.deb
在预配置软件包时会让你设置下 root 用户的密码:
建议直接 「Enter」键跳过。因为在后续步骤会进行重新设置 root 用户的密码。
之后就可以执行安装命令安装这个文件了:
sudo dpkg -i mysql-{common,community-client,client,community-server,server}_*.deb
在安装过程中如果提示类似如下的依赖问题
dpkg: dependency problems prevent configuration of mysql-community-client:mysql-community-client depends on libtinfo5 (>= 6); however:Package libtinfo5 is not installed.dpkg: error processing package mysql-community-client (--install):dependency problems - leaving unconfigureddpkg: dependency problems prevent configuration of mysql-client:mysql-client depends on mysql-community-client (= 5.7.33-1ubuntu18.04); however:Package mysql-community-client is not configured yet.dpkg: error processing package mysql-client (--install):dependency problems - leaving unconfigureddpkg: dependency problems prevent configuration of mysql-community-server:mysql-community-server depends on mysql-client (= 5.7.33-1ubuntu18.04); however:Package mysql-client is not configured yet.mysql-community-server depends on libmecab2; however:Package libmecab2 is not installed.dpkg: error processing package mysql-community-server (--install):dependency problems - leaving unconfigureddpkg: dependency problems prevent configuration of mysql-server:mysql-server depends on mysql-community-server (= 5.7.33-1ubuntu18.04); however:Package mysql-community-server is not configured yet.dpkg: error processing package mysql-server (--install):dependency problems - leaving unconfigured
可以执行如下命令进行修复,之后再次执行上面的安装命令进行安装。
sudo apt-get -f -y install
到这一步 MySQL 就安装完成了,安装完成之后就来看下 MySQL 进程信息:
$ ps -ef | grep mysqlmysql 222312 1 0 15:49 ? 00:00:00 /usr/sbin/mysqld --daemonize --pid-file=/var/run/mysqld/mysqld.pidwebuser 223156 218766 0 15:58 pts/1 00:00:00 grep --color=auto mysql
另外也可以使用 systemctl 命令查看服务状态:
$ systemctl status mysql● mysql.service - MySQL Community ServerLoaded: loaded (/lib/systemd/system/mysql.service; enabled; vendor preset: enabled)Active: active (running) since Sat 2021-02-27 15:49:20 CST; 9min agoMain PID: 222312 (mysqld)Tasks: 27 (limit: 19051)Memory: 174.5MCGroup: /system.slice/mysql.service└─222312 /usr/sbin/mysqld --daemonize --pid-file=/var/run/mysqld/mysqld.pid2月 27 15:49:19 webuser-F117 systemd[1]: Starting MySQL Community Server...2月 27 15:49:20 webuser-F117 systemd[1]: Started MySQL Community Server.2月 27 15:49:21 webuser-F117 systemd[1]: /lib/systemd/system/mysql.service:37: PIDFile= references a path below legacy>
在预配置时有提示设置 root 用户密码,不过当时不建议设置。因为在安装完成后我们需要进行一些安全设置,这些设置就包括 root 用户密码,具体见 安全设置 。
使用 APT 安装
下载 APT 源
首先进入操作系统选择页面,因为我们是 Ubuntu 所以选择 APT Repository,进入即可:
点击右侧的下载即可,比如我这里是在 /opt/mysql 目录:
sudo wget https://dev.mysql.com/get/mysql-apt-config_0.8.16-1_all.deb
下载完成后看下文件:
$ lsmysql-apt-config_0.8.16-1_all.deb
开始安装
执行如下命令:
sudo dpkg -i mysql-apt-config_0.8.16-1_all.deb
接着就进入预配置界面:
第一个是选择要安装的版本,实际上我要安装的是 mysql5.7 版本。所以我 「Enter」进入选择,奇怪的是只有 8.0 版本:
所以我选择 None,之后 OK 退出。执行命令刷新源:
sudo apt-get update -y
刷新完成后再次执行安装命令选择版本,奇怪的是是还是只有 8.0 版本,这点预官网描述的不符。
出现这个问题原因是当前系统版本是 Ubuntu 20.04.2 LTS,如果你使用的是 Ubuntu 18 的话可以选择的就是 MySQL5.7 版本。这也是为什么推荐使用 Deb-Bundle 安装的原因。
好吧,既然只能安装 MySQL8.0 那就继续安装吧。
执行如下命令进行安装 MySQL(我这只能安装 8.0,如果你的操作系统版本是 Ubuntu 18 安装的就会使 5.7。另外,你也可以使用 apt search mysql-server 查看可以安装的版本)
sudo apt-get install -y mysql-server
之后再次执行安装命令,之后就是一个漫长的等待过程。
在安装过程中什么都不要操作,一切默认即可,静静地等待执行完成,执行完成之后即表示安装完成了
安装完成之后就来看下 MySQL 进程信息:
$ ps -ef | grep mysqlmysql 222312 1 0 15:49 ? 00:00:00 /usr/sbin/mysqld --daemonize --pid-file=/var/run/mysqld/mysqld.pidwebuser 223156 218766 0 15:58 pts/1 00:00:00 grep --color=auto mysql
另外也可以使用 systemctl 命令查看服务状态:
$ systemctl status mysql● mysql.service - MySQL Community ServerLoaded: loaded (/lib/systemd/system/mysql.service; enabled; vendor preset: enabled)Active: active (running) since Sat 2021-02-27 18:54:47 CST; 18s agoMain PID: 237388 (mysqld)Status: "Server is operational"Tasks: 38 (limit: 19051)Memory: 333.2MCGroup: /system.slice/mysql.service└─237388 /usr/sbin/mysqld2月 27 18:54:46 webuser-F117 systemd[1]: Starting MySQL Community Server...2月 27 18:54:47 webuser-F117 systemd[1]: Started MySQL Community Server.
之后我们需要执行 安全设置 操作。
安全设置
MySQL 安全设置爱包括设置初始化设置 Root 用户的账户密码、设置验证密码强度以及测试数据库等等。现在就来开始设置:
sudo mysql_secure_installation
下面是输出以及验证信息:
VALIDATE PASSWORD PLUGIN can be used to test passwordsand improve security. It checks the strength of passwordand allows the users to set only those passwords which aresecure enough. Would you like to setup VALIDATE PASSWORD plugin?Press y|Y for Yes, any other key for No:
这一步是要求设置验证密码强度,输入 y/Y 表示设置。
密码强度包括三级:
There are three levels of password validation policy:LOW Length >= 8MEDIUM Length >= 8, numeric, mixed case, and special charactersSTRONG Length >= 8, numeric, mixed case, special characters and dictionary filePlease enter 0 = LOW, 1 = MEDIUM and 2 = STRONG:
根据需要设置,不过如果是在生产环境强烈要求设置。如果是本地的话直接「Enter」跳过吧。
Please set the password for root here.New password:
这一步是要求设置 root 用户的密码,不能直接「Enter」跳过!!!!
Remove anonymous users? (Press y|Y for Yes, any other key for No) :
Mysql 本身包括一些测试数据以及用户,这一步表示是否删除测试(匿名)用户, y/Y 表示删除。
Normally, root should only be allowed to connect from'localhost'. This ensures that someone cannot guess atthe root password from the network.Disallow root login remotely? (Press y|Y for Yes, any other key for No) :
默认情况下,MySQL 的 root 不能使用远程机器登录,只能使用当前机器 localhost 进行登录。 y/Y 表示禁止 root 用户远程登录,其他表示允许登录。
实际上这一步设置的没有任何卵用,我不管设置禁止还是允许都无法使用远程机器登录。
By default, MySQL comes with a database named 'test' thatanyone can access. This is also intended only for testing,and should be removed before moving into a productionenvironment.Remove test database and access to it? (Press y|Y for Yes, any other key for No) :
MySQL 默认是保留一些测试数据,如果需要删除就输入 y/Y。
Reloading the privilege tables will ensure that all changesmade so far will take effect immediately.Reload privilege tables now? (Press y|Y for Yes, any other key for No) :
配置文件与目录说明
- 所有的配置文件都在
/ect/mysql目录下:
$ ls /etc/mysql/conf.d my.cnf my.cnf.fallback mysql.cnf mysql.conf.d
- 所有的二进制文件以及依赖包都在
/usr/bin和/usr/sbin目录下(可以使用如下命令查看)
$ ls /usr/bin/ | grep mysql$ ls /usr/sbin/ | grep mysql
- 所有的数据都在
/var/lib/mysql目录下:
$ sudo ls /var/lib/mysqlauto.cnf client-cert.pem ib_logfile0 ibtmp1 private_key.pem server-key.pemca-key.pem client-key.pem ib_logfile1 mysql public_key.pem sysca.pem ib_buffer_pool ibdata1 performance_schema server-cert.pem
默认情况下,MySQL 下的用户是无法远程登录的(比如在其他机器上使用 JAVA 客户端连接),所以我们需要进行一些设置。首先呢,当然是需要在机器上使用 root 用户进行登录了:
$ sudo mysql -u root -pEnter password:
之后就连接上 MySQL 服务了:
Welcome to the MySQL monitor. Commands end with ; or \g.Your MySQL connection id is 4Server version: 5.7.33 MySQL Community Server (GPL)Copyright (c) 2000, 2021, Oracle and/or its affiliates.Oracle is a registered trademark of Oracle Corporation and/or itsaffiliates. Other names may be trademarks of their respectiveowners.Type 'help;' or '\h' for help. Type '\c' to clear the current input statement.mysql>
先来看下 mysql 的用户信息:
MySQL 5.7(注意
plugin信息中加密码加密插件)mysql> use mysql;mysql> select host, user, plugin from user;+-----------+---------------+-----------------------+| host | user | plugin |+-----------+---------------+-----------------------+| localhost | root | auth_socket || localhost | mysql.session | mysql_native_password || localhost | mysql.sys | mysql_native_password |+-----------+---------------+-----------------------+3 rows in set (0.00 sec)
MySQL 8.0(注意
plugin信息中加密码加密插件)mysql> use mysql;mysql> select host, user, plugin from user;+-----------+------------------+-----------------------+| host | user | plugin |+-----------+------------------+-----------------------+| localhost | debian-sys-maint | caching_sha2_password || localhost | mysql.infoschema | caching_sha2_password || localhost | mysql.session | caching_sha2_password || localhost | mysql.sys | caching_sha2_password || localhost | root | auth_socket |+-----------+------------------+-----------------------+5 rows in set (0.00 sec)
可以看到不管是 5.7 还是 8.0 root 用户的密码验证插件都是 auth_socket ,而且访问主机只允许使用 localhost 。
如果想要使用远程主机访问有两种方式:
- 修改 root 用户的密码验证插件,设置访问主机为
% - 新建一个具有 root 权限的用户
在实际使用中,为了安全还是推荐创建一个新的具有 root 权限的用户了。现在分别说下:
方式一:修改 root 用户设置
修改密码验证插件
- MySQL5.7:
将 root 用户的密码验证插件设置为 mysql_native_password :
ALTER USER 'root'@'localhost' IDENTIFIED WITH mysql_native_password BY 'Your Root Pwd';
- MySQL8.0
将 root 用户的密码验证插件设置为 caching_sha2_password :
ALTER USER 'root'@'localhost' IDENTIFIED WITH caching_sha2_password BY 'Your Root Pwd';
之后修改访问主机:
update user set host = '%' where user = 'root' and host = 'localhost';
% 表示允许所有主机访问,之后刷新下权限即可:
FLUSH PRIVILEGES;
再次看下用户信息:
MySQL5.7:
mysql> select host, user, plugin from user;+-----------+---------------+-----------------------+| host | user | plugin |+-----------+---------------+-----------------------+| % | root | mysql_native_password || localhost | mysql.session | mysql_native_password || localhost | mysql.sys | mysql_native_password |+-----------+---------------+-----------------------+
MySQL8.0
mysql> select host, user, plugin from user;+-----------+------------------+-----------------------+| host | user | plugin |+-----------+------------------+-----------------------+| % | root | caching_sha2_password || localhost | debian-sys-maint | caching_sha2_password || localhost | mysql.infoschema | caching_sha2_password || localhost | mysql.session | caching_sha2_password || localhost | mysql.sys | caching_sha2_password |+-----------+------------------+-----------------------+5 rows in set (0.00 sec)
方式二:创建一个 root 权限用户
为什么不推荐使用 root 用户?因为 root 用户太过透明,因为大家几乎都是使用 root 用户。所以为了安全还是建议新建一个具有 root 权限的用户(实际上个人使用也没啥安全可言😷),比如这里创建一个 administrator 用户:
mysql> GRANT ALL PRIVILEGES ON *.* TO 'administrator'@'%' IDENTIFIED BY 'Your Pwd';
之后刷新权限即可:
FLUSH PRIVILEGES;
再来看下用户信息:
mysql> select host, user, plugin from user;+-----------+---------------+-----------------------+| host | user | plugin |+-----------+---------------+-----------------------+| % | root | mysql_native_password || localhost | mysql.session | mysql_native_password || localhost | mysql.sys | mysql_native_password || % | administrator | mysql_native_password |+-----------+---------------+-----------------------+
还是无法远程登录?
如果使用 root 或者自定义用户还是无法登陆的话就需要看下配置文件了。
比如我这里的配置文件都在 /etc/mysql 目录下,你需要逐个找配置文件,看这些配置文件是否有配置 bind-address 。我这里是在 /etc/mysql/mysql.conf.d/mysqld.cnf 文件中:
[mysqld]pid-file = /var/run/mysqld/mysqld.pidsocket = /var/run/mysqld/mysqld.sockdatadir = /var/lib/mysqllog-error = /var/log/mysql/error.log# By default we only accept connections from localhostbind-address = 127.0.0.1# Disabling symbolic-links is recommended to prevent assorted security riskssymbolic-links=0
默认情况下 bind-address 的值都是 127.0.0.1,表示只允许本地主机访问。想要远程机器能够访问就需要将该配置注释掉重启 mysql 服务就好了。
服务启动与停止
查看服务启动状态
sudo systemctl status mysql
启动服务
sudo systemctl start mysql
停止服务
sudo systemctl stop mysql
重启服务
sudo systemctl restart mysql
设置开机自启
sudo systemctl enable mysql
取消开机自启
sudo systemctl disable mysql
卸载 MySQL
| 注意 |
|---|
| 卸载操作是不可逆的,在卸载之前一定要保证对重要数据做了备份!!!! |
停止 MySQL 服务
sudo systemctl stop mysql
删除 MySQL 相关依赖
sudo apt-get purge -y mysql-server mysql-client mysql-common mysql-server-core-* mysql-client-core-*
在卸载时可能会有如下提示,询问是否自动删除关联的数据目录以及在使用过程中产生的垃圾文件,根据需要进行选择 Yes or No!

可选:删除 MySQL 配置和数据
如果在上一步卸载时没有提示是否删除关联数据可以在这一步进行选择删除配置和数据。
sudo rm -rf /etc/mysql /var/lib/mysql
| 注意 |
|---|
| 如果你之前修改了 MySQL 的配置目录 /etc/mysql 或者数据目录 /var/lib/mysql ,你需要将上面的目录进行相应的修改 |
- 可选:删除非必要的依赖包
在软件卸载时都建议执行如下命令进行删除非必要的依赖包:
sudo apt autoremove -y
- 可选:依赖包都删了还要缓存干什么?
sudo apt autoclean -y

若有收获,就点个赞吧
0 人点赞
