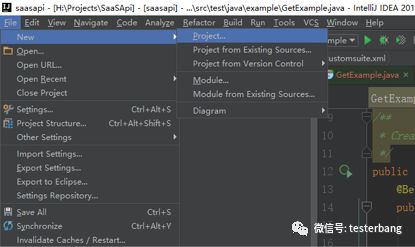
1.创建maven项目
选择File-newproject
在New Project界面,选择Maven,并选择自己的sdk,笔者这里使用的jdk版本是1.7
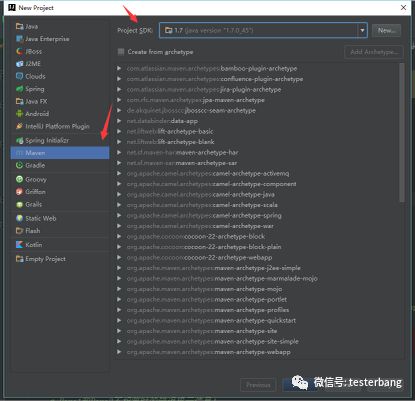
点击“Next”按钮:
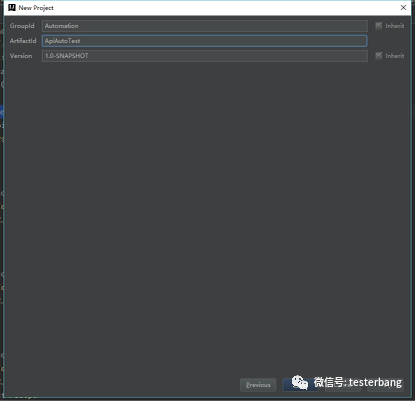
GroupId,ArtifactId可以填写自己所在的工作组和自己所做的项目名称
点击“Finish”按钮完成新maven工程的创建,第一步完成了。
2.配置Maven+Testng+RestAssured工程
创建好自己的Maven工程后,Itellij Idea会弹出一个提示框:
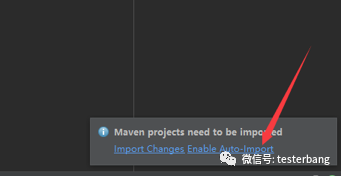
选择“Enable Auto-Import”,这样以后你修改pom配置文件maven库引用时,Intellij会自动化帮你完成相关库的下载,很方便。
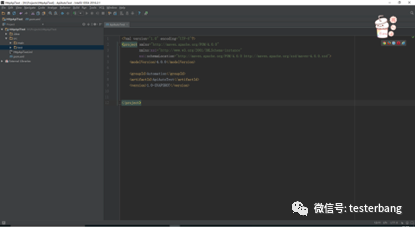
先看下Intellij的界面:
如果大家是第一次使用Intellij,默认的背景色是白色,修改成黑色背景色如下:
点击“File”-“Setting”“Colors&Fonts”,Scheme选择“Darcula”,点击“Apply”按钮,OK,你的背景色已经是酷酷的黑色了。
Intellij还有很多个性化设置,这里就不多介绍了,大家可以问问度娘,重点介绍下maven工程中pom文件的设置,跟测试代码的实现和测试工程的运行息息相关。
引入相关maven依赖 :dependencies,如图:
相关依赖部分源码:<dependencies><!--restassured框架相关库--><dependency><groupId>com.jayway.restassured</groupId><artifactId>rest-assured</artifactId><version>2.7.0</version></dependency><dependency><groupId>com.jayway.restassured</groupId><artifactId>json-path</artifactId><version>2.7.0</version></dependency><dependency><groupId>com.jayway.restassured</groupId><artifactId>json-schema-validator</artifactId><version>2.7.0</version><scope>test</scope></dependency><dependency><groupId>com.jayway.restassured</groupId><artifactId>xml-path</artifactId><version>2.7.0</version></dependency><!--testng框架相关库--><dependency><groupId>org.testng</groupId><artifactId>testng</artifactId><version>6.9.9</version></dependency><dependency><groupId>log4j</groupId><artifactId>log4j</artifactId><version>1.2.17</version></dependency><!--mysql数据库操作相关库--><dependency><groupId>mysql</groupId><artifactId>mysql-connector-java</artifactId><version>5.1.18</version></dependency><!-- 操作xls格式--><dependency><groupId>org.apache.poi</groupId><artifactId>poi-ooxml</artifactId><version>3.14-beta1</version></dependency><!--操作xlsx格式--><dependency><groupId>org.apache.poi</groupId><artifactId>poi</artifactId><version>3.14-beta1</version></dependency></dependencies>
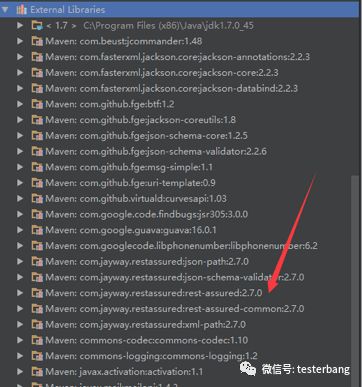
引入相关maven依赖,intellij就会自动下载相关库了,下载完成后,相关库会显示在External Libraries目录下:
现在自动化实现相关的资源都已经准备好了,开始设计自己的Maven工程
实现自己的Maven+Testng+RestAssured工程

若有收获,就点个赞吧
0 人点赞
