本文主要是记录下nest.js + typeorm + postgresql 项目如何部署heroku和使用heroku提供的免费版数据库
1. 修改下main.ts中app运行的端口
import { NestFactory } from '@nestjs/core';import { AppModule } from './app.module';async function bootstrap() {const app = await NestFactory.create(AppModule);app.enableCors(); // protection- await app.listen(3000);+ await app.listen(process.env.PORT || 3000);}bootstrap();
- 项目里最好是都使用环境变量(根目录新建.env文件),比如数据库的地址,用户名,密码,jwt密匙,jwt过期时间
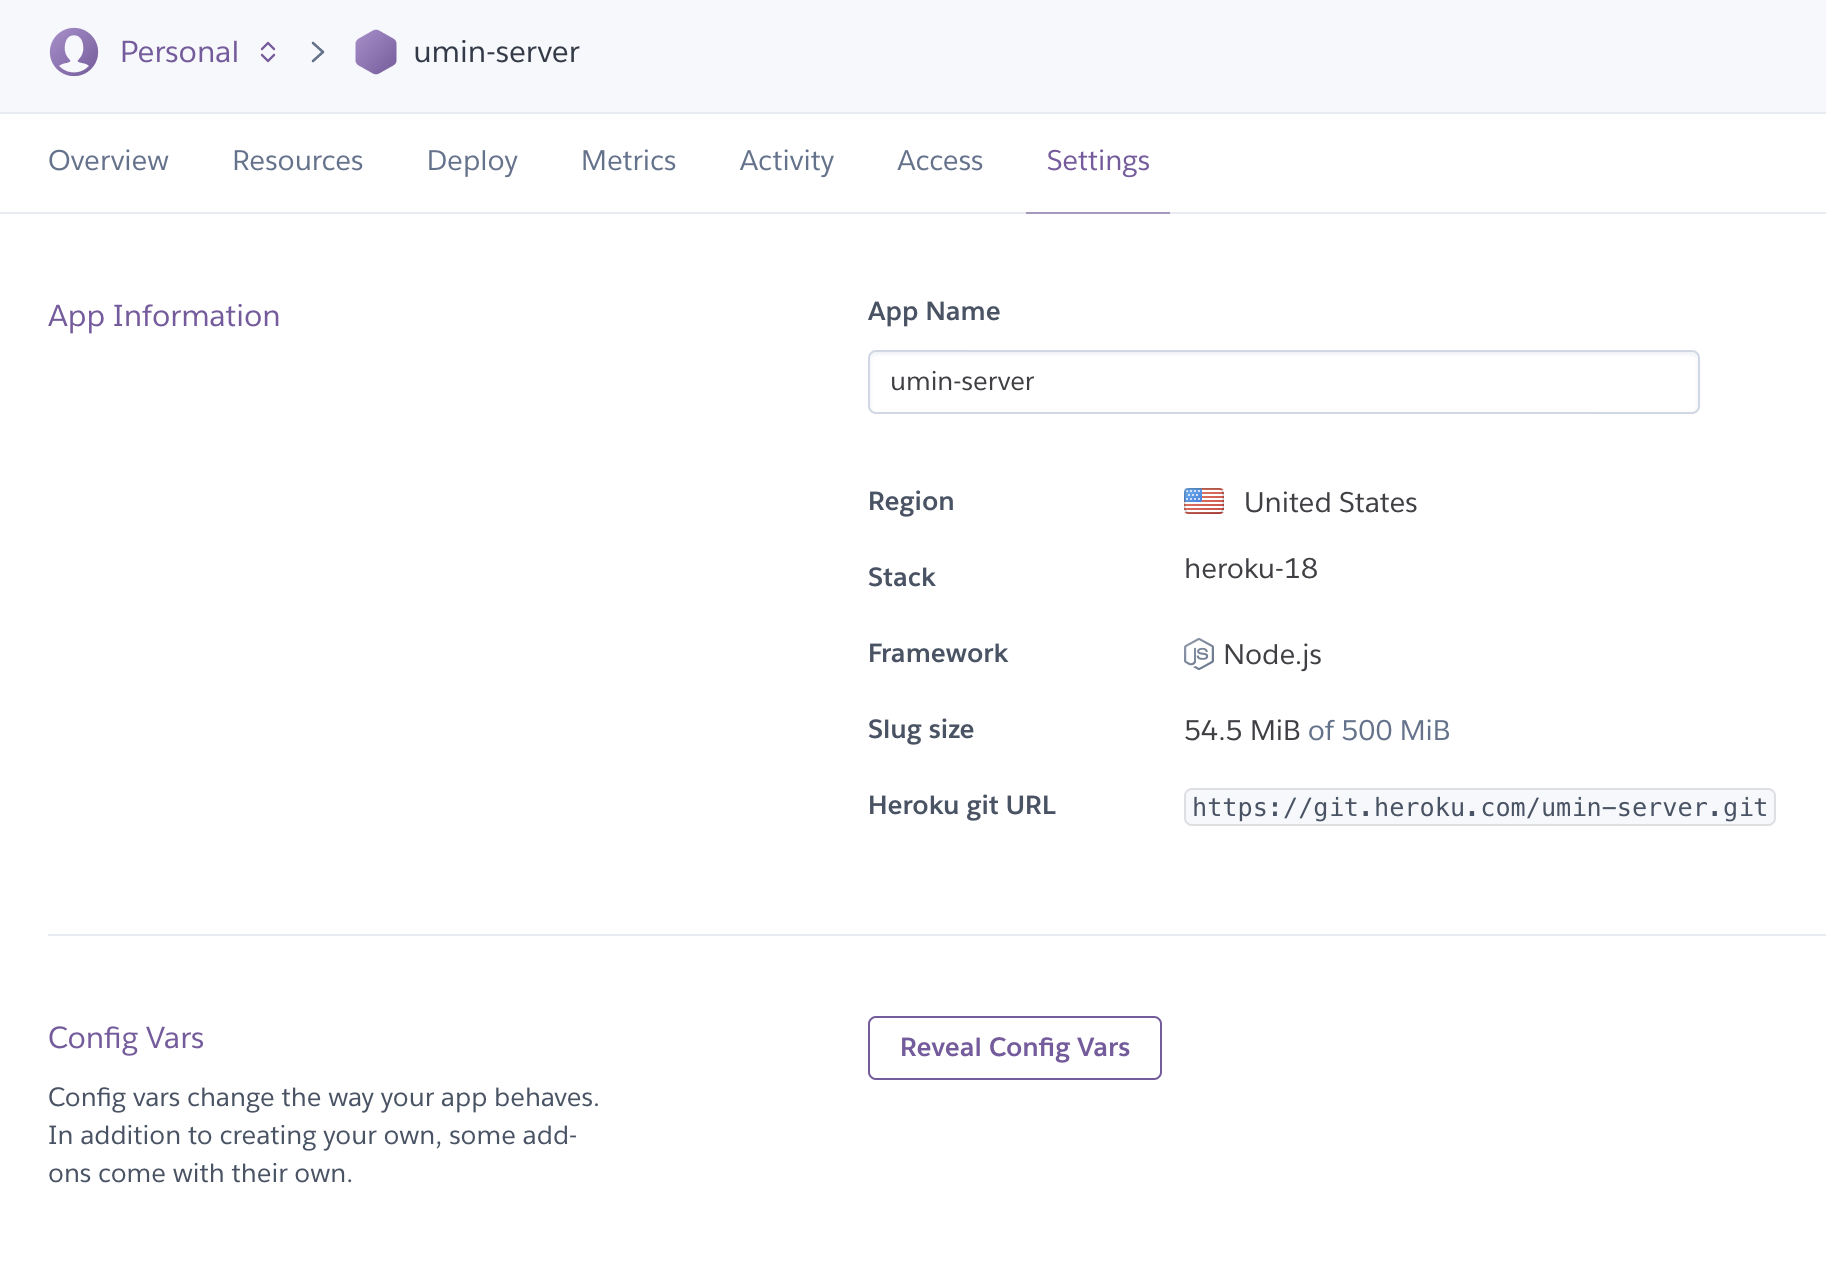
- 然后记得在heroku网站该项目的 dashboard -> Setting -> Config Vars 里都添加上这些环境变量
- 为了安全考虑,我们在.gitignore里填上.env文件,当提交代码到git仓库时,git不会追踪并提交.env文件
.env文件
// .envPORT=3000JWT_SECRET=xxxxxxxJWT_EXPIRES_IN=7dPOSTGRES_PORT=5432POSTGRES_URI=xxxxxPOSTGRES_DATABASE=xxxxxPOSTGRES_HOST=xxxxxPOSTGRES_USERNAME=xxxxxPOSTGRES_PASSWORD=xxxxx
2. 在项目根目录新建Procfile文件
Procfile
// this enable to start without using ts-node// this will run prestart:prod automaticallyweb: npm run start:prod
3. 更新Heroku Node Config【重要!!】
The NODE_ENV config should already be set to production by default, but we are changing NPM_CONFIG_PRODUCTION to false. Since we are performing the TypeScript build on the server (this is what our postinstall script does) we need all of the devDependencies in package.json for it to run properly. If NPM_CONFIG_PRODUCTION is set to true the devDependencies won’t be installed and it won’t work.
在终端里项目根目录运行:
- heroku config:set NPM_CONFIG_PRODUCTION=false
- heroku config:set NODE_ENV=production
4. 使用git部署到heroku
- 浏览器里登录heroku官网,然后新建app -> 给项目取个名字
- heroku login【先去heroku网站登入账号,然后回来运行这个命令,会自动打开网站询问是否授权登录】
- 也可以使用在终端里使用账号、密码登录
- heroku login -i
- 运行heroku git:remote -a <新建app时取得项目名>
- git add .
- git commit -m ‘xxxxx’ // 提交代码变动到git仓库里
- git push heroku master // push代码到heroku项目仓库里,自动就会deploy
- 注意!如果本地项目是包含前后端的,我们只想提交后端代码上去,那么运行这个命令
- git subtree push —prefix **server** heroku master
- 举例:这里我的项目架构是
- umin (项目)
- client // react前端项目目录
- server // nest.js服务端项目目录
- .gitignore
- README.md
- 注意!如果本地项目是包含前后端的,我们只想提交后端代码上去,那么运行这个命令
5. 在heroku项目中添加postgresql
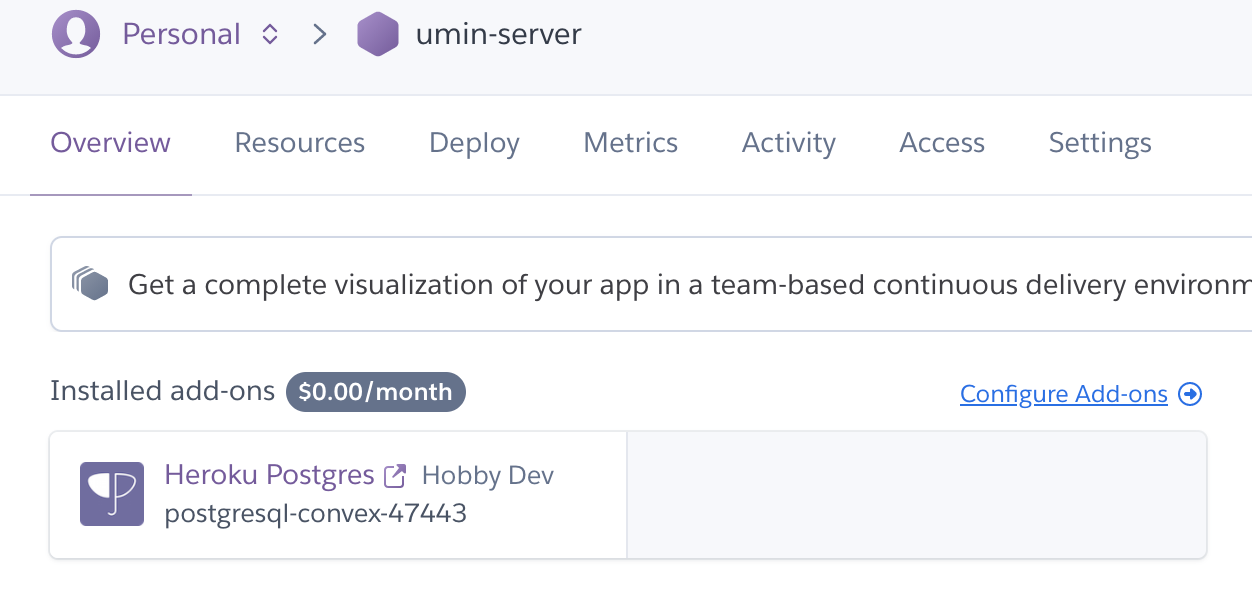
- 进入heroku网站该项目的dashboard,添加add-on,搜索postgresql,选择heroku postgresql这项
- 选择免费版的postgresql,然后回到dashboard并点击新增的这个”Heroku Postgres”就会跳转到数据库那边

- 然后在数据库的dashboard里点击settings里的”Database Credentials”,可以看到数据库的具体配置参数,比如host地址,username, pasword, port

- 然后把这些参数添加到该项目的环境变量中【项目dashboard -> Settings -> Config Vars】
- 我们在编写项目时**本地的文件.env**里的环境变量也要在这里添加下

6. ormconfig.json改为ormconfig.js
module.exports = {type: 'postgres',port: 5432,host: process.env.POSTGRES_HOST || 'localhost',username: process.env.POSTGRES_USERNAME || 'xxxx',password: process.env.POSTGRES_PASSWORD || 'xxxx',database: process.env.POSTGRES_DATABASE || 'xxx',synchronize: true,logging: true,entities: ['src/**/*entity.js', 'dist/**/*entity.js'],};
7. 常用命令行
- heroku logs —tail // 查看远程heroku正在运行的该项目的日志
- cd server 【进入nest.js服务端代码目录】
- heroku local // 在本地运行heroku项目

