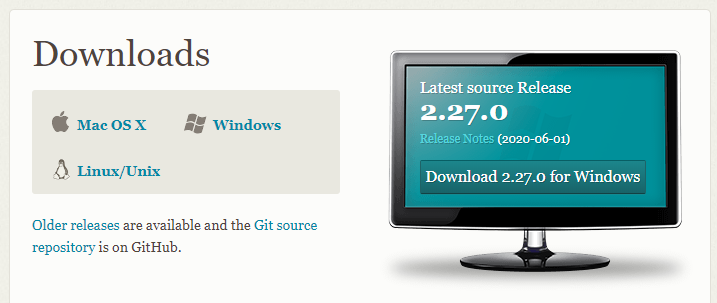
- 从官网下载Git,官网
- 运行下载好的安装包,安装选项根据自己需要进行选择。
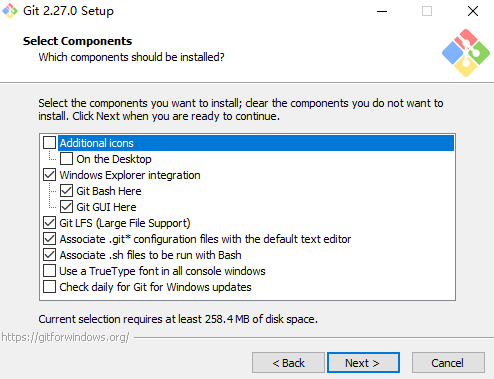
其中:
- Additional icons 附加图标
- On the Desktop 在桌面上
- Windows Explorer integration Windows 资源管理器集成鼠标右键菜单
- Git LFS (Large File Support) 大文件支持
- Use a TrueType font in all console windows 在所有控制台窗口中使用TrueType字体
Check daily for Git for Windows updates 每天检查Git是否有Windows更新
Use the Nano editor by default 默认使用 Nano 编辑器
- Use Vim (The ubiquitous text editor) as Git’s default editor 使用 Vim 作为 Git 的默认编辑器
- Use Notepad++ as Git’s default editor 使用 Notepad++ 作为 Git 的默认编辑器
- Use Visual Studio Code as Git’s default editor 使用 Visual Studio Code 作为Git 的默认编辑器
- Use Visual Studio Code Insiders as Git’s default editor 使用Visual Studio Code Insiders 作为 Git 的默认编辑器
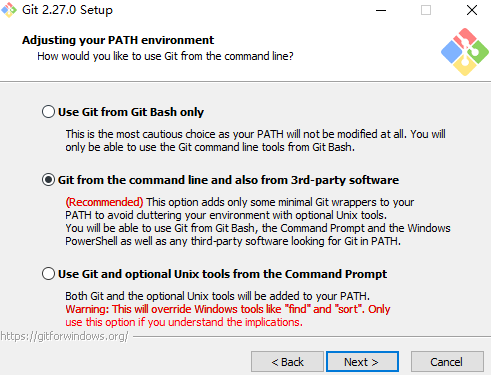
其中:第一个选项是只能在 git bash 里使用 git 命令,第二个选项是配置系统环境变量,可以在 windows命令行窗口使用 git。
关联GitHub
设置用户名和邮箱,在 git Bash 中执行以下命令。
git config --global user.name '你在GitHub注册的用户名'’git config --global user.email '你在GitHub注册的邮箱'
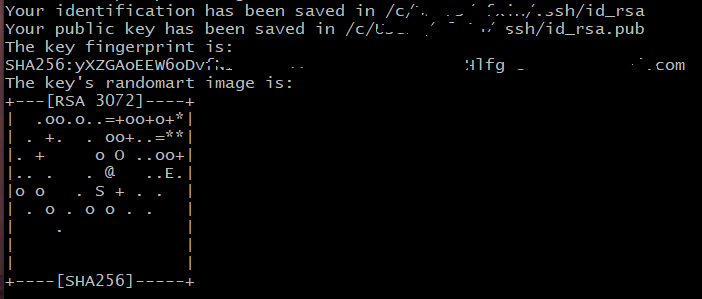
生成SSH公钥,在 git Bash 中执行以下命令。回车之后再按三个回车(默认存储位置,密码为空,确认密码),看到下图效果即可。
ssh-keygen -t rsa -C '你在GitHub注册的邮箱'
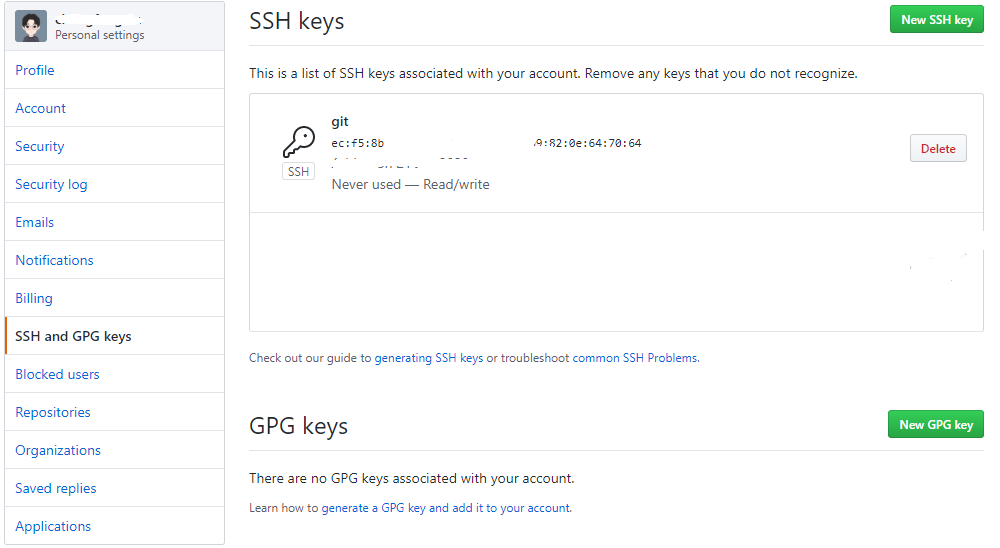
在默认的存储位置找到 id_rsa.pub,打开复制内容到 GitHub-Setings-SSH and GPS Keys
