Web Bookmark
Quick Start
在你的仓库里新建 .github/workflows 目录,然后在该目录下新建 .yml 后缀的文件,然后写入以下内容:
name: Chara自用actionson: # 设置监听仓库事件push: # 监听推送branches:- master # 监听 master 分支jobs:build-and-deploy:runs-on: ubuntu-latest # 设置运行环境steps:- name: 版本检出uses: actions/checkout@v1 # 先检出版本- name: 安装nodeuses: actions/setup-node@v1 # 安装 node 环境- name: 安装vue-pressrun: |npm install # 安装依赖- name: 编译run: |git config --global user.name "KongValley" # 设置你的账户名git config --global user.email "kzp13968320676@163.com" # 设置你的登录账号npm run build- name: 代码提交到主仓库env:ACCESS_TOKEN: ${{ secrets.ACCESS_TOKEN }} # 这个东西我下面会讲run: |cd docs/.vuepress/distecho 'charablog.cn' > CNAMEgit initgit add .git commit -m 'deploy'git push -f "https://KongValley:${ACCESS_TOKEN}@github.com/KongValley/KongValley.github.io.git" master # 推送到指定仓库的指定分支
Add ACCESS_TOKEN
ACCESS_TOKEN 是我自己命名的变量名,其实它是在 https://github.com/settings/tokens 上申请的一个 Personal access tokens,权限我基本上都给了,就是 admin:repo_hook, delete_repo, repo, user, workflow 这些,然后将生成的 token 的值复制,然后到你部署这个 actions 的仓库的 settings → secrets 里
点击 Add a new secret
填入你想命名的变量名和你之前复制的 token,点击 Add secret 即可
将你的代码 push 上去之后,workflows 就会自动执行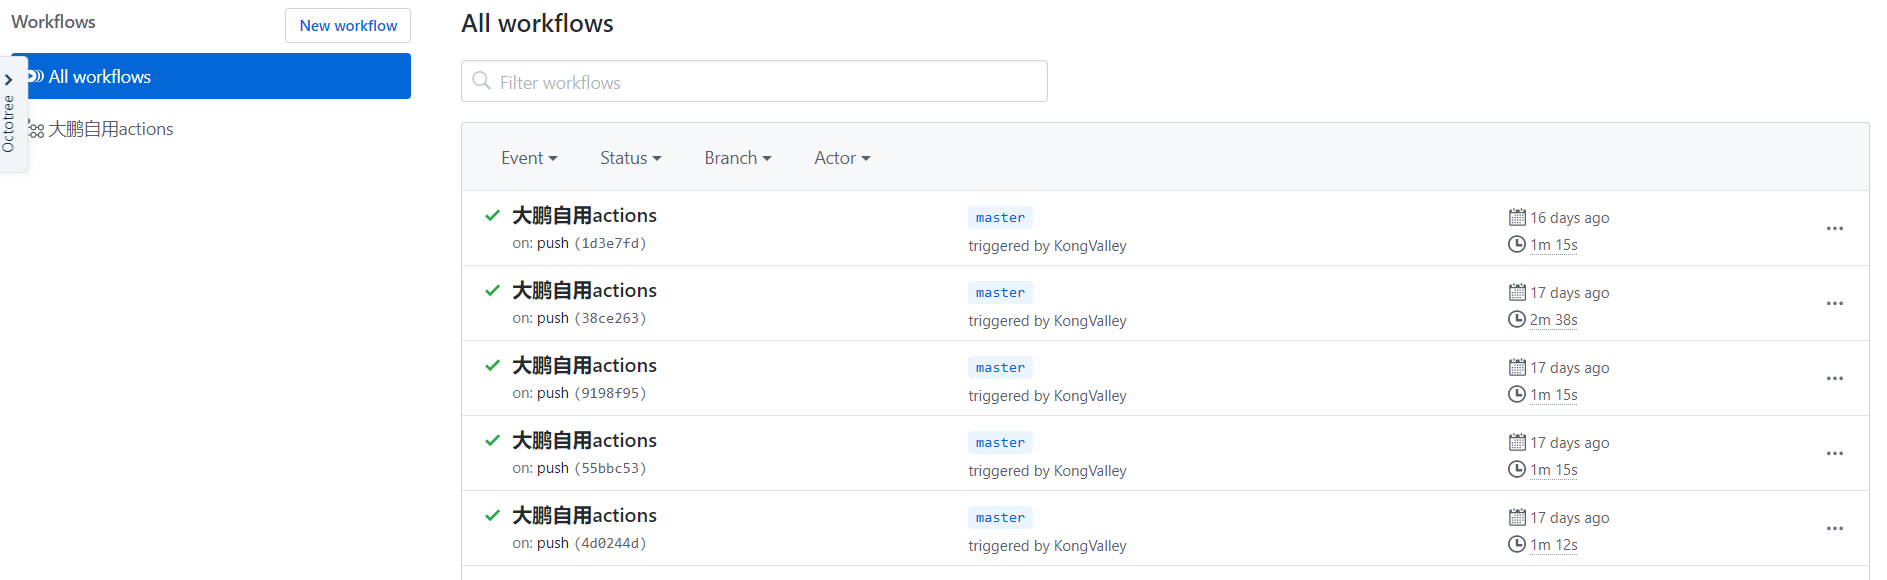

若有收获,就点个赞吧
0 人点赞
