资源数据下载:
- 创建项目
- 引入Lombol、Spring Web、MySQL Driver、Thymeleaf
- 自己配置好maven、lombok配置
- 引入第七章前端代码在resources的templates路径
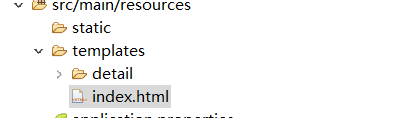
- index内代码查看 ```html
<!DOCTYPE html>
欢迎进入电影网站首页
普通电影
VIP专享
```在项目创建controller包
- 包下创建FileController类,编写用于页面请求的控制类 ```java package com.example.demo.controller;

import org.springframework.stereotype.Controller; import org.springframework.web.bind.annotation.GetMapping; import org.springframework.web.bind.annotation.PathVariable;
@Controller public class FileController { //影片详情页 @GetMapping(“/detail/{type}/{path}”) //请求映射地址为/detail/{type}/{path},{}是占位符,里面指向的是方法体内的参数type和path //定义参数type和path为接收参数,返回具体的路径。实现向影片详情页面请求跳转. public String toDetail(@PathVariable(“type”) String type, @PathVariable(“path”) String path) { return “detail/“+type+”/“+path; //从resource内的templates找到detail/{type}/{path},返回视图显示 } }
6. 引入security依赖入pom.xml(maven仓库)```xml<dependency><groupId>org.springframework.boot</groupId><artifactId>spring-boot-starter-security</artifactId><version>2.6.7</version></dependency>
- 重新启动

- 浏览器查看

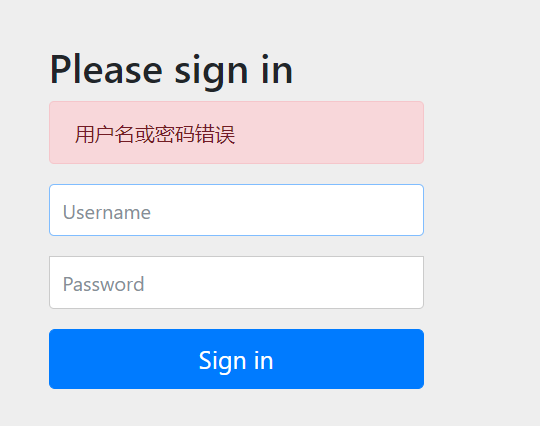
- 输入控制台显示的Spring Security提供的默认的账户密码,登录

- 这种默认安全管理方式存在诸多问题,例如:只有唯一的默认登录用户user、密码随机生成且过于暴露、登录页面及错误提示页面不是我们想要的等。
- 我们可以通过自定义WebSecurityConfigurerAdapter类型的Bean组件来覆盖默认访问规则。搜索WebSecurityConfigurerAdapter,可知是抽象类。我们通过继承该类后,重写或重载其中的方法来实现自定义。
- 主要的两个配置方法
- configure(AuthenticationManagerBuilder auth)
- 定制用户认证管理器来实现用户认证
- configure(HttpSecurity http)
- 定制基于HTTP请求的用户访问控制
- configure(AuthenticationManagerBuilder auth)
- 主要的两个配置方法
实现自定义用户认证
内存身份认证(无法用于实际生产,只可作为初学者测试)
- 创建config包
- 包下创建SecurityConfig类 ```java package com.example.demo.config;
import org.springframework.security.config.annotation.authentication.builders.AuthenticationManagerBuilder; import org.springframework.security.config.annotation.web.configuration.EnableWebSecurity; import org.springframework.security.config.annotation.web.configuration.WebSecurityConfigurerAdapter; import org.springframework.security.crypto.bcrypt.BCryptPasswordEncoder;
//开启MVC Security安全支持
@EnableWebSecurity
//继承抽象类WebSecurityConfigurerAdapter,通过重写其中方法实现自定义
public class SecurityConfig extends WebSecurityConfigurerAdapter{
@Override//@Override 注解用于指定方法必须重写,让编译器了解该方法必须重写,如果不重写就报错
protected void configure(AuthenticationManagerBuilder auth) throws Exception{
//密码设置需要设置编码器
BCryptPasswordEncoder encoder = new BCryptPasswordEncoder();
//1.使用内存用户信息,作为测试使用
auth.inMemoryAuthentication().passwordEncoder(encoder)
.withUser(“shitou”).password(encoder.encode(“123456”)).roles(“common”)
.and()
.withUser(“李四”).password(encoder.encode(“123456”)).roles(“vip”);
}
}
2. 重启运行1. 2. 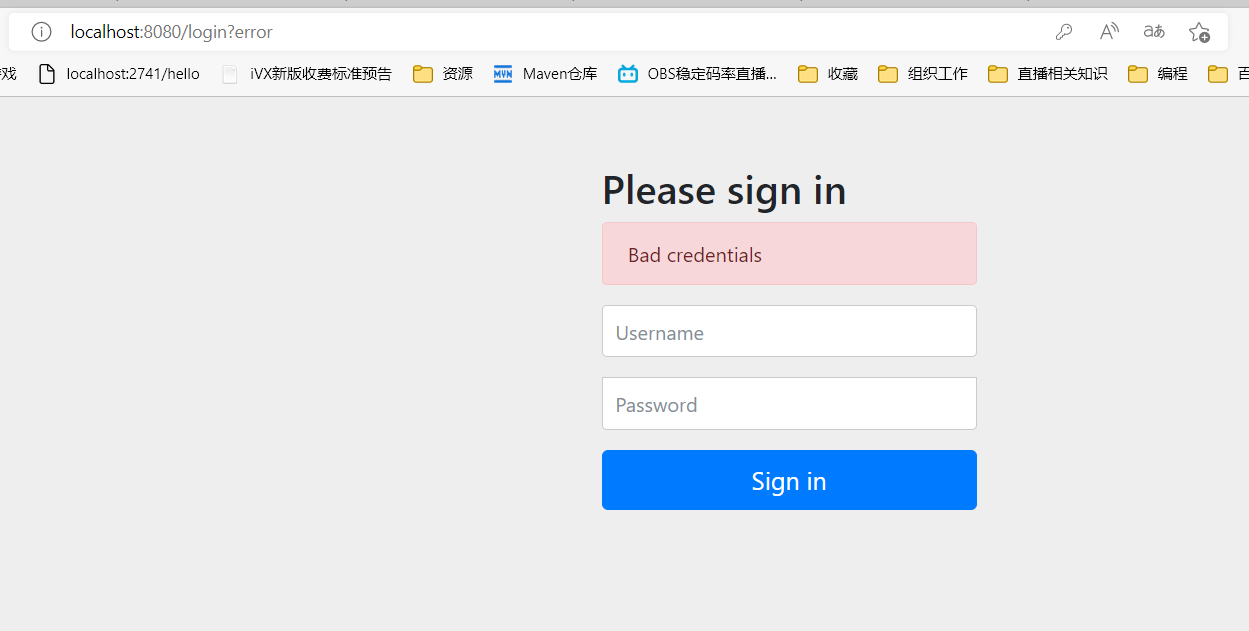3. 输入配置的自定义账户密码,可跳转到对应页面4. 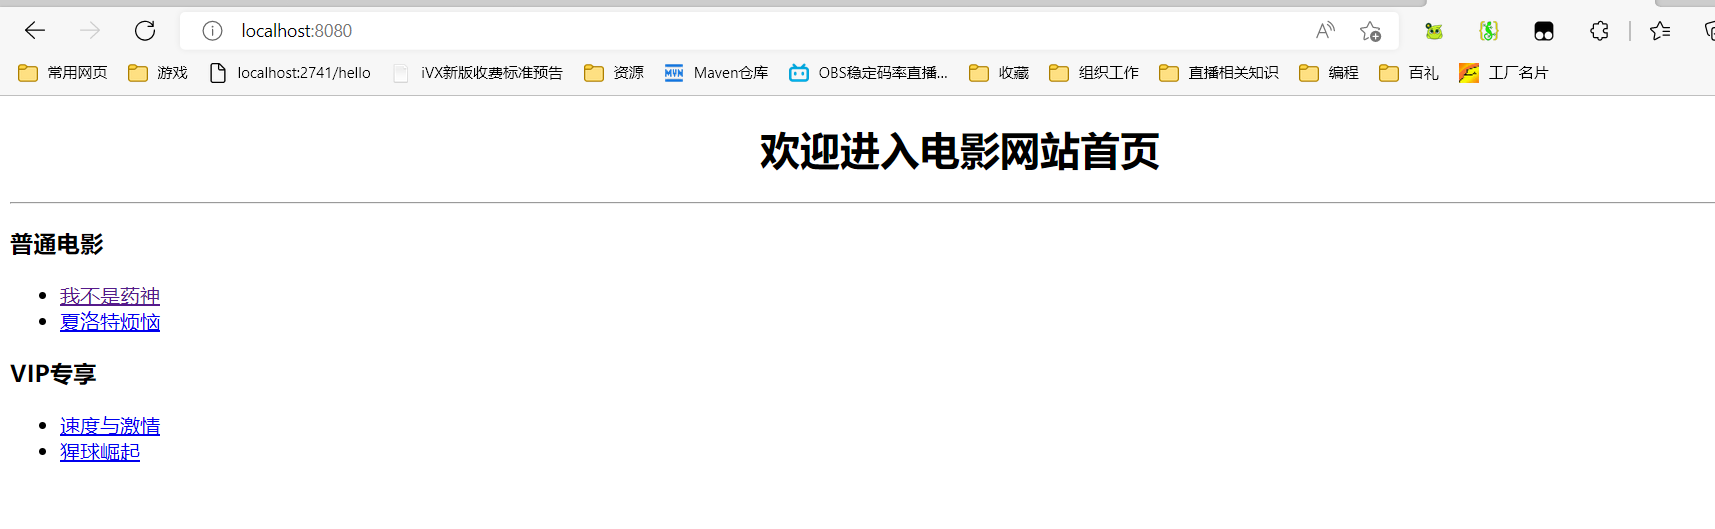1. JDBC身份验证的实现1. 本质:用数据库已有的用户信息在项目中实现用户认证服务,需要提前准备好相关数据2. source代码引入数据库文件springboot.sql和security.sql3. <br />```sqlset character set utf8;drop database if exists springbootdata;# 创建数据库CREATE DATABASE springbootdata default character set utf8;# 选择使用数据库USE springbootdata;# 创建表t_article并插入相关数据DROP TABLE IF EXISTS `t_article`;CREATE TABLE `t_article` (`id` int(20) NOT NULL AUTO_INCREMENT COMMENT '文章id',`title` varchar(200) DEFAULT NULL COMMENT '文章标题',`content` longtext COMMENT '文章内容',PRIMARY KEY (`id`)) ENGINE=InnoDB AUTO_INCREMENT=2 DEFAULT CHARSET=utf8;set character set utf8;INSERT INTO `t_article` VALUES ('1', 'Spring Boot基础入门', '从入门到精通讲解...');INSERT INTO `t_article` VALUES ('2', 'Spring Cloud基础入门', '从入门到精通讲解...');# 创建表t_comment并插入相关数据DROP TABLE IF EXISTS `t_comment`;CREATE TABLE `t_comment` (`id` int(20) NOT NULL AUTO_INCREMENT COMMENT '评论id',`content` longtext COMMENT '评论内容',`author` varchar(200) DEFAULT NULL COMMENT '评论作者',`a_id` int(20) DEFAULT NULL COMMENT '关联的文章id',`deleted` int(20) DEFAULT 0,PRIMARY KEY (`id`)) ENGINE=InnoDB AUTO_INCREMENT=3 DEFAULT CHARSET=utf8;set character set utf8;INSERT INTO `t_comment` VALUES ('1', '很全、很详细', '狂奔的蜗牛', '1', '0');INSERT INTO `t_comment` VALUES ('2', '赞一个', 'tom', '1', '0');INSERT INTO `t_comment` VALUES ('3', '很详细', 'kitty', '1', '0');INSERT INTO `t_comment` VALUES ('4', '很好,非常详细', '张三', '1', '0');INSERT INTO `t_comment` VALUES ('5', '很不错', '张杨', '2', '0');
# 选择使用数据库USE springbootdata;# 创建表t_customer并插入相关数据DROP TABLE IF EXISTS `t_customer`;CREATE TABLE `t_customer` (`id` int(20) NOT NULL AUTO_INCREMENT,`username` varchar(200) DEFAULT NULL,`password` varchar(200) DEFAULT NULL,# tinyint类型对应booolean类型`valid` tinyint(1) NOT NULL DEFAULT '1',PRIMARY KEY (`id`)) ENGINE=InnoDB AUTO_INCREMENT=4 DEFAULT CHARSET=utf8;INSERT INTO `t_customer` VALUES ('1', 'shitou', '$2a$10$d8tE/Eqw4e6/ormxMKBtAOgDxt3XY1QsfukGq.OXeSL1XyqhcJAH6', '1');INSERT INTO `t_customer` VALUES ('2', '李四', '$2a$10$5ooQI8dir8jv0/gCa1Six.GpzAdIPf6pMqdminZ/3ijYzivCyPlfK', '1');# 创建表t_authority并插入相关数据DROP TABLE IF EXISTS `t_authority`;CREATE TABLE `t_authority` (`id` int(20) NOT NULL AUTO_INCREMENT,`authority` varchar(20) DEFAULT NULL,PRIMARY KEY (`id`)) ENGINE=InnoDB AUTO_INCREMENT=3 DEFAULT CHARSET=utf8;INSERT INTO `t_authority` VALUES ('1', 'ROLE_common');INSERT INTO `t_authority` VALUES ('2', 'ROLE_vip');# 创建表t_customer_authority并插入相关数据DROP TABLE IF EXISTS `t_customer_authority`;CREATE TABLE `t_customer_authority` (`id` int(20) NOT NULL AUTO_INCREMENT,`customer_id` int(20) DEFAULT NULL,`authority_id` int(20) DEFAULT NULL,PRIMARY KEY (`id`)) ENGINE=InnoDB AUTO_INCREMENT=5 DEFAULT CHARSET=utf8;INSERT INTO `t_customer_authority` VALUES ('1', '1', '1');INSERT INTO `t_customer_authority` VALUES ('2', '2', '2');# 记住我功能中创建持久化Token存储的数据表create table persistent_logins (username varchar(64) not null,series varchar(64) primary key,token varchar(64) not null,last_used timestamp not null);
- pom.xml添加JDBC连接数据库的依赖启动器
```xml
<dependency><groupId>org.springframework.boot</groupId><artifactId>spring-boot-starter-jdbc</artifactId></dependency><dependency><groupId>mysql</groupId><artifactId>mysql-connector-java</artifactId><scope>runtime</scope></dependency>
3. 配置数据库连接```properties#数据库连接配置spring.datasource.url=jdbc:mysql://localhost:3306/springbootdata?serverTimezone=UTCspring.datasource.username=rootspring.datasource.password=root
- 重新编写SecurityConfig ```properties package com.example.demo.config;
import javax.sql.DataSource;
import org.springframework.beans.factory.annotation.Autowired; import org.springframework.security.config.annotation.authentication.builders.AuthenticationManagerBuilder; import org.springframework.security.config.annotation.web.configuration.EnableWebSecurity; import org.springframework.security.config.annotation.web.configuration.WebSecurityConfigurerAdapter; import org.springframework.security.crypto.bcrypt.BCryptPasswordEncoder;
//开启MVC Security安全支持
@EnableWebSecurity
//继承抽象类WebSecurityConfigurerAdapter,通过重写其中方法实现自定义
public class SecurityConfig extends WebSecurityConfigurerAdapter{
//Autowired相当于new,来自于springboot本身,用于注入组件
@Autowired
//装配了DataSource数据源作为属性
private DataSource dataSource;
//@Override 注解用于指定方法必须重写,让编译器了解该方法必须重写,如果不重写就报错
@Override
protected void configure(AuthenticationManagerBuilder auth) throws Exception{
/* 1. 内存实现身份认证//密码设置需要设置编码器BCryptPasswordEncoder encoder = new BCryptPasswordEncoder();//1.使用内存用户信息,作为测试使用。定义了一个common用户,一个vip用户,设定了默认账户密码auth.inMemoryAuthentication().passwordEncoder(encoder).withUser("shitou").password(encoder.encode("123456")).roles("common").and().withUser("李四").password(encoder.encode("123456")).roles("vip");} *///2. JDBC进行身份验证//密码设置需要设置编码器BCryptPasswordEncoder encoder = new BCryptPasswordEncoder();//使用JDBC进行身份认证//根据浏览器所输入的用户名寻找名字,密码权限String userSQL = "select username,password,valid from t_customer "+"where username = ?";//SQL语句输错不报错,实际情况下不会直接敲SQL代码String authoritySQL = "select c.username,a.authority from t_customer c,"+"t_authority a,t_customer_authority ca where "+"ca.customer_id=c.id and ca.authority_id=a.id and c.username =?";//auth调用jdbc权限管理的方法.编码器.数据源.执行SQL语句auth.jdbcAuthentication().passwordEncoder(encoder).dataSource(dataSource).usersByUsernameQuery(userSQL).authoritiesByUsernameQuery(authoritySQL);}
}
5. 重启启动,输入数据库的用户密码。<a name="WVKed"></a>## UserDetailsService身份验证1. 创建相关实体类Customer和Authority——Entity或Domain层```javapackage com.example.demo.entity;import javax.persistence.*;import lombok.Data;@Data //Lombok注解,自动创建get、set、toString@Entity(name = "t_customer") //需要引入jpa依赖包spring data jpapublic class Customer {@Id //用于标注数据库主键为下方的id@GeneratedValue(strategy = GenerationType.IDENTITY) //设置表示主键是自增策略private Integer id;private String username;private String password;}
package com.example.demo.entity;import javax.persistence.*;import lombok.Data;@Data@Entity(name = "t_authority ")public class Authority {@Id@GeneratedValue(strategy = GenerationType.IDENTITY)private Integer id;private String authority ;}
- 创建数据访问层Dao层(Repository层)的两个接口CustomerRepository和AuthorityRepository ```java package com.example.demo.repository;
import org.springframework.data.jpa.repository.JpaRepository;
import com.example.demo.entity.Customer;
public interface CustomerRepository extends JpaRepository
```javapackage com.example.demo.repository;import java.util.List;import org.springframework.data.jpa.repository.JpaRepository;import org.springframework.data.jpa.repository.Query;import com.example.demo.entity.Authority;public interface AuthorityRepository extends JpaRepository<Authority,Integer> {@Query(value = "select a.* from t_customer c,t_authority a,"+ "t_customer_authority ca where ca.customer_id=c.id and ca.authority_id=a.id and c.username =?1",nativeQuery = true)public List<Authority> findAuthoritiesByUsername(String username);}
引入Redis依赖
<!-- 引入Redis依赖spring-boot-starter-data-redis --><dependency><groupId>org.springframework.boot</groupId><artifactId>spring-boot-starter-data-redis</artifactId><version>2.7.0</version></dependency>
配置redis
#Redis配置(默认的主机地址、端口)spring.redis.host=127.0.0.1spring.redis.port=6379spring.redis.password=
创建Service层,定义查询用户及角色信息的服务接口 ```java package com.example.demo.Service;
import java.util.List;
import org.springframework.beans.factory.annotation.Autowired; import org.springframework.data.redis.core.RedisTemplate;
import com.example.demo.entity.Authority; import com.example.demo.entity.Customer; import com.example.demo.repository.AuthorityRepository; import com.example.demo.repository.CustomerRepository;
public class CustomerService {
@Autowired
private CustomerRepository customerRepository;
@Autowired
private AuthorityRepository authorityRepository;
private RedisTemplate redisTemplate;
public Customer getCustomer(String username){
Customer customer=null;
Object o = redisTemplate.opsForValue().get(“customer“+username);
if(o!=null){
customer=(Customer)o;//缓存空间内有值则转换值未Customer类型
}else {
customer = customerRepository.findByUsername(username); //调用Dao层根据名字查找的方法
if(customer!=null){
redisTemplate.opsForValue().set(“customer“+username,customer); }
}
return customer;
}
public List<Authority> getCustomerAuthority(String username){List<Authority> authorities=null;Object o = redisTemplate.opsForValue().get("authorities_"+username);if(o!=null){authorities=(List<Authority>)o;}else {authorities=authorityRepository.findAuthoritiesByUsername(username);if(authorities.size()>0){redisTemplate.opsForValue().set("authorities_"+username,authorities);} }return authorities;}
}
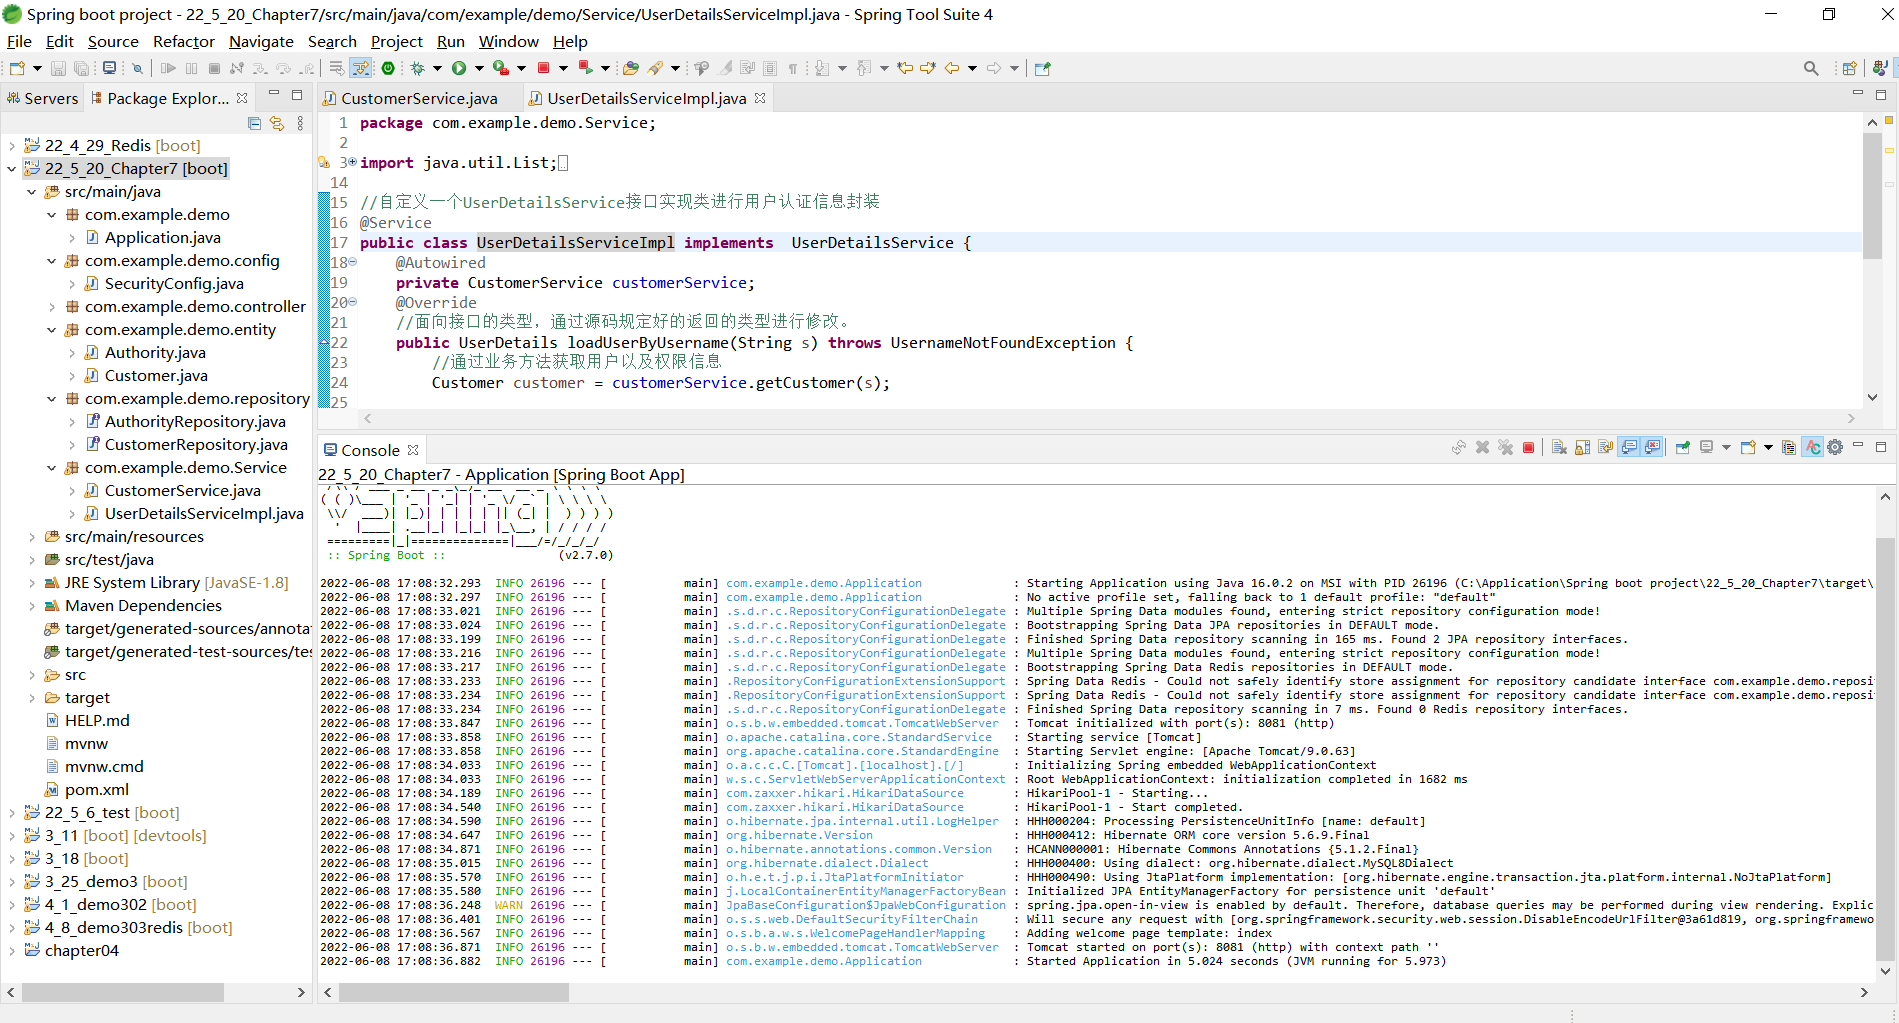
6. 自定义一个UserDetailsService接口的实现类,通过loadUserByUsername(String s)方法调用用户业务处理类中已有的方法进行用户详情封装```javapackage com.example.demo.Service;import java.util.List;import java.util.stream.Collectors;import org.springframework.beans.factory.annotation.Autowired;import org.springframework.security.core.authority.SimpleGrantedAuthority;import org.springframework.security.core.userdetails.*;import org.springframework.stereotype.Service;import org.springframework.web.client.HttpClientErrorException.NotFound;import com.example.demo.entity.Authority;import com.example.demo.entity.Customer;//自定义一个UserDetailsService接口实现类进行用户认证信息封装@Servicepublic class UserDetailsServiceImpl implements UserDetailsService {@Autowiredprivate CustomerService customerService;@Override//面向接口的类型,通过源码规定好的返回的类型进行修改。public UserDetails loadUserByUsername(String s) throws UsernameNotFoundException {//通过业务方法获取用户以及权限信息Customer customer = customerService.getCustomer(s);List<Authority> authorities = customerService.getCustomerAuthority(s);//对用户权限进行封装List<SimpleGrantedAuthority> list = authorities.stream().map(authority->new SimpleGrantedAuthority(authority.getAuthority())).collect(Collectors.toList());//返回封装的UserDetails用户详情类if(customer!=null) {UserDetails userDetails = new User(customer.getUsername(),customer.getPassword(),list);return userDetails;}else {//如果查询的用户不存在(用户名不存在),必须抛出异常throw new UsernameNotFoundException("当前用户不存在!");}}}
- 使用UserDetailsService进行身份认证 ```java package com.example.demo.config;
import javax.sql.DataSource;
import org.springframework.beans.factory.annotation.Autowired; import org.springframework.security.config.annotation.authentication.builders.AuthenticationManagerBuilder; import org.springframework.security.config.annotation.web.configuration.EnableWebSecurity; import org.springframework.security.config.annotation.web.configuration.WebSecurityConfigurerAdapter; import org.springframework.security.crypto.bcrypt.BCryptPasswordEncoder;
import com.example.demo.Service.UserDetailsServiceImpl;
//开启MVC Security安全支持
@EnableWebSecurity
//继承抽象类WebSecurityConfigurerAdapter,通过重写其中方法实现自定义
public class SecurityConfig extends WebSecurityConfigurerAdapter{
/*//Autowired相当于new,来自于springboot本身,用于注入组件
@Autowired
//装配了DataSource数据源作为属性
private DataSource dataSource;
//@Override 注解用于指定方法必须重写,让编译器了解该方法必须重写,如果不重写就报错
@Override
protected void configure(AuthenticationManagerBuilder auth) throws Exception{
/*1. 内存实现身份认证//密码设置需要设置编码器BCryptPasswordEncoder encoder = new BCryptPasswordEncoder();//1.使用内存用户信息,作为测试使用。定义了一个common用户,一个vip用户,设定了默认账户密码auth.inMemoryAuthentication().passwordEncoder(encoder).withUser("shitou").password(encoder.encode("123456")).roles("common").and().withUser("李四").password(encoder.encode("123456")).roles("vip");}//2. JDBC进行身份验证//密码设置需要设置编码器BCryptPasswordEncoder encoder = new BCryptPasswordEncoder();//使用JDBC进行身份认证//根据浏览器所输入的用户名寻找名字,密码权限String userSQL = "select username,password,valid from t_customer "+"where username = ?";String authoritySQL = "select c.username,a.authority from t_customer c,"+"t_authority a,t_customer_authority ca where "+"ca.customer_id=c.id and ca.authority_id=a.id and c.username =?";//auth调用jdbc权限管理的方法.编码器.数据源.执行SQL语句auth.jdbcAuthentication().passwordEncoder(encoder).dataSource(dataSource).usersByUsernameQuery(userSQL).authoritiesByUsernameQuery(authoritySQL);*/@Autowiredprivate UserDetailsServiceImpl userDetailsService;@Overrideprotected void configure(AuthenticationManagerBuilder auth)throws Exception{//密码设置需要编码器BCryptPasswordEncoder encoder = new BCryptPasswordEncoder();//3.使用UserDetailsService进行身份验证auth.userDetailsService(userDetailsService).passwordEncoder(encoder);
} }
```
- 效果测试


若有收获,就点个赞吧
0 人点赞
