

给类增加字段和方法
创建对象

编译和执行
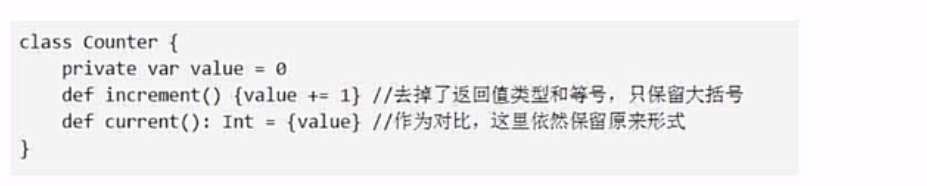
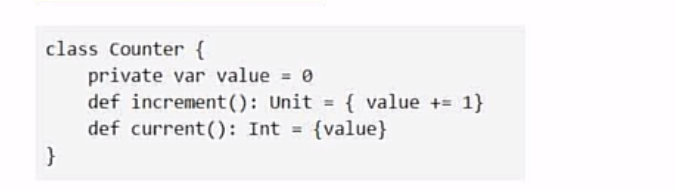
class Counter{private var value = 0def increment(): Unit ={ value += 1}def current(): Int ={value}}val mycounter = new Countermycounter.increment()println(mycounter.current)
在命令行输入
scala test02.scala
就可以实现功能
也可以使用scala解释器来执行相应的程序 (:load) 在解释器中:代表命令指令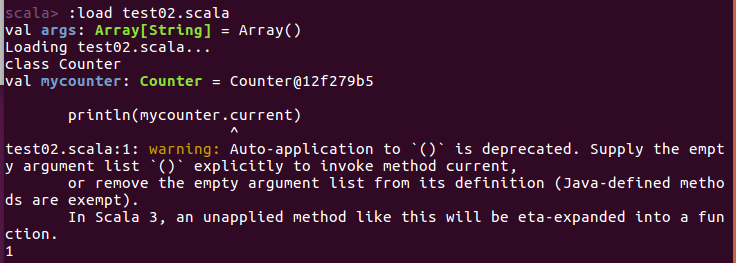
问题:为什么不用scalac编译
这个例程无法通过
修改成为单例对象: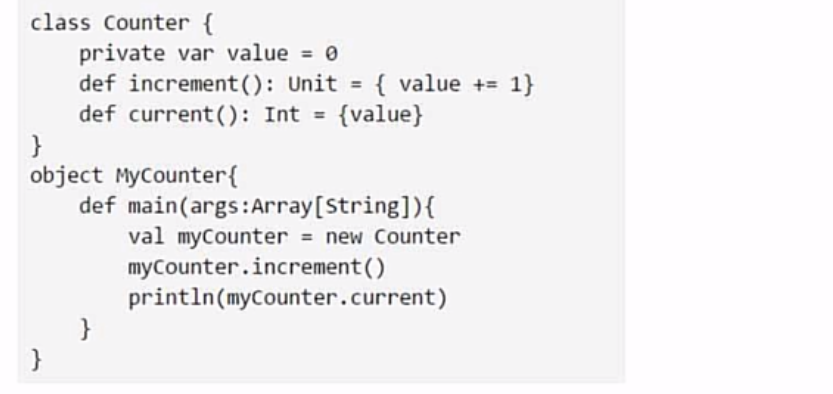

设置成带参数传入
class Counter{private var value = 0def increment(step : Int): Unit ={ value += step}def current(): Int ={value}}object mycounter{def main(args:Array[String]){val mycounter = new Countermycounter.increment(5)println(mycounter.current())}}
getter和setter方法
class Counter{var value = 0def increment(step : Int): Unit ={ value += step}def current(): Int ={value}}object mycounter{def main(args:Array[String]){val mycounter = new Counterprintln(mycounter.value)mycounter.value=3mycounter.increment(5)println(mycounter.current())}}

注意:
不要乱设置公有属性!
修改 使用value和value_方法
class Counter{private var privatevalue = 0def value = privatevaluedef value_=(newValue : int){if(newValue > 0) privateValue = newValue}def increment(step : Int): Unit ={ value += step}def current(): Int ={value}}object mycounter{def main(args:Array[String]){val mycounter = new Counterprintln(mycounter.value)mycounter.value=3 //调用value_这个方法mycounter.increment(5)println(mycounter.current())}}
构造器

class Counter{private var value = 0private var name = ""private var mode = 1def this(name : String){ //第一个辅助构造器this() //调用主构造器this.name =name}def this(name : String, mode : Int){ //第二个辅助构造器this(name) //调用前一个辅助构造器this.mode = mode}def increment(step : Int): Unit ={ value += step}def current(): Int ={value}def info() : Unit = {printf("name: %s and mode is %d\n",name,mode)}}object mycounter{def main(args:Array[String]){val mycounter1 = new Counter //调用主构造器,参数默认为空val mycounter2 = new Counter("Runner") //第一个辅助val mycounter3 = new Counter("Timer",2) //第二个辅助,中间会调用第一个辅助构造器mycounter1.infomycounter1.increment(1)printf("Current value is %d\n",mycounter1.current())mycounter2.infomycounter2.increment(2)printf("Current value is %d\n",mycounter2.current())mycounter3.infomycounter3.increment(1)printf("Current value is %d\n",mycounter3.current())}}
主构造器
scala中的主构造器改写
class Counter(val name: String , val mode: Int){ //可以直接将参数写在主构造器中private var privatevalue = 0def value = privatevaluedef value_=(newValue : int){if(newValue > 0) privateValue = newValue}def increment(step : Int): Unit ={ value += step}def current(): Int ={value}def info(): Uint = {printf("name is %s and mode is %d",name,mode)}//可以直接使用name和mode而不用在类里面进行定义,会自动生成这两个字段}object mycounter{def main(args:Array[String]){val mycounter = new Counterprintln(mycounter.value)mycounter.value=3 //调用value_这个方法mycounter.increment(5)println(mycounter.current())}}

若有收获,就点个赞吧
0 人点赞
