1. 前言
1.1 环境
- 操作系统: macOS 11.5.2
- 浏览器: Chrome 94.0.4606.81
- shell: zsh (如何安装zsh,可以自行百度 ohmyzsh,windows系统需要使用WSL子系统安装)
- @vue/cli 4.5.15
- vue 3.2.21
-
1.2 阅读该文章可以get以下知识点
使用Vue.js devtools浏览器插件打开vue文件所在位置
launch-editor-middleware、launch-editor 实现原理
2. 准备工作
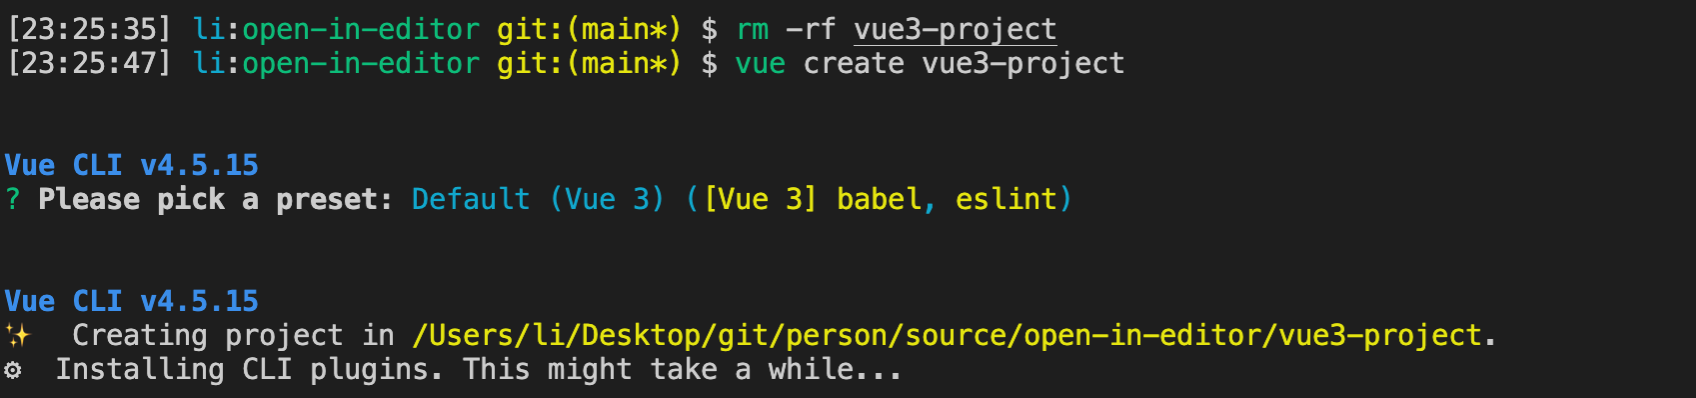
2.1 创建vue3项目
npm install -g @vue/clivue create vue3-project
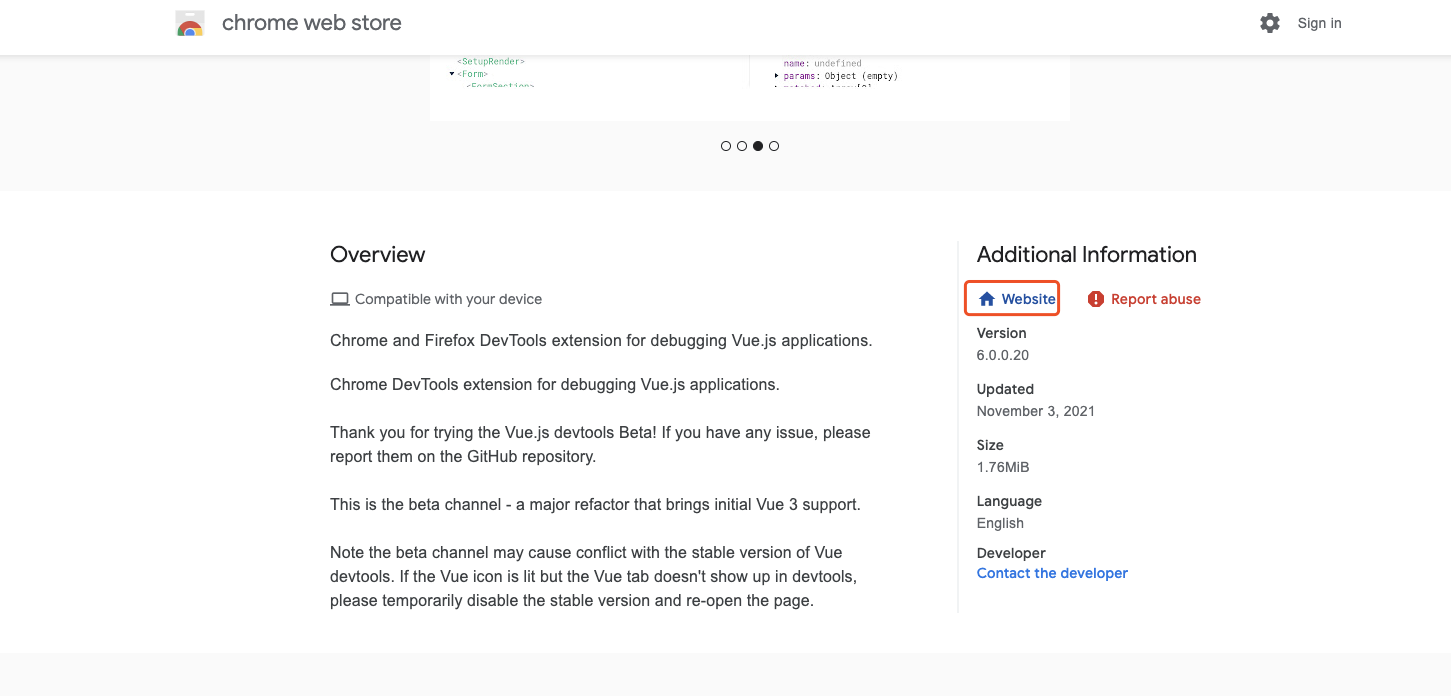
2.2 安装Vue Devtools插件
Vue Devtools: 官方文档
由于使用vue3,需要安装bata版本的vue.js devtools,不需要任何配置开箱即用
注意: 旧版本的插件不支持vue3,因此会出现Vue.js not detected
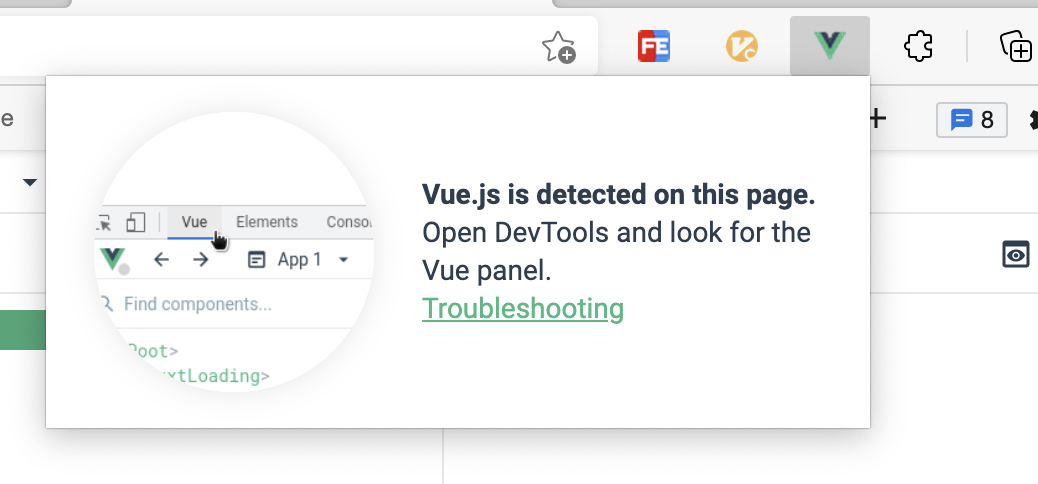
2.3 使用Vue Devtools插件
打开一个vue项目,在浏览器中打开,正常开启如图下所示
- 点击下图中的红框位置,就可以在vscode打开文件所在位置
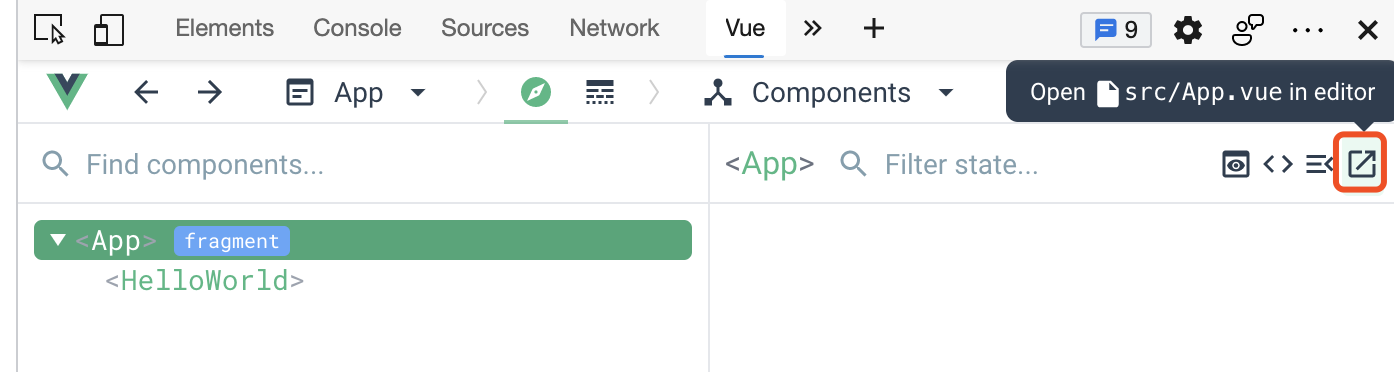
- 如果发现点击后没有任何反应,可以在vscode命令行看到报错

- 上述问题解决方案:
mac 电脑在 VSCode command + shift + p,Windows 则是 ctrl + shift + p。然后输入shell,选择安装code。如下图: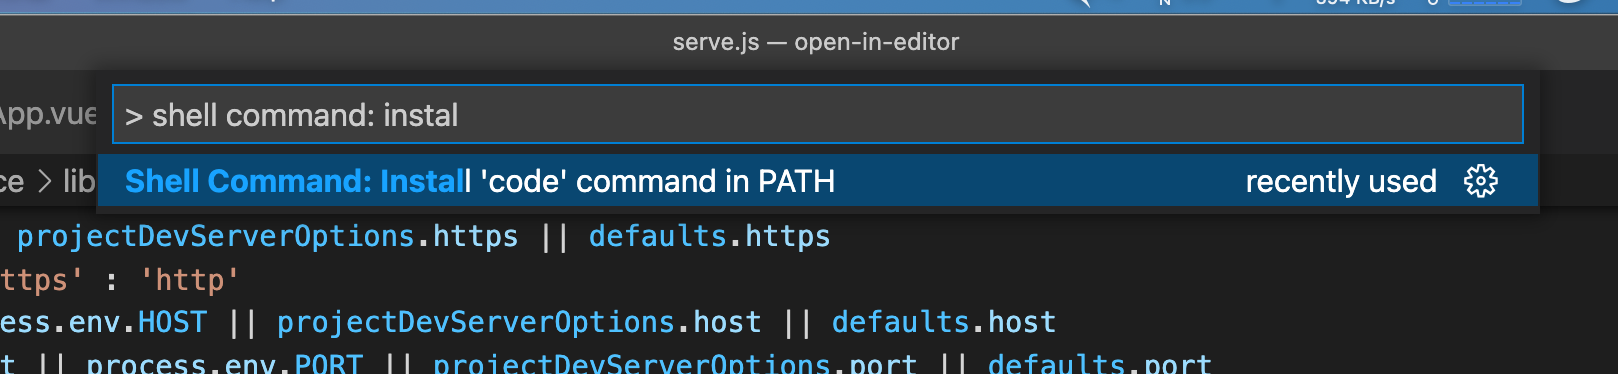
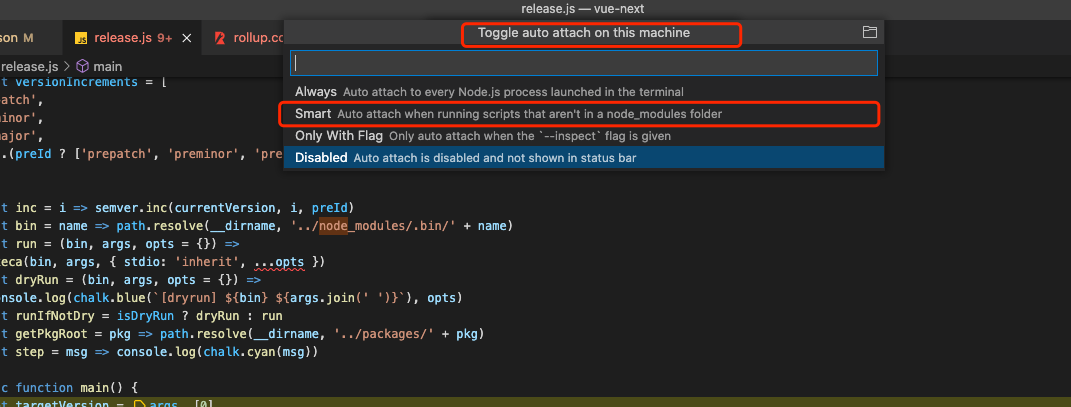
- 如果需要调试node_modules,需要开启auto attach
3. 开始
3.1 查阅Vue Devtools文档
- 通过插件安装详情的说明或者直接在github上搜索可以找到该插件的GitHub地址
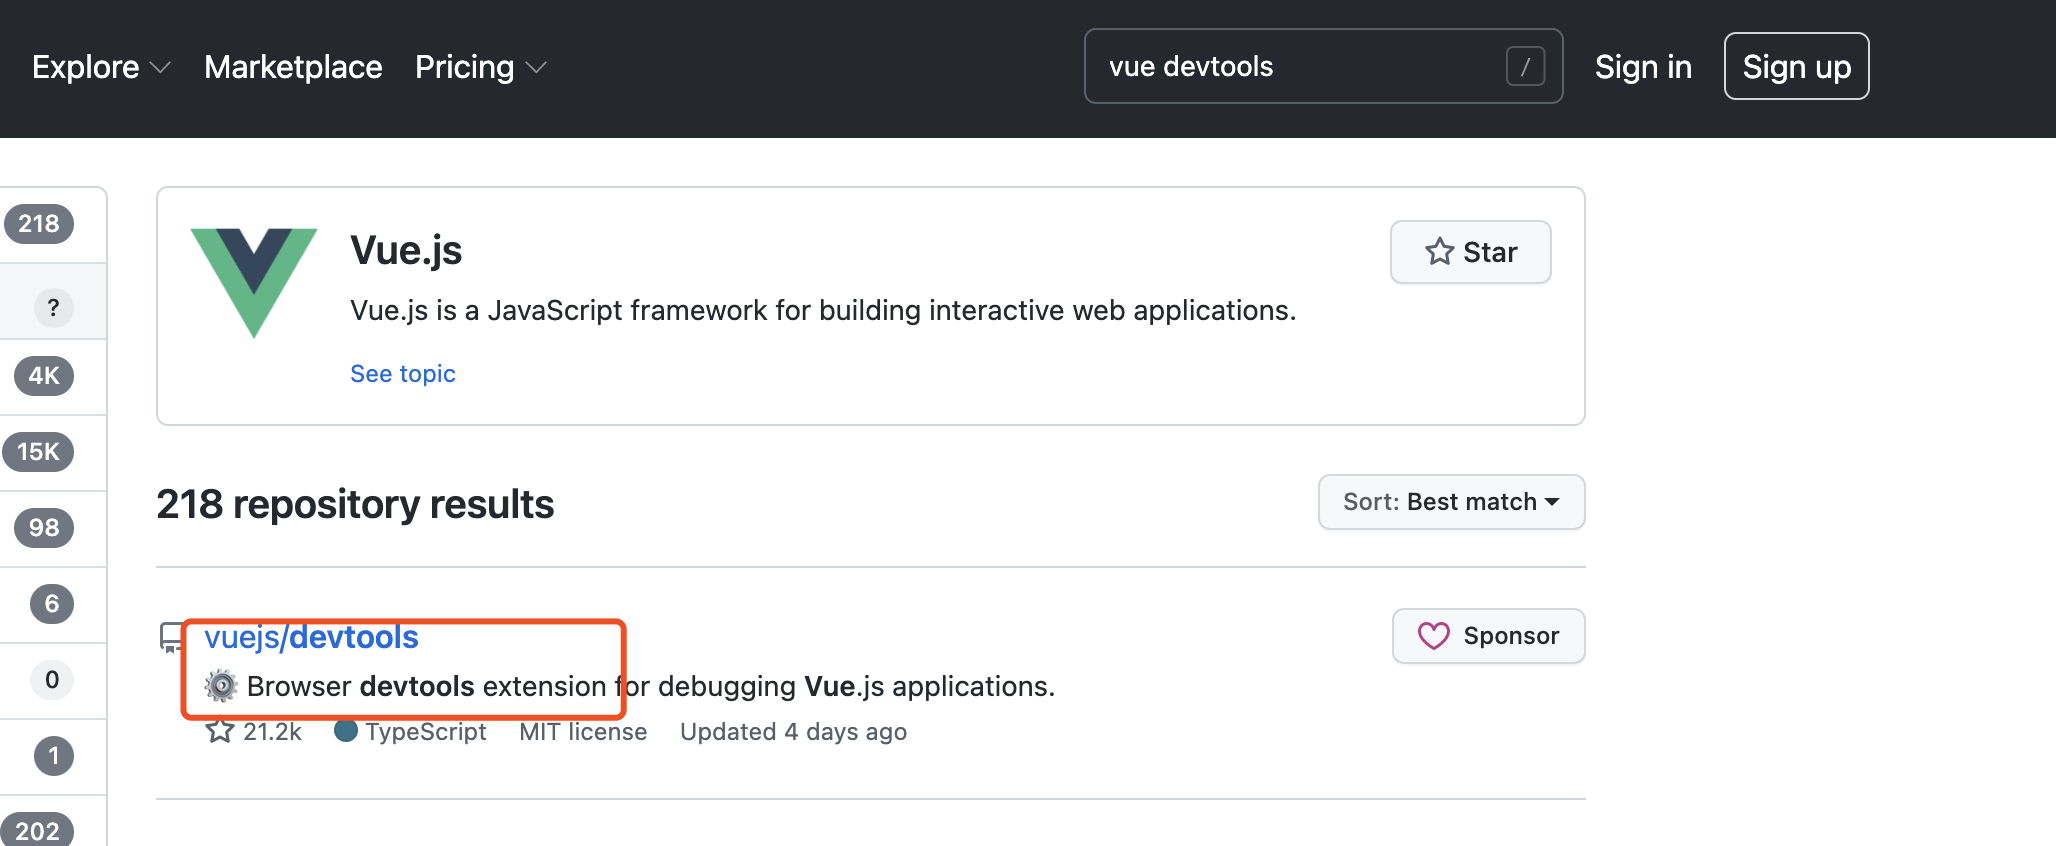
- GitHub上有该插件的使用文档,找到open in editor,里面有webpack相关配置
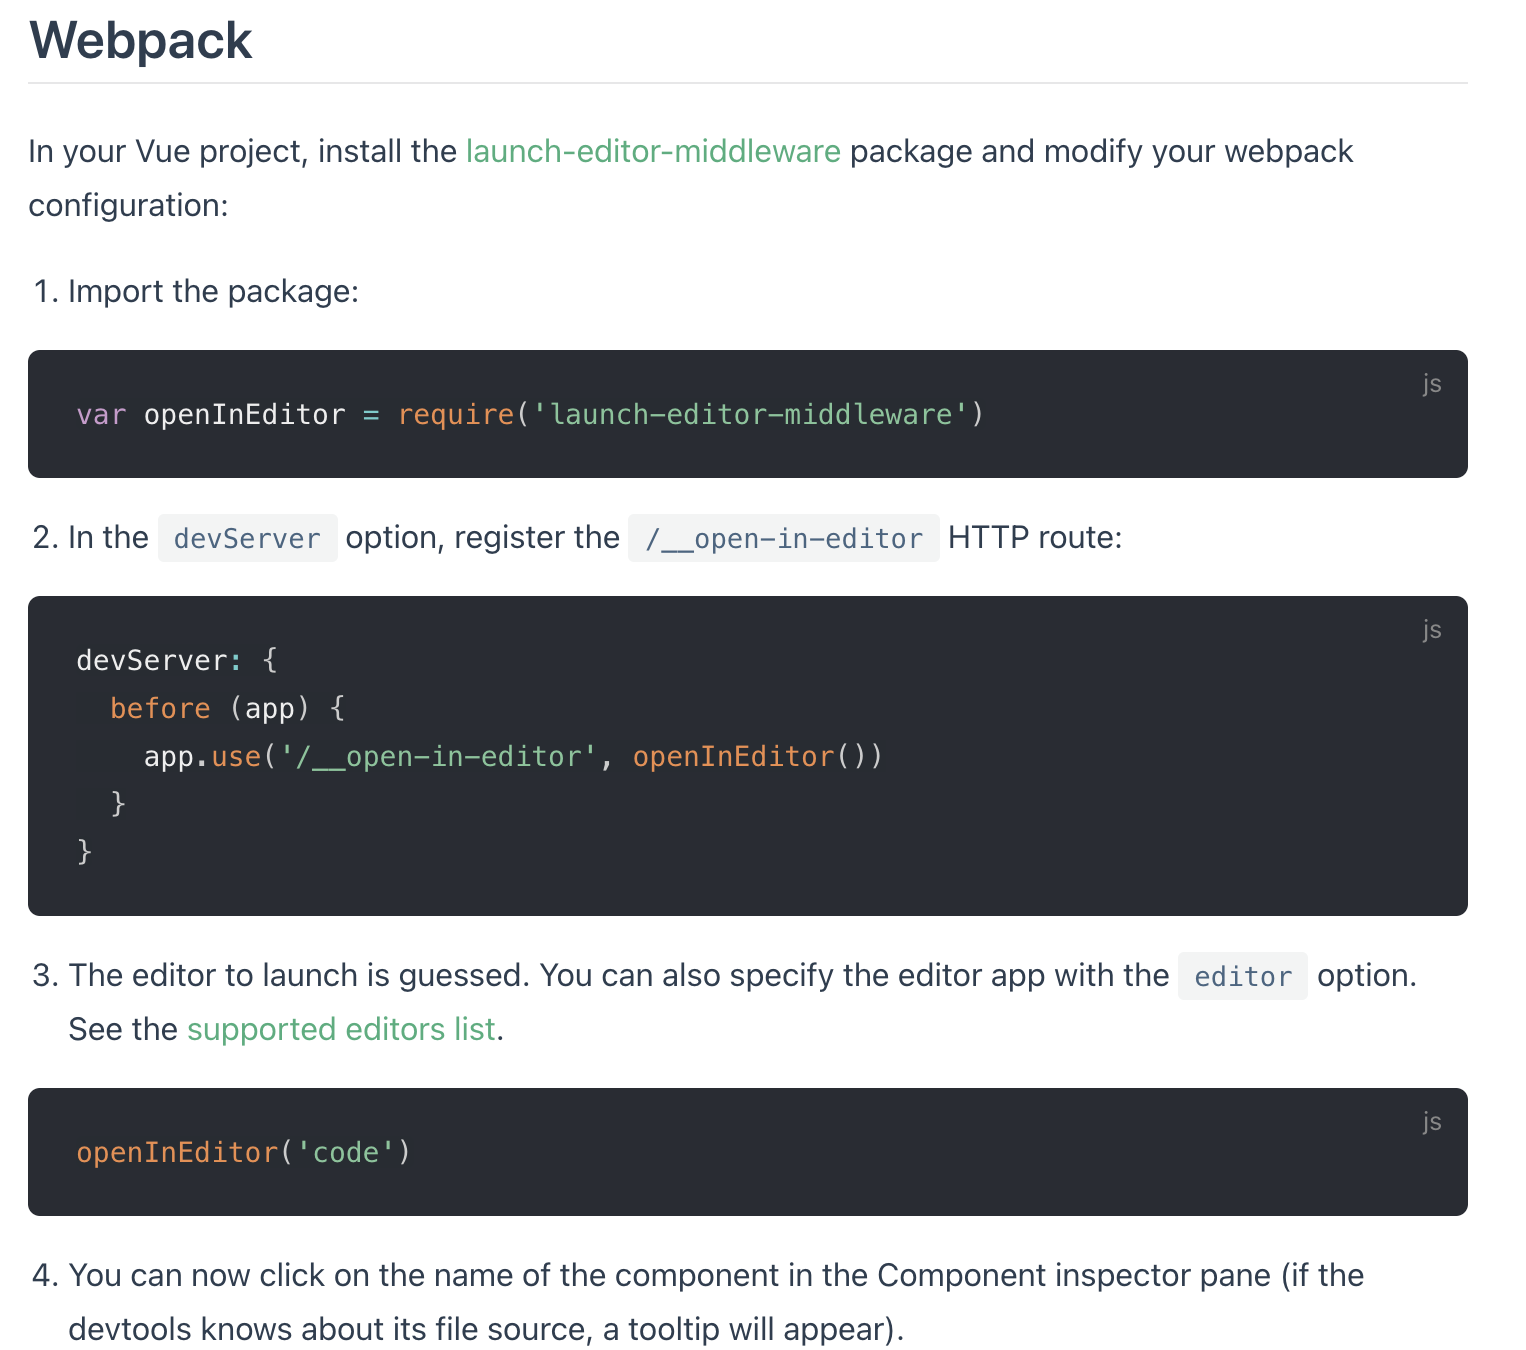
通过上述图片,可以定位到代码,devServer使用了launch-editor-middleware这个中间件
3.2 定位launch-editor-middleware (在vue-cli中)
使用vscode全局搜索, vue3-project/node_modules/@vue/cli-service/lib/commands/serve.js
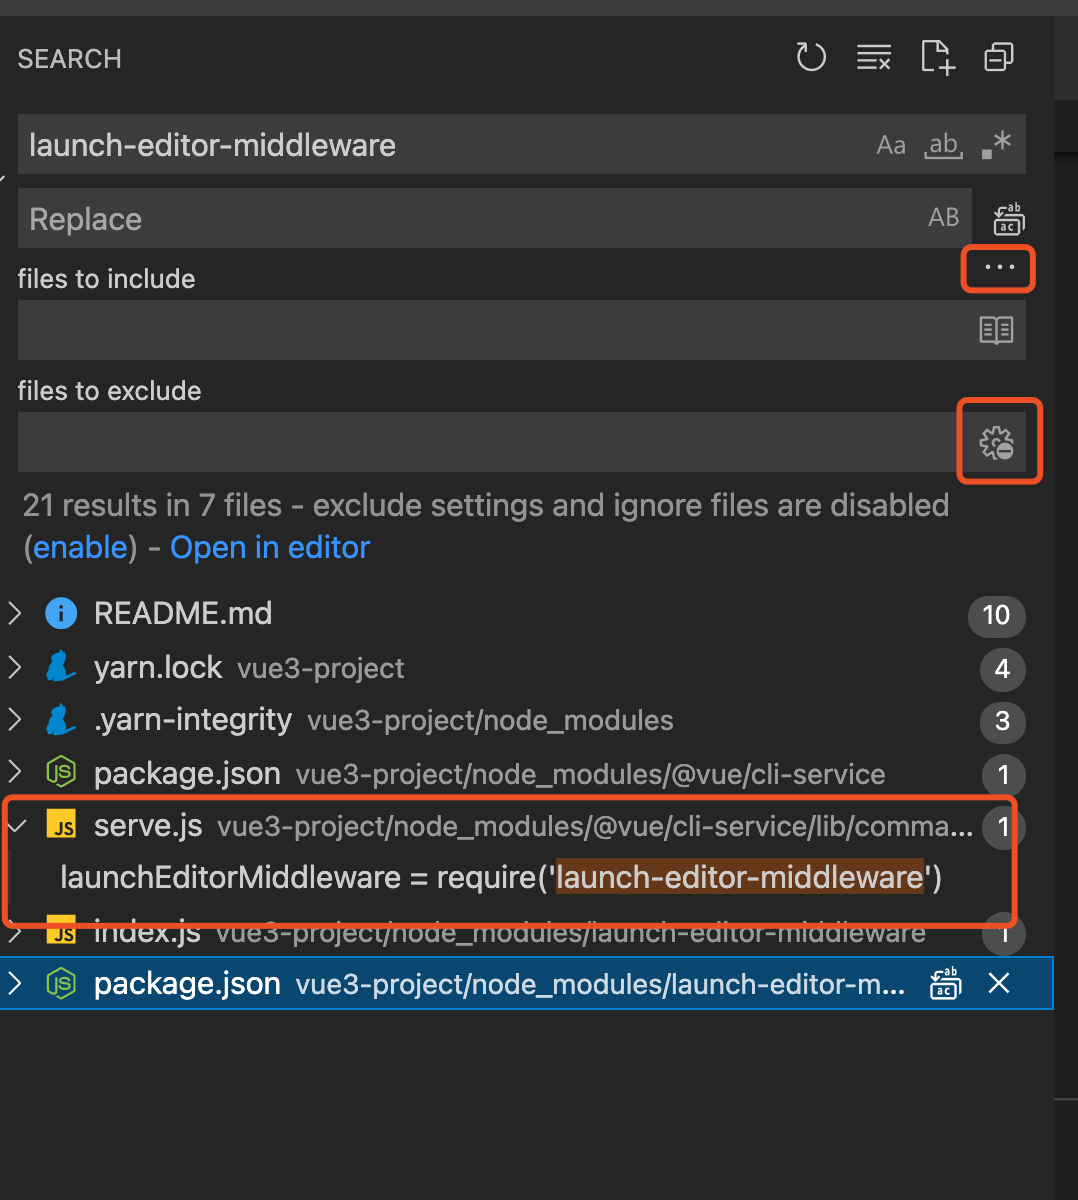
由于中间件的包在node_modules下面,需要将忽略的文件夹放开,
// 文件位置 vue3-project/node_modules/@vue/cli-service/lib/commands/serve.jsconst launchEditorMiddleware = require('launch-editor-middleware')const server = new WebpackDevServer(compiler, Object.assign(// 省略...{before (app, server) {// launch editor support.// this works with vue-devtools & @vue/cli-overlay// 在webpack devServer添加中间件,当匹配路由/__open-in-editor时,调用launchEditorMiddleware函数app.use('/__open-in-editor', launchEditorMiddleware(() => console.log(`To specify an editor, specify the EDITOR env variable or ` +`add "editor" field to your Vue project config.\n`)))}}))
上述代码是webpack devServer的配置,相关文档: WebpackDevServer
devServer.beforeProvides the ability to execute custom middleware prior to all other middleware internally within the server. This could be used to define custom handlers, for example:// 大致意思 在server中提供自定义中间件的能力优先于其他的中间件运行
3.3 launch-editor-middleware源码
const url = require('url')const path = require('path')const launch = require('launch-editor')// 从上一步传入了一个回调函数做console输出module.exports = (specifiedEditor, srcRoot, onErrorCallback) => {// 如果第一个参数是函数,将specifiedEditor 赋值给onErrorCallbackif (typeof specifiedEditor === 'function') {onErrorCallback = specifiedEditorspecifiedEditor = undefined}// 如果第二个参数是函数,srcRoot赋值给onErrorCallbackif (typeof srcRoot === 'function') {onErrorCallback = srcRootsrcRoot = undefined}// 上述两步操作,相当于改写了函数入参,参数不定时,保证了函数赋值给onErrorCallback.// 如果srcRoot是传入的非函数参数,直接使用,否则使用node进程的目录srcRoot = srcRoot || process.cwd()// 返回一个函数,是一个express中间件,return function launchEditorMiddleware (req, res, next) {// 获取url的query参数fileconst { file } = url.parse(req.url, true).query || {}// 不存在,说明没有这个文件if (!file) {res.statusCode = 500res.end(`launch-editor-middleware: required query param "file" is missing.`)} else {// 调用launch函数launch(path.resolve(srcRoot, file), specifiedEditor, onErrorCallback)res.end()}}}
点击 插件的open in editor 按钮,会发送一个http get请求, http://localhost:8080/__open-in-editor?file=src/App.vue, 上面的file变量,就是这里的src/App.vue,path.resolve(srcRoot, file),获取了完整的路径
3.4 launch-editor源码
const fs = require('fs')const os = require('os')const path = require('path')// 命令行日志打印颜色处理const chalk = require('chalk')// 子进程const childProcess = require('child_process')// 猜测编译器const guessEditor = require('./guess')const getArgumentsForPosition = require('./get-args')function wrapErrorCallback (cb) {return (fileName, errorMessage) => {console.log()console.log(chalk.red('Could not open ' + path.basename(fileName) + ' in the editor.'))if (errorMessage) {if (errorMessage[errorMessage.length - 1] !== '.') {errorMessage += '.'}console.log(chalk.red('The editor process exited with an error: ' + errorMessage))}console.log()if (cb) cb(fileName, errorMessage)}}function isTerminalEditor (editor) {switch (editor) {case 'vim':case 'emacs':case 'nano':return true}return false}// 行数和列数清除const positionRE = /:(\d+)(:(\d+))?$/function parseFile (file) {const fileName = file.replace(positionRE, '')const match = file.match(positionRE)const lineNumber = match && match[1]const columnNumber = match && match[3]return {fileName,lineNumber,columnNumber}}let _childProcess = null// 主函数function launchEditor (file, specifiedEditor, onErrorCallback) {// 解析文件路径,拿到文件名,行数,列数const parsed = parseFile(file)let { fileName } = parsedconst { lineNumber, columnNumber } = parsedif (!fs.existsSync(fileName)) {return}// 这里做了和launch-editor-middleware中间件同样的事情if (typeof specifiedEditor === 'function') {onErrorCallback = specifiedEditorspecifiedEditor = undefined}// 包装了一层函数处理onErrorCallback = wrapErrorCallback(onErrorCallback)// 猜测当前进程运行的是哪个编译器,具体内容看下面3.5的内容const [editor, ...args] = guessEditor(specifiedEditor)if (!editor) {onErrorCallback(fileName, null)return}// 判断操作系统,if (process.platform === 'linux' &&fileName.startsWith('/mnt/') &&/Microsoft/i.test(os.release())) {// Assume WSL / "Bash on Ubuntu on Windows" is being used, and// that the file exists on the Windows file system.// `os.release()` is "4.4.0-43-Microsoft" in the current release// build of WSL, see: https://github.com/Microsoft/BashOnWindows/issues/423#issuecomment-221627364// When a Windows editor is specified, interop functionality can// handle the path translation, but only if a relative path is used.// 返回的值是 从a位置,到b位置 http://nodejs.cn/api/path/path_relative_from_to.htmlfileName = path.relative('', fileName)}// 如果有行列数,添加额外的参数if (lineNumber) {const extraArgs = getArgumentsForPosition(editor, fileName, lineNumber, columnNumber)args.push.apply(args, extraArgs)} else {args.push(fileName)}// 如果子进程存在,删除子进程if (_childProcess && isTerminalEditor(editor)) {// There's an existing editor process already and it's attached// to the terminal, so go kill it. Otherwise two separate editor// instances attach to the stdin/stdout which gets confusing._childProcess.kill('SIGKILL')}// windows系统if (process.platform === 'win32') {// On Windows, launch the editor in a shell because spawn can only// launch .exe files.// 运行子进程的编译器_childProcess = childProcess.spawn('cmd.exe',['/C', editor].concat(args),{ stdio: 'inherit' })} else {_childProcess = childProcess.spawn(editor, args, { stdio: 'inherit' })}// 监听进程结束_childProcess.on('exit', function (errorCode) {_childProcess = nullif (errorCode) {onErrorCallback(fileName, '(code ' + errorCode + ')')}})// 监听进程错误_childProcess.on('error', function (error) {onErrorCallback(fileName, error.message)})}module.exports = launchEditor
整个打开编译器的核心, 利用nodejs中child_process,执行类似 code path/to/file 命令
3.5 guessEditor
// 通过系统和进程来判断,如果都匹配不到,通过环境变量env.VISUAL || 通过环境变量env.EDITOR,const path = require('path')const shellQuote = require('shell-quote')const childProcess = require('child_process')// Map from full process name to binary that starts the process// We can't just re-use full process name, because it will spawn a new instance// of the app every timeconst COMMON_EDITORS_OSX = require('./editor-info/osx')const COMMON_EDITORS_LINUX = require('./editor-info/linux')const COMMON_EDITORS_WIN = require('./editor-info/windows')module.exports = function guessEditor (specifiedEditor) {if (specifiedEditor) {return shellQuote.parse(specifiedEditor)}// We can find out which editor is currently running by:// `ps x` on macOS and Linux// `Get-Process` on Windows// 区分操作系统,获取进程,在判断运行的程序try {if (process.platform === 'darwin') {const output = childProcess.execSync('ps x').toString()const processNames = Object.keys(COMMON_EDITORS_OSX)for (let i = 0; i < processNames.length; i++) {const processName = processNames[i]if (output.indexOf(processName) !== -1) {return [COMMON_EDITORS_OSX[processName]]}}} else if (process.platform === 'win32') {const output = childProcess.execSync('powershell -Command "Get-Process | Select-Object Path"', {stdio: ['pipe', 'pipe', 'ignore']}).toString()const runningProcesses = output.split('\r\n')for (let i = 0; i < runningProcesses.length; i++) {// `Get-Process` sometimes returns empty linesif (!runningProcesses[i]) {continue}const fullProcessPath = runningProcesses[i].trim()const shortProcessName = path.basename(fullProcessPath)if (COMMON_EDITORS_WIN.indexOf(shortProcessName) !== -1) {return [fullProcessPath]}}} else if (process.platform === 'linux') {// --no-heading No header line// x List all processes owned by you// -o comm Need only names columnconst output = childProcess.execSync('ps x --no-heading -o comm --sort=comm').toString()const processNames = Object.keys(COMMON_EDITORS_LINUX)for (let i = 0; i < processNames.length; i++) {const processName = processNames[i]if (output.indexOf(processName) !== -1) {return [COMMON_EDITORS_LINUX[processName]]}}}} catch (error) {// Ignore...}// 如果没有匹配到上面的,可以获取环境变量env.VISUAL || env.EDITOR// Last resort, use old skool env varsif (process.env.VISUAL) {return [process.env.VISUAL]} else if (process.env.EDITOR) {return [process.env.EDITOR]}return [null]}
4. 总结
- 感谢若川大佬的源码共读活动,从这次活动学到源码阅读的方法和代码断点调试
打开组件文件位置的核心代码其实很简单,就是通过node子进程执行下面的shell命令
code path/filename
参考文档
- Vue Devtools: 官方文档
- webpack devServer文档: WebpackDevServer
- github 源码 Vue Devtools
- react类似插件 react-dev-inspector
- launch-editor
- nvs

若有收获,就点个赞吧
0 人点赞
