此处默认已安装Prometheus服务,服务地址:192.168.56.200
一、设置企业微信
1.1、企业微信注册(已有企业微信账号请跳过)
企业微信注册地址:https://work.weixin.qq.com/
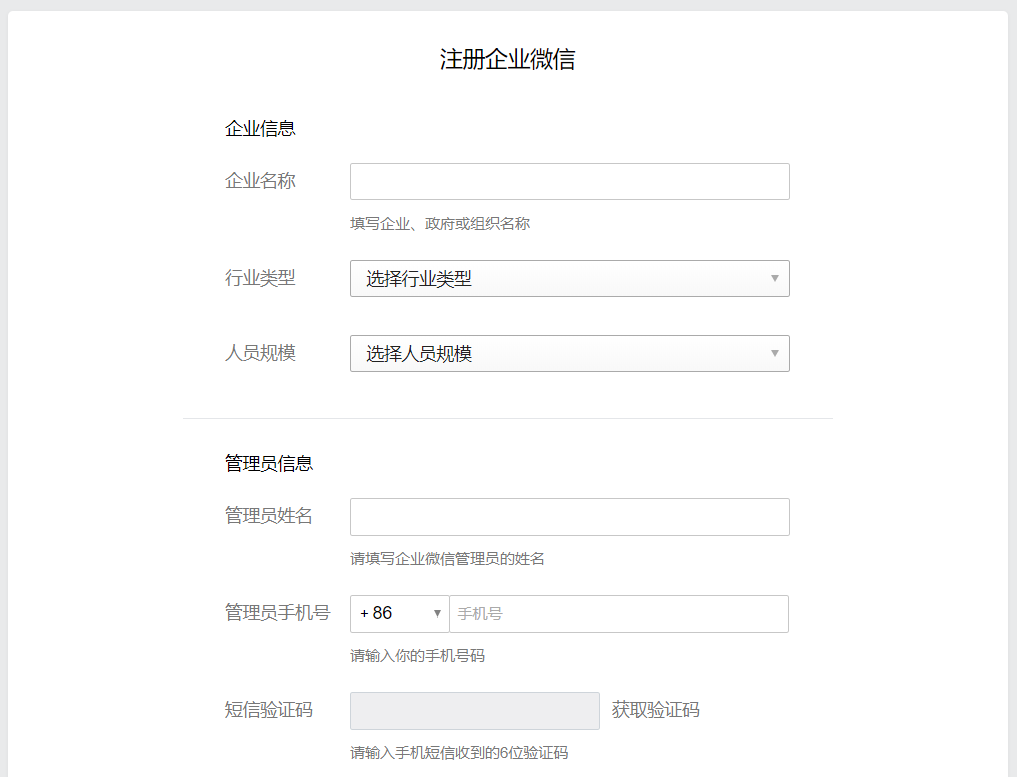
按照要求填写相应信息,注册企业微信
1.2 、创建自建应用
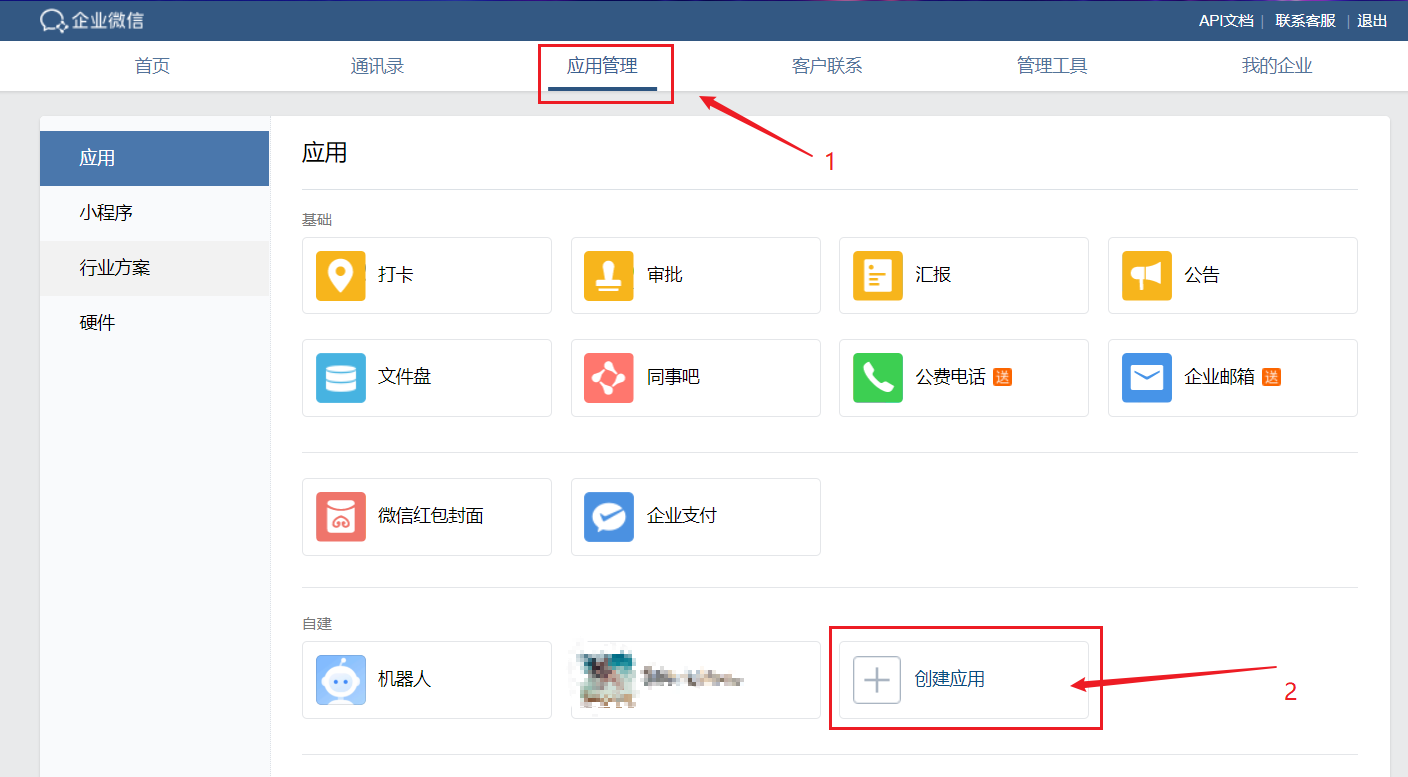
企业微信注册完成后,登录进去,点击上方导航条中的【应用管理】按钮,切换到应用管理页面。
然后选择【创建应用】,创建用于接收Alertmanager告警信息的自建应用
填写应用名称等信息,创建应用。创建应用后,记录应用的 AgentId 和 Secret 以备后用
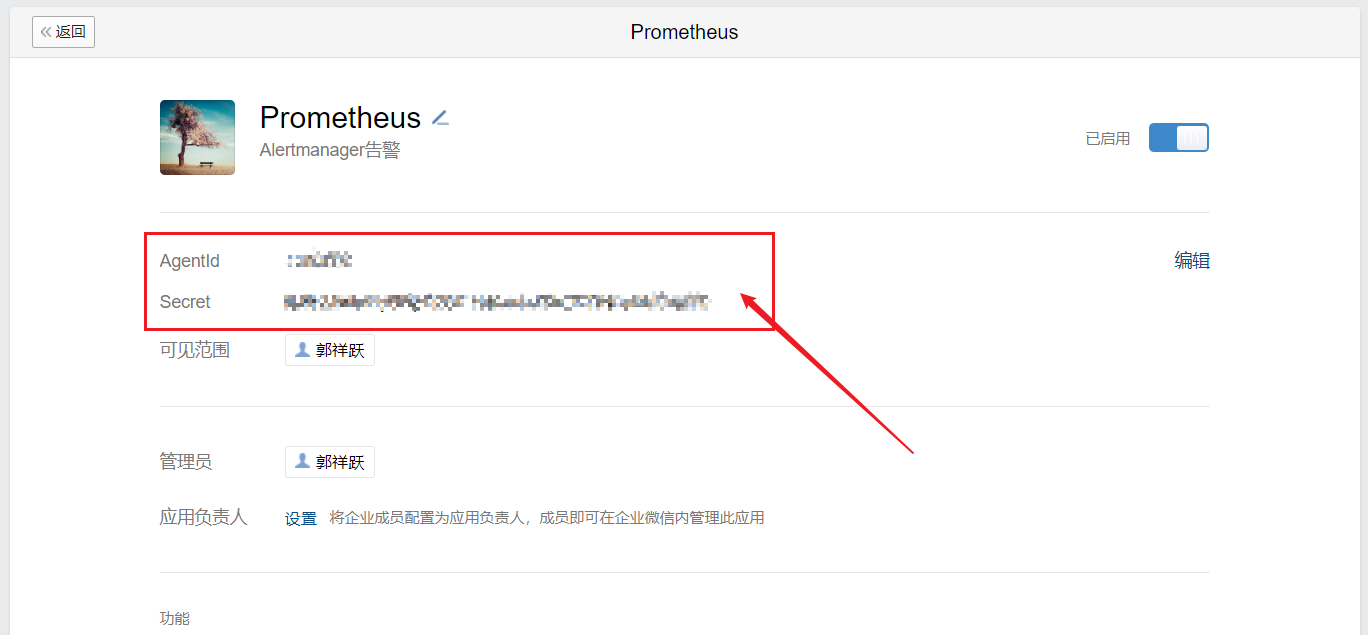
注意注意:上图的可见范围一定要加上你要通知的企业微信成员,不然也收不到通知
然后点击上方导航条中的【我的企业】按钮,在页面最下方查看企业ID 并记录,以备后用。


二、安装Alertmanager
已安装过的忽略
此处采用源码编译的方式安装。首先下载alertmanager的软件包,下载地址:https://github.com/prometheus/alertmanager/releases/download/v0.19.0/alertmanager-0.19.0.linux-amd64.tar.gz
下载完成后,将下载中软件包上传至Prometheus服务所在的机器(192.168.56.200)的 /usr/local 目录下

解压alertmanager软件包:
# tar -zvxf alertmanager-0.19.0.linux-amd64.tar.gz# mv alertmanager-0.19.0.linux-amd64/ alertmanager
进入解压后的alertmanager文件夹,修改alertmanager.yml文件,配置报警信息,alertmanager.yml 内容如下:
global:resolve_timeout: 5mtemplates: #告警模板- './template/test.tmpl'route: # 设置报警分发策略group_by: ['alertname'] # 分组标签group_wait: 10s # 告警等待时间。告警产生后等待10s,如果有同组告警一起发出group_interval: 10s # 两组告警的间隔时间repeat_interval: 1m # 重复告警的间隔时间,减少相同右键的发送频率 此处为测试设置为1分钟receiver: 'wechat' # 默认接收者receivers:- name: 'wechat'wechat_configs:- send_resolved: trueagent_id: '1000002' # 自建应用的agentIdto_user: '*****' # 接收告警消息的人员Idapi_secret: '******' # 自建应用的secretcorp_id: '******' # 企业ID#inhibit_rules:# - source_match:# severity: 'critical'# target_match:# severity: 'warning'# equal: ['alertname', 'dev', 'instance']
创建告警模板
进入Alertmanager安装文件夹,创建告警模板文件
# cd /usr/local/alertmanager# mkdir template# cd template/# vim test.tmpl
将以下内容写入文件当中
 ;)
;)
{{ define "wechat.default.message" }}{{ range .Alerts }}========监控报警==========告警状态:{{ .Status }}告警级别:{{ .Labels.severity }}告警类型:{{ .Labels.alertname }}告警应用:{{ .Annotations.summary }}告警主机:{{ .Labels.instance }}告警详情:{{ .Annotations.description }}触发阀值:{{ .Annotations.value }}告警时间:{{ .StartsAt.Format "2006-01-02 15:04:05" }} ========end============= {{ end }} {{ end }}
;)
检查alertmanager.yml 配置是否正确
# cd /usr/local/alertmanager# ./amtool check-config alertmanager.yml
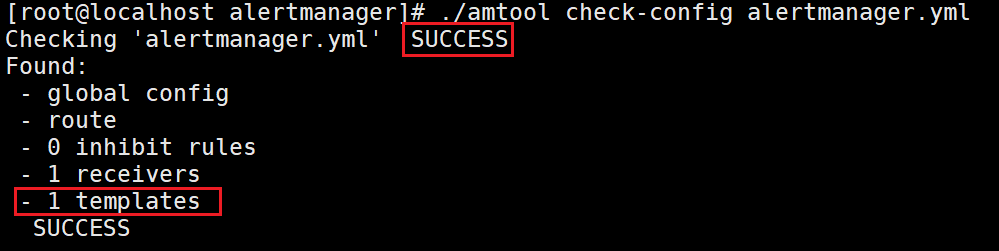
配置正确,模板文件也已经识别
启动alertmanager
# ./alertmanager
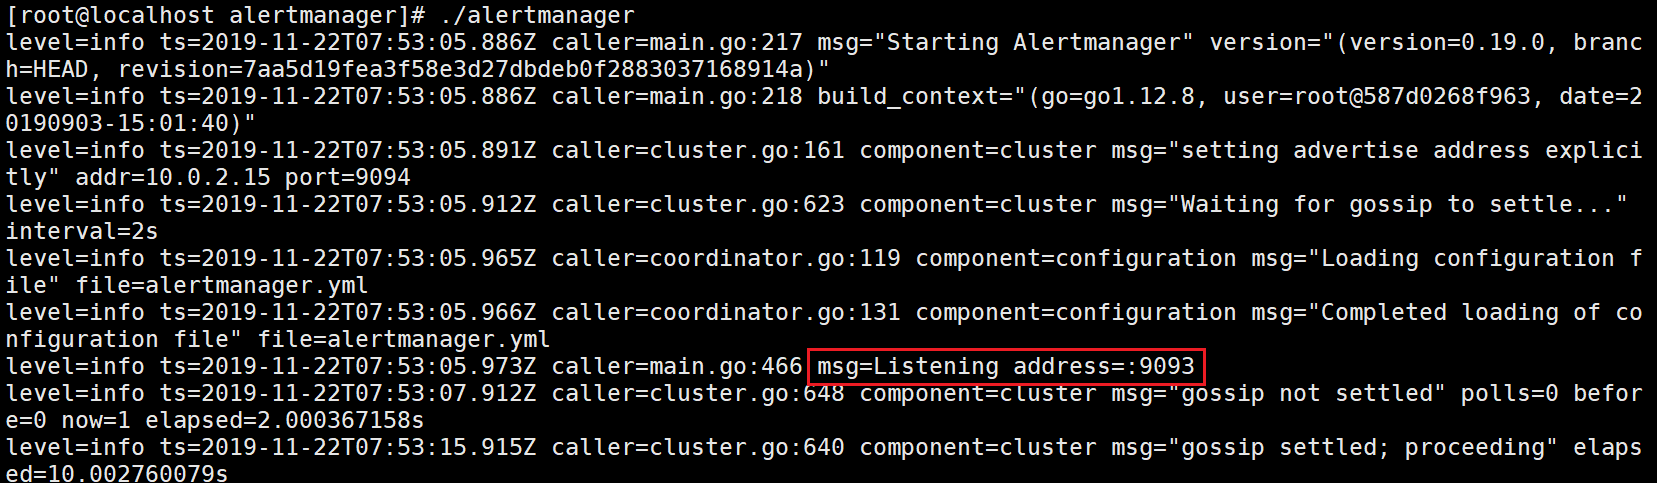
可以看到alertmanager服务已经起来,服务所在的端口为9093
浏览器访问: http://192.168.56.200:9093 (IP:9093)
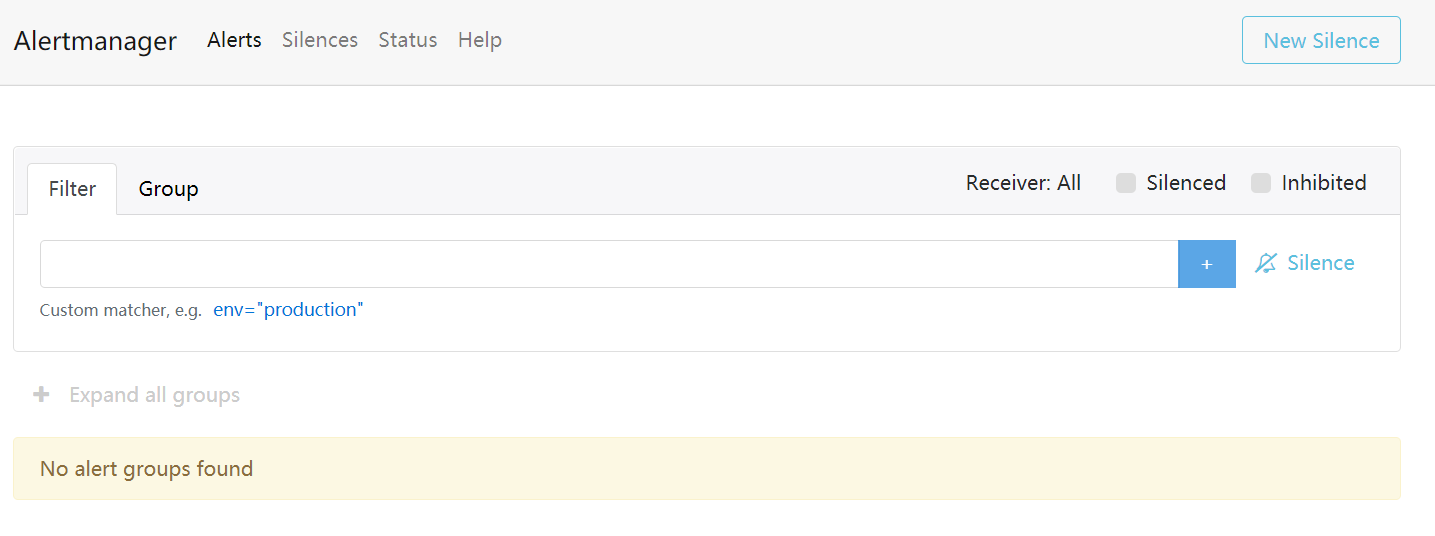
alertmanager成功启动。
三、配置Prometheus
Ctrl+C 结束掉alertmanager服务进程,进入Prometheus的安装目录下修改Prometheus配置。
# cd /usr/local/prometheus# vim prometheus.yml
修改Prometheus.yml文件中的 alerting 配置项及rule_files配置项
alerting:alertmanagers:- static_configs:- targets: ['localhost:9093']
rule_files: #配置告警规则
- “rule.yml”
修改完成后保存退出
以下是Prometheus.yml 文件全部内容:
# my global configglobal:scrape_interval: 15s # Set the scrape interval to every 15 seconds. Default is every 1 minute.evaluation_interval: 15s # Evaluate rules every 15 seconds. The default is every 1 minute.# scrape_timeout is set to the global default (10s).# Alertmanager configurationalerting:alertmanagers:- static_configs:- targets: ['localhost:9093']# - alertmanager:9093# Load rules once and periodically evaluate them according to the global 'evaluation_interval'.rule_files:- "rule.yml"# - "first_rules.yml"# - "second_rules.yml"# A scrape configuration containing exactly one endpoint to scrape:# Here it's Prometheus itself.scrape_configs:# The job name is added as a label `job=<job_name>` to any timeseries scraped from this config.- job_name: 'prometheus'# metrics_path defaults to '/metrics'# scheme defaults to 'http'.static_configs:- targets: ['localhost:9090']- job_name: 'Linux'static_configs:- targets: ['192.168.56.201:9100']
创建并编写告警规则文件rule.yml
# vim rule.yml
将以下内容写入文件当中,(此处用于测试,设置为当内存占用高于10%时,就会告警)
groups:- name: mem-rulerules:- alert: "内存报警"expr: (node_memory_MemTotal_bytes - (node_memory_MemFree_bytes+node_memory_Buffers_bytes+node_memory_Cached_bytes )) / node_memory_MemTotal_bytes * 100 > 10for: 30slabels:severity: warningannotations:summary: "服务名:{{$labels.alertname}} 内存报警"description: "{{ $labels.alertname }} 内存资源利用率大于 10%"value: "{{ $value }}"
保存退出
四、告警检测
重启Prometheus服务,使配置的告警规则生效
# systemctl restart prometheus
进入alertmanager的安装文件夹,启动alertmanager
# cd /usr/local/alertmanager# ./alertmanager
稍等片刻,登录企业微信,可以看到已经接收到告警信息

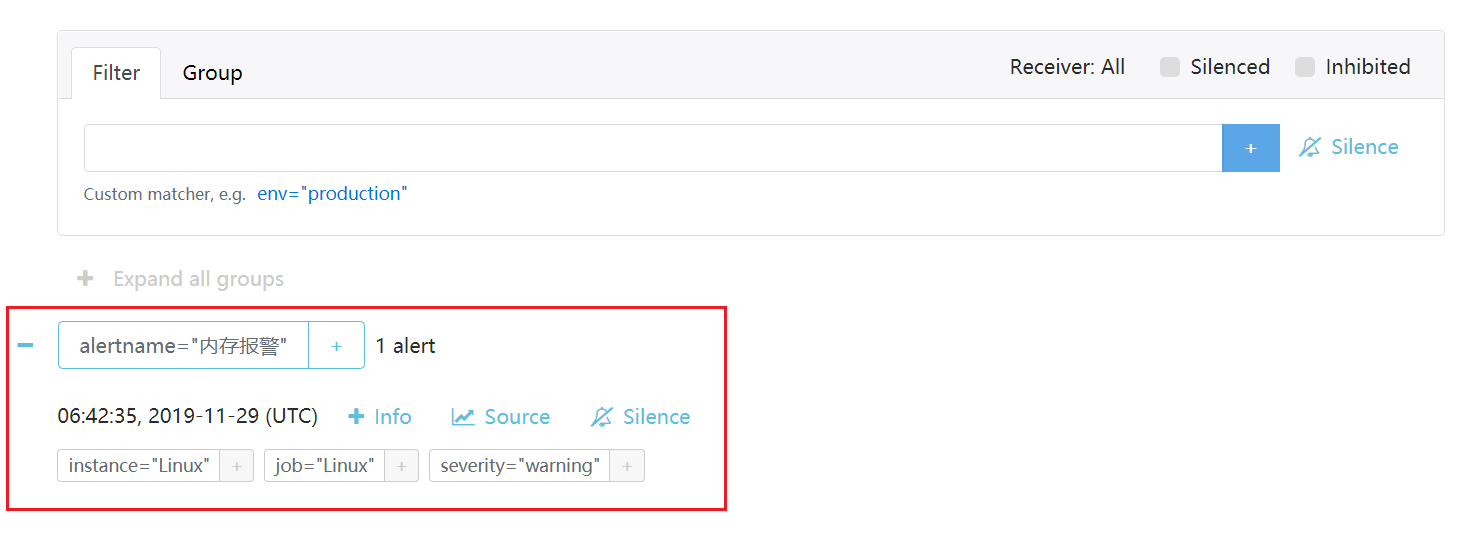
浏览器访问 http://192.168.56.200:9093/#/alerts ,也能看到告警信息
五、配置alertmanager服务开机自启
已配置的忽略
Ctrl+C 结束掉 alertmanager 服务进程,创建 alertmanager服务,让 alertmanager 以服务的方式,开机自启。
添加系统服务
# vim /etc/systemd/system/alertmanager.service
将以下内容写入文件中
[Unit]Description=alertmanagerAfter=network.target[Service]WorkingDirectory=/usr/local/alertmanagerExecStart=/usr/local/alertmanager/alertmanager --config.file=alertmanager.yml --log.level=debug --log.format=jsonRestart=on-failure[Install]WantedBy=multi-user.target
保存退出
启动服务,设置开机自启
# systemctl daemon-reload# systemctl enable alertmanager# systemctl start alertmanager
至此Prometheus+alertmanage配置企业微信报警完成。

若有收获,就点个赞吧
0 人点赞
