一、注册npm账号
前往 Npm官网地址 注册一个账号
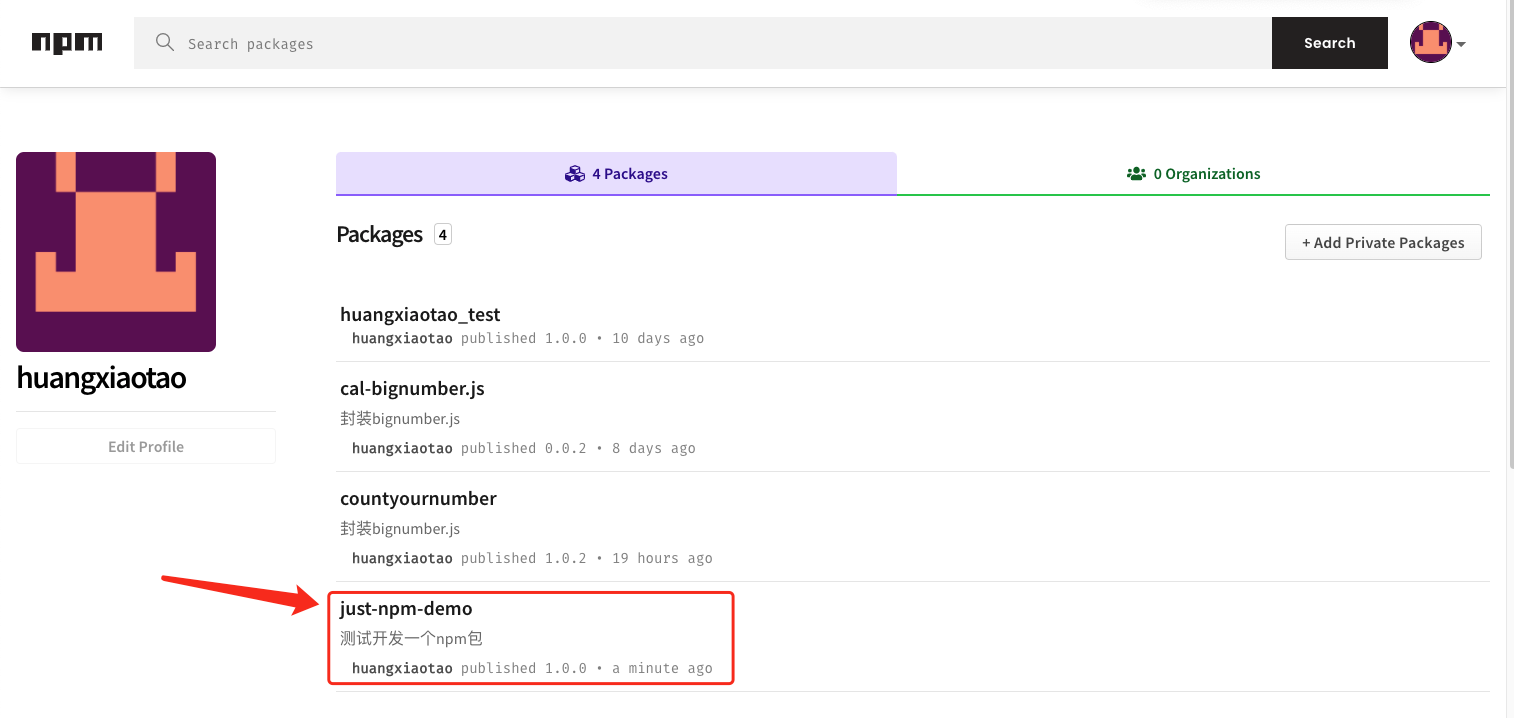
二、制作npm包
- 确定npm包名字,可以使用 npm search xxx 来判断 ```powershell — 未占用 npm search just-npm-demo No matches found for “just-npm-demo”
— 已占用
npm search countyournumber
NAME | DESCRIPTION | AUTHOR | DATE
countyournumber | 封装bignumber.js | =huangxiaotao | 2021-11-16 |
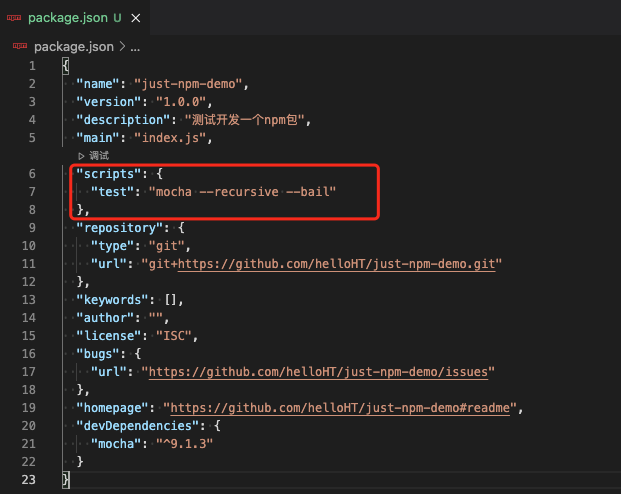
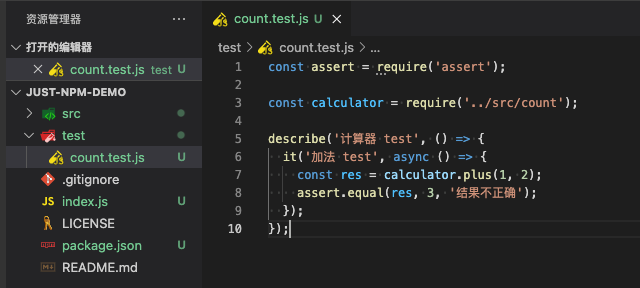
2. 在github建立一个仓库,以 just-npm-demo 为例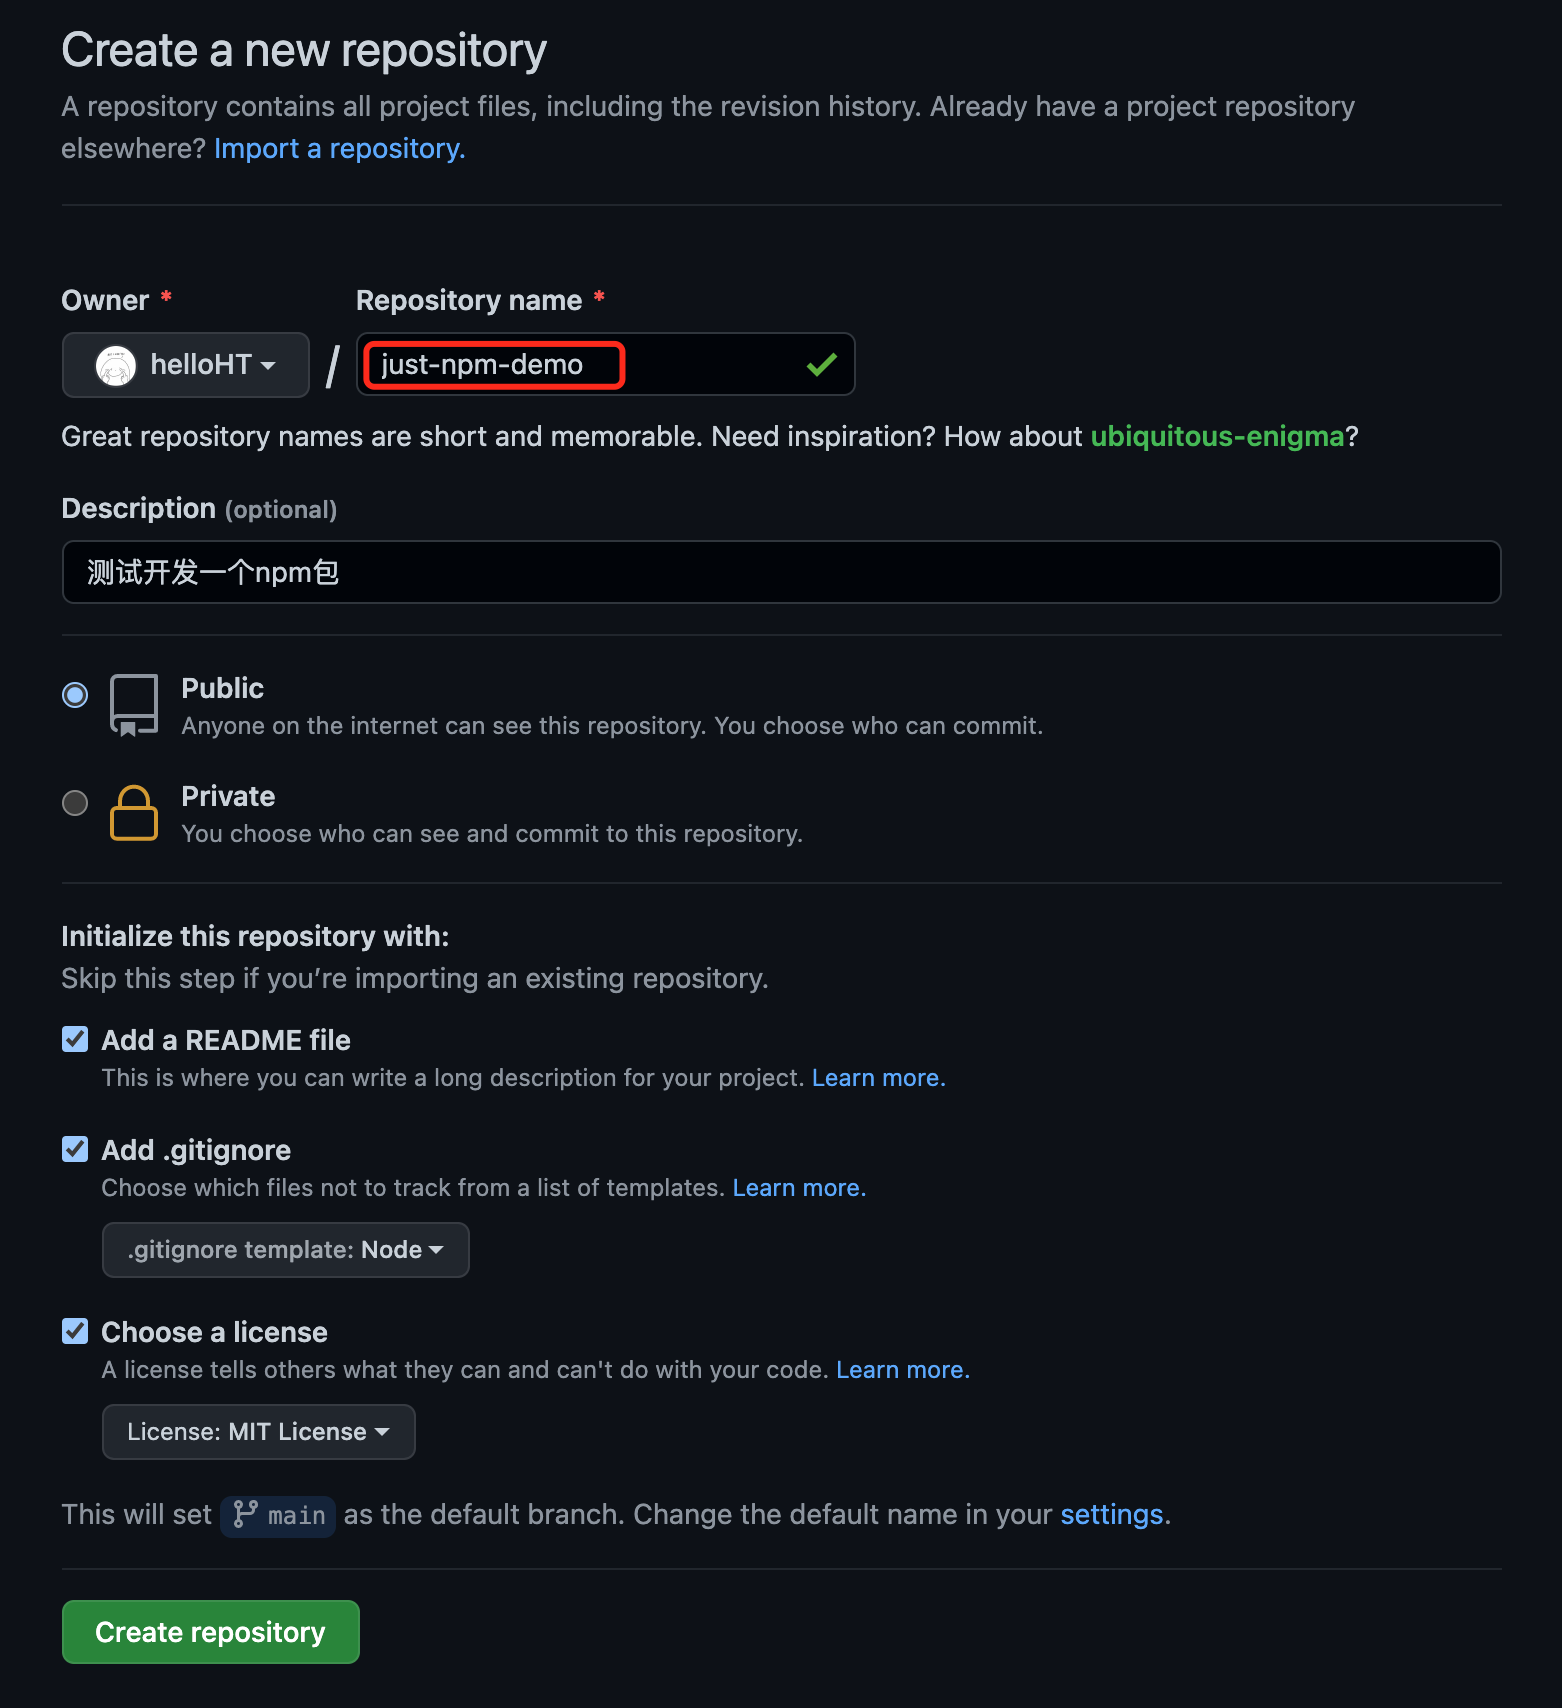3. clone仓库到本地,再 npm init -y 快速创建 package.json,并创建 index.js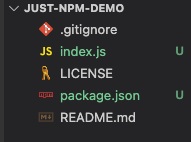4. 简单编写一些代码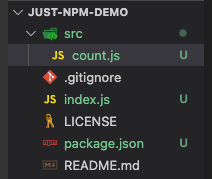<br />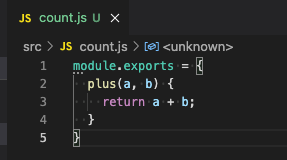<br />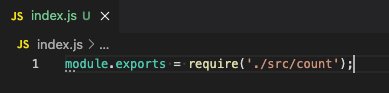5. 编写测试```powershellcnpm install mocha -D
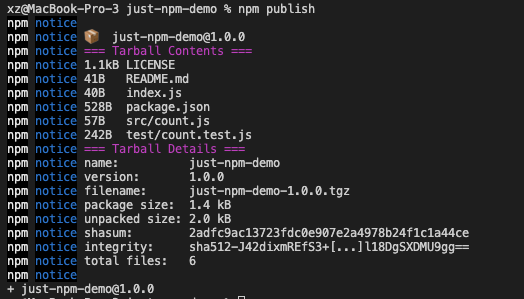
- 发布到npm
npm publish
三、通过Github Actions自动发包到npm
- 将代码推送到github
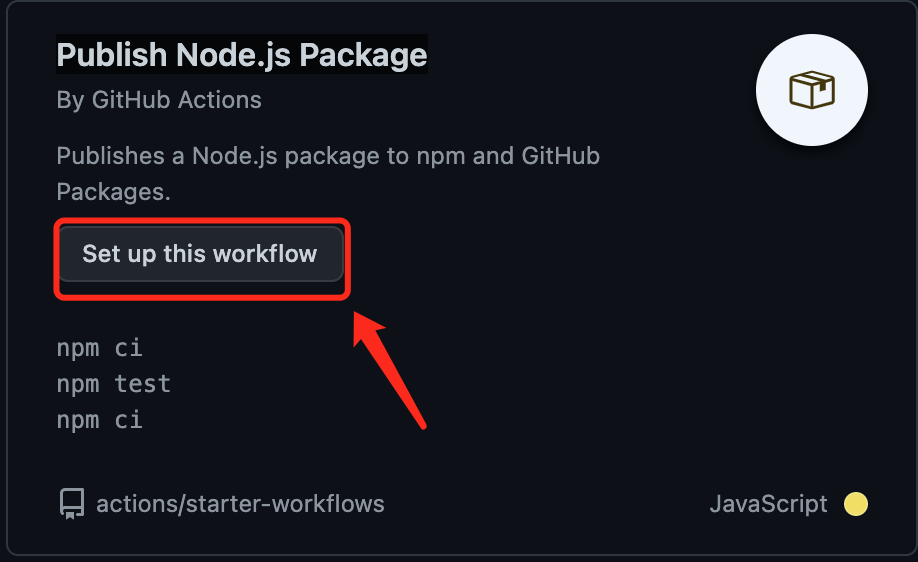
- 到actions中找到 Publish Node.js Package
- 修改npm-publish.yml文件 ```yaml name: Node.js Package
on: push: branches:
- main
jobs: publish-npm: runs-on: ubuntu-latest steps:
- uses: actions/checkout@v2- uses: actions/setup-node@v2with:node-version: 14registry-url: https://registry.npmjs.org/- run: npm install- run: npm run test- run: npm publishenv:NODE_AUTH_TOKEN: ${{secrets.npm_token}}
```
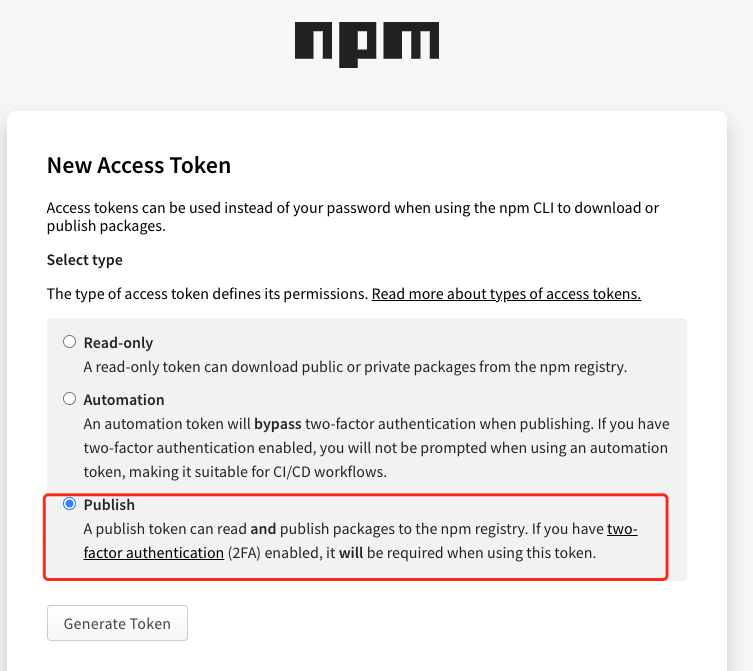
- 在npm官网获取token

- 将npm生成的token设置到仓库中

Name填 npm-publish.yml文件中的 npm_token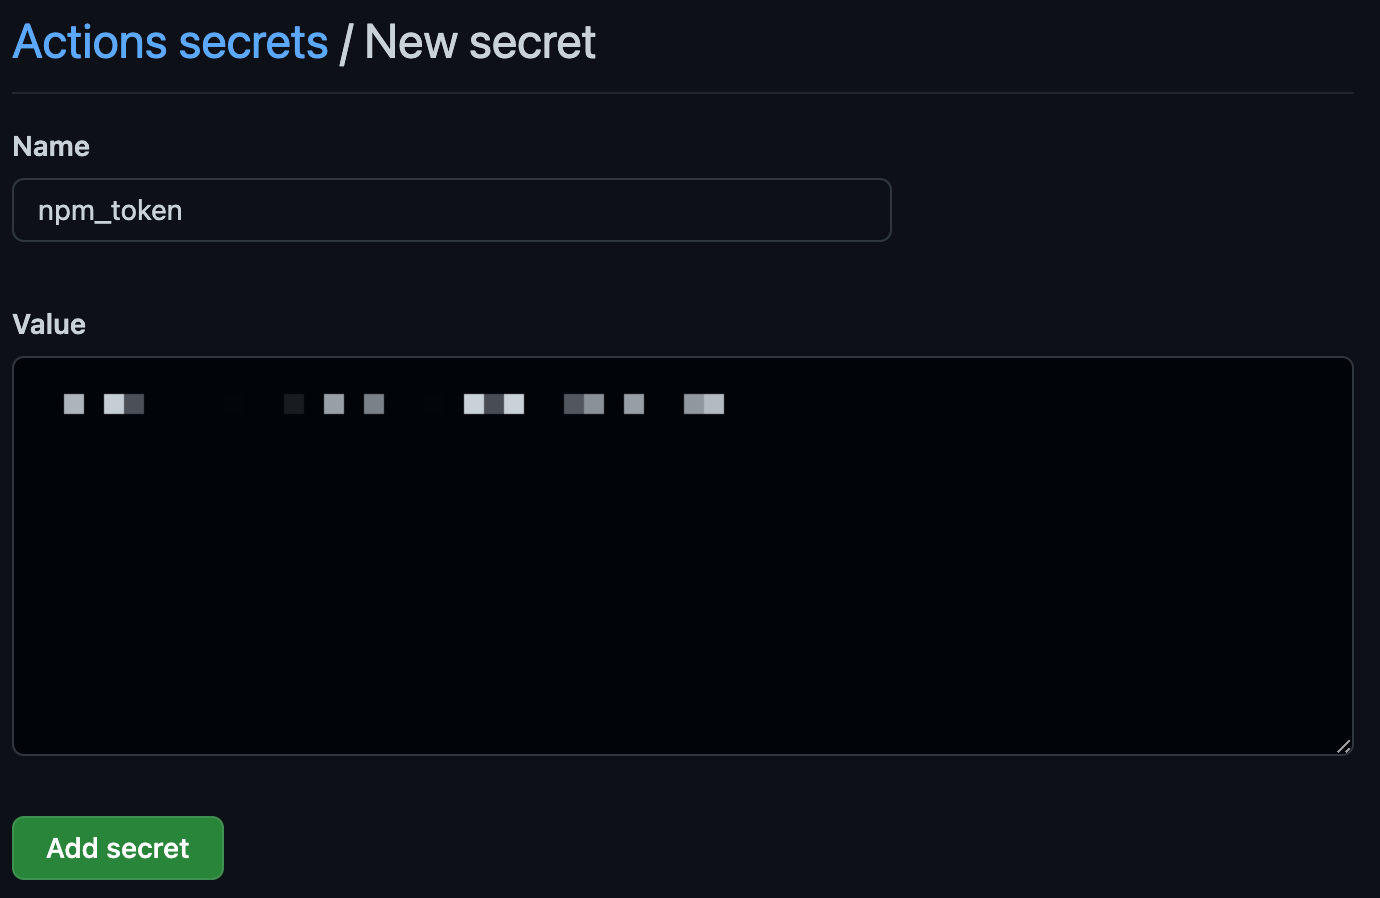
- 至此只要再次往main分支推送代码,github就会自动将包发布到npm
参考链接
Github Actions实现Npm包自动化发布
Github 持续化集成 工作流 Npm包自动化发布
github actions 简易入门及自动部署博客实践

若有收获,就点个赞吧
0 人点赞
