HTTP协议
curl-v
$ curl -s -v 网址- -s 是silent,用于隐藏进度条
- -v 是verbose,用于打印全部header
- 开头的是注释
开头的是HTTP请求
- < 开头的是HTTP响应
- example
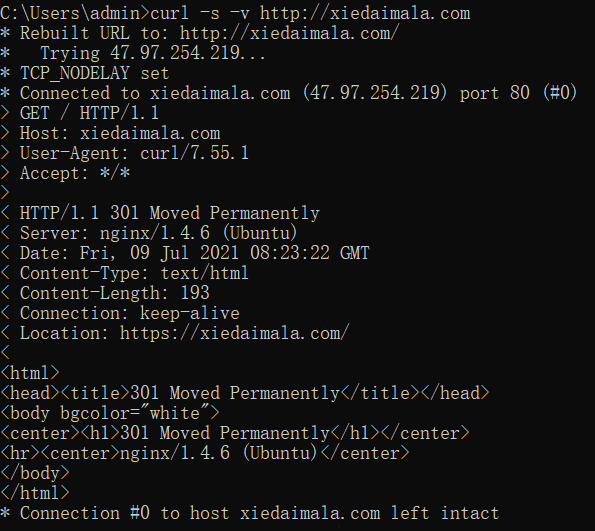
$ curl -s -v http://xiedaimala.com=>得到301和Location,于是重新请求(-L 自动重定向)
$ curl -s -o null -v https://xiedaimala.com
- 如果请求体的内容为JSON
- 那么请求头就要有 Content-Type:application/json
-
响应
HTTP/1.1 301 Moved Permanently 状态行
Content-Type:text/html 响应头
Content-Length:193
Location:https://xiedaimala.com/
回车
<!DOCTYPE html> 响应体/消息体
…
… 如果响应体的内容为JSON
那么响应头就要有 Content-Type:application/json
HTTP的复杂性
HTTP复杂就复杂在很多请求头和响应头
- 每个请求头或响应头各不相同
Web框架
功能
- 更方便地处理HTTP请求与响应
- 更方便地连接数据库、Redis
- 更方便的路由
-
理念
Web框架的主流思路都是MVC
- Model处理数据相关逻辑
- View处理视图相关逻辑,前后分离之后,View不重要
- Controller负责其他逻辑

处理HTTP请求和响应
最简单的封装
- 将请求封装为
[['get','/xxx'],{请求头},'请求体'] -
Node.js的封装
封装在http模块中
- 使用request(IncomingMessage的实例)读取请求
使用response(ServerResponse的实例)设置响应
Express的封装
封装级别高一点点,只需理解Express的编程模型即可
- Express
Express-demo-1
初始化
$ yarn add express
- app.js ```javascript const express = require(‘express’) const app = express() const port = 3000
app.get(‘/‘, (req, res) => { res.send(‘Hello World!’) })
app.listen(port=3000, () => {
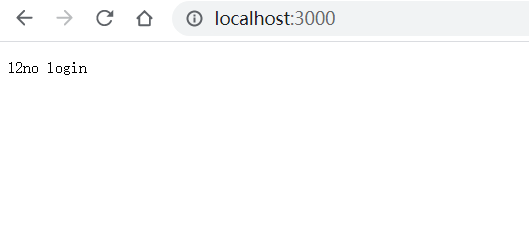
console.log(Example app listening at http://localhost:${port})
})
<br /><a name="eHgx8"></a>## 使用TypeScript安装全局工具<br />`$ yarn global add typescript ts-node ts-node-dev`<br />安装类型支持<br />`$ yarn add @types/express`创建app2.ts,内容和app.js一样即可初始化ts<br />`$ tsc --init`<br /><br />打开tsconfig.json- 把es5改成es2016(也就是es6)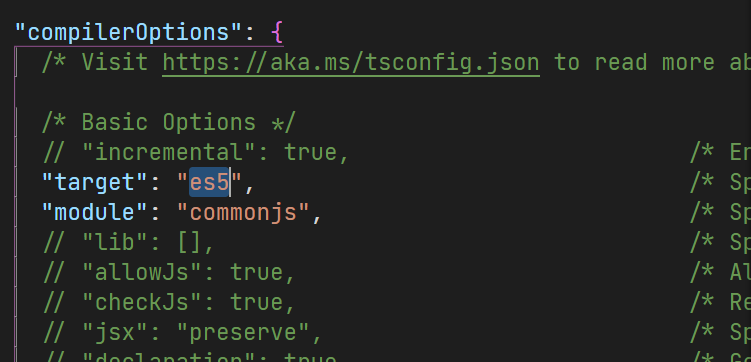<br />- 没有隐式any打开<br />- require改为import```typescriptimport express from 'express'const app = express()const port = 3000app.get('/', (req, res) => {console.log(req)res.send('你好!')})app.listen(port, () => {console.log(`Example app listening at http://localhost:${port}`)})
- 运行

app对象的类型
类型为Express接口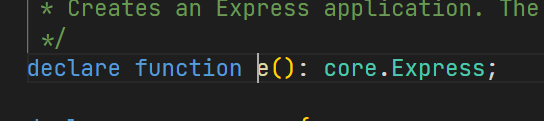
Express extends Application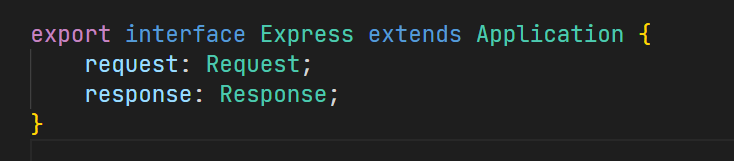
Applicetion extends EventEmitter,Irouter……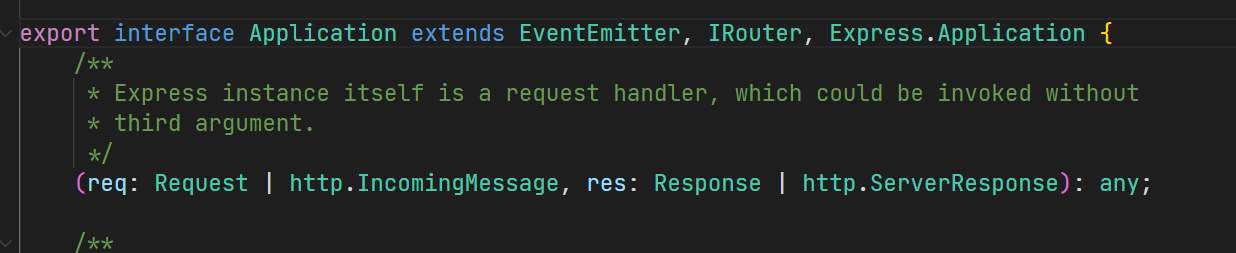
其中Irouter包含了get/post/put等方法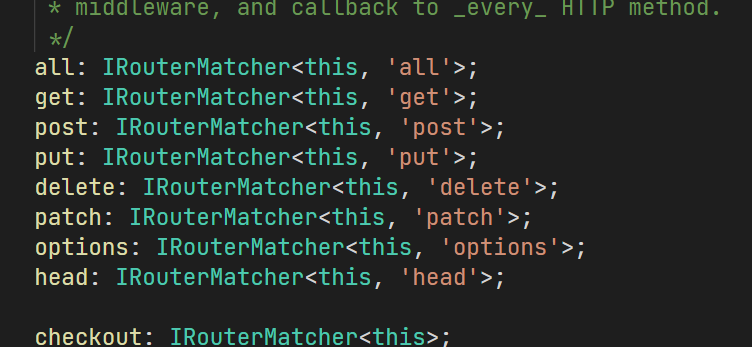
Express脚手架
express-generator
安装$ yarn global add express-generator
使用$ express -h 查看帮助$ express --view=ejs . 创建文件,点表示当前目录。会覆盖文件,所以重新安装@types/express$ yarn start 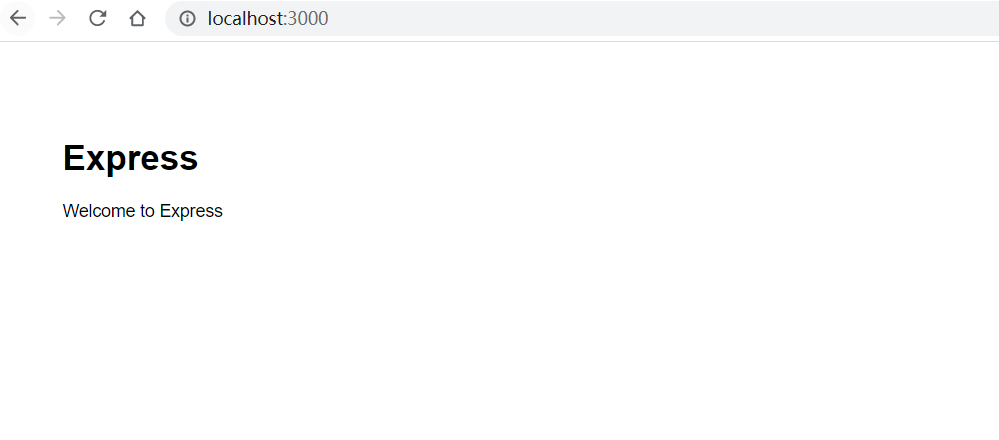
express-demo-2
改为TypeScript
- 把app.js复制到app.ts
$ yarn add @types/node--dev这样才能使用- 用import代替require
- 用const代替var
- 需RequestHandler和ErrorRequestHandler断言
- 将bin/www中的入口改为app.ts

- 添加start:ts脚本,将node改为ts-node

app.use与Express编程模型
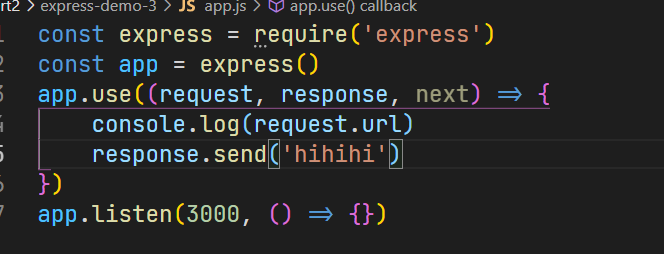
app.use()
- 尝试使用req.url和res.send

- 多次使用会报错
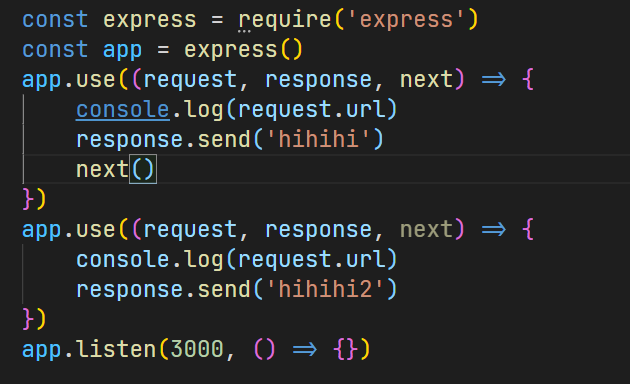
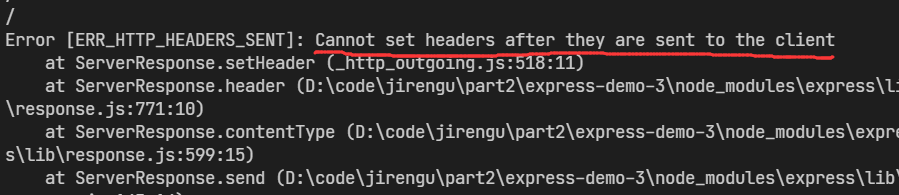
- 改成res.write,就像流一样,记得加上 end


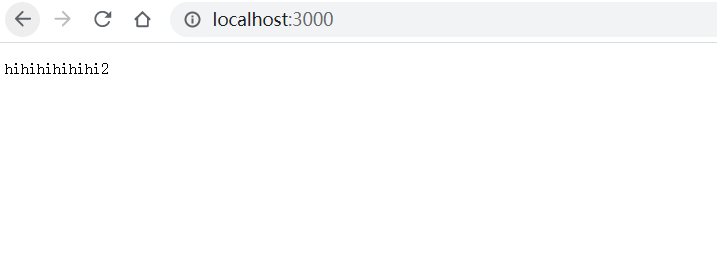
- 什么时候可以省略next
最后一个use中才可以省略,否则没有next就不会往下一个next走了
express编程模型
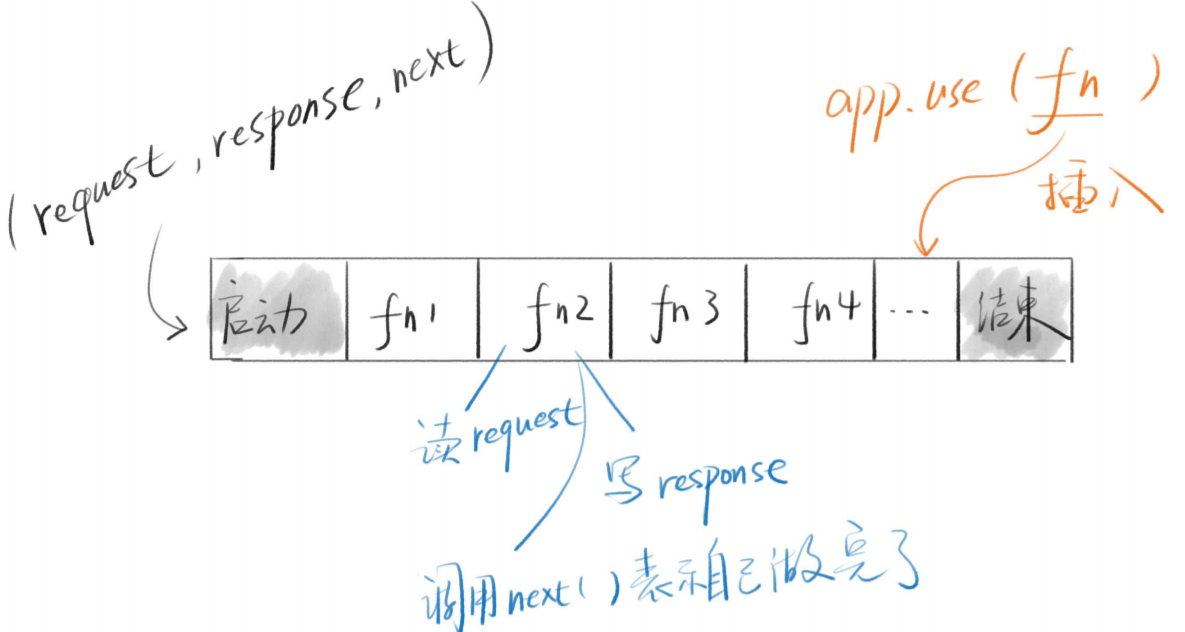
中间件
fn就是中间件,因为它是被插入到启动和结束中间的物件
优点
- 模块化
- 这种模型使得每个功能都能通过一个函数实现
- 然后通过app.use将这个函数整合起来
- 如果把函数防盗文件或npm里,就实现了模块化
以express-demo-1为例
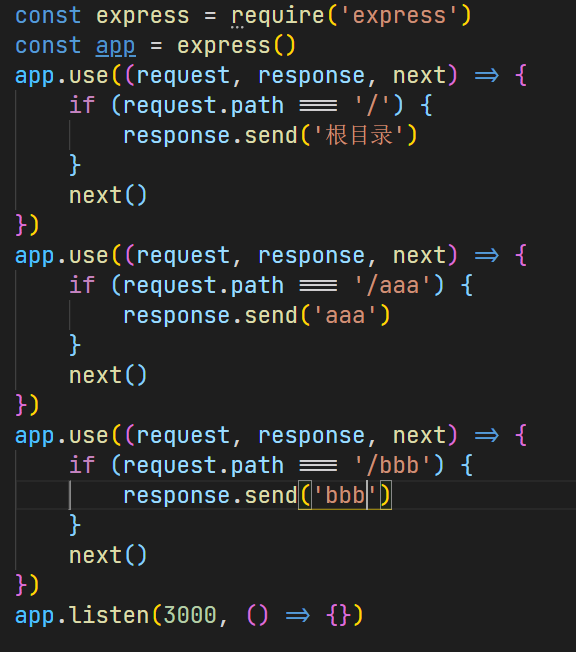
使用app.use实现路由
app.use((req, res, next) => {if (req.path === '/xxx' && req.method === 'get') {res.write('home');}next();});
语法糖
app.use(‘/xxx’, fn)
app.get(‘/xxx’, fn)
app.post(‘/xxx’, fn)
app.route(‘/xxx’).all(f1).get(f2).post(f3)app.use('/aaa', (request, response, next) => {response.send('aaa')next()})app.get('xxx', (request, response, next) => {response.send('get xxx')next()})app.post('yyy', (request, response, next) => {response.send('post yyy')next()})app.route('/zzz').all((request, response, next) => {response.send('all zzz')next()}).get((request, response, next) => {response.send('get zzz')next()}).post((request, response, next) => {response.send('post zzz')next()})
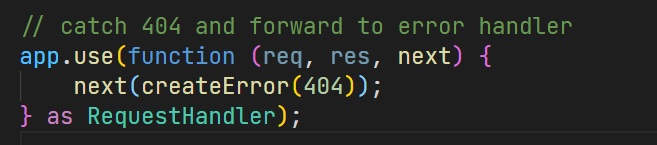
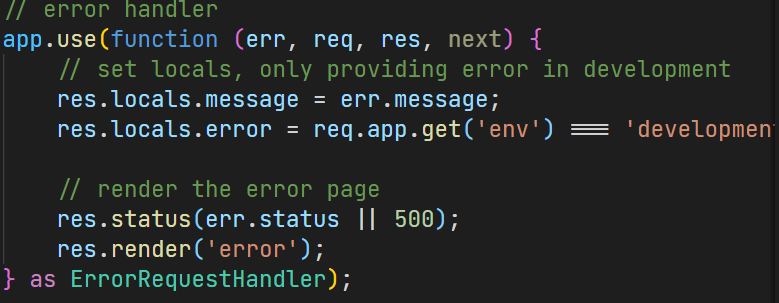
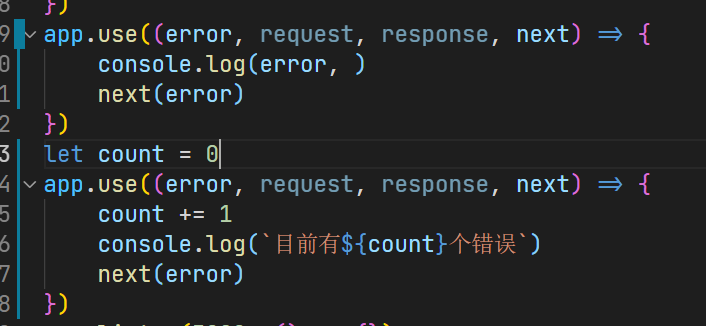
错误处理
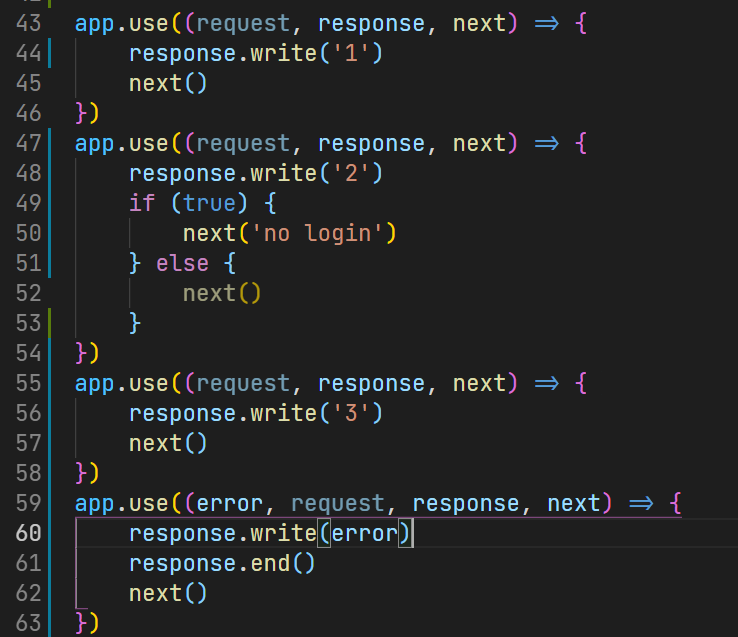
next参数(error)会直接进入errorHandler
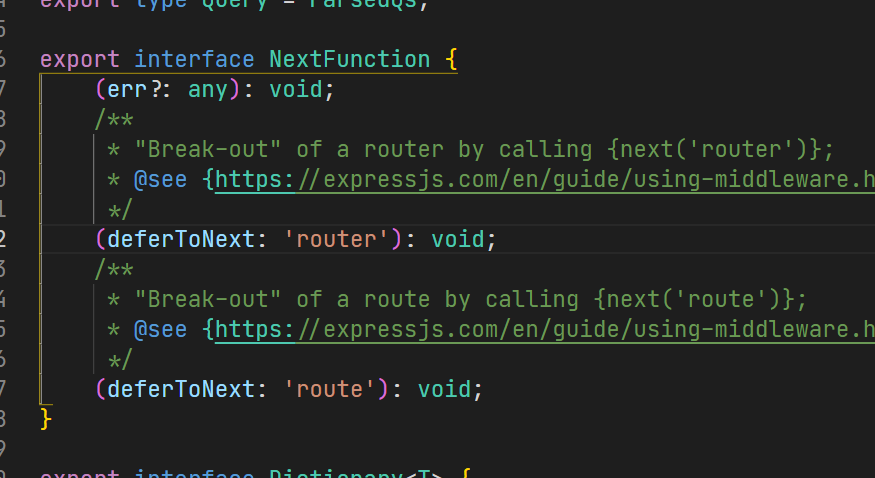
多个错误处理

next(‘route’)
app.get('/a_route_behind_paywall',function checkIfPaidSubscriber (req, res, next) {if (!req.user.hasPaid) {// continue handling this requestnext('route')//这里就会跳过下面的函数} else {next()}}, function getPaidContent (req, res, next) {PaidContent.find(function (err, doc) {if (err) return next(err)res.json(doc)})})
lib/router/route.js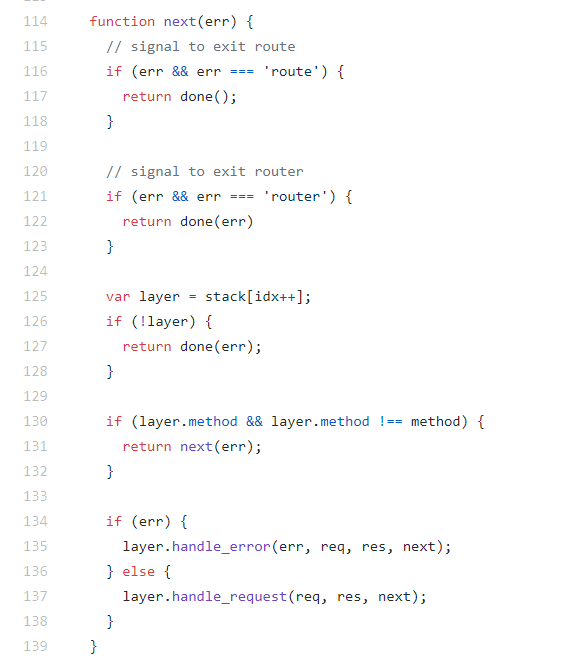

若有收获,就点个赞吧
0 人点赞
