一、zip格式
1、压缩
1)、压缩文件:zip 压缩文件名 文件
[root@localhost ~]# zip test.zip anaconda-ks.cfg 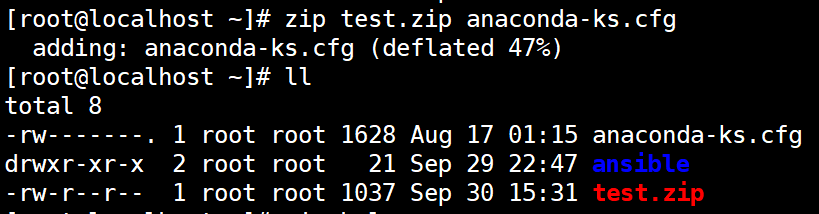
2)、压缩目录:zip -r 压缩文件名 目录
[root@localhost ~]# zip -r test2.zip ansible/
2、解压
1)unzip 压缩文件名
root@localhost ~]# unzip test.zip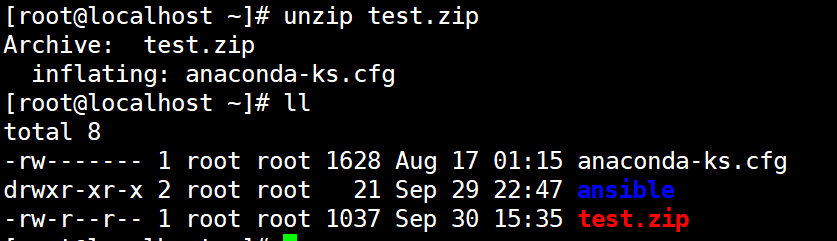
二、gz格式
其实gz格式本身不提供保留源文件功能,保留源文件是利用 -c 参数 + > ,-c会将压缩结果输出到控制台,而 > 可以将输出结果写入文件
1、压缩
1)gzip 源文件
此方式会将文件压缩为.gz格式文件,源文件会消失
[root@localhost ~]# gzip anaconda-ks.cfg 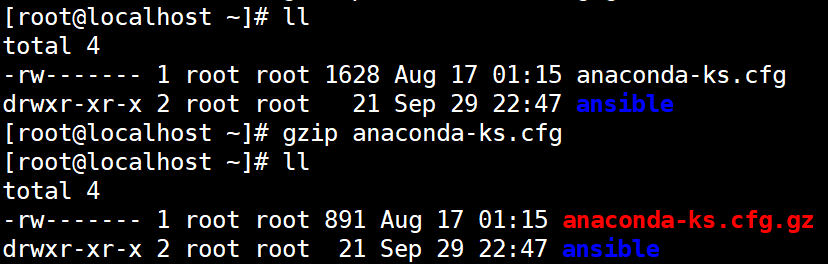
2)gzip -c 源文件 > 压缩文件名
压缩为.gz格式,源文件保留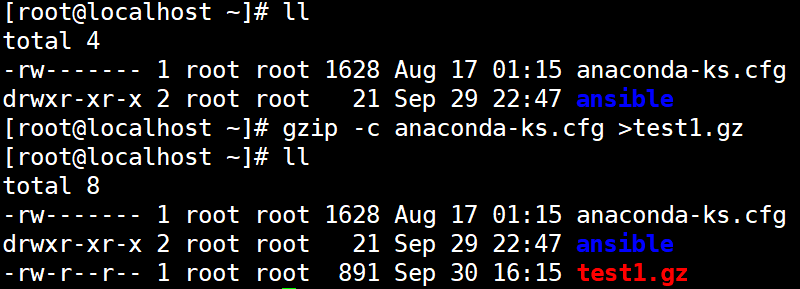
3)gzip -r 目录
压缩目录下所有的子文件,但是不压缩目录
[root@localhost ~]# gzip -r ansible/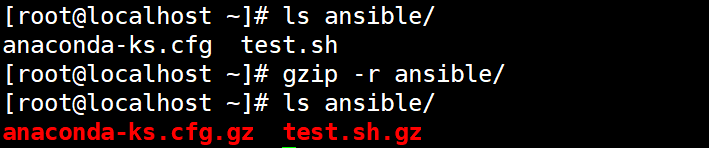
2、解压
1)gunzip 压缩文件名
[root@localhost ~]# gunzip anaconda-ks.cfg.gz 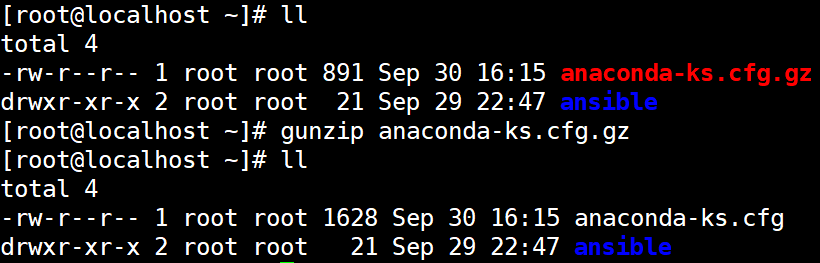
2)gzip -d 压缩文件名
[root@localhost ~]# gzip -d test1.gz 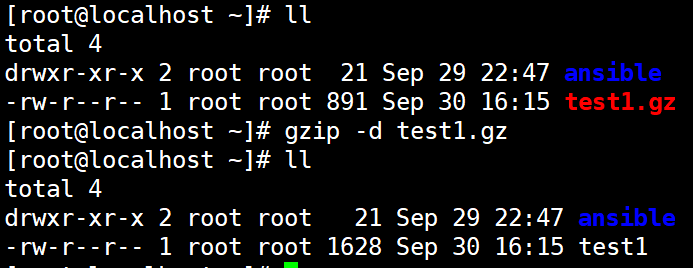
3)gunzip -r 压缩文件所在目录
[root@localhost ~]# gunzip -r ansible/
三、bz2格式
1、压缩
1)bzip2 源文件
压缩为bz2格式文件,不保留源文件
[root@localhost ~]# bzip2 anaconda-ks.cfg 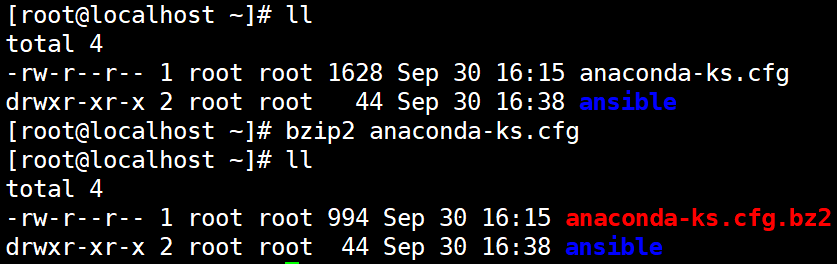
2)bzip2 -k 源文件
压缩之后保留源文件
[root@localhost ~]# bzip2 -k anaconda-ks.cfg 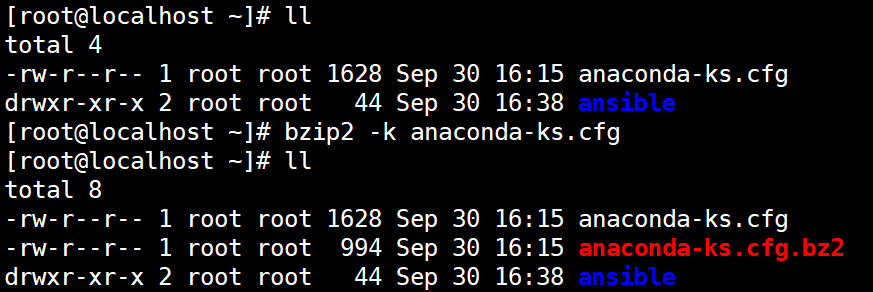
2、解压
1)bzip2 -d 压缩文件名
[root@localhost ~]# bzip2 -d anaconda-ks.cfg.bz2 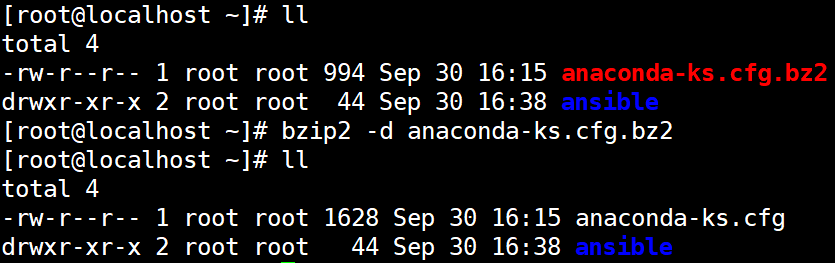
2)bunzip2 [-k] 压缩文件名
解压缩,-k保留压缩文件
[root@localhost ~]# bunzip2 -k anaconda-ks.cfg.bz2 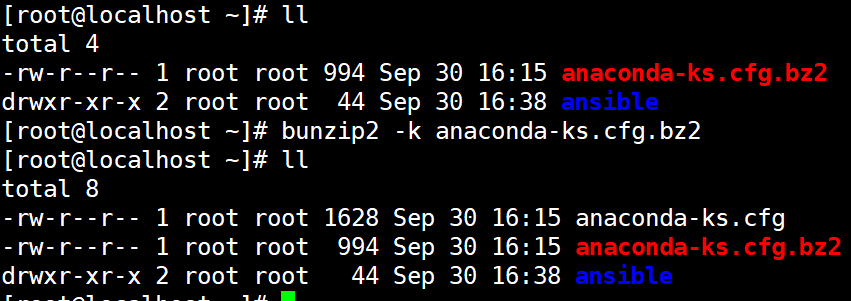
四、tar打包
常用参数:
-c 打包
-v 显示过程
-x 解包
-f 指定打包后的文件名
1、打包
1)tar -cvf 被打包文件名 源文件
[root@localhost ~]# tar -cvf anaconda-ks.cfg.tar anaconda-ks.cfg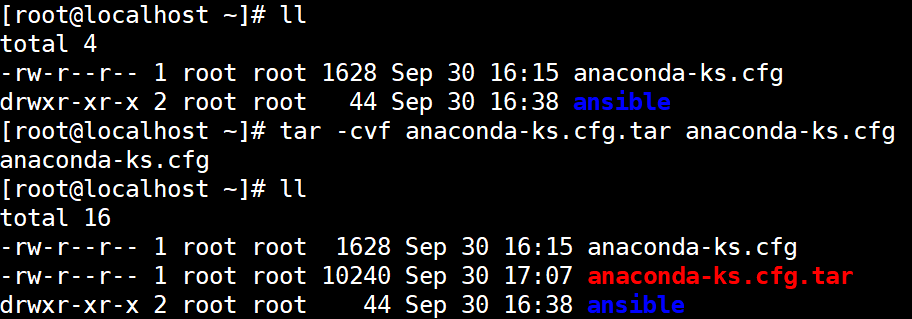
2、解包
1)tar -xvf 打包文件
[root@localhost ~]# tar -xvf anaconda-ks.cfg.tar 
五、tar.gz格式
其实.tar.gz格式是先打包为.tar格式,再压缩为.gz格式,压缩多个文件只需要将多个源文件空格隔开即可,将文件压缩到指定目录可以使用路径+压缩文件名。
选项说明:
-z: 压缩为.tar.gz格式
-x: 解压缩.tar.gz格式
-t: 只查看压缩文件,不解压
1、压缩
1)tar -zcvf 压缩包名.tar.gz 源文件
[root@localhost ~]# tar -zcvf anaconda-ks.cfg.tar.gz anaconda-ks.cfg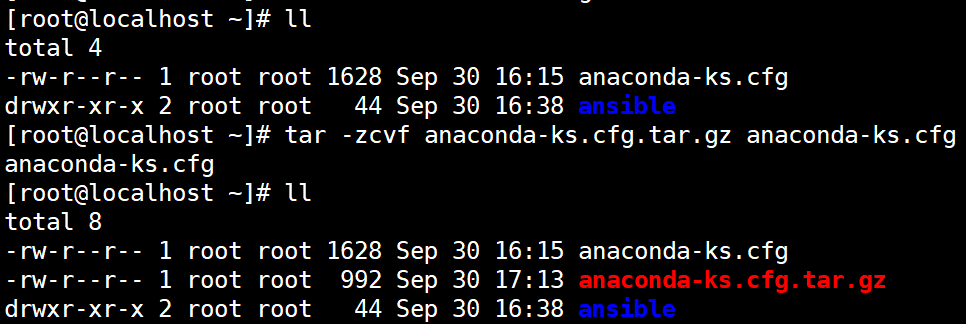
2、解压
1)tar -zxvf 压缩包名.tar.gz [-C 解压缩位置]
[root@localhost ~]# tar -zxvf anaconda-ks.cfg.tar.gz -C ansible/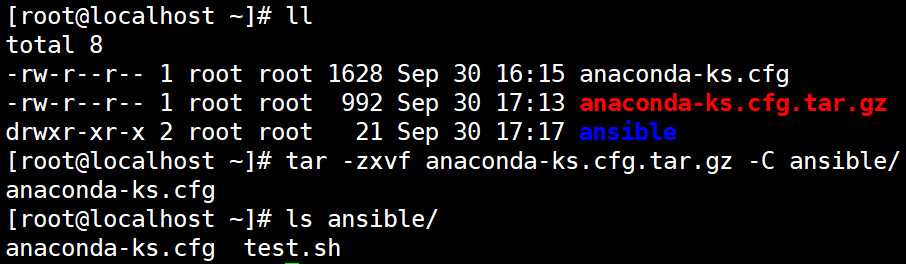
3、仅查看不解压
1)tar -ztvf 压缩包名.tar.gz
[root@localhost ~]# tar -ztvf anaconda-ks.cfg.tar.gz
六、tar.bz2格式
其实.tar.bz2格式是先打包为.tar格式,再压缩为.bz2格式,用法基本与.tar.gz格式一致
1、压缩
1)tar -jcvf 压缩包名.tar.bz2 源文件
[root@localhost ~]# tar -jvcf anaconda-ks.cfg.tar.bz2 anaconda-ks.cfg 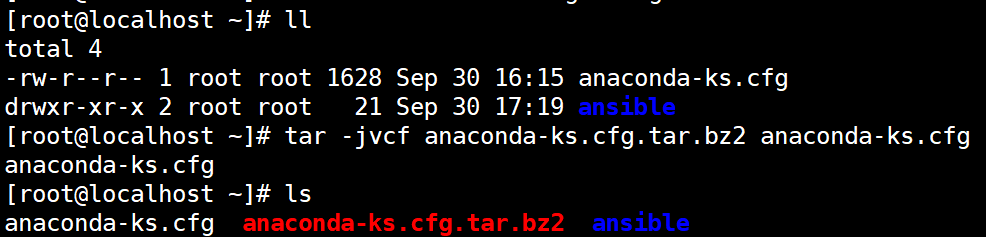
2、解压
1)tar -jxvf 压缩包名.tar.bz2 [-C 解压位置]
[root@localhost ~]# tar -jvxf anaconda-ks.cfg.tar.bz2 -C /data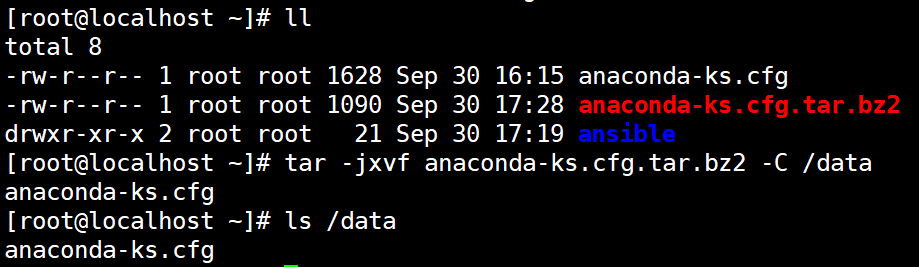
七、tar.xz格式
linux不支持直接压缩与解压该格式文件,需要将xz格式与tar格式结合使用。
1、压缩
1)xz -z 源文件
压缩成xz格式文件,-k选项保留源文件
[root@localhost ~]# xz -z anaconda-ks.cfg 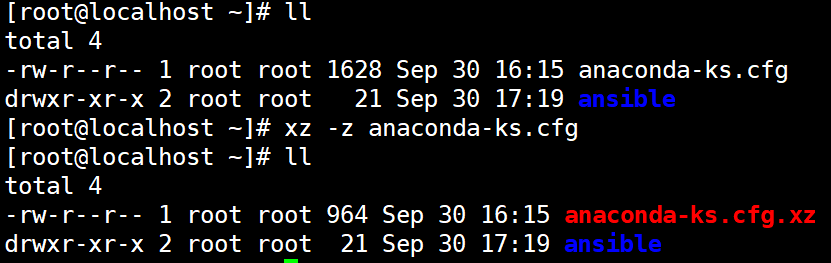
2、解压
1)xz -d 压缩文件
解压成tar文件,-k选项保留压缩文件
[root@localhost ~]# xz -d anaconda-ks.cfg.xz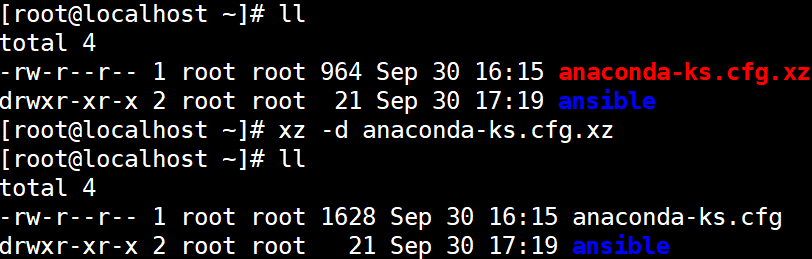
3、tar.gz完整压缩、解压过程
打包为tar格式文件
[root@localhost ~]# tar -cvf anaconda-ks.cfg.tar anaconda-ks.cfg
压缩为xz格式
[root@localhost ~]# xz -z anaconda-ks.cfg.tar
解压xz格式文件
[root@localhost ~]# xz -d anaconda-ks.cfg.tar.xz
解包tar格式文件
[root@localhost ~]# tar -xvf anaconda-ks.cfg.tar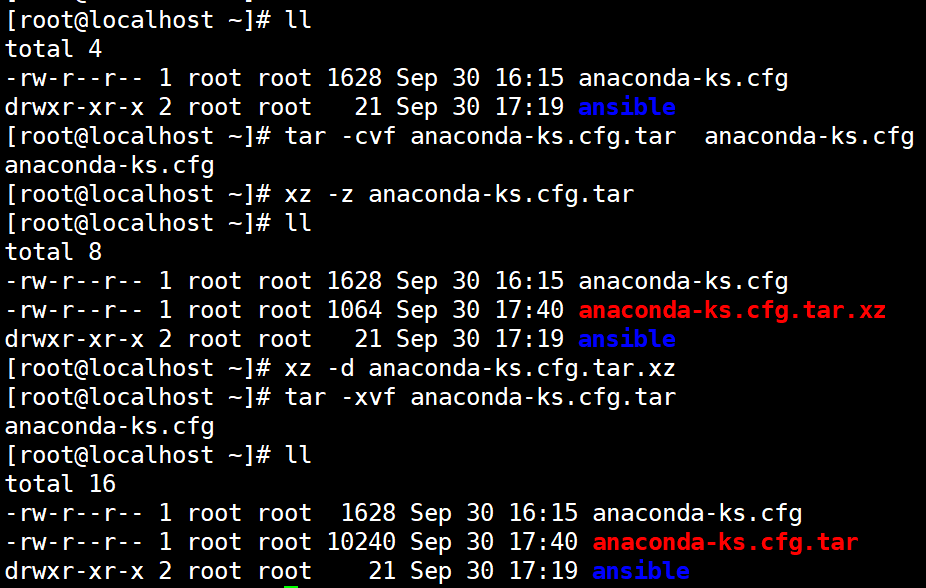
**

若有收获,就点个赞吧
0 人点赞
