项目初始化
- 安装 res-cli 命令行工具
$ npm install @easy-team/res-cli -g$ res --helpCommands:init [options] init boilerplatedev start res project for develoment modestart start res project for production modebuild [options] [env] webpack buildingdebug start project for develoment debug modetest unit testcov code covadd add tempplate or componentprint [options] [env] print webpack config, support print by env or config keyserver [options] static file web http serverdll [env] webpack dll buildclean [dir] webpack cache dir clean, if dir == "all", will clean cache dir and build diropen [dir] open webpack cache dirkill [port] kill port processupgrade [options] upgrade project package to latest versiontsc [options] typescript compile
- 初始化项目
可以通过 res init 和 git clone 初始化代码
➜ $ res init
$ ? please choose the boilerplate mode? create res application
$ ? Please input project name: res-app
$ ? Please input project description:
$ ? Please choose css style: css
$ ? Please choose the way to install dependency: none
$ [res-cli]:query npm info of res-awesome
$ [res-cli]:downloading https://registry.npmjs.org/res-admin/-/res-awesome-1.0.0.tgz
$ [res-cli]:extract to /var/folders/hj/fs_pkpfn7vdcg176058mb1540000gn/T/res-cli-init
$ [res-cli]:init res-app project successfully!
$ [res-cli]:Now, start coding by follow step:
$ 1) cd res-app
$ 2) npm install or yarn install
$ 3) npm run dev or npm start
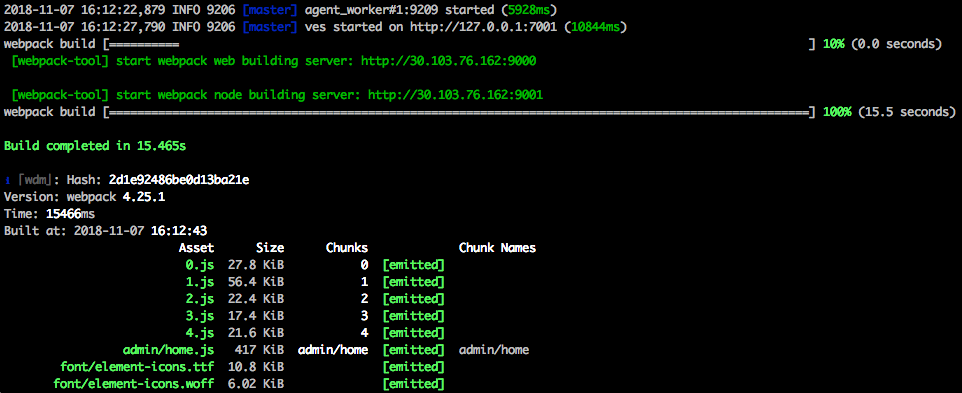
- 本地开发运行
服务端渲染需要通过 Webpack 构建两份配置,一份给 服务端用,一份给客户端用
前端渲染时,只需要构建一份配置,这个时候需要在 res.config.js 加入
target: web指定只构建前端运行文件
npm run dev
- 项目构建
npm run build
- 项目发布
npm run build 项目构建后,需要把构建后的文件和项目一起发布,可以排除所有 ts 结尾的文件。
模板代码
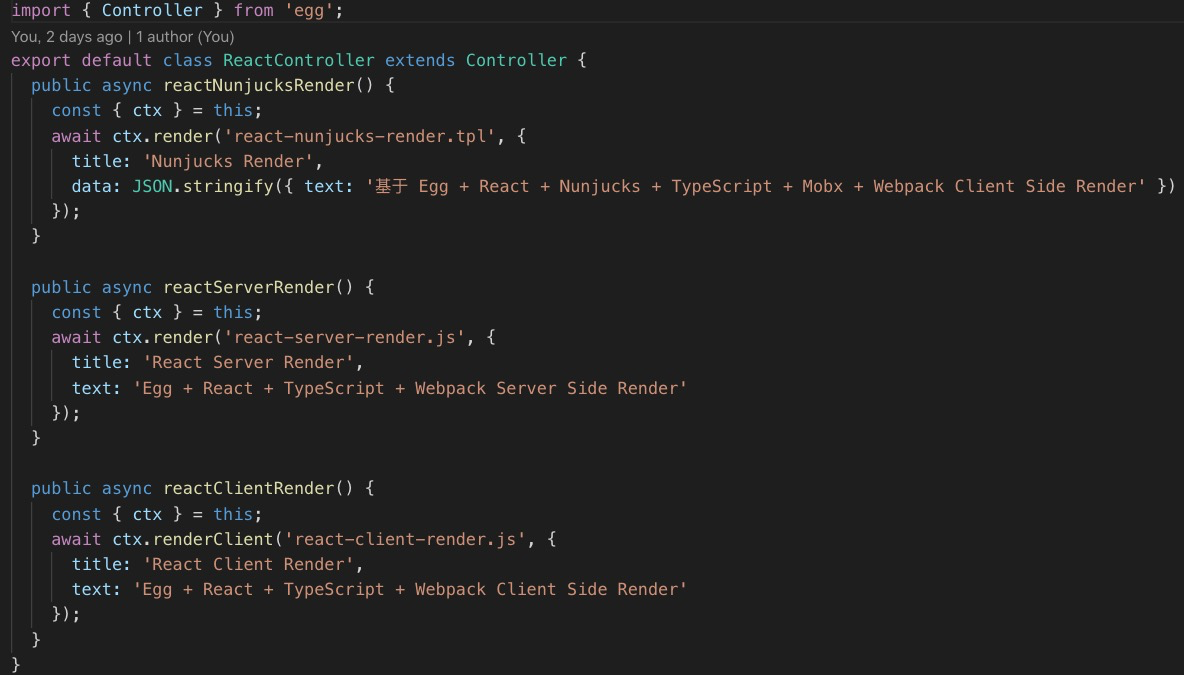
Node代码
渲染方式:React Server Render | React Client Render | React Nunjucks Render
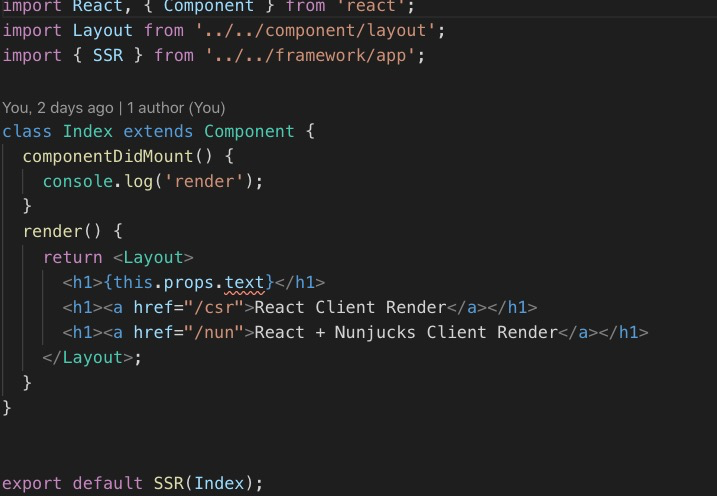
前端代码


若有收获,就点个赞吧
0 人点赞
